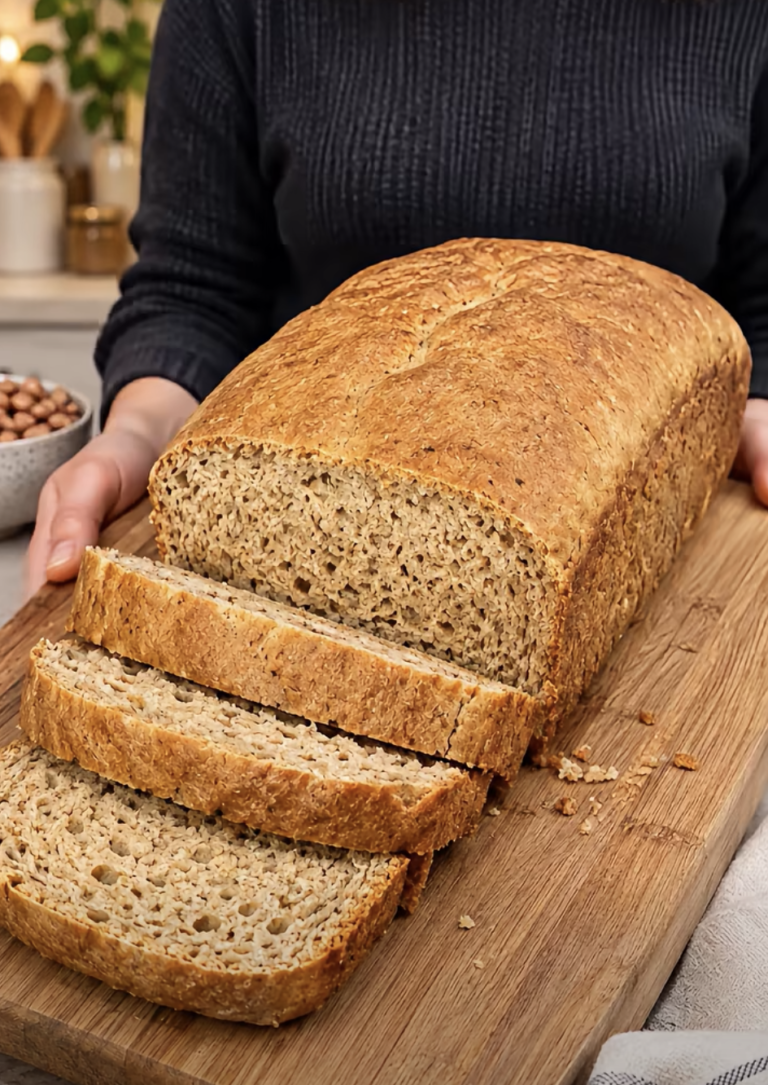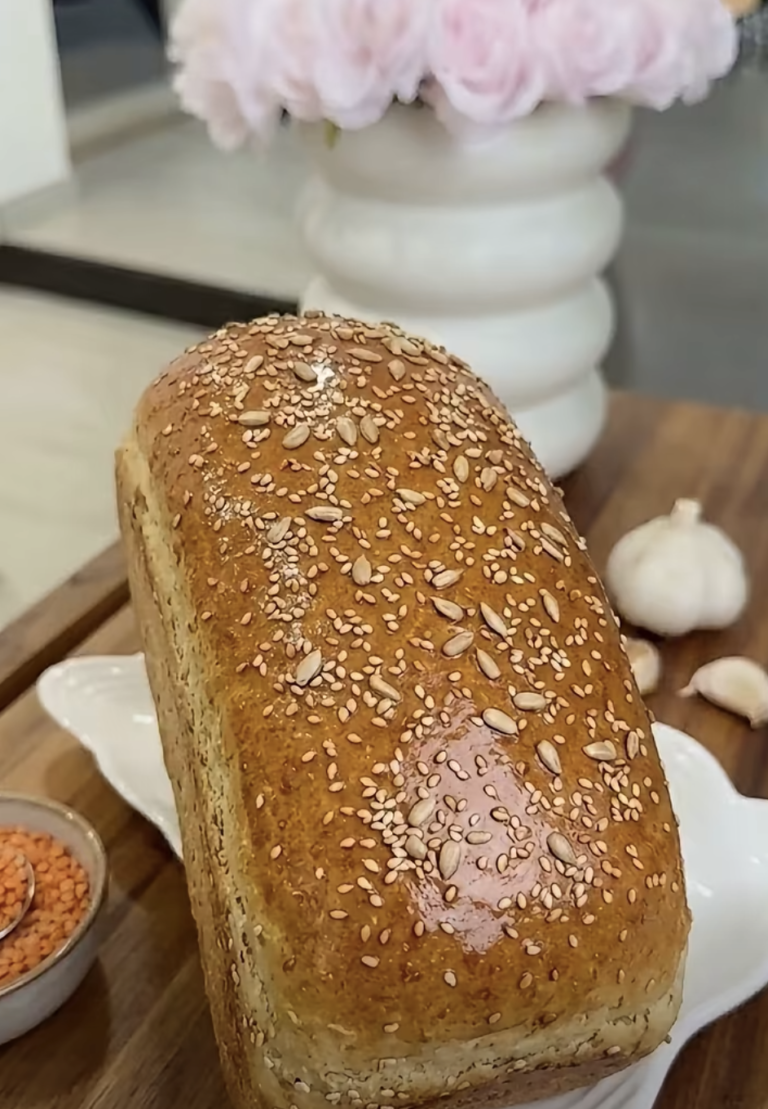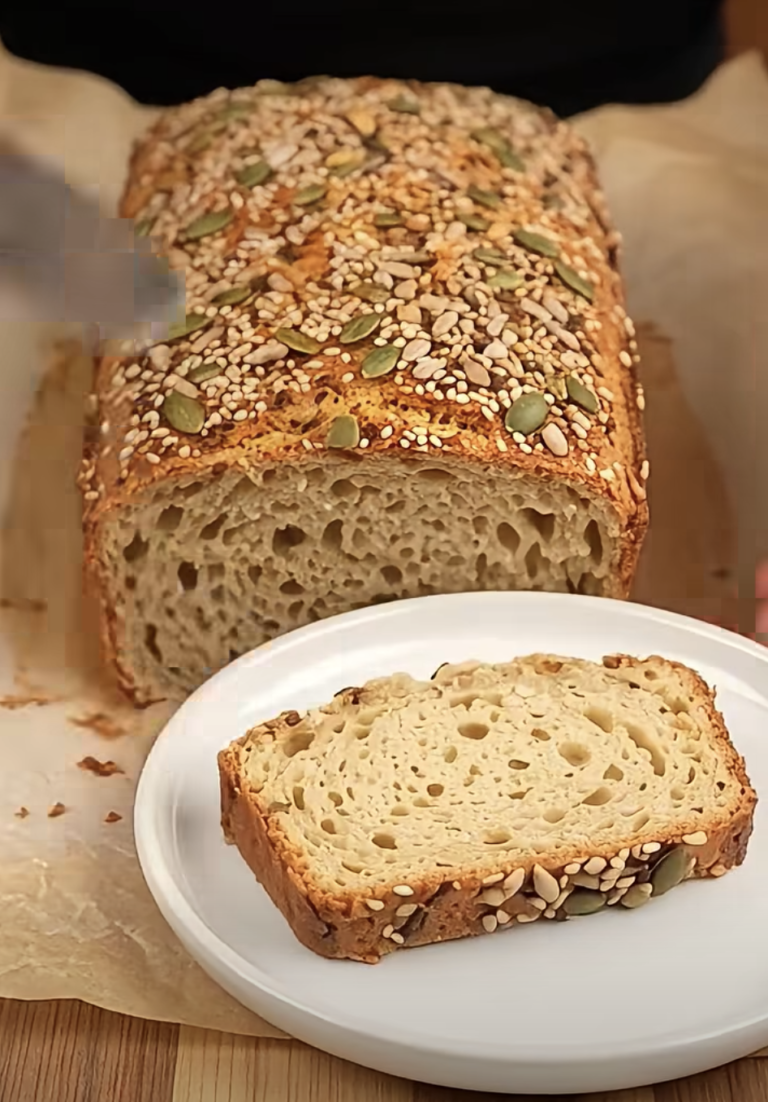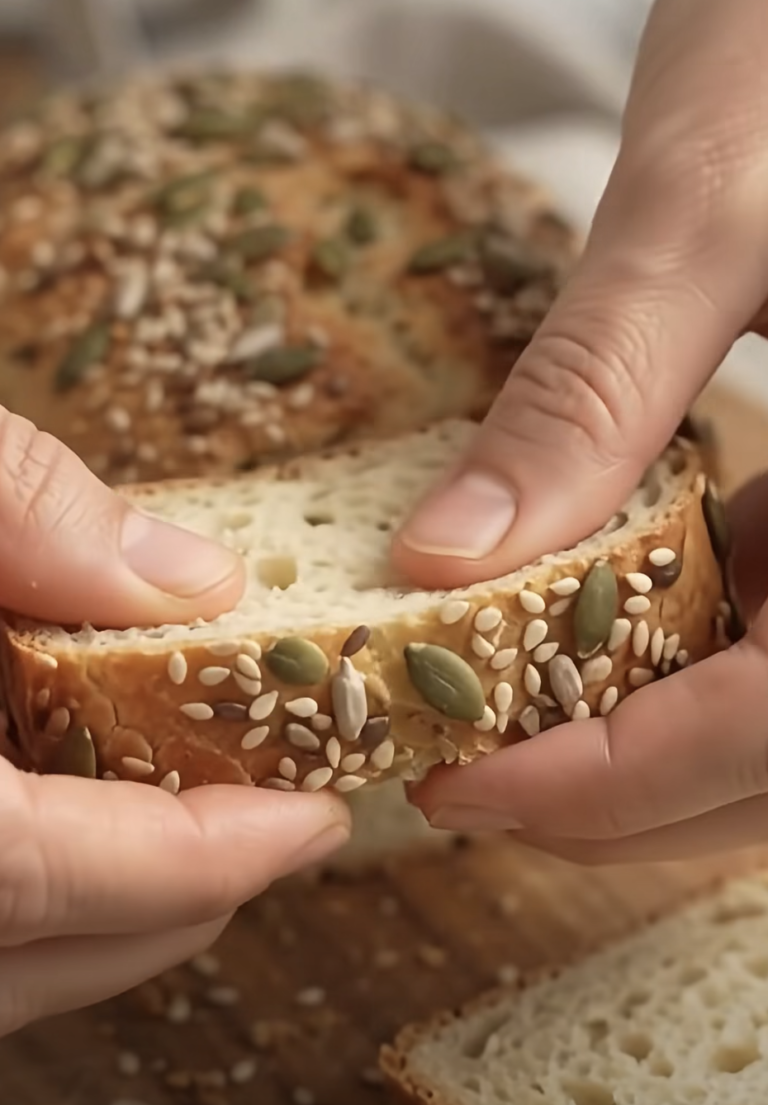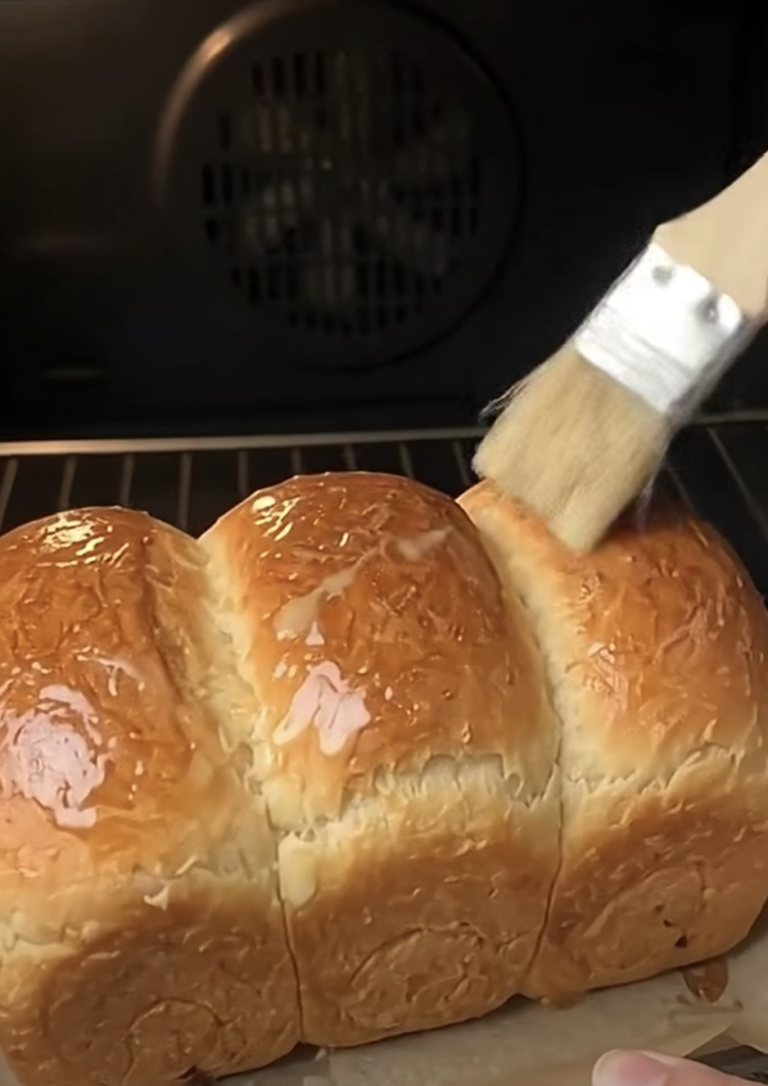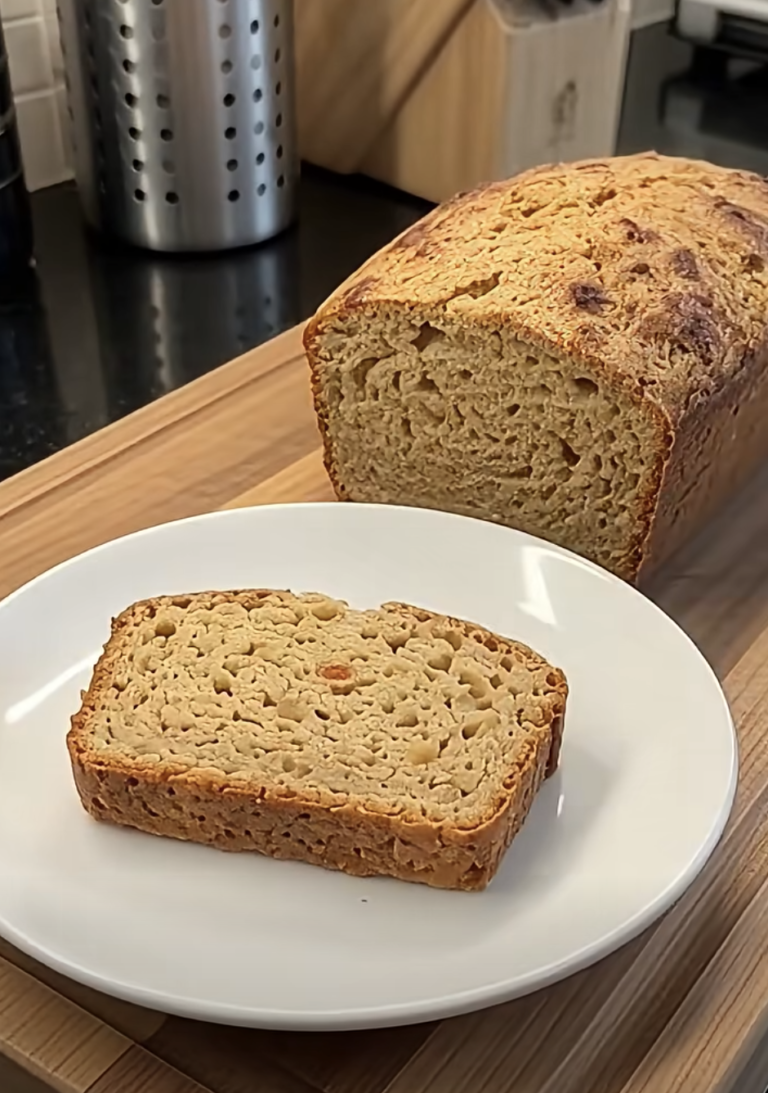
Easy No-Knead Buttermilk Sandwich Bread is a wonderfully soft, fluffy homemade bread that combines the rich flavor of cultured buttermilk with the convenience of a simple, no-knead dough. With basic pantry ingredients and minimal hands-on work, you can bake a beautiful golden loaf that’s perfect for sandwiches, toast, and everyday meals.
Unlike traditional bread recipes that require several minutes of kneading, this easy buttermilk sandwich bread relies on thorough mixing, yeast fermentation, and two rising periods to develop its texture.
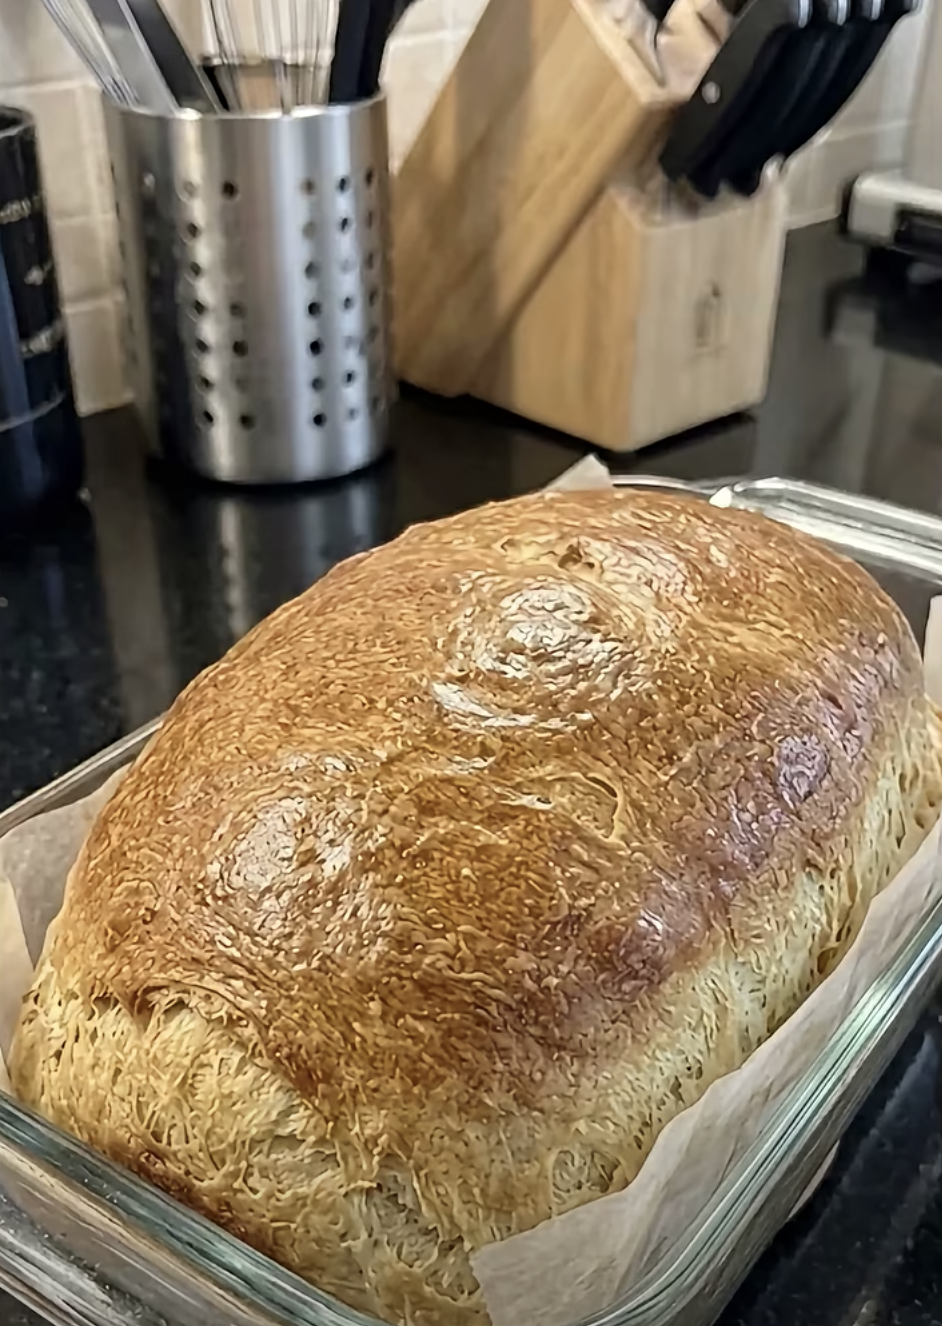
Easy No-Knead Buttermilk Sandwich Bread – Soft, Fluffy Homemade Loaf
Ingredients
Equipment
Method
- In a large mixing bowl, combine the room-temperature or lukewarm buttermilk, instant yeast, sugar or honey, egg, and melted butter. Stir until evenly combined.
- Add the flour and fine salt. Mix thoroughly with a sturdy spoon until a soft, slightly sticky dough forms and no dry flour remains. Do not knead.
- Cover the bowl with a clean kitchen towel or plastic wrap. Let the dough rise in a warm, draft-free location for approximately 60–90 minutes, until roughly doubled in size.
- Lightly grease a 9-by-5-inch loaf pan with softened butter or cooking spray.
- Transfer the risen dough to a lightly floured work surface. Gently pat into a rectangle approximately 8 inches wide, roll into a log, and pinch the seam closed.
- Place the shaped dough seam-side down in the prepared loaf pan.
- Cover loosely and allow the dough to rise again for approximately 30–45 minutes, until noticeably puffy and expanded.
- During the final part of the second rise, preheat the oven to 350°F (175°C).
- Bake on the middle oven rack for approximately 30–40 minutes, until the top becomes golden brown and the center reaches approximately 190–200°F (88–93°C).
- Remove the loaf from the oven and let it rest in the pan for approximately 10 minutes.
- If desired, brush the warm crust with 1 teaspoon melted butter. Carefully transfer the loaf to a wire cooling rack.
- Allow the loaf to cool completely before slicing into approximately 10–12 pieces. Serve with butter, jam, honey, or favorite sandwich fillings.
Notes
The result is a tender loaf with a delicate, slightly tangy flavor, a soft golden crust, and a moist interior.
Whether you enjoy homemade bread with butter and jam or need a reliable loaf for family sandwiches, this recipe makes a delicious addition to your kitchen.
I first became interested in no-knead sandwich bread when I wanted the flavor of homemade bread without spending extra time kneading dough. I had some cultured buttermilk left in the refrigerator after making pancakes, so using it in a bread recipe seemed like a practical idea. The dough came together quickly with a sturdy spoon, and I loved how little attention it needed during the first rise. Once the loaf started baking, the kitchen filled with that familiar homemade bread aroma. After letting it cool, I sliced it for sandwiches and discovered how nicely the soft crumb worked with simple fillings.
With just 15 minutes of preparation and a little patience during rising, you can create a homemade sandwich loaf that tastes far better than its simple method might suggest.
Why You’ll Love Easy No-Knead Buttermilk Sandwich Bread
Soft, Fluffy Texture Without Traditional Kneading
One of the biggest advantages of Easy No-Knead Buttermilk Sandwich Bread is its simple preparation method.
Traditional sandwich bread often requires several minutes of kneading to develop gluten.
However, this recipe uses a different approach.
You combine the ingredients into a soft, slightly sticky dough and allow the yeast to work during the rising periods.
As the dough rests, the flour absorbs moisture and the gluten network gradually develops.
Meanwhile, yeast produces gas that helps the dough expand.
This process creates a tender loaf without intensive kneading.
The buttermilk also contributes to the bread’s texture.
Its acidity adds a gentle tang that balances the sweetness from the sugar or honey.
Additionally, the milk solids contribute richness and help create a soft crumb.
Melted butter adds tenderness, while the egg helps strengthen the structure.
Together, these ingredients create a flavorful sandwich bread with a pleasantly soft interior.
Another benefit is the loaf’s versatility.
Because the crumb remains tender, it works well for everyday sandwiches.
You can use it for grilled cheese, turkey sandwiches, breakfast toast, or French toast.
The crust also develops a beautiful golden color during baking.
For an even softer finish, brush the top with melted butter while the loaf is still warm.
This simple finishing touch adds flavor and gives the crust a delicate sheen.
Simple Ingredients and Beginner-Friendly Preparation
Another reason to enjoy homemade buttermilk sandwich bread is its approachable ingredient list.
You only need flour, cultured buttermilk, instant yeast, sugar or honey, salt, butter, and an egg.
These familiar ingredients work together to create a rich, tender loaf.
You don’t need a stand mixer or bread machine.
Instead, a large mixing bowl and sturdy spoon handle the preparation.
First, you combine the wet ingredients.
Next, you stir in the flour and salt until a soft dough forms.
Then, you cover the bowl and allow the dough to rise.
After the first rise, you shape it into a simple log.
Finally, you place it in a loaf pan for the second rise and bake.
Although the recipe requires rising time, most of that time involves waiting.
Therefore, you can prepare other parts of your meal while the dough develops.
The recipe also uses instant yeast.
Unlike active dry yeast, instant yeast doesn’t require a separate proofing step.
You can mix it directly with the other ingredients.
However, make sure the buttermilk isn’t hot.
Excessive heat can damage the yeast and interfere with rising.
For consistent results, use room-temperature or gently warmed buttermilk.
With a little attention to dough texture and rising time, even beginner bakers can create a soft, golden homemade loaf.
Essential Ingredients for the Best Buttermilk Sandwich Bread
Choosing the Right Flour, Buttermilk, and Yeast
The foundation of Easy No-Knead Buttermilk Sandwich Bread begins with three cups of flour.
You can use all-purpose flour or bread flour.
All-purpose flour creates a soft, tender loaf that’s especially good for sandwiches.
Bread flour contains more protein and generally produces a slightly chewier texture.
Both options work, but they may absorb moisture differently.
For the most consistent results, measure flour carefully.
Spoon it into the measuring cup and level the top rather than packing it tightly.
Alternatively, use approximately 375 grams of flour.
Next, use one cup of cultured buttermilk.
Buttermilk gives the bread its characteristic mild tang and contributes to a tender crumb.
Choose plain cultured buttermilk rather than a flavored variety.
For the best results, bring it close to room temperature before mixing.
You can warm it gently if necessary.
However, avoid overheating it.
A temperature around 75–90°F works well for this enriched dough.
The recipe also uses two and one-quarter teaspoons of instant yeast.
This equals one standard packet.
Instant yeast works well in no-knead recipes because it activates quickly and mixes easily into the dough.
Check the expiration date before using it.
Old yeast may produce a slow rise or a dense loaf.
Together, flour, buttermilk, and yeast create the foundation of this homemade sandwich bread.
How Butter, Eggs, Sugar, and Salt Improve the Loaf
The remaining ingredients add richness, flavor, and structure.
First, use three tablespoons of unsalted butter.
Melt the butter and allow it to cool slightly before mixing.
Butter contributes tenderness and helps create a soft, pleasant crumb.
Next, add one large egg.
The egg provides protein and fat, which support the loaf’s structure and texture.
For consistent results, use a room-temperature egg.
Cold eggs can cool the mixture and slow the yeast slightly.
The recipe also includes two tablespoons of granulated sugar or honey.
Both options provide gentle sweetness.
Sugar creates a classic sandwich bread flavor.
Meanwhile, honey adds a slightly different sweetness and aroma.
You can choose either ingredient according to your preference.
Next, add one teaspoon of fine salt.
Salt balances the sweetness and enhances the bread’s flavor.
It also helps regulate yeast activity and supports the dough’s structure.
Finally, use a little butter or cooking spray to grease the loaf pan.
This prevents sticking and makes removal easier.
For finishing, you can brush the warm loaf with an additional teaspoon of melted butter.
This optional step softens the crust and adds a little extra richness.
Because the dough contains several enriching ingredients, it may rise more slowly than a basic flour-and-water bread.
Therefore, allow enough time for the dough to become noticeably puffy before baking.
How to Make Easy No-Knead Buttermilk Sandwich Bread
Mixing the Dough and Allowing the First Rise
Making Easy No-Knead Buttermilk Sandwich Bread starts with combining the wet ingredients.
First, pour one cup of room-temperature or lukewarm cultured buttermilk into a large mixing bowl.
Add the instant yeast, sugar or honey, egg, and melted butter.
Stir until the mixture looks evenly combined.
Next, add the flour and fine salt.
Use a sturdy wooden spoon or silicone spatula to mix everything thoroughly.
Continue until no large patches of dry flour remain.
The dough should feel soft and slightly sticky.
However, it should still hold together as a cohesive mass.
Because this recipe uses a no-knead method, you don’t need to transfer the dough to the counter for extended kneading.
Instead, mix thoroughly and allow time to develop the dough.
If the mixture seems extremely dry, add a small splash of buttermilk.
If it resembles a loose batter, stir in a little additional flour.
However, avoid adding excessive flour.
A soft dough helps create a tender loaf.
Once the ingredients come together, cover the bowl with a clean kitchen towel or plastic wrap.
Place it in a comfortably warm, draft-free location.
Allow the dough to rise for approximately 60–90 minutes.
During this time, the yeast produces gas and the dough expands.
The dough should become noticeably puffy and roughly double in size.
However, room temperature affects rising time.
A cooler kitchen may require additional time.
Therefore, watch the dough’s appearance rather than relying only on the clock.
Shaping, Proofing, and Baking a Golden Sandwich Loaf
Once the dough completes its first rise, prepare a 9-by-5-inch loaf pan.
Lightly grease the inside with butter or cooking spray.
Next, transfer the risen dough to a lightly floured work surface.
Gently pat it into a rectangle approximately eight inches wide.
Try not to press out every air bubble.
Then, roll the rectangle into a log.
Pinch the seam closed to help the loaf maintain its shape.
Place the dough seam-side down in the prepared pan.
Cover loosely and allow it to rise again for approximately 30–45 minutes.
The dough should become noticeably puffy and expand toward the top of the pan.
However, avoid letting it rise so far that it collapses.
During the final part of the second rise, preheat your oven to 350°F.
Once the dough looks ready, place the loaf pan on the middle oven rack.
Bake for approximately 30–40 minutes.
The top should develop a rich golden-brown color.
For an additional doneness check, insert an instant-read thermometer into the center.
The internal temperature should reach approximately 190–200°F.
If the crust browns too quickly, loosely cover the top with aluminum foil.
Once the loaf finishes baking, remove it from the oven.
Allow it to rest in the pan for approximately 10 minutes.
Then, carefully transfer it to a wire cooling rack.
If desired, brush the warm crust with a little melted butter.
Finally, let the loaf cool completely before slicing.
This helps the crumb set and produces cleaner sandwich slices.
Serving Ideas, Variations, and Storage Tips
Delicious Ways to Enjoy Homemade Buttermilk Bread
One of the best features of Easy No-Knead Buttermilk Sandwich Bread is its versatility.
The loaf has a mild, slightly tangy flavor that works well with both sweet and savory toppings.
For breakfast, toast a slice and spread it with salted butter.
Add strawberry jam or honey for a simple treat.
You can also use the bread to make French toast.
Its soft crumb absorbs the egg mixture nicely.
For a savory breakfast, serve toasted slices with scrambled eggs.
Add avocado or sliced tomatoes for extra flavor.
At lunchtime, use the bread for classic sandwiches.
Try turkey and cheese, ham and mustard, or chicken salad.
Because the loaf has a soft texture, it also works beautifully for peanut butter and jelly sandwiches.
Another delicious option is grilled cheese.
Spread a little butter on the outside of two slices, add your favorite cheese, and cook until golden.
The bread develops a crisp exterior while the cheese melts inside.
You can also serve it alongside soup.
Tomato soup, vegetable soup, and chicken noodle soup pair especially well with soft homemade bread.
For dinner, use thick slices to accompany stews or roasted vegetables.
If you have leftover bread that’s beginning to dry, turn it into croutons or breadcrumbs.
You can also prepare bread pudding or baked French toast.
These options help reduce food waste while making the most of your homemade loaf.
Storage, Freezing, and Common Bread-Baking Mistakes
Proper storage helps preserve the softness of homemade buttermilk sandwich bread.
First, allow the loaf to cool completely.
Then, place it in a bread bag or airtight container.
Store it at room temperature for approximately two to three days.
Keep it away from direct sunlight and excessive heat.
If your kitchen is especially warm or humid, freezing portions can help maintain quality.
For longer storage, slice the loaf before freezing.
Place parchment paper between the slices if desired.
Then, transfer them to a freezer-safe bag.
Use frozen bread within two to three months for the best texture.
You can toast individual slices directly from frozen.
Avoid refrigeration when possible because bread often stales more quickly in the refrigerator.
Several common mistakes can affect the finished loaf.
First, avoid using buttermilk that’s too hot.
Excessive heat can damage the yeast.
Second, don’t add too much flour.
A dry dough can produce a dense loaf.
Third, allow enough time for the first rise.
Underproofed dough may produce a tight crumb.
Fourth, avoid overproofing during the second rise.
Overproofed dough may collapse in the oven.
Fifth, bake until the center reaches the proper temperature.
Finally, let the loaf cool completely before slicing.
With these simple techniques, you can create a soft, fluffy sandwich bread that works well for everyday meals.
Ingredients
Yield: 1 loaf, approximately 10–12 slices
Prep Time: 15 minutes
Rise Time: Approximately 1½–2¼ hours
Bake Time: 30–40 minutes
Cooling Time: Approximately 1 hour
Total Time: Approximately 3 hours 15 minutes to 4 hours
- 3 cups (approximately 375 g) all-purpose flour or bread flour
- 1 cup (240 ml) cultured buttermilk, room temperature or lukewarm
- 2 1/4 tsp (7 g) instant yeast, approximately 1 packet
- 2 tbsp granulated sugar or honey
- 1 tsp fine salt
- 3 tbsp unsalted butter, melted and cooled
- 1 large egg, room temperature
- 1 tsp softened butter or cooking spray, for greasing
- 1 tsp melted butter, for brushing, optional
Instructions
1. Combine the wet ingredients. In a large mixing bowl, stir together the buttermilk, instant yeast, sugar or honey, egg, and melted butter until evenly combined.
2. Mix the dough. Add the flour and fine salt. Stir thoroughly with a sturdy spoon until a soft, slightly sticky dough forms and no dry flour remains. Do not knead.
3. Allow the first rise. Cover the bowl with a clean kitchen towel or plastic wrap. Let the dough rise in a warm, draft-free location for approximately 60–90 minutes, until roughly doubled in size.
4. Prepare the loaf pan. Lightly grease a 9-by-5-inch loaf pan with softened butter or cooking spray.
5. Shape the dough. Transfer the risen dough to a lightly floured surface. Gently pat it into a rectangle approximately eight inches wide, roll into a log, and pinch the seam closed.
6. Place in the pan. Set the dough seam-side down in the prepared loaf pan.
7. Allow the second rise. Cover loosely and let the dough rise for approximately 30–45 minutes, until noticeably puffy and expanded.
8. Preheat the oven. During the final part of the second rise, preheat your oven to 350°F (175°C).
9. Bake until golden. Place the loaf on the middle oven rack and bake for approximately 30–40 minutes, until the top becomes golden brown and the center reaches approximately 190–200°F (88–93°C).
10. Rest in the pan. Remove the bread from the oven and allow it to rest in the pan for approximately 10 minutes.
11. Brush and transfer. If desired, brush the warm crust with one teaspoon of melted butter. Carefully transfer the loaf to a wire cooling rack.
12. Cool and slice. Allow the bread to cool completely before slicing into approximately 10–12 pieces. Serve with butter, jam, honey, or your favorite sandwich fillings.
Frequently Asked Questions
1. Can I make Easy No-Knead Buttermilk Sandwich Bread with all-purpose flour?
Yes. All-purpose flour works well and produces a soft, tender loaf. Bread flour contains more protein and generally creates a slightly chewier texture. Both options work, although the dough may absorb moisture differently. Start with the recipe’s stated quantity and adjust only if necessary.
2. Can I use active dry yeast instead of instant yeast?
Yes. You can use the same amount of active dry yeast, but the dough may rise more slowly. For reliable results, dissolve the active dry yeast in the lukewarm buttermilk with the sugar or honey before adding the remaining ingredients. Make sure the buttermilk isn’t hot.
3. Why didn’t my no-knead buttermilk bread rise properly?
Old yeast, overly hot buttermilk, a cold kitchen, or insufficient rising time can affect the dough. Use fresh yeast and room-temperature or gently warmed buttermilk. Allow the first rise to continue until the dough becomes noticeably puffy and roughly doubles. Watch the dough rather than relying only on the clock.
4. Can I make buttermilk sandwich bread without an egg?
The egg contributes structure, richness, and tenderness. You can experiment with an egg-free version, but the finished texture may differ. Because this recipe relies on the balance of buttermilk, butter, and egg, removing the egg may require additional adjustments.
5. Can I freeze homemade buttermilk sandwich bread?
Absolutely. Allow the loaf to cool completely, then slice it. Place the slices in a freezer-safe bag or container and freeze for up to two to three months for the best quality. You can thaw the bread at room temperature or toast individual slices directly from frozen.
Conclusion
Easy No-Knead Buttermilk Sandwich Bread offers a simple way to enjoy soft, fluffy homemade bread without traditional kneading.
With flour, cultured buttermilk, instant yeast, butter, an egg, and a few pantry staples, you can create a golden loaf that’s perfect for sandwiches, toast, and everyday meals.
The buttermilk adds a gentle tang and helps create a tender crumb.
Meanwhile, butter and eggs contribute richness, while yeast gives the dough its rise.
Although the recipe requires two rising periods, the hands-on preparation remains quick and manageable.
You can serve this bread with butter, jam, honey, eggs, soup, or your favorite sandwich fillings.
For the best results, use fresh yeast, avoid overheating the buttermilk, mix the dough thoroughly, and allow both rises to finish before baking.
Most importantly, let the loaf cool completely before slicing.
Whether you’re new to bread baking or simply want an easier homemade sandwich loaf, this no-knead buttermilk bread makes a comforting addition to your kitchen.