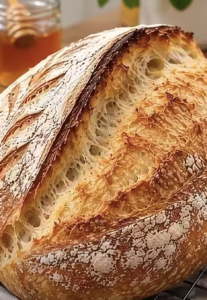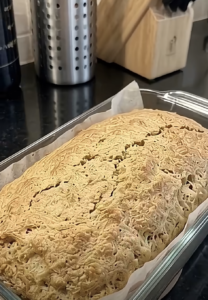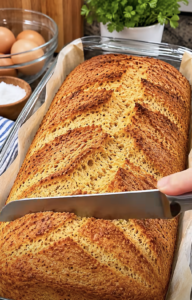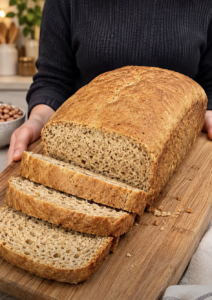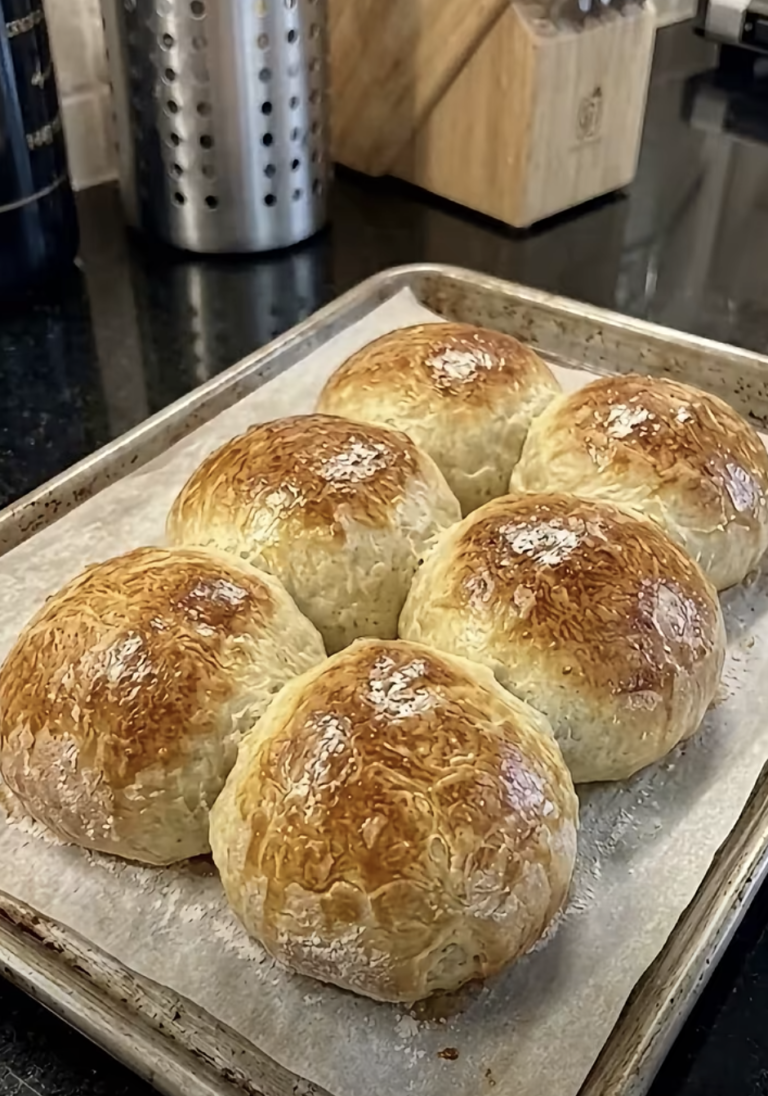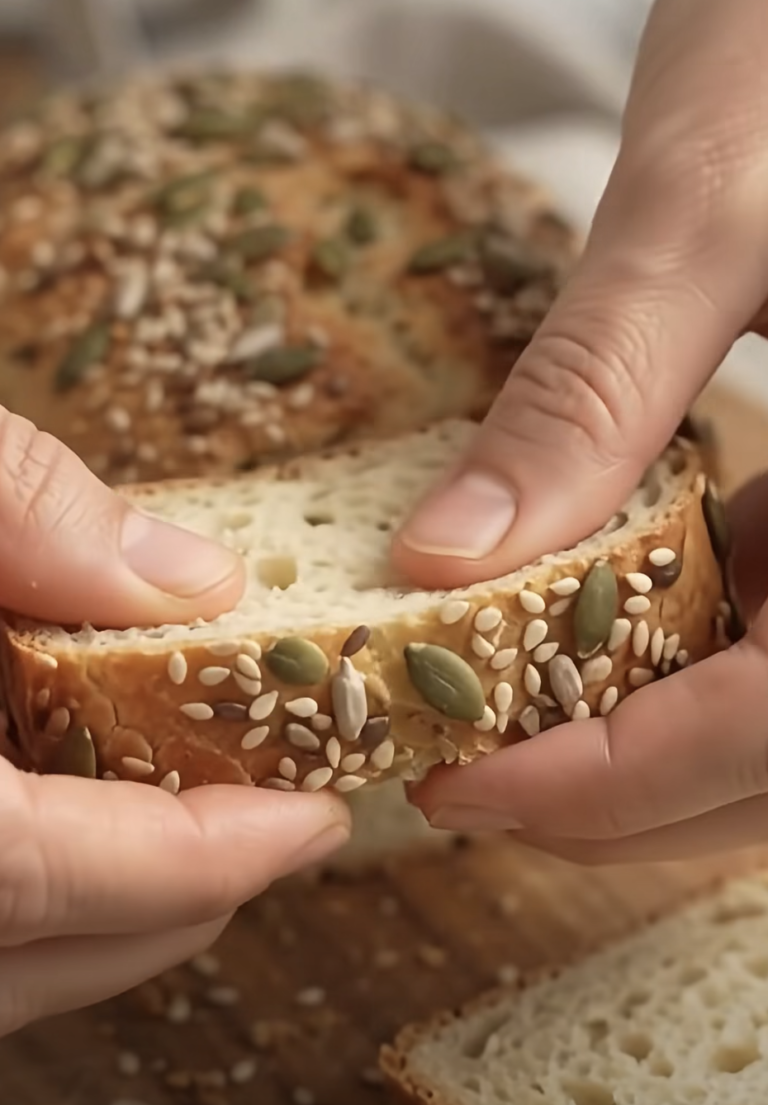
3-Ingredient Chickpea Sandwich Bread is a simple, hearty homemade bread alternative that combines canned chickpeas, eggs, and baking powder into a soft, moist loaf. With no flour, yeast, or kneading, this easy recipe makes homemade bread more approachable than ever.
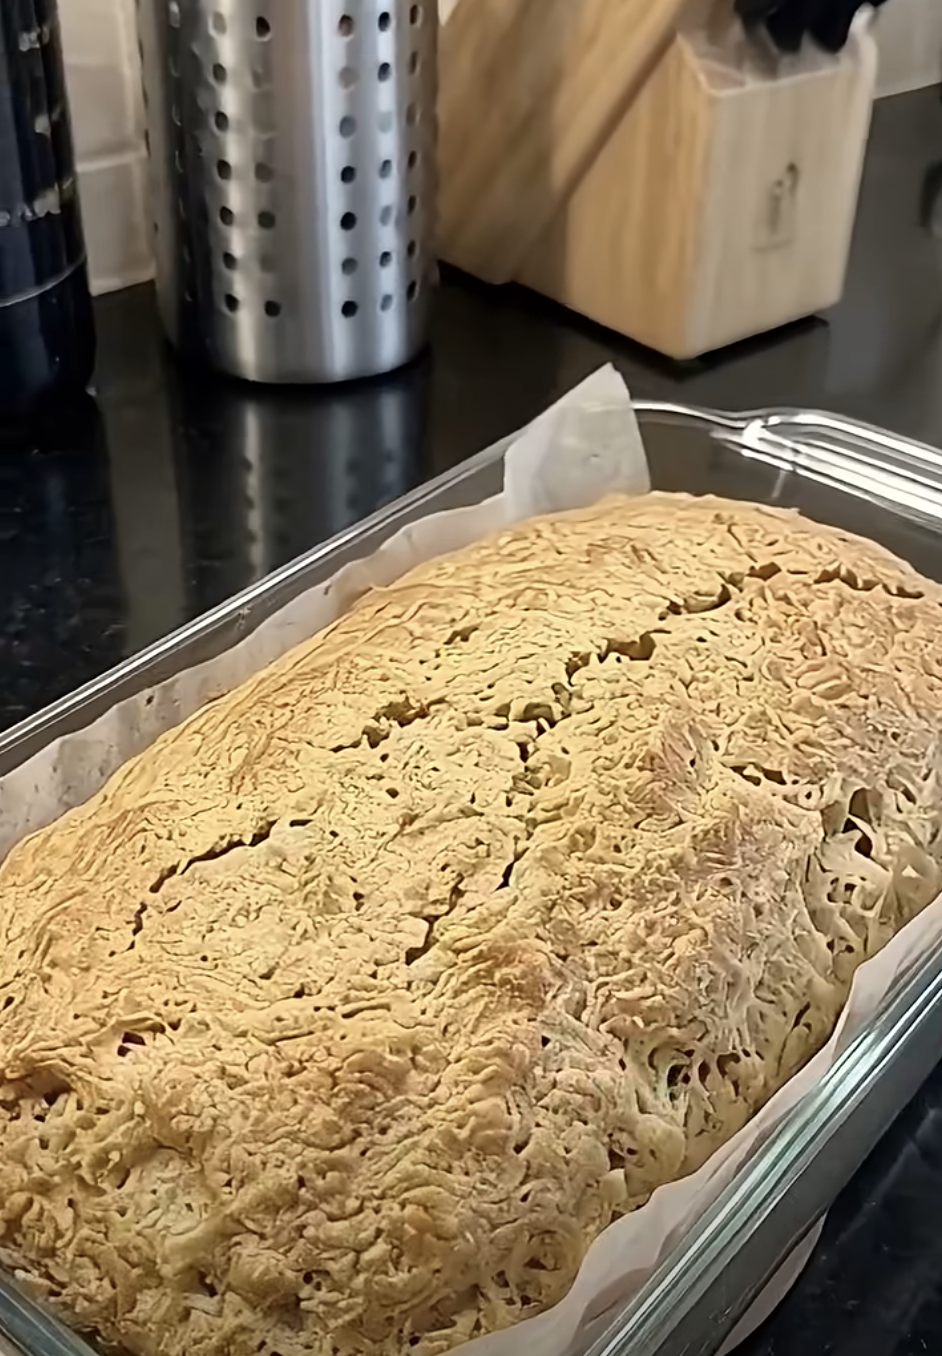
3-Ingredient Chickpea Sandwich Bread – Easy Flourless Homemade Bread
Ingredients
Equipment
Method
- Preheat the oven to 350°F (175°C). Line an 8-by-4-inch loaf pan with parchment paper, leaving some overhang for easy removal.
- Drain and rinse the canned chickpeas thoroughly under cold running water. Pat dry with a clean kitchen towel to remove excess surface moisture.
- Add the drained chickpeas, three large eggs, and 1 1/2 teaspoons baking powder to a food processor or high-powered blender.
- Blend for approximately 1–2 minutes until completely smooth and creamy, stopping occasionally to scrape down the sides.
- Pour the smooth batter into the prepared loaf pan. Spread evenly with a spatula and gently tap the pan to release large air bubbles.
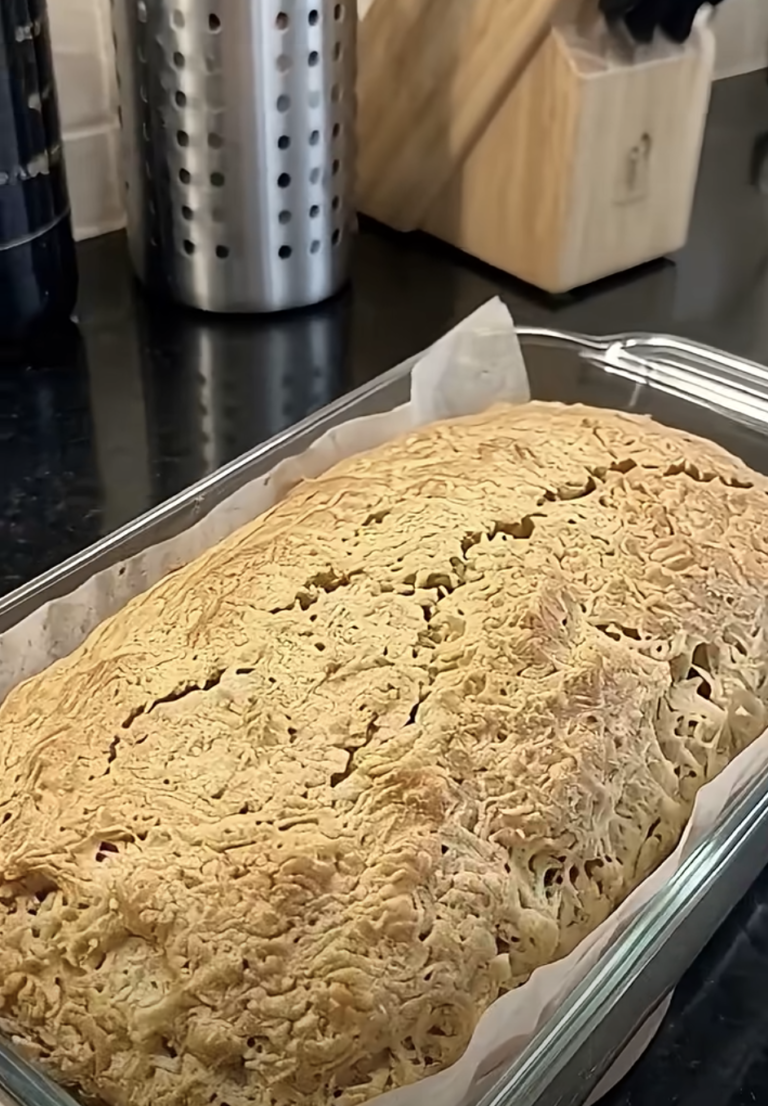
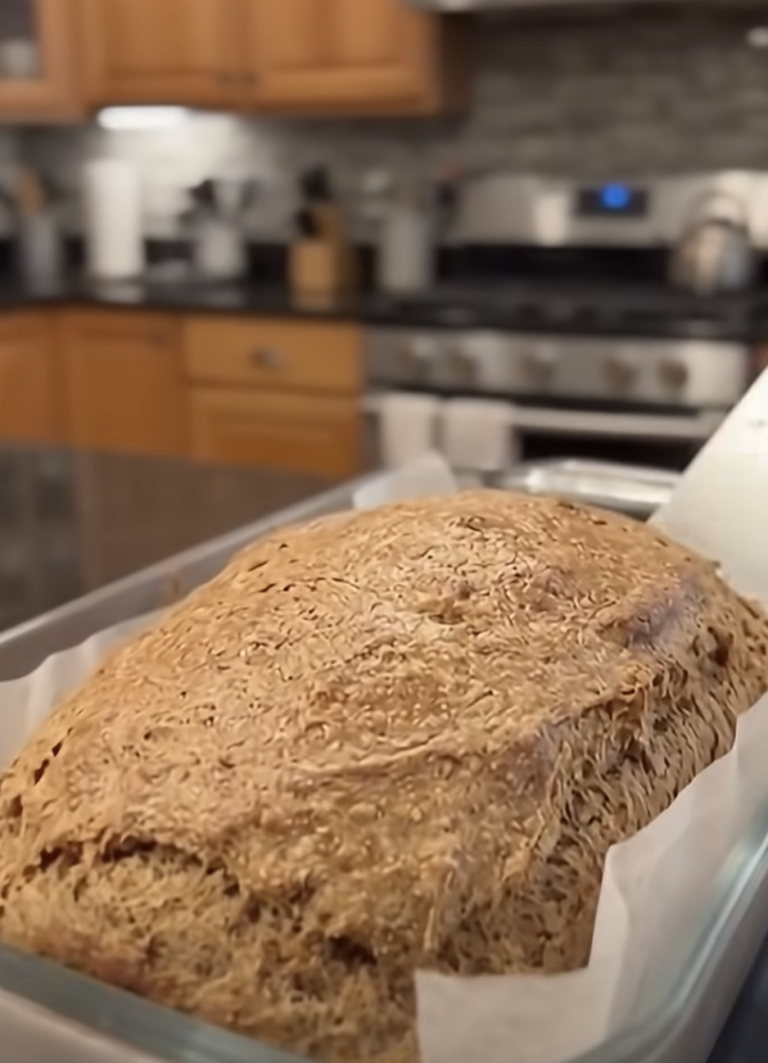
- Bake on the middle oven rack for approximately 35–45 minutes, until the top is lightly golden and the center is fully set.
- Insert a toothpick into the middle of the loaf. It should come out without wet batter. For an additional doneness check, confirm that the center reaches at least 160°F (71°C).
- Remove the loaf from the oven and let it rest in the pan for 10–15 minutes.
- Carefully transfer the loaf to a wire cooling rack and allow it to cool completely for another 30–45 minutes, or longer if needed.
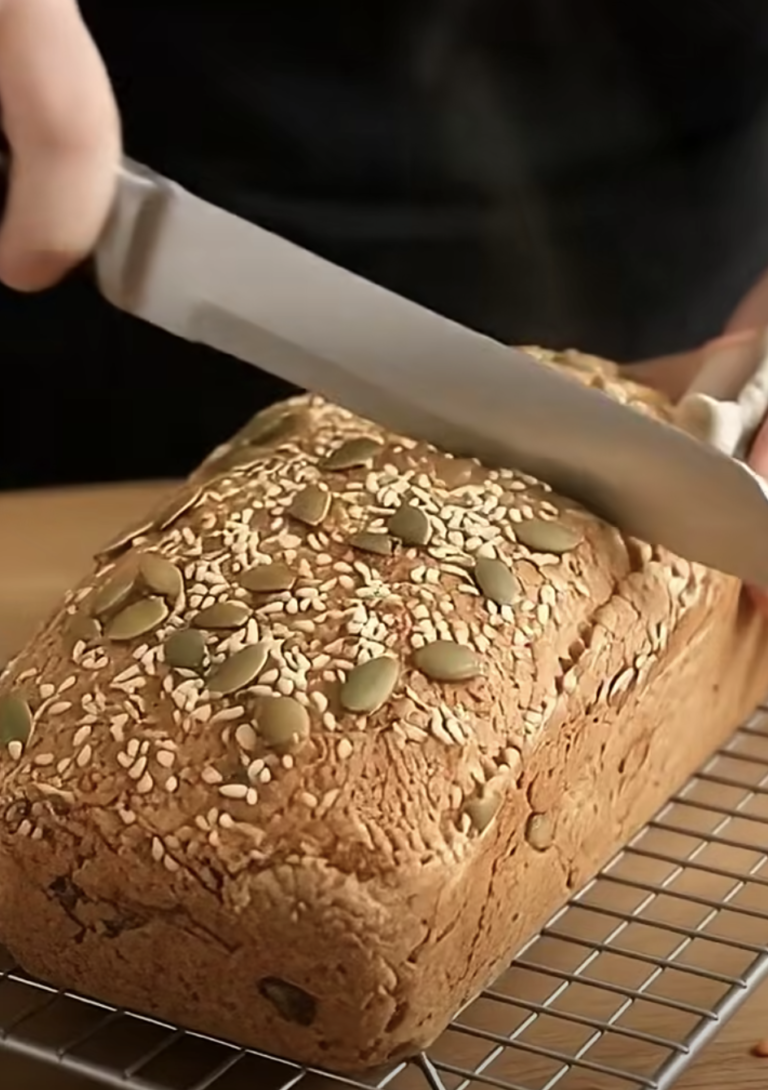
- Use a serrated bread knife to cut the cooled loaf into approximately 8 slices. Enjoy as is or lightly toast in a dry skillet or toaster oven for firmer edges.
Notes
If you enjoy simple recipes with short ingredient lists, this chickpea sandwich bread is worth trying. You only need three everyday ingredients, a blender or food processor, and a small loaf pan.
The finished bread has a mild chickpea flavor, a tender interior, and a compact texture. Although it doesn’t have the fluffy structure of traditional yeast bread, it slices nicely after cooling and tastes especially good when lightly toasted.
You can enjoy it with mashed avocado, eggs, cream cheese, hummus, or your favorite sandwich fillings. Additionally, chickpeas and eggs provide protein, making this loaf a satisfying alternative to many flour-based breads.
I first became interested in chickpea bread when I wanted to make something homemade without buying flour or yeast. I already had a can of chickpeas in the pantry and a few eggs in the refrigerator, so I decided to experiment with a simple blended batter. The preparation took only a few minutes, which immediately appealed to me. My biggest lesson came after baking: patience matters. When I allowed the loaf to cool completely before slicing, it held together much better. Then, after lightly toasting a slice and adding avocado, I discovered how useful this simple bread could be for quick breakfasts.
Whether you’re looking for a flourless bread recipe, a convenient breakfast option, or an easy way to use canned chickpeas, this three-ingredient loaf offers plenty of possibilities.
Why You’ll Love This 3-Ingredient Chickpea Sandwich Bread
Just Three Simple Ingredients and No Kneading
One of the best things about 3-Ingredient Chickpea Sandwich Bread is how little preparation it requires.
Traditional homemade bread often involves measuring flour, activating yeast, kneading dough, and waiting for it to rise.
However, this recipe eliminates those steps.
Instead, you combine canned chickpeas, eggs, and baking powder in a blender.
Within a few minutes, the ingredients transform into a smooth batter.
Then, you pour the mixture into a loaf pan and bake.
You don’t need a stand mixer, bread machine, or special baking skills.
As a result, even beginners can prepare this recipe with confidence.
The short ingredient list also makes grocery shopping easier.
Canned chickpeas provide the foundation of the loaf.
Eggs help bind the mixture and create structure during baking.
Meanwhile, baking powder encourages a little lift, giving the bread a slightly lighter texture.
Because the recipe contains no wheat flour, it works well for anyone interested in flourless baking.
However, if you need to avoid gluten completely, check the baking powder packaging for gluten-free labeling.
Another advantage is the lack of added sugar or oil.
The loaf relies on the natural characteristics of chickpeas and eggs.
Although it tastes different from conventional sandwich bread, its mild savory flavor makes it versatile.
You can serve it with simple toppings or use it for small sandwiches.
A Hearty Bread Alternative for Breakfast and Lunch
Another reason to enjoy chickpea sandwich bread is its satisfying texture.
Chickpeas contain starch, fiber, and plant-based protein.
Eggs contribute additional protein and help the bread hold together.
Together, these ingredients create a hearty loaf with a different nutritional profile from traditional white bread.
However, the finished loaf isn’t identical to regular sandwich bread.
It has a denser crumb, a moist center, and a slightly egg-forward flavor.
For this reason, it works especially well when lightly toasted.
Toasting helps firm the surface and gives the edges a pleasant golden finish.
The bread also makes a practical base for breakfast toppings.
For example, spread mashed avocado over a warm slice.
Add a fried egg for a more substantial meal.
Alternatively, top it with cottage cheese and sliced tomatoes.
For lunch, try hummus, cucumber, and fresh herbs.
You can also use two small slices to make a sandwich with your favorite savory filling.
Because the recipe makes approximately eight slices, it works well for individuals or smaller households.
You can refrigerate or freeze portions for later.
Additionally, the bread requires only about 10 minutes of active preparation.
The oven handles the baking, while cooling helps the loaf develop a firmer texture.
With a little patience, you can enjoy homemade chickpea bread without complicated techniques.
Essential Ingredients for the Best Chickpea Sandwich Bread
How Chickpeas and Eggs Create the Bread’s Structure
The foundation of 3-Ingredient Chickpea Sandwich Bread is one standard 15-ounce can of chickpeas.
Chickpeas have a mild, slightly nutty flavor that works well in savory recipes.
They also contain starch and protein, which help give the loaf body.
For the best results, choose plain canned chickpeas without strong added seasonings.
First, drain the can thoroughly.
Then, rinse the chickpeas under cold running water.
This removes much of the canning liquid and helps create a cleaner flavor.
Next, pat the chickpeas dry with a clean kitchen towel.
You don’t need to remove every drop of moisture, but excess liquid can make the batter too thin.
A standard 15-ounce can typically provides approximately 240–255 grams of drained chickpeas.
This amount works well with three large eggs.
The eggs are essential because they bind the chickpea mixture during baking.
As the eggs cook, their proteins firm up and help create a sliceable loaf.
The yolks also contribute richness and tenderness.
For consistent results, use large eggs rather than extra-large eggs.
Changing the egg size can alter the moisture balance.
Additionally, avoid replacing the eggs with a liquid egg substitute without testing the recipe.
The structure depends heavily on the eggs.
Together, chickpeas and eggs create a soft, moist bread alternative with a compact crumb.
Why Baking Powder and Smooth Blending Matter
The third ingredient in this recipe is baking powder.
Use one and one-half teaspoons.
Baking powder helps the batter expand slightly as it heats.
Although it cannot create the same airy structure as yeast bread, it can make the finished loaf less dense.
For the best results, use fresh baking powder.
Older baking powder may lose some of its effectiveness.
You should also measure carefully.
Too much baking powder can create an unpleasant aftertaste.
Too little may produce an especially compact loaf.
Blending is another important step.
Add the chickpeas, eggs, and baking powder to a food processor or high-powered blender.
Blend until the mixture becomes completely smooth.
Stop occasionally to scrape down the sides.
You want a creamy batter without visible chickpea pieces.
A smooth batter helps the loaf bake evenly and creates a more consistent texture.
If your blender struggles, pause and stir the mixture rather than adding water.
Extra water can make the loaf overly moist.
Once the batter looks smooth, pour it into the prepared pan.
Spread the surface evenly with a spatula.
Then, gently tap the pan against the countertop to release large trapped air bubbles.
Bake promptly after mixing so the baking powder can work effectively.
These small details help produce a tender loaf with an even crumb and a lightly golden top.
How to Make 3-Ingredient Chickpea Sandwich Bread Perfectly
Preparing the Batter and Baking the Loaf
Making 3-Ingredient Chickpea Sandwich Bread begins with a properly prepared loaf pan.
First, preheat your oven to 350°F.
Next, line an 8-by-4-inch loaf pan with parchment paper.
Leave a little parchment hanging over the sides.
This makes it easier to remove the bread after baking.
Then, open the can of chickpeas.
Drain them in a colander and rinse thoroughly under cold running water.
Allow the chickpeas to drain well.
Next, pat away excess moisture with a clean kitchen towel.
Transfer the chickpeas to a food processor or high-powered blender.
Add the three large eggs and one and one-half teaspoons of baking powder.
Blend until the mixture becomes completely smooth.
Depending on your appliance, this may take one to two minutes.
Stop occasionally and scrape down the sides to ensure everything blends evenly.
The finished batter should look thick, creamy, and uniform.
Pour it into the prepared loaf pan.
Use a spatula to spread the batter evenly.
Then, gently tap the pan to release large air bubbles.
Place the pan on the middle oven rack.
Bake for approximately 35–45 minutes.
However, ovens vary, so begin checking near the earlier end of the range.
The bread should develop a lightly golden top.
The center should also feel firm rather than wet or jiggly.
Insert a toothpick into the middle.
It should come out without wet batter.
For an additional doneness check, use an instant-read thermometer and look for a center temperature of at least 160°F.
Cooling, Slicing, and Toasting for the Best Texture
After baking, remove the loaf from the oven.
Place the pan on a heat-safe surface and allow the bread to rest for 10–15 minutes.
This resting period helps the loaf settle.
Next, use the parchment paper to lift the bread carefully from the pan.
Transfer it to a wire cooling rack.
Now, allow the loaf to cool completely.
This step matters more than you might expect.
Because chickpea bread contains substantial moisture, the interior remains soft while hot.
If you slice it immediately, the bread may crumble or appear gummy.
However, cooling helps the loaf firm up.
Allow approximately another 30–45 minutes, or longer if necessary.
Once the loaf reaches room temperature, use a serrated bread knife to cut it into approximately eight slices.
Use gentle sawing motions rather than pressing down firmly.
This helps preserve the bread’s shape.
You can enjoy the slices without additional cooking.
However, lightly toasting them improves the texture.
Place a slice in a toaster oven or dry skillet.
Toast until the edges become lightly golden and the surface feels firmer.
Because chickpea bread contains eggs and has a moist crumb, it may brown differently from conventional bread.
Therefore, watch it closely.
Serve warm with avocado, eggs, hummus, cream cheese, or another favorite topping.
The finished bread should have a mild flavor and a satisfying, hearty texture.
Serving Ideas, Variations, and Storage Tips
Delicious Toppings and Easy Serving Suggestions
One of the best features of 3-Ingredient Chickpea Sandwich Bread is its versatility.
Although the loaf has a compact texture, it works well with many savory toppings.
For breakfast, lightly toast a slice and spread it with mashed avocado.
Add a pinch of salt and black pepper for extra flavor.
You can also top it with a fried or poached egg.
This creates a satisfying breakfast with additional protein.
For a quick lunch, use two slices to make a small sandwich.
Try turkey, sliced tomato, lettuce, and mustard.
Alternatively, prepare an open-faced sandwich with tuna salad.
Because the bread has a mild chickpea flavor, it pairs especially well with savory ingredients.
Hummus makes another excellent topping.
Spread a thin layer over toasted bread and add cucumber slices or roasted red peppers.
For a Mediterranean-inspired option, use feta cheese, cherry tomatoes, and fresh oregano.
You can also serve the bread alongside soup.
Its hearty texture pairs nicely with tomato soup, lentil soup, or vegetable soup.
For a simple snack, spread a little cream cheese over a toasted slice.
Then, add chopped chives or fresh dill.
If you prefer a slightly sweet option, try nut butter.
However, remember that the loaf has a more savory flavor than traditional breakfast bread.
For the best experience, choose toppings that complement its natural taste.
Storage, Freezing, and Common Mistakes to Avoid
Proper storage helps maintain the quality of homemade chickpea bread.
Because the loaf contains eggs and has a moist texture, store it in the refrigerator rather than leaving it at room temperature for extended periods.
First, allow the bread to cool completely.
Then, wrap it tightly or place it in an airtight container.
Refrigerate at 40°F or below.
For the best quality, enjoy the bread within three to four days.
You can also freeze the loaf.
For convenience, slice it before freezing.
Place parchment paper between the slices to prevent sticking.
Then, transfer them to a freezer-safe bag or container.
Use frozen slices within two months for the best texture.
When you’re ready to eat, thaw a slice in the refrigerator or warm it directly in a toaster oven.
Light toasting helps restore a firmer surface.
Several common mistakes can affect the finished loaf.
First, avoid adding extra water to the batter.
Too much moisture can create a gummy center.
Second, blend the chickpeas thoroughly.
Large pieces can create an uneven crumb.
Third, use fresh baking powder.
Fourth, avoid removing the bread before the center sets.
Finally, let the loaf cool completely before slicing.
With these simple techniques, you can enjoy a tender, sliceable chickpea bread that works beautifully for everyday meals.
Ingredients
Yield: 1 small loaf, approximately 8 slices
Prep Time: 10 minutes
Bake Time: 35–45 minutes
Cooling Time: Approximately 45–60 minutes
Total Time: Approximately 1 hour 30 minutes to 1 hour 55 minutes
- 1 can (15 oz / 425 g) chickpeas, drained and rinsed thoroughly
- 3 large eggs
- 1 1/2 tsp baking powder
Instructions
1. Preheat the oven. Preheat your oven to 350°F (175°C). Line an 8-by-4-inch loaf pan with parchment paper, leaving some overhang for easy removal.
2. Prepare the chickpeas. Drain and rinse the canned chickpeas thoroughly under cold running water. Pat them dry with a clean kitchen towel to remove excess surface moisture.
3. Add the ingredients to a blender. Place the drained chickpeas, three large eggs, and baking powder in a food processor or high-powered blender.
4. Blend until smooth. Blend for approximately 1–2 minutes until the mixture becomes completely smooth and creamy. Stop occasionally to scrape down the sides.
5. Fill the loaf pan. Pour the batter into the prepared pan. Spread evenly with a spatula and gently tap the pan to release large air bubbles.
6. Bake until golden. Place the pan on the middle oven rack and bake for 35–45 minutes, until the top becomes lightly golden and the center sets completely.
7. Check for doneness. Insert a toothpick into the middle. It should come out without wet batter. For an additional check, confirm that the center reaches at least 160°F (71°C).
8. Cool in the pan. Remove the bread from the oven and allow it to rest in the pan for 10–15 minutes.
9. Cool completely. Carefully transfer the loaf to a wire rack. Allow it to cool for another 30–45 minutes, or longer if necessary.
10. Slice and serve. Use a serrated bread knife to cut the cooled loaf into approximately eight slices. Enjoy as is or lightly toast in a dry skillet or toaster oven for firmer edges.
Frequently Asked Questions
1. Is 3-Ingredient Chickpea Sandwich Bread gluten-free?
This recipe contains no wheat flour, and chickpeas and eggs naturally contain no gluten. However, anyone who needs to follow a strict gluten-free diet should check the baking powder label and other ingredient packaging for gluten-free certification. Manufacturing cross-contact can affect some products.
2. Why does my chickpea bread have a moist or gummy texture?
Excess moisture, insufficient baking, or slicing before the loaf cools can cause a gummy texture. Drain the chickpeas thoroughly, avoid adding extra liquid, and blend until smooth. Bake until the center sets completely. Then, let the loaf cool before slicing. Toasting can also help create a firmer texture.
3. Can I use dried chickpeas instead of canned chickpeas?
Yes, but you must cook the dried chickpeas completely before using them. Never use raw or merely soaked dried chickpeas in this recipe. Cook them until tender, drain thoroughly, and measure approximately 240–255 grams to replace one standard 15-ounce can of drained chickpeas.
4. Can I make this chickpea bread without eggs?
The eggs provide much of the loaf’s structure, so replacing them changes the recipe significantly. Flax eggs or other substitutes may not create the same firm, sliceable texture. For reliable results, use the three large eggs specified in the recipe.
5. Can I freeze 3-Ingredient Chickpea Sandwich Bread?
Yes. Allow the bread to cool completely before slicing. Place parchment paper between the slices and store them in a freezer-safe container or bag. For the best quality, use the frozen bread within two months. Thaw in the refrigerator or reheat in a toaster oven until warm.
Conclusion
3-Ingredient Chickpea Sandwich Bread offers a simple way to make homemade bread without flour, yeast, kneading, or complicated preparation.
With just canned chickpeas, eggs, and baking powder, you can create a small, hearty loaf that works well for breakfast, lunch, and snacks.
The chickpeas provide a mild, slightly nutty flavor, while the eggs help create structure.
Meanwhile, baking powder gives the loaf a little lift during baking.
Although this bread has a denser texture than traditional sandwich bread, it becomes especially enjoyable after cooling and light toasting.
You can serve it with avocado, eggs, hummus, cottage cheese, or your favorite sandwich fillings.
For the best results, drain the chickpeas thoroughly, blend the batter until smooth, bake until the center sets, and allow the loaf to cool completely before slicing.
Whether you’re exploring flourless baking or simply want a convenient homemade bread alternative, this easy three-ingredient recipe makes a satisfying addition to your meal rotation.