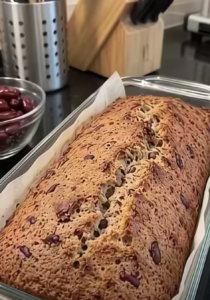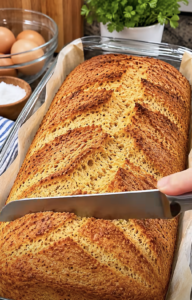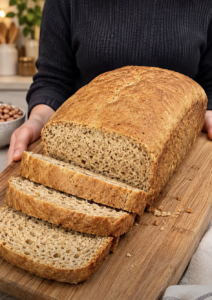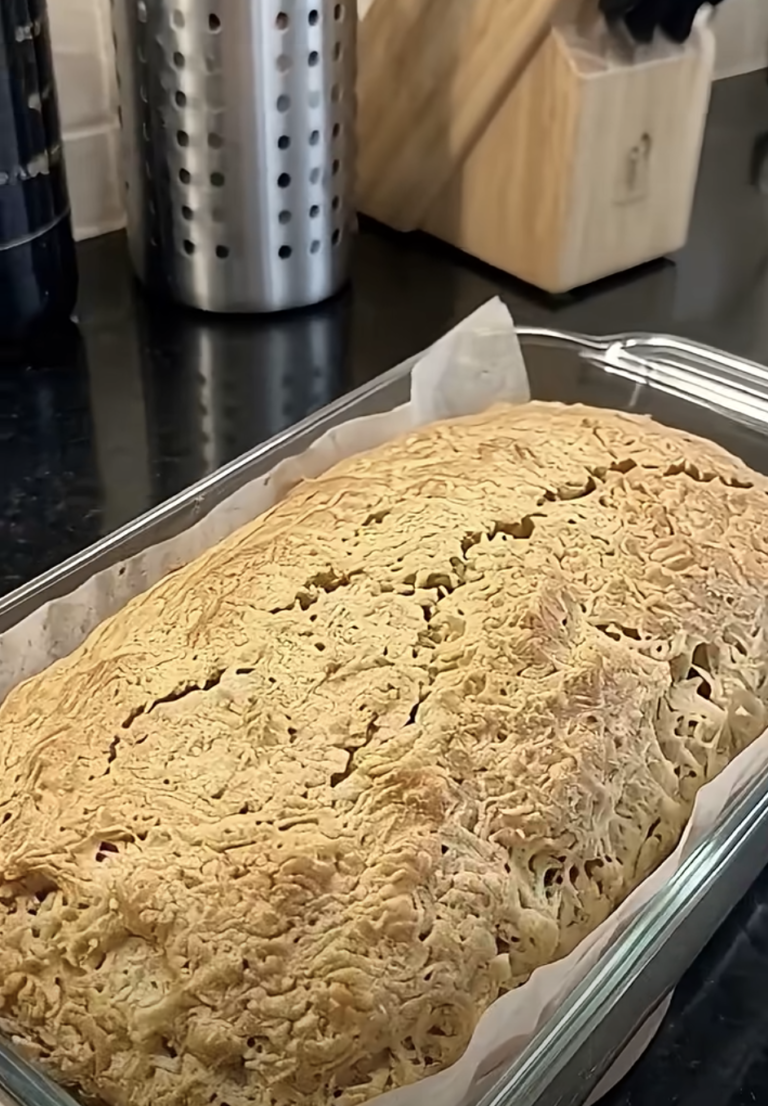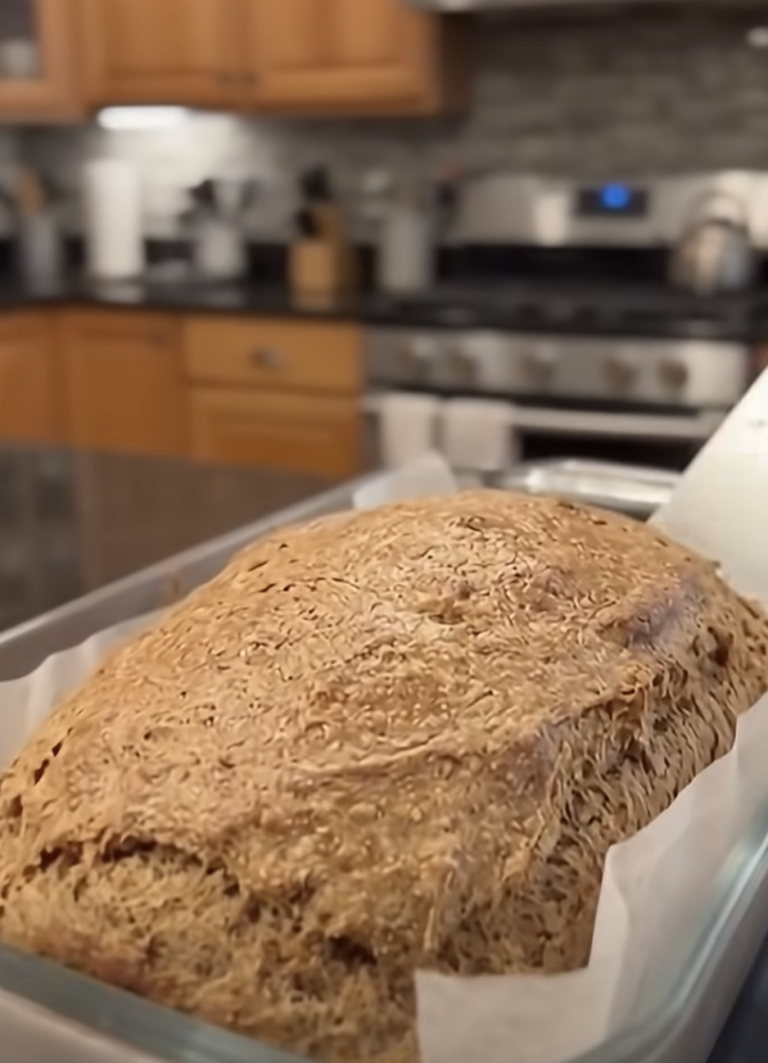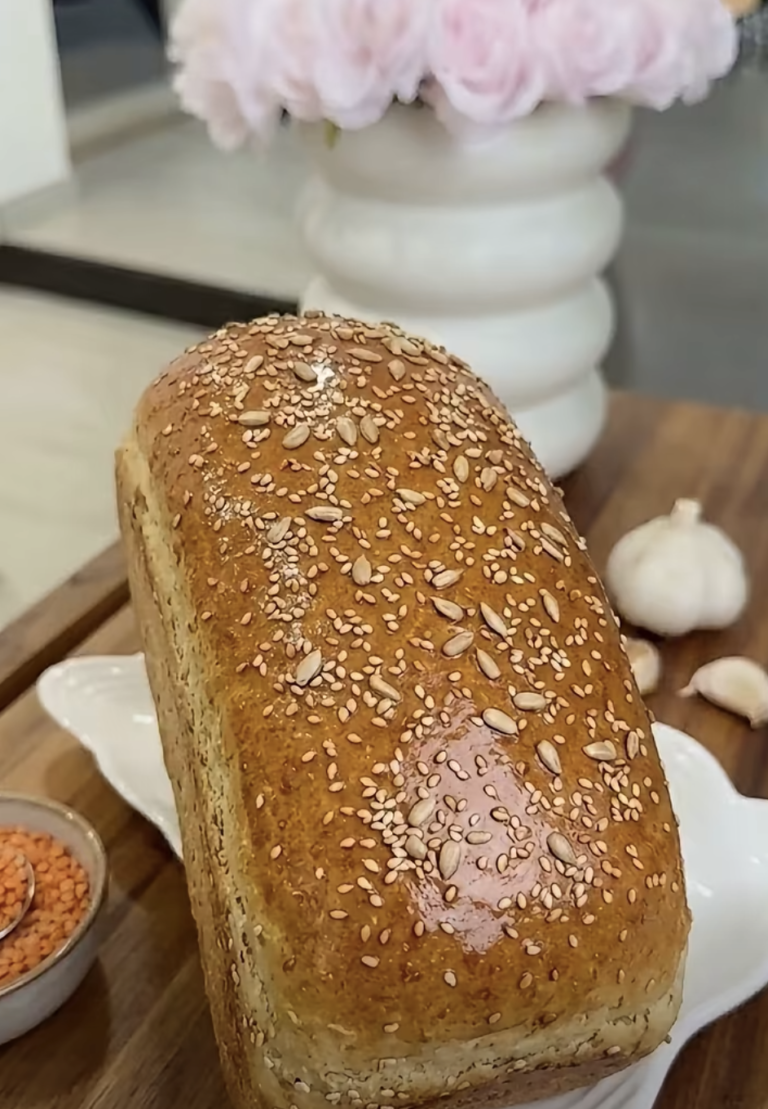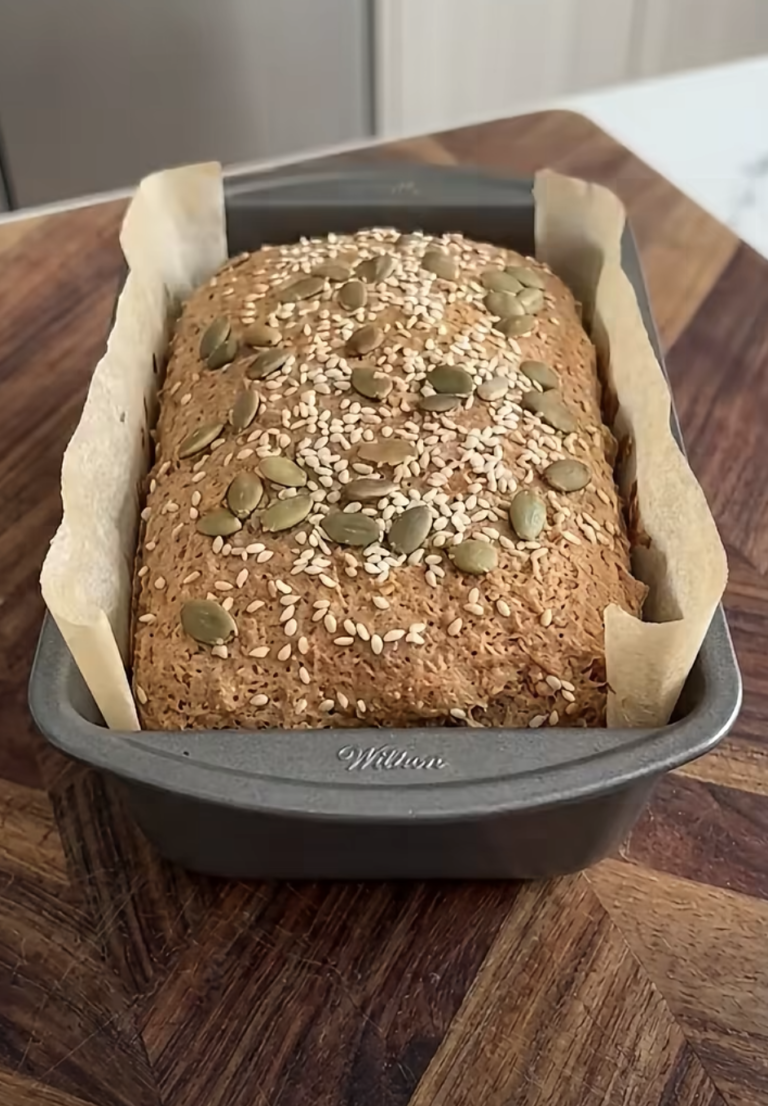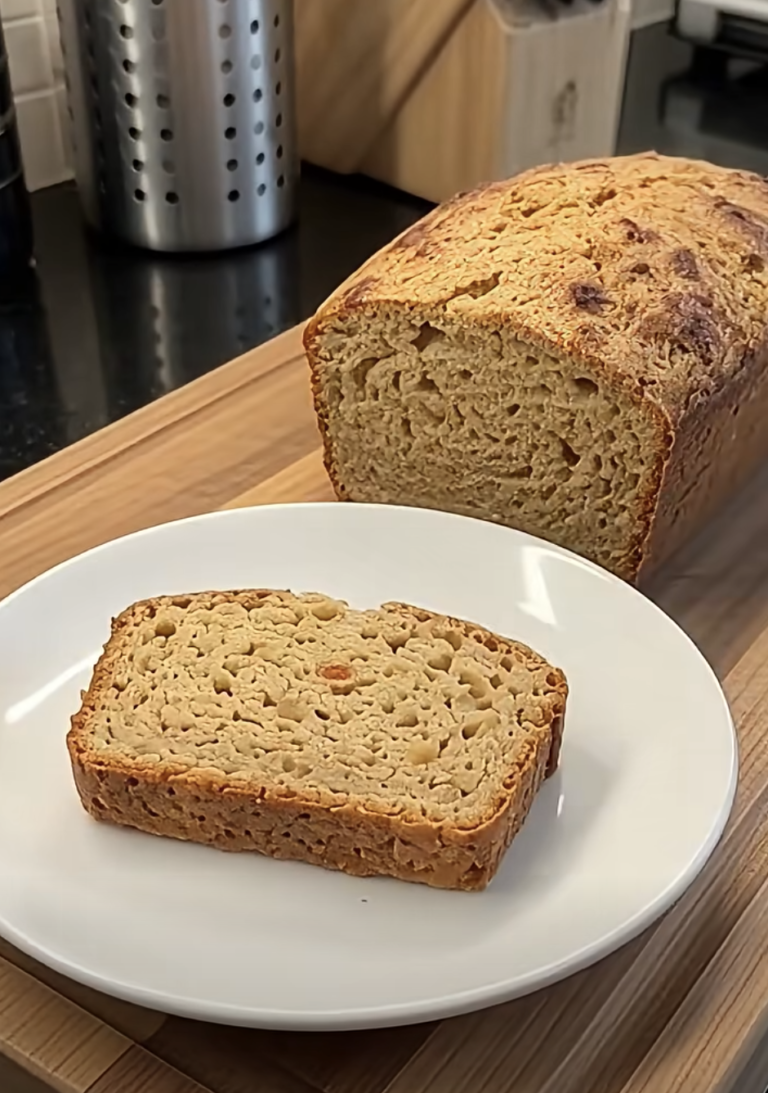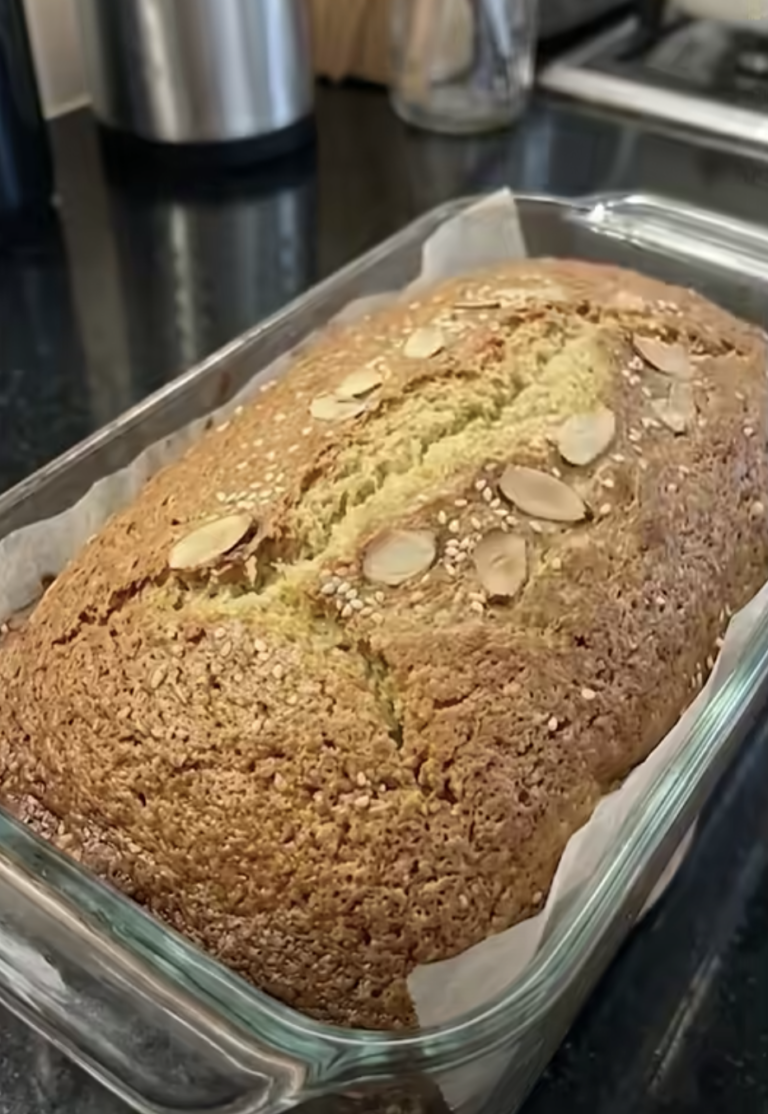
Farmhouse Loaf is a classic homemade bread recipe that combines a beautifully golden, crispy crust with a soft, tender interior. With simple pantry ingredients and a traditional bread-making method, this rustic loaf brings the comforting aroma of freshly baked bread straight into your kitchen.
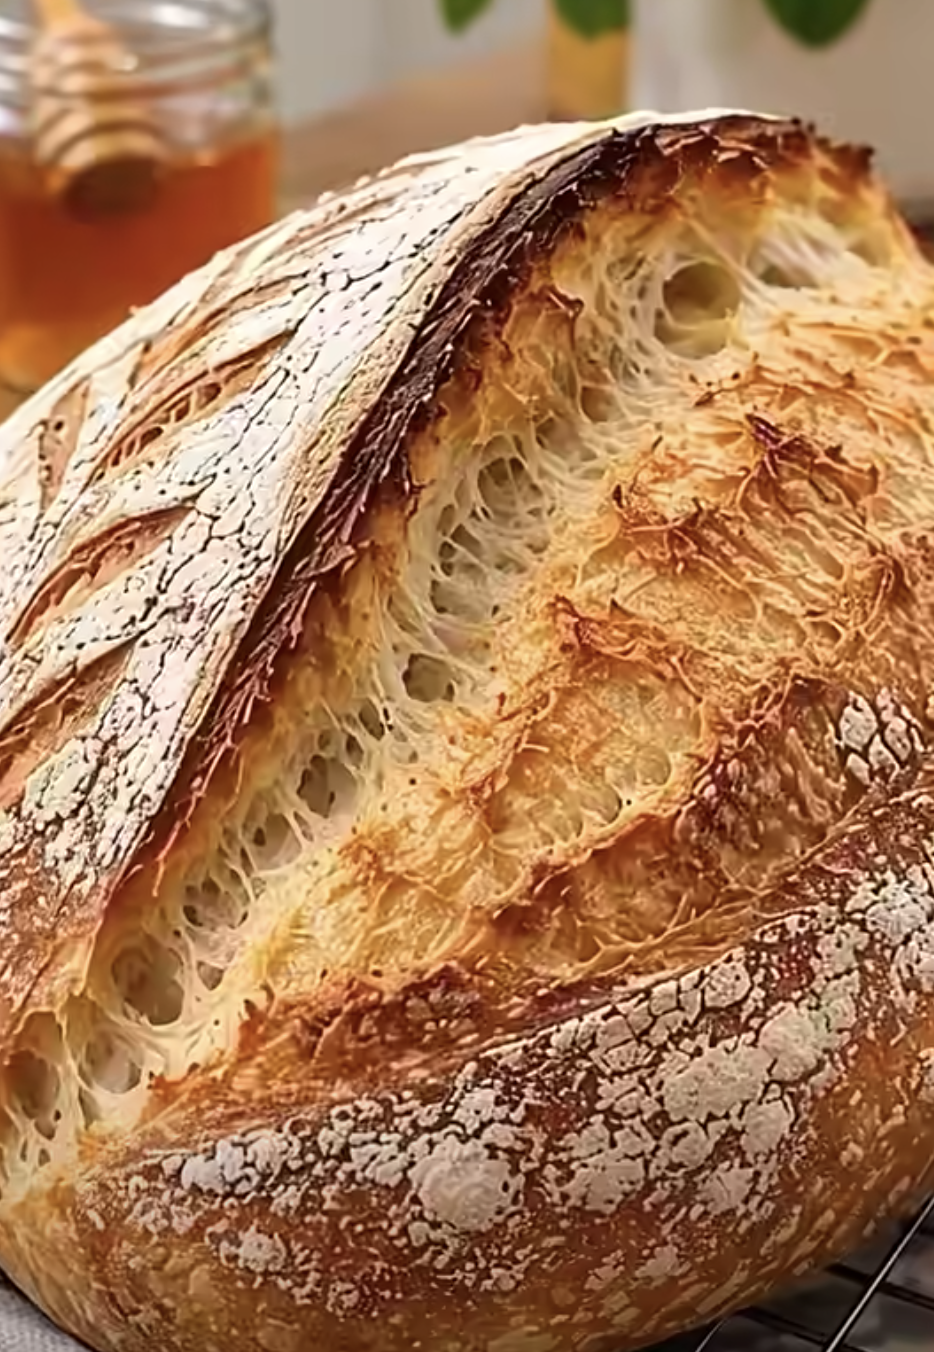
Farmhouse Loaf – Easy Rustic Homemade Bread With a Crispy Golden Crust
Ingredients
Equipment
Method
- In a large mixing bowl, combine bread flour, instant yeast, fine sea salt, and honey. Add lukewarm water and olive oil. Mix with a wooden spoon or your hands until a shaggy dough forms and no large patches of dry flour remain.
- Cover the mixing bowl with a clean kitchen towel or plastic wrap. Allow the dough to rest for approximately 20 minutes so the flour can absorb the water.
- Transfer the dough to a lightly floured work surface and knead for approximately 8–10 minutes until smooth, elastic, and slightly tacky. Alternatively, use a stand mixer fitted with a dough hook and knead for approximately 6–8 minutes on low to medium speed. Avoid adding excessive flour.
- Place the dough in a lightly greased bowl and cover. Allow it to rise at room temperature for approximately 1 1/2–2 hours, until noticeably puffy and nearly doubled in size.
- Transfer the dough to a lightly floured surface and gently press into a rough rectangle. Fold the top third toward the center, then fold the bottom third upward. Roll tightly, pinch the seam closed, and shape into a round or slightly oval loaf.
- Place the shaped dough seam-side down on parchment paper or in a well-floured proofing basket. Lightly dust with the finishing flour, cover loosely, and proof for approximately 45–60 minutes until noticeably puffy. A gentle fingertip indentation should slowly spring back.
- About 30 minutes before baking, preheat the oven to 450°F (230°C). Place the Dutch oven inside during preheating if using one. Score the loaf with a sharp bread lame or knife.
- For Dutch oven baking, carefully transfer the loaf into the preheated pot. Cover and bake for 20 minutes, then remove the lid and bake another 20–25 minutes until deeply golden. Alternatively, bake the loaf on a baking sheet with a small oven-safe pan of hot water on the lower rack for approximately 35–40 minutes.
- Check that the crust is deeply golden brown and the loaf sounds hollow when tapped underneath. For an additional doneness check, the center should reach approximately 200–205°F (93–96°C).
- Transfer the bread to a wire cooling rack and allow it to cool for at least 1 hour before slicing. If desired, lightly brush the crust with optional olive oil and sprinkle with flaky sea salt. Serve with butter, honey, jam, or favorite meals.
Notes
Whether you’re new to baking bread or already enjoy making homemade loaves, this farmhouse bread recipe offers a satisfying experience. The dough uses bread flour, water, yeast, salt, honey, and olive oil to create a flavorful loaf with a pleasantly chewy texture.
You can bake it in a Dutch oven for a wonderfully crisp crust or use a regular baking sheet with steam for a similar rustic finish.
I first became interested in making farmhouse bread when I wanted a simple loaf that would taste wonderful with homemade soup. I loved the idea of a rustic bread that didn’t need a complicated shape or special decorative finish. The first time I made one, I remember watching the dough slowly rise and wondering whether it would develop that beautiful golden crust. Once the loaf came out of the oven, the kitchen smelled incredible. However, the hardest part was waiting for it to cool before slicing. When I finally cut into it, the soft center and crackly crust made the effort worthwhile.
The beauty of this recipe lies in its simplicity. With a little patience and a few basic techniques, you can create a homemade farmhouse loaf that tastes delicious with butter, honey, jam, soups, and everyday meals.
Why You’ll Love This Homemade Farmhouse Loaf
A Rustic Crust and Soft, Tender Interior
One of the biggest reasons to love a homemade Farmhouse Loaf is the contrast between its crust and crumb.
The outside develops a rich golden-brown color during baking.
Meanwhile, the inside remains soft, tender, and slightly chewy.
This combination makes farmhouse bread especially enjoyable when you serve it warm or lightly toasted.
Bread flour provides the structure that helps the loaf rise and maintain its shape.
Because bread flour contains more protein than most all-purpose flour, it encourages gluten development during kneading.
Gluten forms an elastic network that traps gas from the yeast.
As a result, the dough expands and develops a pleasantly airy interior.
The honey adds a subtle sweetness that balances the savory flavor.
Olive oil contributes tenderness and helps create a softer crumb.
Meanwhile, sea salt strengthens the overall flavor and balances the dough.
Another important feature is the rustic appearance.
You don’t need to create a perfectly symmetrical loaf.
A slightly oval or round shape gives the bread its traditional farmhouse character.
A light dusting of flour and a simple slash across the top complete the appearance.
When the bread bakes, the scored surface opens naturally as the dough expands.
The result is a beautiful homemade loaf with a crisp exterior and inviting texture.
Simple Ingredients and Beginner-Friendly Techniques
Another advantage of this farmhouse bread recipe is its straightforward ingredient list.
You only need a few common ingredients to make the dough.
Bread flour, instant yeast, water, salt, honey, and olive oil form the foundation.
Unlike enriched breads that require butter, milk, and several eggs, this recipe relies on a simple dough.
Therefore, it works well for beginners who want to learn traditional bread-making techniques.
The method also introduces useful baking skills.
First, you mix the ingredients into a shaggy dough.
Next, you allow the dough to rest so the flour can absorb the water.
Then, you knead until the dough becomes smooth and elastic.
After kneading, the yeast gradually creates gas that causes the dough to rise.
You shape the loaf, allow it to proof again, and bake until golden.
Although the process requires several hours, most of that time involves resting and rising.
The actual hands-on work remains manageable.
Additionally, the recipe offers two baking methods.
You can use a Dutch oven or a regular baking sheet.
A Dutch oven traps moisture during the early baking stage.
This helps the loaf expand and develop a crisp crust.
However, a baking sheet with added steam also produces delicious results.
With either method, you can create a rustic farmhouse loaf using familiar kitchen equipment.
Essential Ingredients for the Best Farmhouse Bread
Choosing the Right Flour, Yeast, and Water
A successful Farmhouse Loaf begins with the right balance of flour, water, and yeast.
For this recipe, use 500 grams of bread flour.
Bread flour contains enough protein to create a strong, elastic dough.
This helps the bread hold its shape and develop a satisfying texture.
Although all-purpose flour can work, bread flour usually produces a chewier crumb and better structure.
Next, add 350 grams of lukewarm water.
This creates a dough with approximately 70% hydration relative to the flour.
The dough should feel soft and slightly tacky.
However, it shouldn’t resemble a thin batter.
Use lukewarm water rather than hot water.
A temperature around 95–105°F works well for mixing.
Water that’s too hot can damage the yeast.
Meanwhile, cold water may slow the rising process.
The recipe also uses 7 grams of instant yeast.
Instant yeast offers convenience because you can mix it directly into the flour.
You don’t need to activate it separately in water.
As the dough rests, the yeast consumes available sugars and produces carbon dioxide.
This gas helps the dough rise.
For consistent results, check the expiration date on your yeast.
Old yeast may work slowly or fail to create enough rise.
Together, flour, water, and yeast form the foundation of this rustic bread.
How Salt, Honey, and Olive Oil Improve the Loaf
The remaining dough ingredients contribute flavor, texture, and balance.
First, use 10 grams of fine sea salt.
Salt enhances the bread’s flavor and helps strengthen the gluten network.
Without enough salt, homemade bread can taste flat.
However, excessive salt can slow yeast activity.
Therefore, measure carefully.
Next, add one tablespoon of honey.
Honey provides gentle sweetness without making the bread taste like dessert.
It also contributes to the loaf’s overall flavor and browning.
If your honey is thick, stir it into the lukewarm water before mixing.
This helps distribute it evenly.
Olive oil adds another important element.
One tablespoon helps create a tender crumb and a pleasant mouthfeel.
The oil also makes the dough easier to handle.
For finishing, use one tablespoon of all-purpose flour to dust the surface.
This creates a classic rustic appearance.
You can also add one teaspoon of olive oil as an optional finishing touch.
For example, lightly brush the cooled crust if you prefer a slightly softer surface.
However, skip the oil if you want to preserve the crispest possible crust.
A small pinch of flaky sea salt can provide an optional savory finish.
Because these ingredients serve different purposes, maintaining the correct proportions helps produce consistent results.
The finished loaf should taste balanced, mildly sweet, and pleasantly savory.
How to Make a Farmhouse Loaf With Perfect Texture
Mixing, Kneading, and Rising the Dough
Making a Farmhouse Loaf starts with properly mixing the ingredients.
First, place the bread flour, instant yeast, fine sea salt, and honey in a large mixing bowl.
Next, add the lukewarm water and olive oil.
Mix with a wooden spoon or your hands until the ingredients form a shaggy dough.
Make sure no large patches of dry flour remain.
Then, cover the bowl and allow the dough to rest for approximately 20 minutes.
This resting period gives the flour time to absorb the water.
As a result, the dough becomes easier to knead.
Next, transfer the dough to a lightly floured work surface.
Knead for approximately 8–10 minutes.
Push the dough away with the heel of your hand, fold it back, and repeat.
Continue until the dough becomes smooth and elastic.
Alternatively, use a stand mixer fitted with a dough hook.
Knead on low to medium speed for approximately 6–8 minutes.
Avoid adding too much extra flour.
A slightly tacky dough helps create a tender interior.
Once the dough feels elastic, place it in a lightly greased bowl.
Cover and allow it to rise for approximately 1½–2 hours.
The dough should become noticeably puffy and nearly double in size.
However, room temperature affects rising time.
A warm kitchen may speed up fermentation.
A cooler kitchen may require additional time.
Watch the dough’s appearance rather than relying only on the clock.
Shaping, Proofing, and Baking for a Crispy Crust
Once the dough completes its first rise, transfer it to a lightly floured surface.
Gently press it into a rough rectangle.
Avoid pressing out every air bubble.
Next, fold the top third toward the center.
Then, fold the bottom third upward.
Roll the dough tightly and pinch the seam closed.
Shape it into a round or slightly oval loaf.
Place the dough seam-side down on parchment paper or in a well-floured proofing basket.
Dust the surface lightly with flour.
Cover loosely and allow it to proof for approximately 45–60 minutes.
The loaf should become noticeably puffy.
To check readiness, gently press the dough with one fingertip.
The indentation should slowly spring back.
About 30 minutes before baking, preheat your oven to 450°F.
If you’re using a Dutch oven, place it inside while the oven heats.
Once the loaf finishes proofing, score the top with a sharp knife or bread lame.
A single deep slash works well.
For Dutch oven baking, carefully transfer the loaf into the hot pot.
Cover and bake for 20 minutes.
Then, remove the lid and continue baking for another 20–25 minutes.
For baking-sheet preparation, place the loaf in the oven with a small oven-safe pan of hot water on a lower rack.
Bake for approximately 35–40 minutes.
The bread should develop a deeply golden crust.
For an additional check, the center should reach approximately 200–205°F.
Finally, cool the loaf on a wire rack for at least one hour before slicing.
Serving Ideas, Variations, and Storage Tips
Delicious Ways to Enjoy Fresh Farmhouse Bread
A homemade Farmhouse Loaf works beautifully with both simple toppings and complete meals.
One of the easiest ways to enjoy it is with salted butter.
The butter melts slightly into the tender crumb and complements the crisp crust.
For a sweeter option, drizzle a little honey over a slice.
Homemade jam also makes a delicious topping.
Strawberry, raspberry, and apricot preserves pair especially well with rustic bread.
For breakfast, toast a thick slice and serve it with scrambled eggs.
You can also add avocado, sliced tomatoes, or cream cheese.
If you enjoy savory breakfasts, try a slice topped with a fried egg and freshly ground black pepper.
Farmhouse bread also pairs wonderfully with soup.
Serve it alongside tomato soup, chicken noodle soup, or hearty vegetable soup.
The crust holds up well when dipped into warm broth.
For dinner, use the bread to accompany stews, roasted vegetables, or grilled meats.
You can also make homemade sandwiches.
Try turkey and cheese, ham and mustard, or roasted vegetables with hummus.
Because the loaf has a sturdy crust and tender center, it handles many fillings nicely.
Another option is to make garlic bread.
Slice the loaf, spread with garlic butter, and toast until lightly golden.
For a simple appetizer, brush slices with olive oil and top with chopped tomatoes and basil.
The possibilities make this bread a versatile addition to everyday meals.
Storage, Freezing, and Common Bread-Baking Mistakes
Proper storage helps preserve the texture of homemade farmhouse bread.
First, allow the loaf to cool completely.
Then, store it in a bread bag or loosely wrap it in a clean kitchen towel.
Keep it at room temperature for approximately two to three days.
Avoid sealing a warm loaf in plastic because trapped moisture can soften the crust.
If you want to preserve the crisp exterior, store the bread in a breathable wrapper.
However, this may allow the crumb to dry more quickly.
For longer storage, freeze the bread.
Slice it before freezing for convenience.
Then, place the slices in an airtight freezer bag.
Use frozen bread within two to three months for the best quality.
You can toast individual slices directly from frozen.
Avoid refrigeration when possible because bread often stales more quickly in the refrigerator.
Several common mistakes can affect the finished loaf.
First, avoid using water that’s too hot.
Excessive heat can damage the yeast.
Second, don’t add large amounts of extra flour during kneading.
Too much flour can create a dry, dense loaf.
Third, allow the dough enough time to rise.
Underproofed dough may produce a tight crumb.
However, overproofing can weaken the dough and cause it to collapse.
Fourth, preheat the oven thoroughly.
A properly heated oven helps create a crisp crust.
Finally, resist slicing the bread immediately after baking.
Cooling allows the interior to set and helps prevent a gummy texture.
With these simple techniques, you can consistently create a beautiful rustic farmhouse loaf.
Ingredients
Yield: 1 loaf, approximately 12 slices
Prep Time: 30 minutes
Rising and Proofing Time: Approximately 2 hours 15 minutes to 3 hours
Bake Time: 35–45 minutes
Cooling Time: At least 1 hour
Total Time: Approximately 4–5 hours
For the Dough
- 500 g bread flour
- 350 g lukewarm water
- 7 g instant yeast
- 10 g fine sea salt
- 1 tbsp honey
- 1 tbsp olive oil
For Finishing
- 1 tbsp all-purpose flour, for dusting
- 1 tsp olive oil, optional
- 1/4 tsp flaky sea salt, optional
Instructions
1. Mix the dough. In a large mixing bowl, combine bread flour, instant yeast, fine sea salt, and honey. Add lukewarm water and olive oil. Mix until a shaggy dough forms and no large patches of dry flour remain.
2. Rest the dough. Cover the bowl with a clean kitchen towel or plastic wrap. Allow the dough to rest for approximately 20 minutes so the flour can absorb the water.
3. Knead until elastic. Transfer the dough to a lightly floured work surface and knead for 8–10 minutes until smooth and slightly tacky. Alternatively, use a stand mixer with a dough hook for 6–8 minutes on low to medium speed.
4. Allow the first rise. Place the dough in a lightly greased bowl and cover. Let it rise at room temperature for approximately 1½–2 hours, until noticeably puffy and nearly doubled in size.
5. Shape the loaf. Transfer the dough to a lightly floured surface. Gently press into a rectangle, fold the top and bottom thirds toward the center, then roll tightly. Pinch the seam and shape into a round or slightly oval loaf.
6. Proof the dough. Place the loaf seam-side down on parchment paper or in a well-floured proofing basket. Dust with the finishing flour, cover loosely, and proof for approximately 45–60 minutes, until puffy. The dough should slowly spring back after a gentle fingertip press.
7. Preheat and score. About 30 minutes before baking, preheat the oven to 450°F (230°C). Preheat a Dutch oven inside if using one. Score the top of the loaf with a sharp bread lame or knife.
8. Bake in a Dutch oven. Carefully transfer the loaf into the preheated Dutch oven. Cover and bake for 20 minutes. Remove the lid and bake another 20–25 minutes until deeply golden. Alternatively, bake on a baking sheet with a small oven-safe pan of hot water on the lower rack for approximately 35–40 minutes.
9. Check for doneness. The crust should look deeply golden brown, and the loaf should sound hollow when tapped underneath. For an additional check, the center should reach approximately 200–205°F (93–96°C).
10. Cool and serve. Transfer the bread to a wire rack and cool for at least one hour before slicing. If desired, lightly brush the crust with the optional olive oil and sprinkle with flaky sea salt. Serve with butter, honey, jam, or your favorite meal.
Frequently Asked Questions
1. Can I make a Farmhouse Loaf without a Dutch oven?
Yes. You can bake the loaf on a parchment-lined baking sheet. Place a small oven-safe pan of hot water on the lower oven rack to create steam during the early baking stage. Bake at 450°F for approximately 35–40 minutes, or until the crust becomes deeply golden and the center reaches approximately 200–205°F.
2. Can I use all-purpose flour instead of bread flour?
Yes, although the texture may change. Bread flour contains more protein and generally creates a stronger dough with a chewier crumb. All-purpose flour can produce a slightly softer loaf. If you substitute it, hold back a small amount of water initially and add it gradually because different flours absorb moisture differently.
3. Why didn’t my farmhouse bread rise properly?
Several factors can affect rising. Old yeast, water that’s too hot, a cold kitchen, or insufficient proofing time may prevent the dough from expanding properly. Use fresh instant yeast, mix with lukewarm water, and allow the dough to rise until noticeably puffy. Watch the dough rather than relying only on the clock.
4. How do I get a crispy crust on homemade farmhouse bread?
Preheat the oven thoroughly and introduce steam during the early baking stage. A Dutch oven traps moisture naturally, while a pan of hot water can help when using a baking sheet. Continue baking until the crust develops a deep golden color. Then, cool the loaf on a wire rack so moisture can escape.
5. Can I freeze homemade Farmhouse Loaf?
Absolutely. Allow the loaf to cool completely, then slice it. Place the slices in an airtight freezer bag and freeze for up to two to three months for the best quality. You can thaw the bread at room temperature or toast individual slices directly from frozen.
Conclusion
Farmhouse Loaf is a timeless homemade bread recipe that combines simple ingredients with traditional baking techniques to create a rustic loaf with a crispy golden crust and soft, tender interior.
With bread flour, instant yeast, water, salt, honey, and olive oil, you can prepare a flavorful loaf without complicated ingredients.
The resting and kneading stages help develop the dough’s structure, while the rising and proofing periods create a pleasantly airy crumb.
Meanwhile, baking with steam encourages a beautiful crust.
You can enjoy this bread with salted butter, honey, jam, soups, stews, or homemade sandwiches.
For the best results, measure the ingredients carefully, avoid adding excessive flour, allow the dough to rise properly, and preheat the oven thoroughly.
Most importantly, let the loaf cool before slicing.
Whether you’re baking bread for the first time or simply want a reliable rustic recipe, this farmhouse loaf brings the warmth and satisfaction of homemade bread to your kitchen.