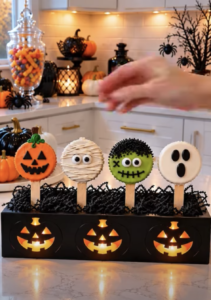
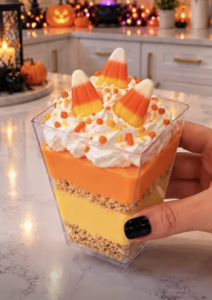
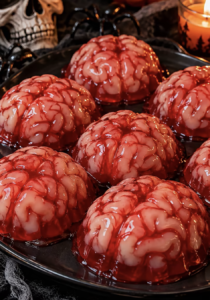
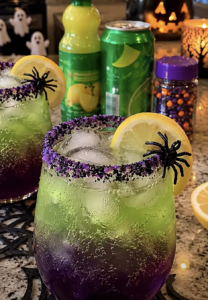
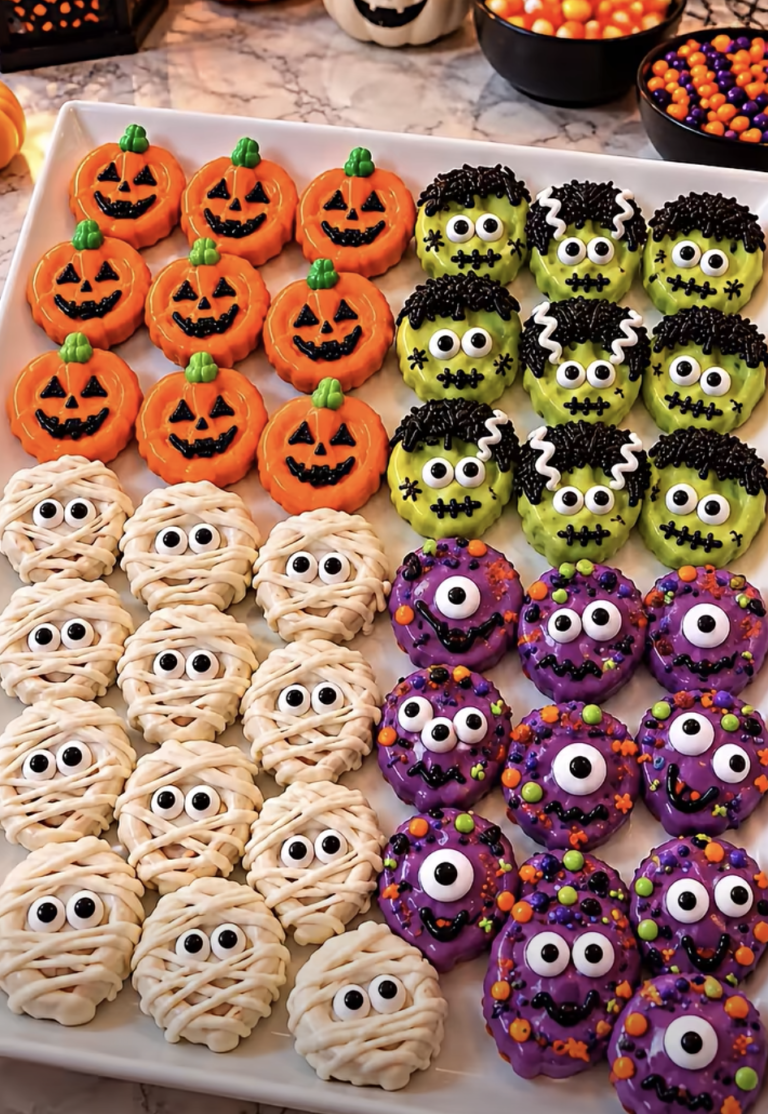
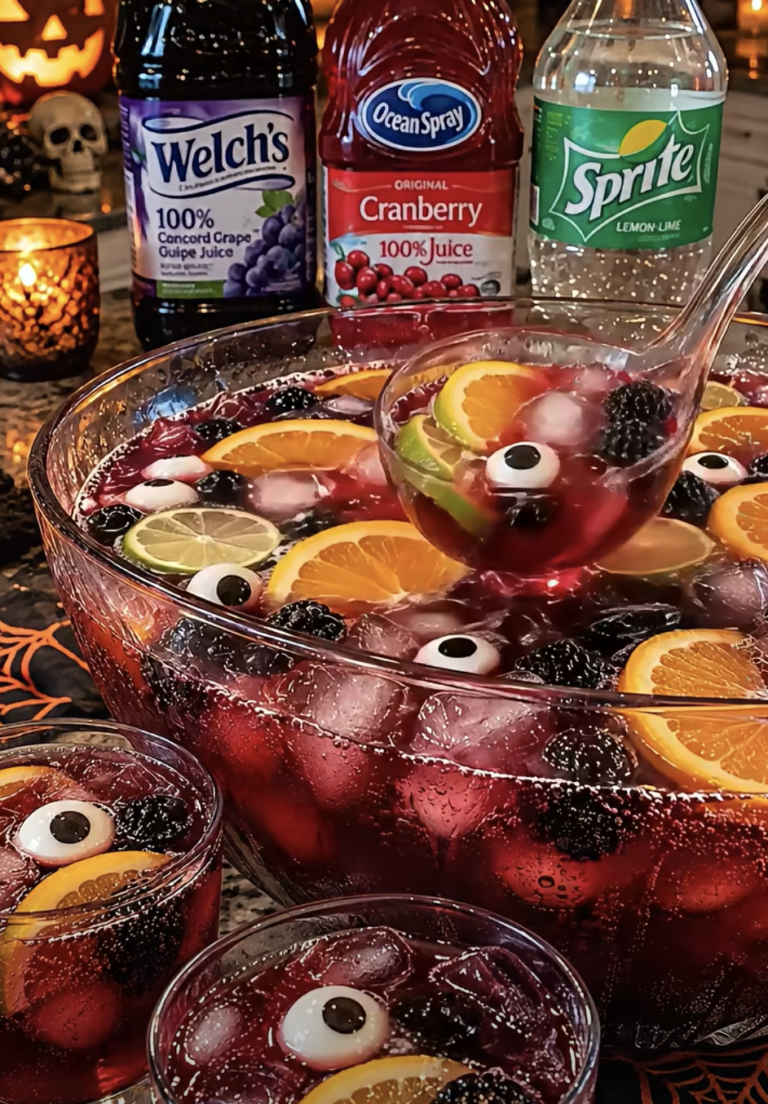
Halloween Cheesecake Pops combine rich, creamy cheesecake filling, buttery graham cracker crumbs, colorful candy coatings, and playful Halloween decorations in one delicious bite-sized dessert. These festive no-bake treats look like miniature cake pops, but their centers offer the smooth, tangy sweetness of classic vanilla cheesecake.
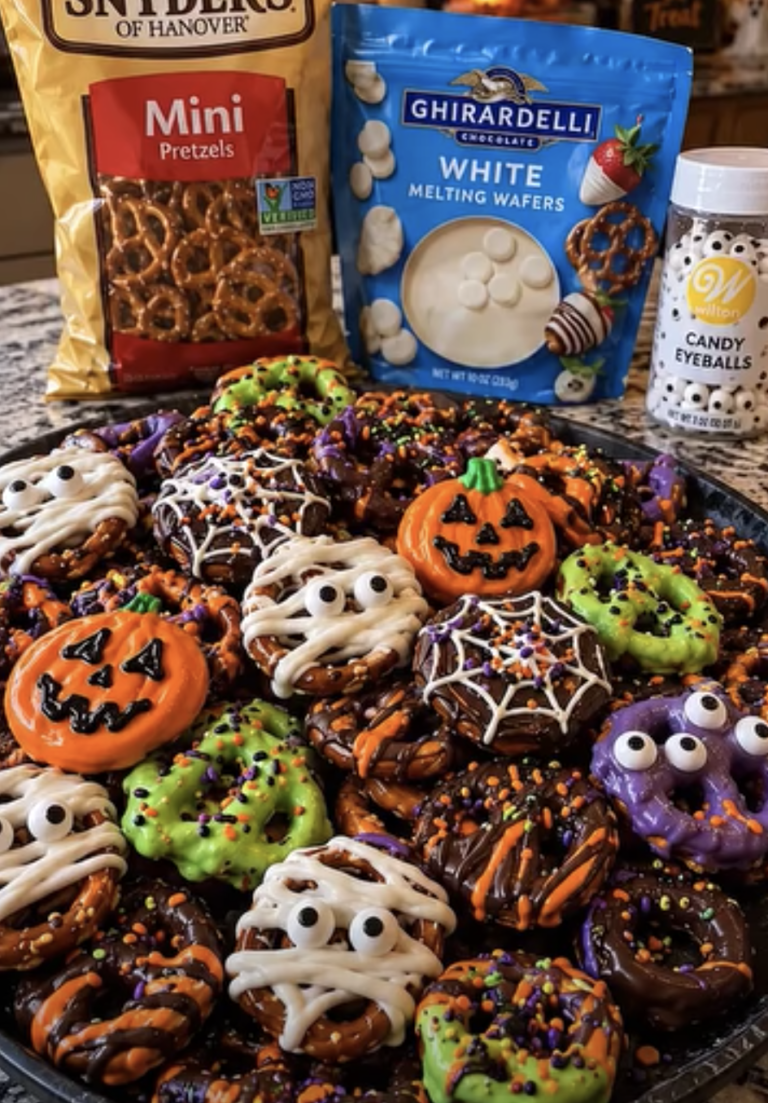
With white chocolate ghosts, orange pumpkins, and purple monsters, Halloween Cheesecake Pops bring a cheerful spooky touch to any Halloween dessert table.
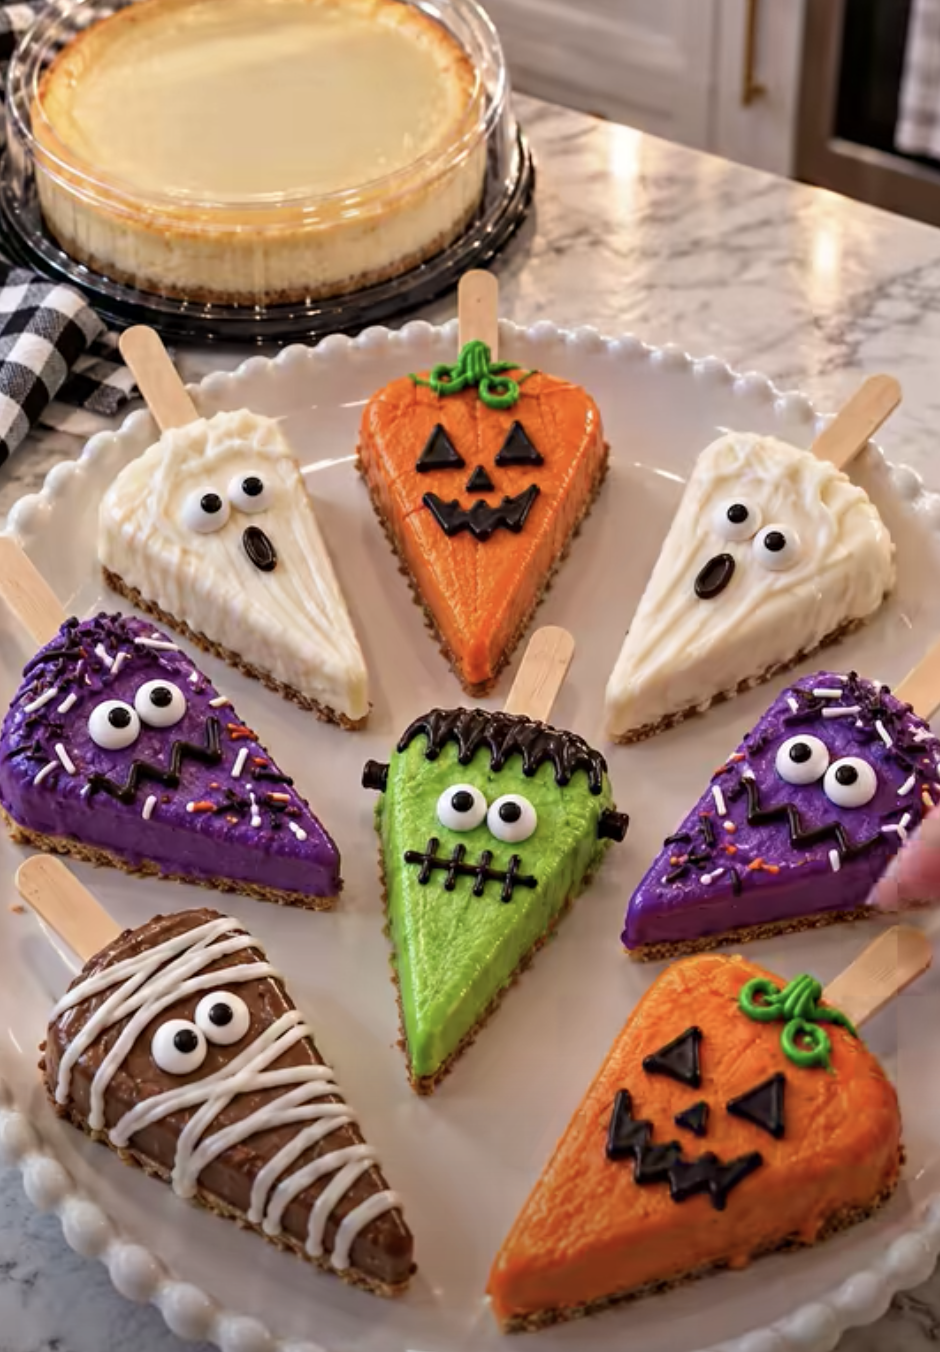
Halloween Cheesecake Pops – Easy No-Bake Spooky Party Treats
Ingredients
Equipment
Method
- In a large mixing bowl, beat softened cream cheese, powdered sugar, and vanilla extract until smooth and creamy.
- Stir in graham cracker crumbs until mixture becomes thick enough to shape.
- Divide mixture into approximately 18 portions. Roll into balls, arrange on a parchment-lined tray, and refrigerate for 1–2 hours until firm.
- Melt a small amount of white chocolate or candy coating. Dip tip of each lollipop stick into melted coating and insert halfway into a cheesecake ball.
- Refrigerate pops for another 15 minutes to help coating around sticks harden.
- Melt white chocolate wafers, orange candy melts, and purple or black candy melts separately according to package directions.
- Working in small batches, dip each chilled cheesecake pop into desired melted coating. Allow excess coating to drip away.
- Add candy eyes and Halloween sprinkles while coating remains soft. For ghosts, pumpkins, and other designs, add contrasting melted coating details after base coating sets.
- Stand pops upright in a cake-pop stand or clean foam block. Refrigerate until completely set, approximately 20 minutes. Serve chilled.
Notes
Best of all, you don’t need an oven or complicated baking skills.
You simply mix softened cream cheese with powdered sugar, vanilla extract, and graham cracker crumbs. Next, shape the mixture into balls, chill until firm, and dip each one into colorful melted candy coating.
Finally, decorate the pops with candy eyes, Halloween sprinkles, and contrasting chocolate drizzles.
The result looks impressive while requiring only a handful of ingredients.
These Halloween Cheesecake Pops make an excellent choice for costume parties, family celebrations, school gatherings, and spooky movie nights.
You can also prepare them ahead of time and refrigerate them until your guests arrive.
Because the recipe creates individual portions, everyone can enjoy a sweet treat without needing plates or forks.
I first started making cheesecake pops when I wanted a Halloween dessert that looked festive without spending hours baking and frosting a cake. I had cream cheese, graham crackers, and leftover candy melts from another dessert project. After mixing the cheesecake filling and rolling it into small balls, I chilled the mixture and dipped each piece into colorful chocolate. The decorating became my favorite part. Some pops turned into little white ghosts, while others became orange pumpkins and purple monsters. The finished treats looked playful, and their creamy vanilla cheesecake centers made them especially delicious. Since then, I’ve enjoyed preparing these pops whenever I want an easy Halloween dessert that feels special.
Why You’ll Love These Halloween Cheesecake Pops
Creamy Cheesecake Centers with a Sweet Chocolate Shell
The appeal of Halloween Cheesecake Pops comes from their combination of creamy filling and colorful candy coating.
The center begins with softened cream cheese.
Cream cheese provides the rich, tangy flavor that makes cheesecake so delicious.
Next, powdered sugar adds sweetness without creating a grainy texture.
Vanilla extract enhances the filling with a warm, familiar flavor.
Graham cracker crumbs provide structure and add the buttery, slightly toasted taste of a traditional cheesecake crust.
Together, these ingredients create a thick cheesecake mixture that you can roll into small balls.
Unlike baked cheesecake, this version doesn’t require eggs, a water bath, or an oven.
Instead, refrigeration helps the mixture become firm enough for dipping.
The candy coating creates another delicious layer.
White chocolate melting wafers add sweetness and a smooth finish.
Orange candy melts create bright pumpkin-inspired pops.
Purple or black candy melts add dramatic Halloween color.
Once the coating sets, it forms a firm shell around the soft cheesecake filling.
This creates a satisfying contrast between the exterior and center.
Finally, candy eyes, sprinkles, and chocolate drizzles transform the pops into festive Halloween characters.
Each bite delivers creamy cheesecake flavor with a sweet candy coating.
A Fun No-Bake Dessert for Halloween Celebrations
Halloween Cheesecake Pops make a convenient party dessert because they require no baking.
You only need a mixing bowl, a mixer, a baking tray, and a few decorating supplies.
The hands-on preparation takes approximately 30 minutes, although decorating may take longer if you create several designs.
Next, the cheesecake balls need one to two hours in the refrigerator.
This chilling time helps them maintain their shape.
Another advantage comes from the recipe’s flexibility.
You can decorate the pops as ghosts, pumpkins, monsters, or simple sprinkle-covered treats.
For example, white chocolate coating works beautifully for ghost designs.
Orange candy melts create cheerful pumpkins.
Purple coating provides a colorful base for silly monsters.
You can also use black candy melts for dramatic drizzles and details.
Furthermore, the individual portions make serving easy.
Guests can enjoy the pops without cutting a cake or scooping a dessert.
For an attractive presentation, arrange the finished pops upright in a cake-pop stand.
You can also place them on a parchment-lined serving platter.
Because the filling contains cream cheese, keep the pops refrigerated until serving.
With their playful designs and creamy flavor, these treats offer a delicious way to celebrate Halloween.
Essential Ingredients for the Best Halloween Cheesecake Pops
Choosing Cream Cheese, Graham Crackers, and Vanilla
The ingredients you choose make a noticeable difference in Halloween Cheesecake Pops.
Start with eight ounces of softened cream cheese.
Full-fat brick-style cream cheese works especially well because it creates a rich filling with enough structure for shaping.
Avoid whipped cream cheese because its lighter consistency may make the mixture too soft.
Next, add half a cup of powdered sugar.
Powdered sugar blends smoothly into the cream cheese and provides a pleasant sweetness.
A teaspoon of vanilla extract enhances the flavor.
Next, prepare one cup of fine graham cracker crumbs.
The crumbs help thicken the filling and create a texture similar to cheesecake combined with its traditional crust.
For the smoothest mixture, use finely crushed graham crackers.
Large crumbs can make the balls difficult to shape evenly.
You can crush graham crackers in a food processor or a sealed plastic bag.
Next, combine the ingredients thoroughly.
The mixture should feel thick enough to scoop and roll.
However, it may remain slightly soft at room temperature.
Refrigeration helps it become firmer.
For consistent portions, use a small cookie scoop.
This helps create evenly sized cheesecake balls that look attractive after dipping.
Choosing Candy Melts and Halloween Decorations
The candy coating gives Halloween Cheesecake Pops their festive appearance.
Start with one cup of white chocolate melting wafers.
White chocolate works beautifully for ghost designs.
Next, use one cup of orange candy melts.
Orange coating creates cheerful pumpkin pops.
For additional colors, prepare half a cup of purple or black candy melts.
Purple works well for monster designs, while black provides dramatic accents.
You can also divide the quantity between purple and black.
Melting wafers and candy melts offer a convenient coating because they melt smoothly and set without traditional chocolate tempering.
However, follow the package instructions carefully.
Overheating can make the coating thick or difficult to use.
For decorations, prepare Halloween sprinkles and candy eyes.
Candy eyes create playful monster faces.
Sprinkles add color and texture.
Contrasting chocolate drizzles create stripes, squiggles, and other spooky designs.
Finally, choose sturdy, food-safe lollipop sticks.
A small amount of melted coating helps secure each stick inside the cheesecake ball.
For the best results, keep the cheesecake balls chilled while you decorate.
Cold filling holds its shape better during dipping.
How to Make Halloween Cheesecake Pops Step by Step
Prepare the Cheesecake Filling and Shape the Pops
Making Halloween Cheesecake Pops begins with preparing the creamy filling.
First, place eight ounces of softened cream cheese in a large mixing bowl.
Add half a cup of powdered sugar and one teaspoon of vanilla extract.
Beat with an electric mixer until the mixture becomes smooth and creamy.
Scrape down the sides of the bowl as needed.
Next, add one cup of fine graham cracker crumbs.
Stir until the crumbs blend evenly into the cheesecake mixture.
The filling should become thick enough to scoop.
If it feels very soft, refrigerate it for 15 to 20 minutes before shaping.
Next, line a baking tray with parchment paper.
Using a small cookie scoop or spoon, divide the mixture into approximately 18 portions.
Roll each portion between your palms to create a smooth ball.
Try to keep the balls similar in size.
Uniform portions make dipping easier.
Arrange the cheesecake balls on the prepared tray.
Refrigerate for one to two hours, or until firm.
Once the balls feel firm, melt a small amount of white chocolate or candy coating.
Dip the tip of each lollipop stick into the melted coating.
Insert the coated tip approximately halfway into a cheesecake ball.
Next, return the pops to the refrigerator for another 15 minutes.
This helps secure the sticks before dipping.
Dip, Decorate, and Chill the Halloween Cheesecake Pops
Once the cheesecake balls and sticks feel secure, prepare the candy coatings.
Melt the white chocolate wafers according to the package directions.
Next, melt the orange candy melts in a separate bowl.
Repeat with the purple or black candy melts.
Stir each coating until smooth.
Avoid overheating because excessive heat can affect the texture.
Now, remove a few chilled cheesecake pops from the refrigerator.
Hold one pop by its stick and dip it into the melted coating.
Rotate gently until the coating covers the entire ball.
Lift the pop and allow excess coating to drip back into the bowl.
Tap the stick gently if necessary.
Next, decorate the pop.
For monster designs, attach candy eyes while the coating remains soft.
For sprinkle-covered pops, add Halloween sprinkles immediately.
For ghost and pumpkin designs, allow the coating to set before adding detailed faces with contrasting melted candy coating.
Next, stand each pop upright in a cake-pop stand or clean foam block.
Repeat with the remaining cheesecake balls.
Work in small batches so the filling stays cold.
Finally, refrigerate the decorated pops until the coating sets completely.
Arrange them on a serving platter or display them upright.
Serve chilled for the best texture and flavor.
Helpful Tips, Creative Designs, and Storage Ideas
How to Prevent Soft Centers, Cracked Coating, and Falling Sticks
A few simple techniques help Halloween Cheesecake Pops turn out beautifully.
First, use full-fat brick-style cream cheese.
This creates a thicker filling than whipped or spreadable cream cheese.
Next, soften the cream cheese before mixing.
Softened cream cheese blends smoothly with powdered sugar and vanilla.
However, avoid leaving it at room temperature for extended periods.
Once the filling is ready, refrigerate it until firm.
Another important tip involves the graham cracker crumbs.
Use fine crumbs rather than large pieces.
Fine crumbs distribute evenly and help the mixture hold together.
Next, chill the cheesecake balls thoroughly before inserting the sticks.
Soft balls may slide off during dipping.
Dip each stick into melted coating before inserting it.
Then, refrigerate again to secure the stick.
For the candy coating, melt slowly and stir frequently.
Avoid adding water because moisture can cause chocolate to seize.
If the coating feels thick, follow the manufacturer’s thinning recommendations.
Finally, avoid freezing the cheesecake balls until extremely cold.
A large temperature difference between frozen centers and warm coating can contribute to cracks.
Work with firm, refrigerated balls for the most reliable results.
Fun Halloween Designs, Serving Suggestions, and Storage Tips
Halloween Cheesecake Pops offer plenty of creative decorating possibilities.
For ghost pops, dip the cheesecake balls in white chocolate.
Once the coating sets, use contrasting dark candy coating to create simple eyes and mouths.
For pumpkin pops, use orange candy melts.
Add a jack-o’-lantern face with dark coating.
You can also create a small green stem with additional decorating icing.
For monster pops, use purple coating.
Attach candy eyes while the coating remains soft.
Next, add a funny mouth or extra sprinkles.
For a dramatic design, dip the pops in white coating and drizzle thin lines of black candy melts across the surface.
You can also create simple sprinkle-covered pops for faster decorating.
When serving, arrange the finished treats upright in a cake-pop stand.
Alternatively, place them on a parchment-lined platter.
For party favors, wrap fully set pops individually in food-safe treat bags.
However, keep them refrigerated until distribution.
Storage: Store Halloween Cheesecake Pops in an airtight container at 40°F or below.
For the best flavor and texture, enjoy them within three to four days.
Separate layers with parchment paper to protect the decorations.
Avoid leaving the cream cheese-filled pops at room temperature for more than two hours, or more than one hour when temperatures exceed 90°F.
Ingredients
Yield: Approximately 18 pops | Prep time: 30 minutes | Initial chilling: 1–2 hours | Stick-setting time: 15 minutes | Final setting: approximately 20 minutes | Total time: approximately 2 hours 5 minutes to 3 hours 5 minutes
For the cheesecake filling:
- 8 oz cream cheese, softened
- ½ cup powdered sugar
- 1 tsp vanilla extract
- 1 cup graham cracker crumbs
For the candy coating:
- 1 cup white chocolate melting wafers
- 1 cup orange candy melts
- ½ cup purple or black candy melts
For decorating:
- ¼ cup Halloween sprinkles, approximately
- 36 candy eyes, approximately
For assembling:
– 18 food-safe lollipop sticks
Instructions
1. Prepare the cheesecake filling. In a large mixing bowl, beat softened cream cheese, powdered sugar, and vanilla extract until smooth and creamy.
2. Add the graham cracker crumbs. Stir in the graham cracker crumbs until the mixture becomes thick enough to shape.
3. Shape and chill. Divide the mixture into approximately 18 portions. Roll into balls, arrange on a parchment-lined tray, and refrigerate for 1–2 hours until firm.
4. Insert the sticks. Melt a small amount of white chocolate or candy coating. Dip the tip of each lollipop stick into the melted coating and insert it halfway into a cheesecake ball.
5. Secure the sticks. Refrigerate the pops for another 15 minutes to help the coating around the sticks harden.
6. Melt the candy coatings. Melt the white chocolate wafers, orange candy melts, and purple or black candy melts separately according to package directions.
7. Dip the cheesecake pops. Working in small batches, dip each chilled cheesecake pop into the desired melted coating. Allow excess coating to drip away.
8. Decorate the pops. Add candy eyes and Halloween sprinkles while the coating remains soft. For ghosts, pumpkins, and other designs, add contrasting melted coating details after the base coating sets.
9. Set and serve. Stand the pops upright in a cake-pop stand or clean foam block. Refrigerate until completely set, approximately 20 minutes. Serve chilled.
Frequently Asked Questions
1. Can I make Halloween Cheesecake Pops ahead of time?
Yes. Halloween Cheesecake Pops make an excellent make-ahead dessert.
You can prepare the cheesecake filling and shape the balls a day before decorating.
Store them covered in the refrigerator.
Alternatively, decorate the pops completely and refrigerate them until your party.
For the best quality, enjoy the finished pops within three to four days.
2. Why are my cheesecake pops too soft to dip?
The filling may feel too soft if the cream cheese is warm or the mixture hasn’t chilled long enough.
To improve the texture, refrigerate the shaped balls for one to two hours.
Use full-fat brick-style cream cheese rather than whipped cream cheese.
Also, measure the graham cracker crumbs accurately.
If necessary, chill the mixture before rolling it into balls.
3. Can I use regular chocolate instead of candy melts?
Yes. You can use suitable melting chocolate or chocolate wafers.
However, regular chocolate may require tempering to create a firm, glossy coating at room temperature.
Candy melts offer a convenient alternative because they come in festive colors and set easily.
Follow the melting instructions carefully and avoid overheating.
4. How do I keep the lollipop sticks from falling out?
First, chill the cheesecake balls until firm.
Next, dip the tip of each lollipop stick into melted candy coating.
Insert the coated tip halfway into a cheesecake ball.
Refrigerate the pops for another 15 minutes before dipping.
The hardened coating helps secure the sticks inside the filling.
5. How long do Halloween Cheesecake Pops last in the refrigerator?
Store the pops in an airtight container at 40°F or below.
For the best quality, enjoy them within three to four days.
The cream cheese filling requires refrigeration.
If you stack the pops, separate the layers with parchment paper.
Avoid leaving them at room temperature for more than two hours, or more than one hour when temperatures exceed 90°F.
Conclusion
Halloween Cheesecake Pops combine creamy vanilla cheesecake filling, graham cracker crumbs, colorful candy coatings, and festive Halloween decorations into one delicious no-bake dessert.
The rich, tangy centers contrast beautifully with the firm candy shells.
Meanwhile, white, orange, purple, and black coatings make it easy to create ghosts, pumpkins, monsters, and other spooky designs.
Furthermore, the simple preparation makes this recipe ideal for Halloween parties, family decorating activities, and seasonal dessert tables.
For the best results, use softened full-fat cream cheese, finely crushed graham crackers, and properly chilled cheesecake balls.
Secure each lollipop stick with melted coating before dipping.
Then, decorate the pops with candy eyes, Halloween sprinkles, and contrasting chocolate details.
Refrigerate until the coating sets completely.
Whether you display them upright or arrange them on a festive platter, Halloween Cheesecake Pops offer a delicious combination of creamy cheesecake flavor, colorful decorations, and Halloween fun.