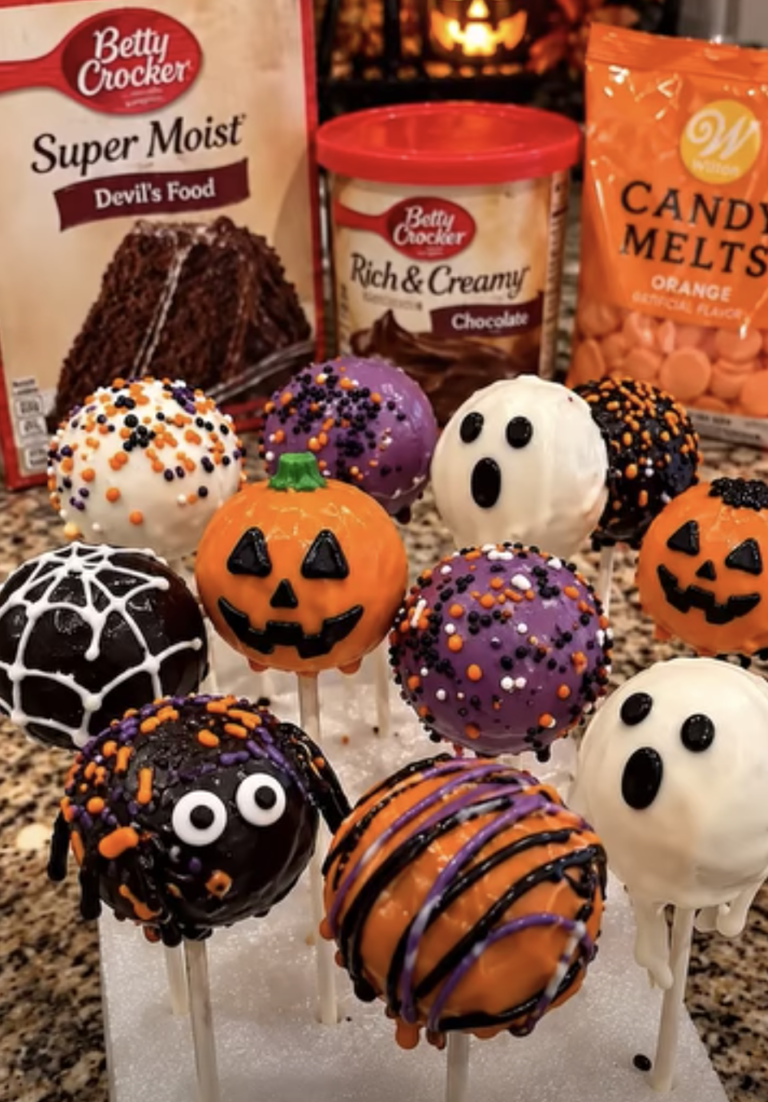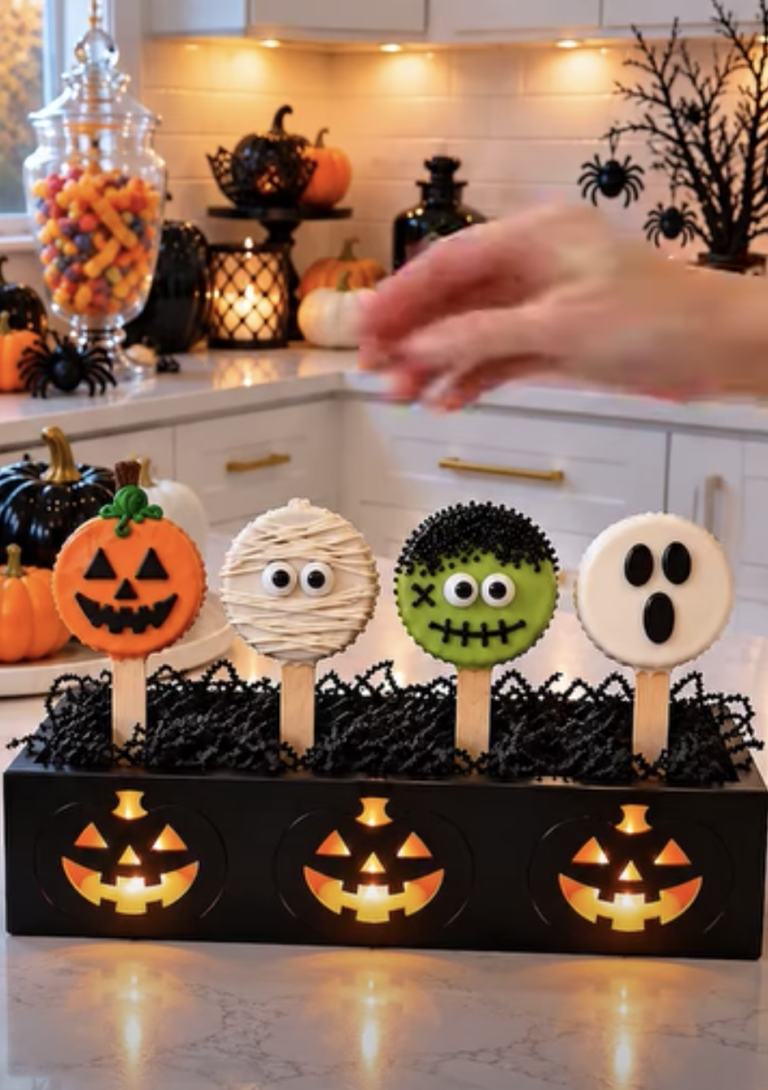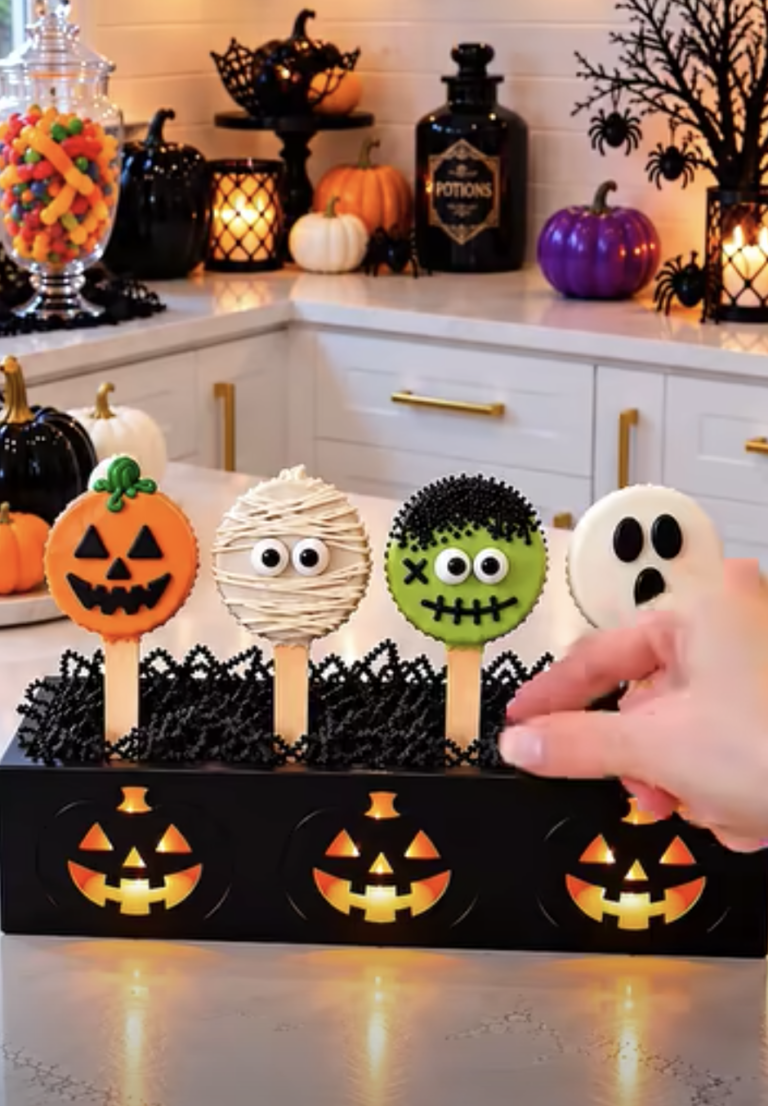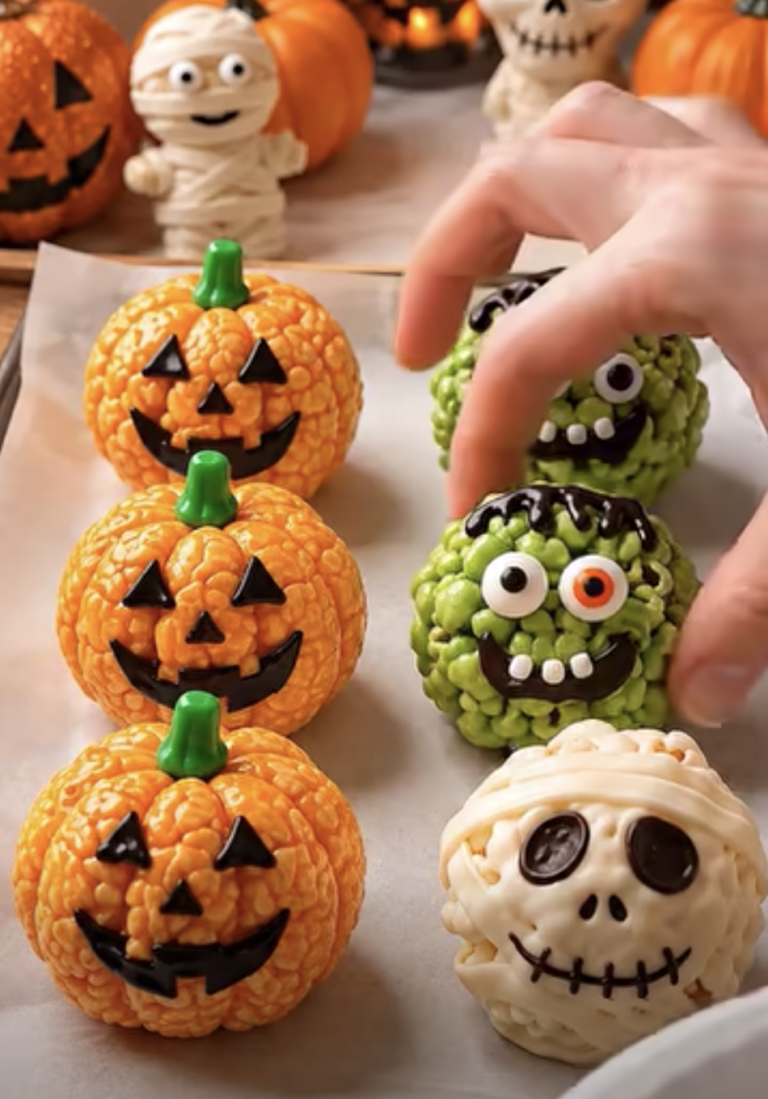
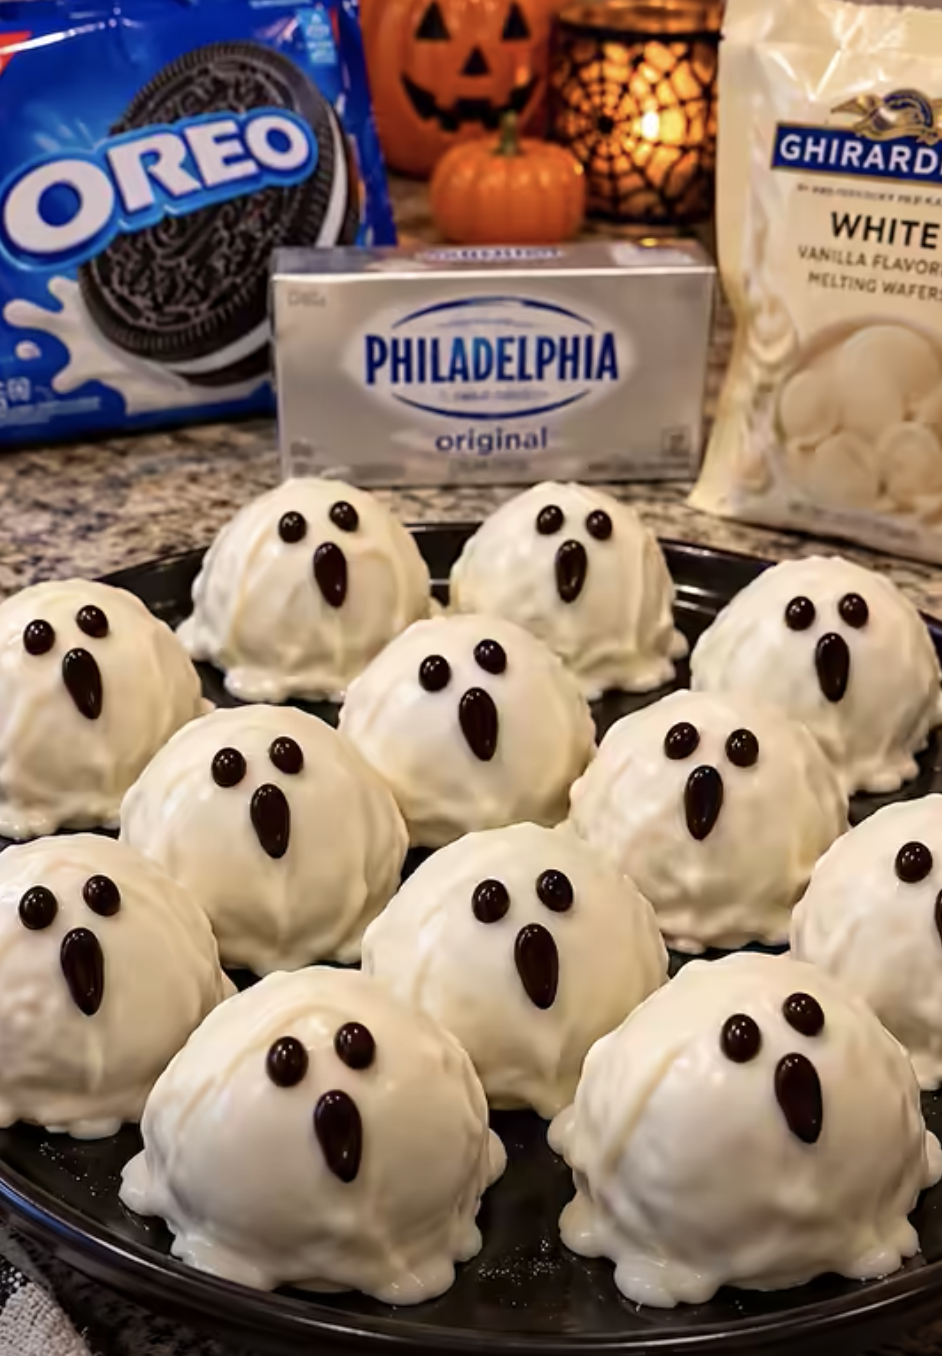
Ghost Oreo Balls are the perfect combination of creamy chocolate cookie filling, smooth white chocolate coating, and adorable Halloween decorations. These easy no-bake treats look like little ghosts, making them a fun addition to Halloween parties, school celebrations, and spooky dessert tables.
Best of all, you only need a handful of simple ingredients to make them. Crushed Oreo cookies blend with cream cheese to create a rich, truffle-like center. Then, a sweet white chocolate shell adds a delicious finishing touch. Finally, tiny chocolate eyes and mouths transform ordinary Oreo balls into cute Halloween ghosts.
Ghost Oreo Balls: Easy No-Bake Halloween Treats Everyone Will Love
Ingredients
Equipment
Method
- Place all 36 Oreo cookies, including the cream filling, into a food processor. Pulse until the cookies become fine, uniform crumbs.
- Add softened cream cheese to the Oreo crumbs. Process or mix thoroughly until a thick, smooth dough forms.
- Scoop approximately one tablespoon of the mixture per portion. Roll into 1-inch balls and arrange on a parchment-lined baking sheet.
- Refrigerate the Oreo balls for 30 to 45 minutes until firm. If needed, freeze for an additional 10 minutes to make dipping easier.
- Melt the white chocolate wafers in a microwave-safe bowl according to package directions, stirring frequently. Add up to one teaspoon coconut oil if needed for a smoother coating.
- Dip each chilled Oreo ball into the melted white chocolate. Lift with a fork and gently tap off excess coating before transferring to parchment paper.
- If desired, drizzle a little extra white chocolate around each coated ball to create flowing ghost-like edges. Allow the coating to set.
- Use melted dark chocolate or black decorating icing to draw two eyes and a small mouth on each ghost. Create different expressions for a playful appearance.
- Refrigerate until the chocolate coating and decorations firm up. Arrange on a Halloween platter, add optional Oreo crumb garnish, and serve chilled.
Notes
Whether you’re hosting a Halloween party or preparing a festive treat with your family, this recipe offers a simple way to make something memorable without turning on the oven.
The first time I made Ghost Oreo Balls for a Halloween gathering, I wanted something that looked impressive but didn’t require hours in the kitchen. I already had Oreo cookies and cream cheese, so I decided to turn them into little chocolate-covered ghosts. The decorating process quickly became my favorite part. Some ghosts had surprised faces, while others looked silly or slightly spooky. Everyone loved choosing a favorite, and the platter emptied before the other desserts. Since then, I’ve kept this recipe on my Halloween dessert list because it’s easy to prepare ahead, fun to decorate, and always brings smiles.
No-bake dessert
Beginner-friendly
Halloween favorite
25 minPrep time
60 minChill and set
36Servings
Why You’ll Love These Ghost Oreo Balls
A Simple No-Bake Halloween Dessert
One of the best things about Ghost Oreo Balls is how little effort they require. Unlike traditional Halloween cookies or cupcakes, these treats don’t need baking, complicated equipment, or advanced decorating skills.
Instead, you combine crushed Oreo cookies with softened cream cheese, shape the mixture into balls, and chill them until firm. Next, you coat each ball in melted white chocolate and add a simple ghost face.
The entire process feels approachable, even for someone who rarely makes homemade desserts.
Additionally, the recipe uses ingredients that most grocery stores carry year-round. You won’t need specialty cake mixes, unusual flavorings, or complicated decorations.
These little treats also offer several advantages:
- No oven required: Keep your kitchen cool and save oven space for other party dishes.
- Minimal ingredients: The basic recipe needs just four main ingredients.
- Easy preparation: Simple mixing, rolling, dipping, and decorating create impressive results.
- Make-ahead convenience: Prepare the treats before your Halloween celebration.
- Customizable appearance: Give every ghost a different expression.
- Rich flavor: Chocolate cookies, cream cheese, and white chocolate create a satisfying dessert.
Because each treat comes in a small, individual portion, guests can enjoy one without needing plates or utensils.
Perfect for Parties, Kids, and Festive Dessert Tables
Ghost Oreo Balls work especially well for Halloween gatherings because they combine playful presentation with familiar flavors.
Kids love the cute ghost faces, while adults appreciate the rich Oreo cheesecake-like filling. As a result, these treats appeal to a wide range of ages.
You can also involve children in the decorating process. For example, younger helpers can roll the cookie mixture into balls, while older children can add chocolate eyes and mouths.
An adult should handle the melted chocolate, especially when it feels hot.
For a festive presentation, arrange the finished ghosts on a black serving platter. Then, scatter a few Oreo crumbs around the edges to create a spooky graveyard-inspired effect.
Alternatively, place each Ghost Oreo Ball in a miniature Halloween cupcake liner. This makes serving easier and helps keep the chocolate coating neat.
If you’re planning a larger dessert table, pair these treats with Halloween brownies, pumpkin cookies, or chocolate-covered strawberries.
Their bright white coating creates a striking contrast against darker desserts and colorful Halloween decorations.
Ingredients and Preparation Tips for Perfect Ghost Oreo Balls
Choosing the Best Ingredients
Although Ghost Oreo Balls require only a few ingredients, choosing the right products makes a noticeable difference in flavor and texture.
Oreo cookies form the base of the filling. Classic chocolate Oreo cookies work especially well because their slightly bitter cocoa flavor balances the sweet white chocolate coating.
Use the entire cookie, including the cream filling. The cream helps create a smooth mixture and adds sweetness.
For consistent results, choose regular Oreo cookies rather than Double Stuf. Extra filling can make the dough softer and harder to shape.
Cream cheese gives the Oreo mixture its creamy, truffle-like consistency. Full-fat, brick-style cream cheese usually provides the firmest texture.
Before mixing, let the cream cheese soften at room temperature for about 20–30 minutes. Softened cream cheese blends more evenly with cookie crumbs.
However, avoid leaving it at room temperature for extended periods.
White chocolate melting wafers create the ghostly white exterior. Melting wafers work particularly well because they melt smoothly and typically set without tempering.
You can use white chocolate chips, but they may produce a thicker coating.
Coconut oil is optional. A small amount can help thin the coating when necessary.
Finally, use black decorating icing or melted dark chocolate to create the ghost faces. Dark chocolate usually firms up more completely, while decorating icing offers convenient application.
How to Get the Best Texture and Shape
The secret to beautiful Ghost Oreo Balls starts with the cookie mixture.
First, crush the Oreo cookies into very fine crumbs. Large cookie pieces can create lumps and make the balls harder to roll.
A food processor produces the most consistent texture. However, you can also place the cookies in a sturdy resealable bag and crush them with a rolling pin.
Next, mix the crumbs thoroughly with softened cream cheese.
The finished mixture should feel thick, smooth, and slightly sticky. It should hold its shape when you roll it between your palms.
For evenly sized treats, use a small cookie scoop or measure approximately one tablespoon of dough per ball.
Then, roll each portion into a smooth sphere.
If the mixture sticks to your hands, refrigerate it for about 10 minutes before shaping.
After rolling, arrange the balls on a parchment-lined baking sheet and refrigerate them for 30–45 minutes.
This chilling period helps the filling hold together during dipping.
For an extra-firm texture, place the balls in the freezer for approximately 10 minutes. However, avoid freezing them solid before coating because extreme temperature differences can encourage chocolate cracking or condensation.
How to Decorate Ghost Oreo Balls Like a Pro
Creating a Smooth White Chocolate Coating
A smooth white chocolate shell gives Ghost Oreo Balls their signature appearance.
Start by melting the white chocolate wafers according to the package directions.
If you use a microwave, heat the wafers in short intervals, stirring between each round. This helps prevent overheating.
For example, begin with 20–30 seconds, stir thoroughly, and continue in 15-second intervals until the chocolate melts.
Avoid introducing water into the chocolate because moisture can cause the coating to seize.
Once the chocolate reaches a smooth consistency, check whether it flows easily from a spoon.
If the coating seems too thick, stir in up to one teaspoon of coconut oil.
Next, remove a few chilled Oreo balls from the refrigerator. Keep the remaining balls cold while you work.
Drop one ball into the melted coating and gently turn it with a fork.
Lift the ball, then tap the fork lightly against the bowl to remove excess chocolate.
Transfer it to parchment paper.
For a more ghost-like appearance, let a little extra white chocolate fall around the base. You can also drizzle a small amount down the sides to create an uneven, flowing shape.
However, avoid adding too much coating because thick layers can overwhelm the Oreo filling.
Continue until you coat every ball.
Adding Cute and Spooky Ghost Faces
Decorating transforms simple chocolate-covered Oreo truffles into adorable Halloween ghosts.
Before adding facial details, allow the white chocolate coating to set.
Then, use black decorating icing or melted dark chocolate to draw two eyes and a small mouth on each treat.
A toothpick works well for small details. Alternatively, transfer melted dark chocolate into a piping bag and snip a tiny opening at the tip.
For classic ghost faces, create two small oval eyes and a round mouth.
If you want more personality, try different expressions:
- Surprised ghosts: Add round eyes and a large oval mouth.
- Happy ghosts: Create two small eyes and a curved smile.
- Sleepy ghosts: Draw curved lines for closed eyes.
- Silly ghosts: Make uneven eyes and a crooked mouth.
- Spooky ghosts: Add narrow eyes and an open mouth.
Keep the designs simple so each face remains easy to recognize.
If you’re making these treats with children, let them choose the expressions.
You can even create a variety of faces and arrange the finished ghosts together for a playful Halloween display.
Finally, refrigerate the decorated Oreo balls until the chocolate and facial details firm up.
The finished Ghost Oreo Balls should have a creamy center, a delicate chocolate shell, and a charming ghostly appearance.
Serving, Storing, and Customizing Ghost Oreo Balls
How to Store and Make Them Ahead
Ghost Oreo Balls are an excellent make-ahead dessert, which makes Halloween party planning much easier.
Once the chocolate coating sets completely, transfer the treats to an airtight container.
Arrange them in a single layer whenever possible. If you need to stack them, separate the layers with parchment paper to protect the decorations.
Store the container in the refrigerator for up to five days.
Because the filling contains cream cheese, avoid leaving the treats at room temperature for more than two hours. On particularly warm days, limit that time to one hour when temperatures exceed 90°F.
For the best flavor and texture, serve the treats chilled or let them sit briefly at room temperature before serving.
You can also freeze the finished Oreo balls for longer storage.
To freeze them, place the treats on a parchment-lined tray until firm. Then, transfer them to a freezer-safe container.
For best quality, enjoy them within two months.
When you’re ready to serve, thaw them overnight in the refrigerator.
Keep the container closed during thawing to help reduce condensation on the chocolate coating.
Fun Variations and Common Mistakes to Avoid
Although the classic Ghost Oreo Balls recipe tastes delicious, you can easily experiment with different flavors and decorations.
For example, try Golden Oreo cookies for a lighter vanilla filling. You can also use mint-flavored Oreos for a refreshing chocolate-mint variation.
If you prefer a richer chocolate taste, add a small amount of unsweetened cocoa powder to the cookie mixture.
For a more festive presentation, place the ghosts on a platter with orange and purple sprinkles.
You can also create miniature ghosts by rolling smaller portions of dough.
However, remember that smaller balls require less chocolate coating and may yield more servings.
A few common mistakes can affect the finished treats.
Soft filling: If the balls lose their shape, chill the mixture longer before dipping.
Thick coating: If the chocolate doesn’t flow smoothly, follow the wafer manufacturer’s thinning recommendations or add a small amount of coconut oil.
Cracked chocolate: Avoid dipping frozen-solid centers into very warm coating.
Lumpy centers: Crush the Oreo cookies finely before adding cream cheese.
Messy faces: Let the white chocolate set before applying the black details.
Sticky decorations: Allow decorating icing to dry according to its package directions before stacking or packaging the treats.
With these simple adjustments, you can make Ghost Oreo Balls that look festive and taste wonderful every time.
Ingredients
Yield: Approximately 36 Ghost Oreo Balls
- 36 regular Oreo cookies, including the cream filling
- 8 oz (226 g) full-fat cream cheese, softened
- 16 oz (454 g) white chocolate melting wafers
- 1 teaspoon coconut oil (optional, for thinning the coating)
- 1 oz (28 g) dark chocolate, melted, or approximately 2 tablespoons black decorating icing
- 1 tablespoon finely crushed Oreo crumbs (optional, for garnish)
Instructions
1. Crush the cookies. Place all 36 Oreo cookies, including their cream filling, into a food processor. Pulse until you create fine, uniform crumbs.
2. Mix the filling. Add the softened cream cheese to the Oreo crumbs. Process or stir until the mixture forms a thick, smooth dough.
3. Shape the balls. Scoop approximately one tablespoon of the mixture at a time. Roll each portion into a smooth, 1-inch ball. Arrange the balls on a parchment-lined baking sheet.
4. Chill the mixture. Refrigerate the Oreo balls for 30–45 minutes, or until firm enough to handle. If necessary, freeze them for an additional 10 minutes.
5. Melt the white chocolate. Place the white chocolate melting wafers in a microwave-safe bowl. Heat according to the package directions, stirring frequently. Add the optional coconut oil if the coating needs thinning.
6. Dip the Oreo balls. Lower each chilled ball into the melted white chocolate. Use a fork to lift it out, allowing excess coating to drip back into the bowl.
7. Create the ghost shapes. Return each coated ball to the parchment paper. If desired, drizzle a little extra white chocolate around the sides and base to create a flowing ghost-like appearance.
8. Add the faces. Allow the white chocolate to set. Then, use melted dark chocolate or black decorating icing to draw two eyes and a small mouth on each ghost.
9. Chill and serve. Refrigerate the finished Ghost Oreo Balls until the coating and decorations firm up. Arrange them on a festive platter, garnish with optional Oreo crumbs, and serve chilled.
Frequently Asked Questions
1. Can I make Ghost Oreo Balls ahead of time?
Yes. Ghost Oreo Balls are perfect for preparing in advance. Make them one or two days before your Halloween celebration, then store them in an airtight container in the refrigerator. They stay fresh for up to five days when you store them properly.
2. Can I use white chocolate chips instead of melting wafers?
Yes, but white chocolate chips often melt into a thicker consistency. For easier dipping, use a good-quality white chocolate product and melt it gently. If necessary, add a small amount of coconut oil. White chocolate chips may also require tempering for a firm, glossy finish.
3. Why are my Oreo balls falling apart when I dip them?
Your Oreo balls may need additional chilling time, or the cookie mixture may contain large crumbs. Make sure you crush the cookies finely and mix them thoroughly with softened cream cheese. Then, refrigerate the shaped balls until they feel firm before dipping.
4. Can I freeze Ghost Oreo Balls?
Yes. Place the finished treats in a freezer-safe airtight container, separating layers with parchment paper. Freeze them for up to two months for best quality. When you want to serve them, thaw them overnight in the refrigerator. This helps preserve their creamy centers and chocolate coating.
5. How do I make Ghost Oreo Balls without a food processor?
Place the Oreo cookies in a sturdy resealable plastic bag and crush them with a rolling pin until you create fine crumbs. Next, transfer the crumbs to a mixing bowl and combine them with softened cream cheese using a sturdy spoon or hand mixer. Continue with the remaining recipe steps as usual.
Conclusion
Ghost Oreo Balls offer a fun, easy, and delicious way to celebrate Halloween without spending hours baking. Their creamy Oreo centers, smooth white chocolate coating, and adorable ghost faces make them a wonderful addition to any festive dessert table.
With just a few simple ingredients and straightforward preparation steps, you can create impressive Halloween treats that both kids and adults will enjoy.
Plus, the recipe allows plenty of creativity. You can experiment with different facial expressions, cookie flavors, and serving arrangements to make each batch unique.
Whether you’re planning a Halloween party, preparing treats for a family movie night, or looking for an easy seasonal dessert, Ghost Oreo Balls deliver the perfect combination of flavor, convenience, and festive charm.
Make a batch, have fun decorating, and enjoy these delicious little ghosts with family and friends.