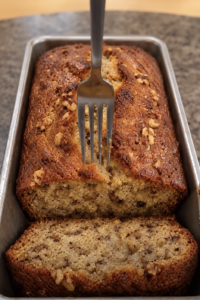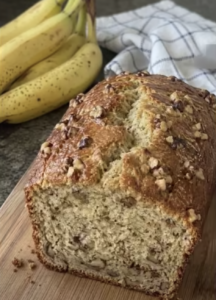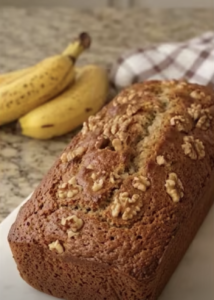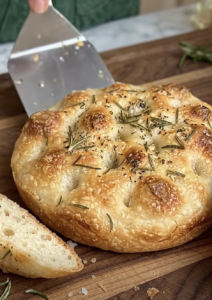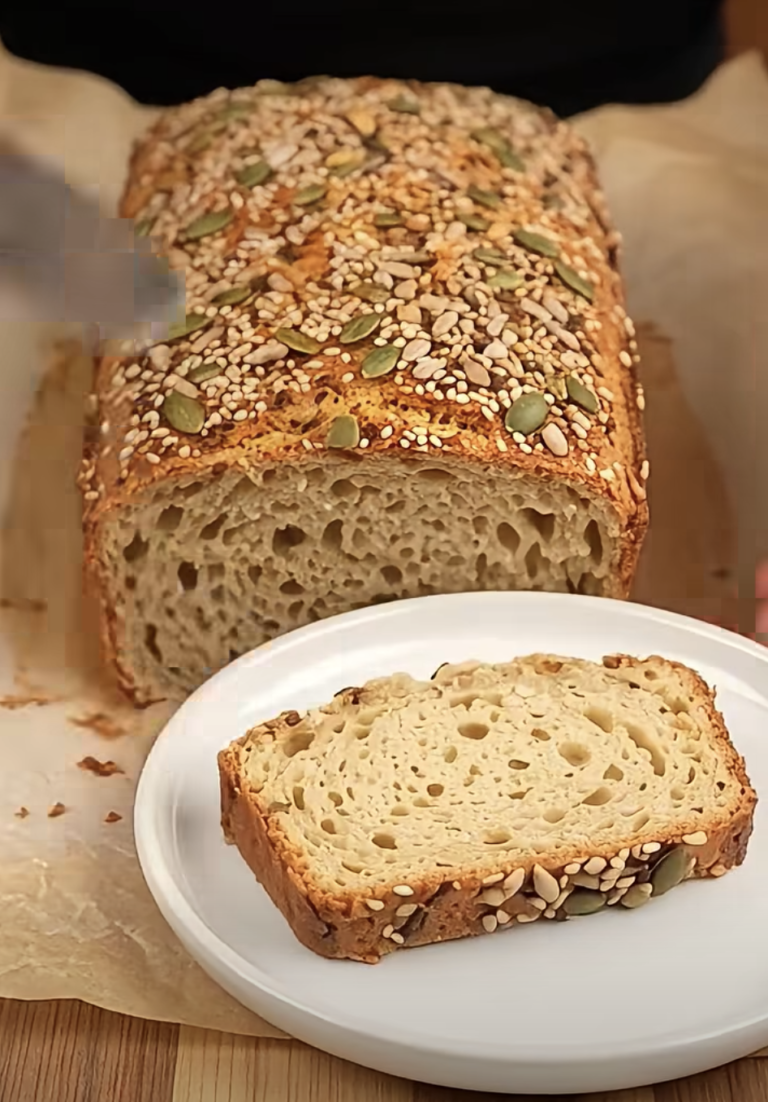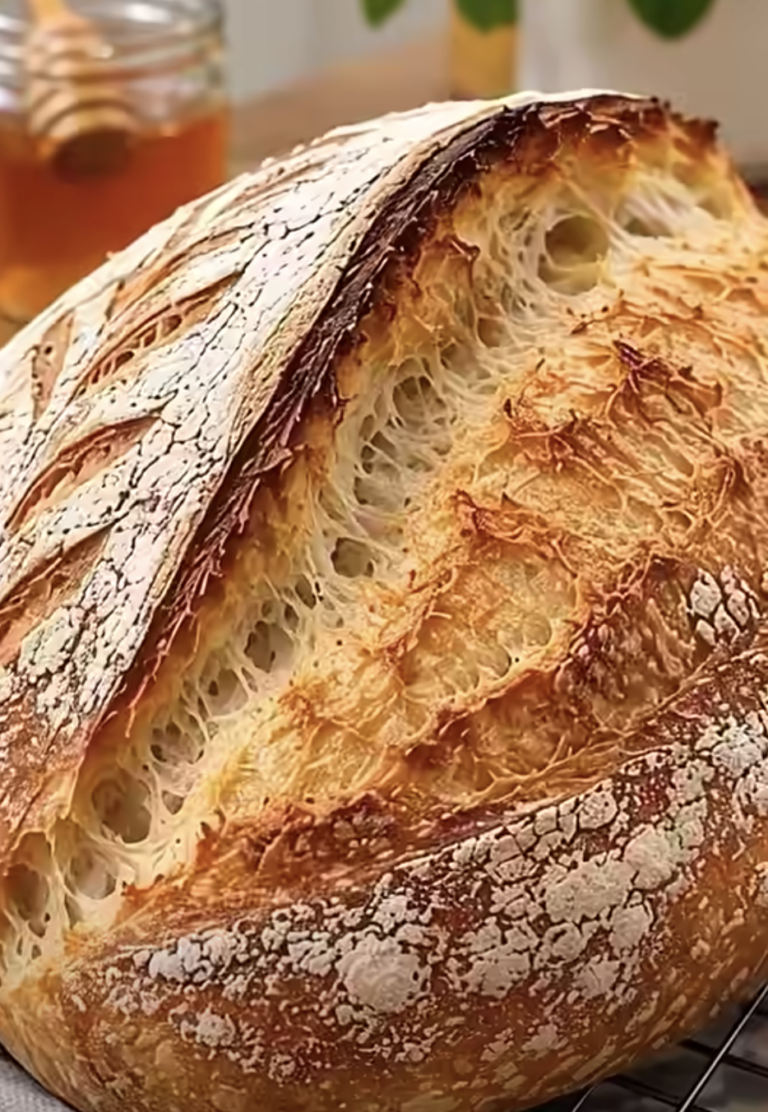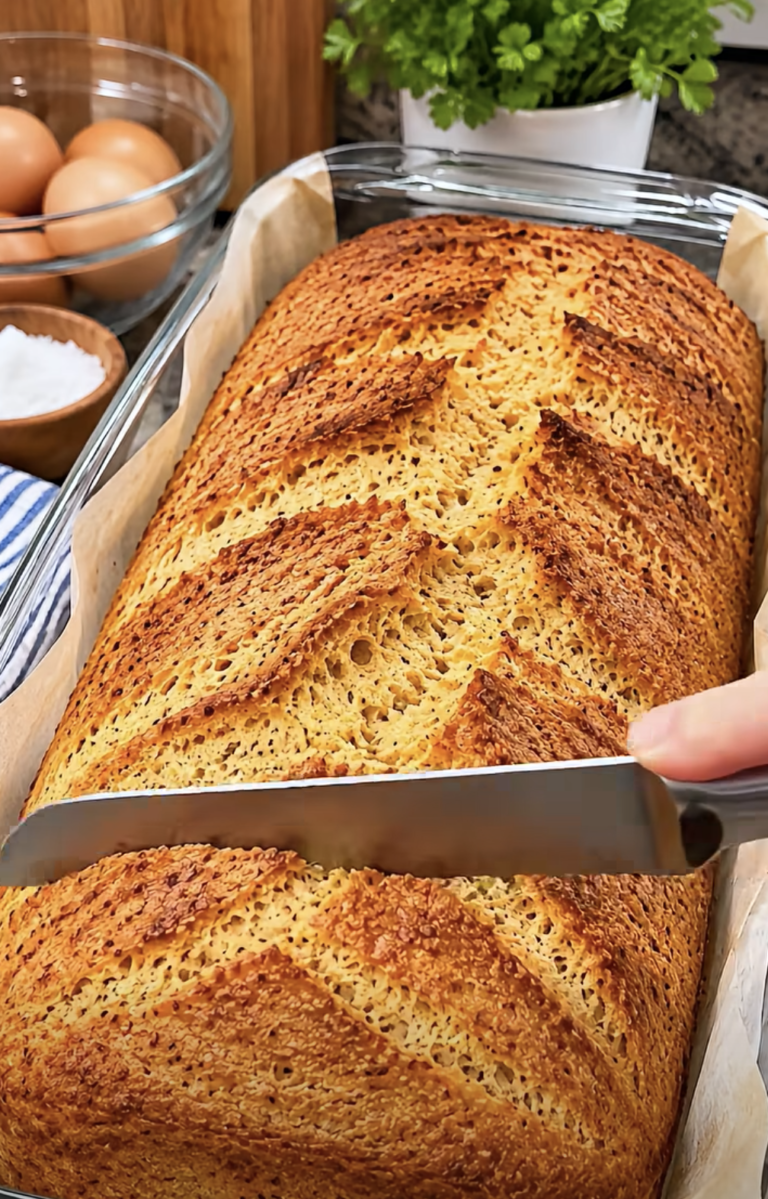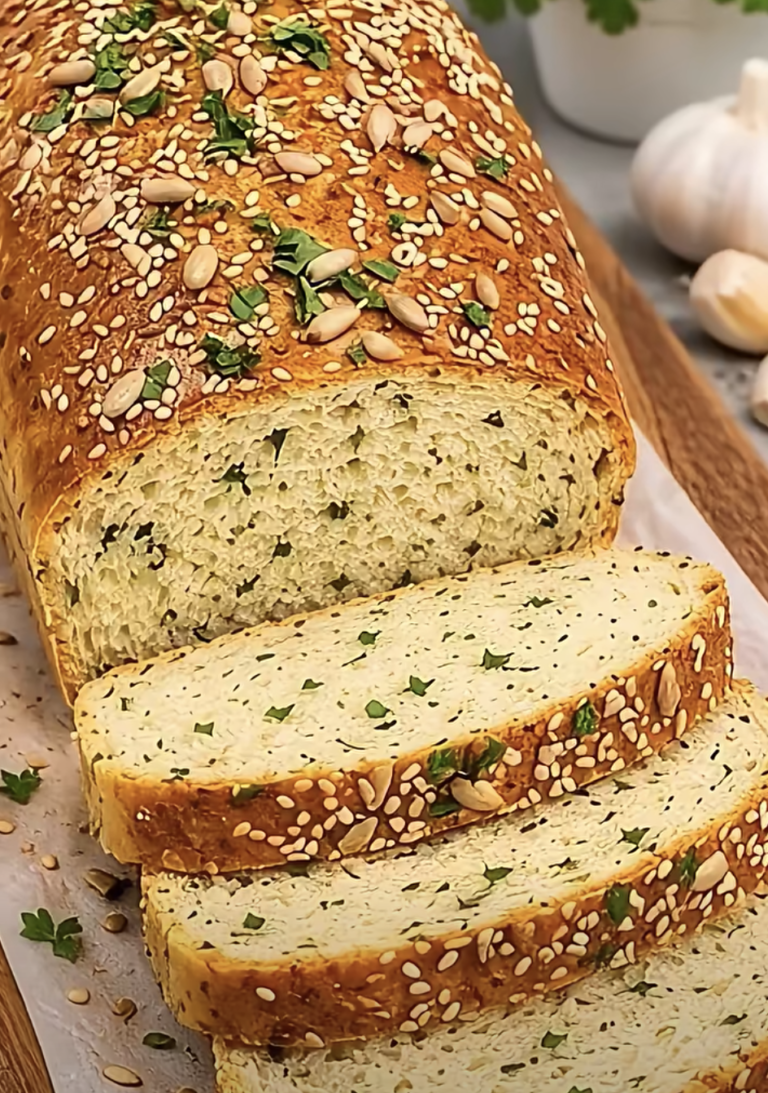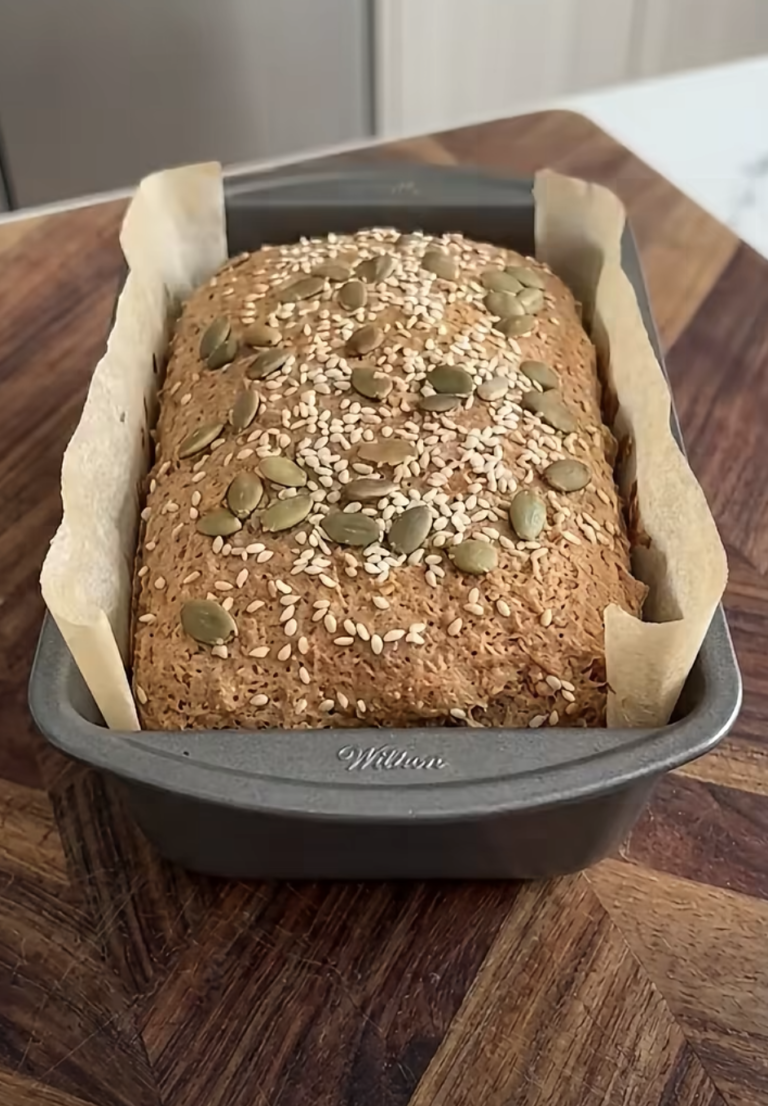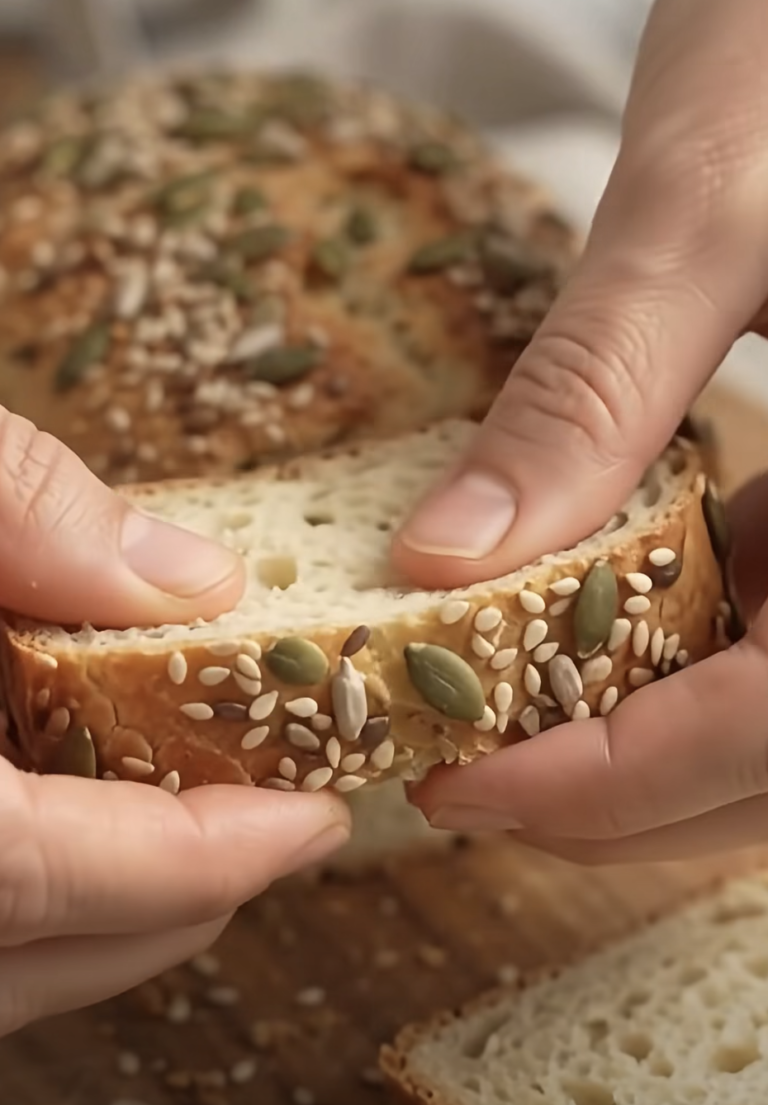
Soft & Fluffy Homemade Oat Bread is a delicious, wholesome loaf that combines the mild, nutty flavor of oats with a soft, tender texture. Made with oat flour, fine rolled oats, tapioca starch, and psyllium husk, this easy homemade bread offers a wonderful alternative to traditional wheat-based loaves.
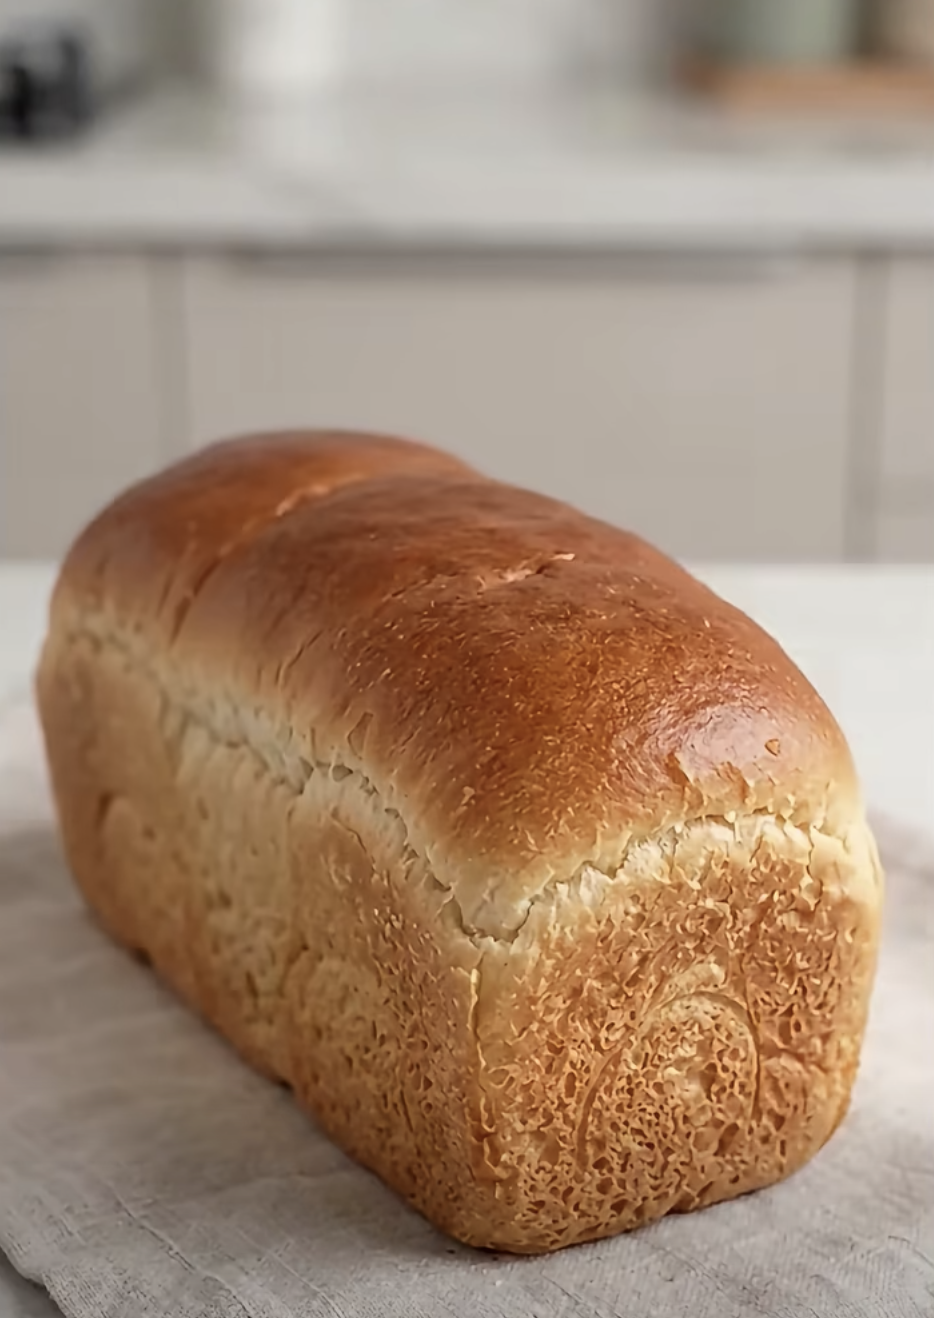
Soft & Fluffy Homemade Oat Bread – Easy No-Knead Recipe
Ingredients
Equipment
Method
- In a large mixing bowl, combine warm milk, dry yeast, and demerara sugar. Stir gently and let stand for approximately 5 minutes.
- Add eggs, olive oil or melted coconut oil, and salt. Whisk until well combined.
- Stir in fine rolled oats, oat flour, sweet tapioca starch, and whole psyllium husk.
- Mix thoroughly until a thick, moist, slightly sticky dough forms. No kneading is necessary.
- Grease a 9 × 5-inch loaf pan. Transfer the dough into the pan and smooth the top with a wet spoon or spatula.
- Cover loosely and let rise in a warm place for 40–60 minutes, until noticeably increased in volume.
- Near the end of the rising time, preheat the oven to 350°F (180°C).
- Bake for 35–40 minutes until golden brown and cooked through. The center should reach approximately 200–205°F (93–96°C).
- Remove from the oven and let cool in the pan for 10–15 minutes.
- Transfer to a wire rack and allow the loaf to cool completely before slicing.
Notes
Unlike conventional bread recipes that require kneading, this homemade oat bread uses a simple mixing method. You only need to combine the ingredients, let the dough rise, and bake until golden.
The result is a soft, moist loaf with a delicate oat flavor and a pleasantly hearty crumb. It tastes wonderful with butter, jam, avocado, or your favorite sandwich fillings.
Best of all, you can prepare the dough in approximately 15 minutes. After a 40–60-minute rise and 35–40 minutes in the oven, you’ll have a beautiful homemade loaf ready to cool and slice.
I started experimenting with oat bread when I wanted a homemade loaf that didn’t require kneading or complicated shaping. I already had oat flour and rolled oats in the pantry, so I combined them with warm milk, yeast, and a few ingredients that help gluten-free-style dough hold together. The first thing I noticed was how different the mixture looked from traditional bread dough. Instead of forming a smooth, elastic ball, it stayed thick and sticky. However, after rising and baking, it developed a lovely golden crust and a soft center. Since then, I’ve enjoyed making this bread for breakfast toast and simple sandwiches.
Why You’ll Love This Soft & Fluffy Homemade Oat Bread
A Soft Texture Without Traditional Kneading
One of the biggest advantages of Soft & Fluffy Homemade Oat Bread is its simple preparation method.
Traditional wheat bread relies on gluten development to create an elastic dough that traps gas during rising.
However, oat flour does not develop the same gluten network.
Instead, this recipe uses eggs, tapioca starch, and psyllium husk to help create structure.
The eggs contribute protein and support the bread’s shape.
Meanwhile, tapioca starch helps produce a lighter, more flexible crumb.
Psyllium husk absorbs moisture and forms a gel-like texture that helps hold the dough together.
These ingredients work together to create a loaf that feels soft and tender without requiring kneading.
The dough will look thick, moist, and slightly sticky.
That’s exactly what you want.
Unlike traditional wheat dough, you don’t need to stretch or shape it into a smooth ball.
Simply mix the ingredients thoroughly, transfer the mixture to a loaf pan, and smooth the surface.
Then allow the yeast to create air pockets as the dough rises.
During baking, those air pockets expand and help create a lighter texture.
Although oat bread typically has a more delicate structure than wheat bread, proper mixing and cooling can produce slices that hold together well.
A Wholesome Bread for Breakfast and Sandwiches
Another reason to enjoy Soft & Fluffy Homemade Oat Bread is its versatility.
Oats contribute fiber and a mild, nutty flavor that works with both sweet and savory toppings.
Additionally, oat flour provides carbohydrates, while eggs contribute protein.
Olive oil adds moisture and unsaturated fats.
Psyllium husk contributes additional soluble fiber and helps support the loaf’s texture.
Because the recipe contains no wheat flour, it can suit people who prefer wheat-free baking.
However, anyone who needs to avoid gluten should use certified gluten-free oats and oat flour, since ordinary oats may come into contact with gluten-containing grains during processing.
The bread tastes delicious with a little butter or fruit jam.
You can also toast a slice and top it with mashed avocado, sliced tomatoes, or scrambled eggs.
For lunch, use the bread to prepare sandwiches with cheese, turkey, hummus, or fresh vegetables.
Because the loaf contains no strong spices, it pairs well with many different flavors.
You can also slice and freeze it for convenient breakfasts throughout the week.
Simply warm individual slices when needed.
Choosing the Best Ingredients for Homemade Oat Bread
Oat Flour, Rolled Oats, Tapioca Starch, and Psyllium
The flour mixture plays an important role in Soft & Fluffy Homemade Oat Bread.
Start with one and a half cups of oat flour.
Oat flour provides the bread’s mild flavor and forms the main base of the dough.
You can purchase ready-made oat flour or grind rolled oats into a fine powder using a high-speed blender.
For consistent results, choose finely ground flour.
Next, add one cup of fine rolled oats.
These oats contribute texture and help create a hearty crumb.
If your rolled oats are particularly large, pulse them briefly in a food processor.
However, avoid grinding them completely into flour because the recipe already includes oat flour.
Next, use half a cup of sweet tapioca starch.
Tapioca starch helps lighten the texture and adds flexibility.
Use plain tapioca starch rather than a seasoned tapioca flour mixture.
Then add one tablespoon of psyllium husk.
Psyllium absorbs moisture and helps bind the ingredients together.
This ingredient is particularly useful in bread recipes that don’t contain wheat gluten.
For the most predictable results, use whole psyllium husk rather than finely powdered psyllium unless you adjust the quantity.
Powdered psyllium can absorb moisture differently and may create a denser loaf.
Yeast, Eggs, Milk, Oil, and Seasonings
The remaining ingredients help the bread rise and develop flavor.
Start with one cup of warm milk or lactose-free milk.
The milk should feel comfortably warm, not hot.
Aim for approximately 100–110°F (38–43°C).
Excessively hot milk can damage the yeast.
Next, use 10 grams of dry yeast.
The yeast produces gas during fermentation, helping the dough rise.
One tablespoon of demerara sugar provides a small amount of sweetness and supports the yeast’s activity.
If you choose a baking sweetener instead, confirm that it works with yeast recipes. Some sugar substitutes don’t provide fermentable sugar, although yeast can still use carbohydrates from other ingredients.
Two large eggs help create structure and tenderness.
Next, add two tablespoons of olive oil or melted coconut oil.
The oil keeps the crumb moist and contributes richness.
One teaspoon of salt balances the flavors.
Together, these ingredients create a simple, lightly savory bread that works for breakfast, lunch, and snacks.
For the best results, measure the ingredients carefully and use fresh yeast.
How to Make Soft & Fluffy Homemade Oat Bread
Mixing the Dough and Activating the Yeast
Making Soft & Fluffy Homemade Oat Bread begins with activating the yeast.
First, pour one cup of warm milk into a large mixing bowl.
Add the dry yeast and demerara sugar.
Stir gently, then allow the mixture to rest for approximately five minutes.
You may notice small bubbles or a light foam forming on the surface.
This indicates that the yeast has started working.
Next, add the eggs, olive oil or melted coconut oil, and salt.
Whisk until the wet ingredients combine evenly.
Then add the fine rolled oats, oat flour, tapioca starch, and psyllium husk.
Use a sturdy spatula or wooden spoon to mix everything thoroughly.
The mixture will gradually thicken as the oats and psyllium absorb liquid.
Continue stirring until no dry flour remains.
The dough should feel thick, moist, and slightly sticky.
Unlike wheat bread dough, it won’t form a smooth, stretchy ball.
Therefore, don’t add extra flour simply because the mixture feels sticky.
Excess flour can create a dry, heavy loaf.
Instead, let the dough rest for a few minutes if you need the psyllium to absorb more moisture.
Once the mixture looks evenly combined, transfer it to a greased loaf pan.
Smooth the top with a wet spoon or spatula.
Rising, Baking, and Cooling for the Best Texture
After transferring the dough to the loaf pan, cover it loosely with a clean kitchen towel or lightly greased plastic wrap.
Place the pan in a warm, draft-free location.
Allow the dough to rise for approximately 40–60 minutes.
The dough should increase noticeably in volume.
However, oat-based dough may not double as dramatically as traditional wheat dough.
Avoid waiting too long if the surface starts to weaken or collapse.
Near the end of the rising time, preheat the oven to 350°F (180°C).
Once the dough has risen, carefully remove the cover.
Place the loaf pan on the center rack.
Bake for approximately 35–40 minutes.
The top should turn golden brown, and the bread should feel firm enough to hold its shape.
For a more reliable doneness check, use an instant-read thermometer.
The center should reach approximately 200–205°F (93–96°C).
If the loaf browns too quickly, loosely cover it with aluminum foil.
After baking, remove the pan from the oven.
Let the bread rest in the pan for approximately 10–15 minutes.
Then transfer it to a wire rack.
Allow the loaf to cool completely before slicing.
This step matters because oat-based breads continue to set as they cool.
Cutting too early can make the crumb appear sticky or gummy.
Once cooled, slice the bread with a sharp serrated knife.
Serving, Storing, and Customizing Homemade Oat Bread
Delicious Ways to Serve Fresh Oat Bread
Soft & Fluffy Homemade Oat Bread works beautifully for breakfast, lunch, and afternoon snacks.
For breakfast, toast a slice lightly and spread it with butter or your favorite jam.
The mild oat flavor pairs especially well with strawberry, raspberry, and apricot preserves.
You can also top the bread with mashed avocado and a pinch of black pepper.
For a protein-rich breakfast, serve it alongside scrambled eggs or Greek yogurt.
If you enjoy sweet toppings, try almond butter with banana slices.
For lunch, use the bread to prepare sandwiches with turkey, cheese, lettuce, and tomato.
You can also spread hummus over a slice and add cucumber, roasted peppers, and fresh herbs.
The bread’s tender texture makes it suitable for simple open-faced sandwiches.
For a comforting snack, warm a slice and add a little honey.
You can also serve the bread with homemade soup.
It pairs particularly well with vegetable soup, tomato soup, and creamy pumpkin soup.
For the best texture, slice the loaf only after it has cooled completely.
Then toast or warm individual portions as needed.
Storage Tips and Easy Recipe Variations
Proper storage helps Soft & Fluffy Homemade Oat Bread maintain its texture.
After baking, allow the loaf to cool completely.
Then place it in an airtight container or wrap it tightly.
Because homemade oat bread contains moisture and no commercial preservatives, it generally keeps best in the refrigerator.
For the best quality, refrigerate it for up to four days.
You can also freeze the bread.
Slice the cooled loaf and place parchment paper between the pieces.
Then store the slices in a freezer-safe bag or container.
For the best quality, enjoy frozen bread within two to three months.
When you’re ready to eat, thaw a slice or warm it gently in a toaster.
You can also customize the recipe.
For a nutty variation, sprinkle pumpkin seeds or sunflower seeds over the dough before baking.
For additional flavor, add a small amount of dried rosemary or oregano.
If you enjoy slightly sweet bread, increase the sugar modestly or add a little cinnamon.
For a dairy-free version, replace the milk with an unsweetened plant-based alternative.
However, choose a milk with a mild flavor so it doesn’t overpower the oats.
You can also use melted coconut oil instead of olive oil.
These simple variations allow you to adapt the bread while preserving its soft, tender character.
Ingredients
Yield: 1 loaf, approximately 10–12 slices | Prep time: 15 minutes | Rising time: 40–60 minutes | Bake time: 35–40 minutes | Total time: approximately 90–115 minutes, plus cooling | Suggested pan: 9 × 5 inches
- 2 large eggs
- 1 cup (240 ml) warm milk or lactose-free milk
- 2 tablespoons olive oil or melted coconut oil
- 1 tablespoon demerara sugar or yeast-compatible baking sweetener
- 1 teaspoon salt
- 10 grams dry yeast
- 1 cup fine rolled oats
- 1½ cups oat flour
- ½ cup sweet tapioca starch
- 1 tablespoon whole psyllium husk
Instructions
- Activate the yeast. In a large mixing bowl, combine the warm milk, dry yeast, and sugar. Stir gently and let stand for approximately 5 minutes.
- Add the wet ingredients. Add the eggs, olive oil or melted coconut oil, and salt. Whisk until well combined.
- Add the dry ingredients. Stir in the fine rolled oats, oat flour, tapioca starch, and psyllium husk.
- Mix the dough. Stir thoroughly until a thick, moist, slightly sticky dough forms. No kneading is necessary.
- Prepare the loaf pan. Grease a 9 × 5-inch loaf pan. Transfer the dough into the pan and smooth the top with a wet spoon or spatula.
- Let the dough rise. Cover loosely and place in a warm location for 40–60 minutes, until noticeably increased in volume.
- Preheat the oven. Near the end of the rising time, preheat the oven to 350°F (180°C).
- Bake the bread. Bake for 35–40 minutes, until the top turns golden brown and the center reaches approximately 200–205°F (93–96°C).
- Cool the loaf. Remove the bread from the oven and let it cool in the pan for 10–15 minutes.
- Slice and serve. Transfer the loaf to a wire rack and cool completely before slicing.
Frequently Asked Questions
1. Is homemade oat bread gluten-free?
Oat bread can be gluten-free when you use certified gluten-free oats, certified gluten-free oat flour, and other gluten-free ingredients. However, regular oats may come into contact with wheat, barley, or rye during processing. Always check product labels if you need to avoid gluten.
2. Why is my oat bread dense or gummy?
Too much moisture, inaccurate flour measurements, insufficient baking time, or slicing the loaf while hot can create a dense or gummy texture. For the best results, measure ingredients carefully, bake until the center reaches approximately 200–205°F, and allow the loaf to cool completely.
3. Can I make oat bread without psyllium husk?
Psyllium husk plays an important role in this recipe because it absorbs moisture and helps hold the dough together. Omitting it may cause the loaf to crumble or collapse. Other binders may work, but they require recipe adjustments and may produce a different texture.
4. Can I use plant-based milk instead of regular milk?
Yes. Unsweetened almond milk, soy milk, or oat milk can work in this recipe. Warm the milk gently before mixing it with the yeast. Avoid overheating it because excessive heat can damage the yeast.
5. How should I store homemade oat bread?
Allow the bread to cool completely, then store it in an airtight container in the refrigerator for up to four days. For longer storage, freeze individual slices for up to three months for the best quality. Toast or warm slices before serving if desired.
Conclusion
Soft & Fluffy Homemade Oat Bread offers a delicious way to enjoy a tender homemade loaf without traditional kneading.
The combination of oat flour, fine rolled oats, tapioca starch, and psyllium husk creates a soft texture with a pleasant oat flavor.
Meanwhile, eggs, warm milk, yeast, and olive oil help the bread rise and develop a golden crust.
With only 15 minutes of preparation, this recipe makes homemade bread approachable even for beginner bakers.
For the best results, use fresh yeast, measure the dry ingredients carefully, allow the dough to rise until noticeably larger, and cool the loaf completely before slicing.
Whether you enjoy it toasted with jam, topped with avocado, or filled with your favorite sandwich ingredients, this homemade oat bread makes a versatile addition to your kitchen.