Before we dive into the soft, squishy world of DIY puffy paint, I just want to pause and say thank you. Thank you for choosing to slow down and create something playful and joyful—especially if you’re sharing it with a child. Projects like this aren’t just crafts; they’re little moments of magic, full of giggles, color, and hands-on discovery.
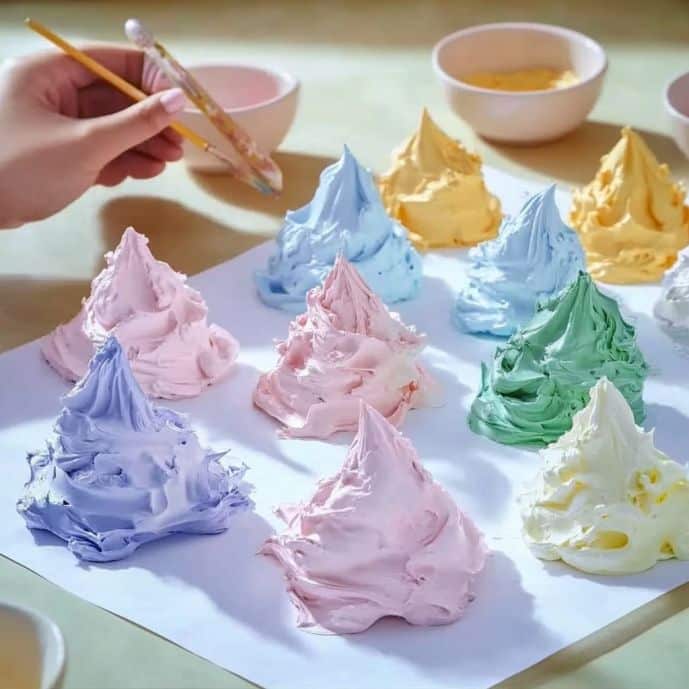
Today, we’re making Fluffy Puffy Paint—a light, foamy paint that dries with a 3D texture and invites creative fun for artists of all ages. Whether you’re painting rainbows, animals, or wild abstract swirls, this craft is an absolute favorite in our house… and I’m betting it’s about to be a favorite in yours, too. 🖌️
Want more hands-on crafts like this delivered to your inbox? Subscribe below for weekly ideas to spark creativity and smiles!
What Is Puffy Paint?
Puffy paint is a special blend of white glue and shaving cream that dries into a fun, squishy, 3D texture on paper. It’s a perfect art activity for toddlers, preschoolers, or even big kids who just want to get their hands messy in the best possible way.
Think finger painting, but fluffier. And prettier. And yes—way more fun to poke once it’s dry. 😄
Why You’ll Love This Fluffy Paint
- 🎨 Super sensory – soft, foamy, and irresistible to squish
- 👧 Safe and kid-friendly – made with non-toxic household supplies
- 💡 Perfect for little learners – supports fine motor skills and creative exploration
- 🌈 Easy to customize – make a rainbow of colors from one batch
- ✨ Great for seasonal or themed art – perfect for clouds, snow, cupcakes, and more!
What Does Puffy Paint Look and Feel Like?
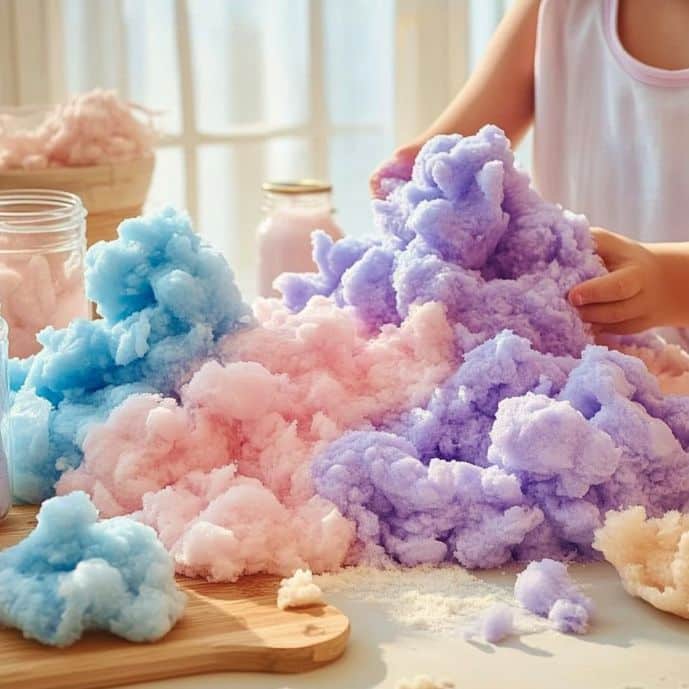
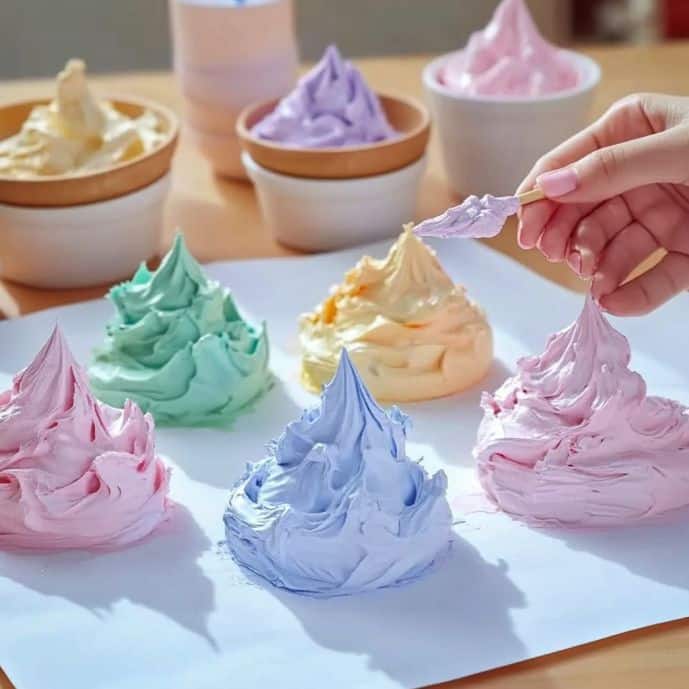
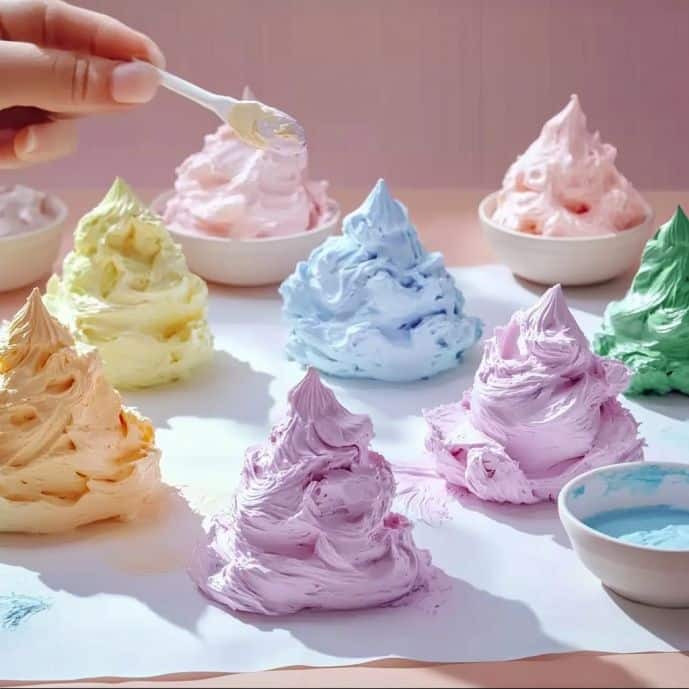
Freshly mixed, it’s like whipped cream—fluffy, silky, and light. Once applied to paper, it holds its shape beautifully and dries with a soft, squishy texture that you can still see and feel. Kids love touching the finished product—it feels like marshmallows or soft foam!
The look? Bright, bold, and three-dimensional. The colors pop, and the thickness adds so much personality to your artwork. Anything but flat!
Ingredients & Supplies
You’ll Need:
- ✅ ½ cup white school glue (Elmer’s works great!)
- ✅ ½ cup foam shaving cream (the classic kind, not gel)
- ✅ Food coloring or liquid watercolors
- ✅ Small bowl and spoon or craft stick (for mixing)
- ✅ Paintbrushes, cotton swabs, or fingers (for applying)
- ✅ Thick paper or cardstock (regular paper can curl with moisture)
- ✅ Optional: Glitter for sparkle
Optional Variations
- 🌈 Split into smaller batches and color each one differently for a rainbow palette
- ✨ Add a pinch of glitter for a sparkly effect
- 🍭 Try scented shaving cream (like coconut or mint!) for a sensory boost
- 🌟 Want to go big? Use this paint on poster board for a jumbo masterpiece!
How to Make Fluffy Puffy Paint – Step-by-Step
1. Pour the Glue
In a small bowl, add ½ cup of white school glue.
2. Add the Shaving Cream
Next, gently squirt ½ cup of foam shaving cream into the bowl. Try not to pack it down—you want all that fluff!
3. Mix It Up
Using a spoon or craft stick, gently fold the glue and shaving cream together. Don’t stir too vigorously—you’ll lose the puffiness! Think of folding whipped cream into cake batter.
4. Add Color
Drop in a few drops of food coloring or liquid watercolor. Stir lightly until evenly colored. Want more colors? Divide the mix into smaller bowls and repeat with different shades.
5. Time to Paint!
Use paintbrushes, cotton swabs, or fingers to apply the fluffy paint to thick paper. The more you layer it, the puffier the result!
6. Let It Dry
Place the artwork somewhere flat and ventilated. Drying takes 12–24 hours, depending on how thick your paint is and your room’s humidity. Once dry, the paint stays puffy and soft to the touch.
What to Paint with Puffy Paint
Need some inspiration? Try these:
- ☁️ Puffy clouds
- 🍦 Ice cream cones
- 🧁 Cupcakes with frosting
- 🐑 Sheep with fluffy wool
- 🌸 Spring flowers
- ❄️ Snowmen and snowflakes
- 🎂 Birthday cards with raised letters
Let the imagination lead the way!
Tips for the Best Puffy Paint Results
- Use thicker paper like cardstock or watercolor paper so the moisture doesn’t cause warping.
- Fold, don’t stir too aggressively—preserve that fluff!
- Store unused paint in an airtight container in the fridge for up to 24 hours.
- Encourage kids to explore texture—they’ll love using fingers just as much as brushes!
Storage & Longevity
- Once dry, puffy paint art will stay raised and soft for weeks (even months) if stored flat.
- Avoid bending or stacking the artwork to keep the texture intact.
- Display on the fridge, frame it, or use clothespins to hang on a gallery wall!
Frequently Asked Questions (FAQ)
Can I store the puffy paint for later use?
Yes—for best results, store in an airtight container in the refrigerator for up to 24 hours. It may lose some fluffiness after that.
Can I use gel shaving cream?
It’s not recommended—foam shaving cream gives the best texture. Gel won’t fluff the same way.
Is this paint safe for toddlers?
Yes! All ingredients are non-toxic and safe when used with supervision. Just keep it out of mouths.
Can I use this paint on canvas?
Absolutely! Just make sure the canvas is primed and flat. Puffy paint adds great texture to canvas art projects.
Wrap-Up: Why Puffy Paint Will Be Your New Favorite Craft
Fluffy Puffy Paint is the perfect blend of art and sensory play. It’s fast to make, incredibly satisfying to use, and leaves behind beautiful, squishy, touchable artwork that kids can’t wait to show off.
Whether it’s your first time or your fiftieth, it never gets old—there’s just something magical about watching soft peaks of color take shape on paper.
More Crafty Fun You’ll Love:
- 🧼 DIY Soap Foam Prints
- 🎨 Salt Painting Flowers
- 🌞 Window Cling Suncatchers
- 💎 Crystal Growing with Borax
Let me know which one you’d like next—I’ll bring the instructions and the fun!
Share Your Puffy Masterpieces! 🎨
Did you try this recipe?
📌 Pin it on Pinterest and tag me so I can see your fluffy creations!
📸 Or drop a comment below with your favorite colors and techniques—your ideas might inspire someone else!
“Nutritional” Value (Non-Edible Craft)
- 💡 100% Imagination
- ✋ 150% Sensory Satisfaction
- 🖌️ 0 Rules, All Fun
Thanks for crafting with me today. Wishing you colorful days, puffy textures, and plenty of reasons to smile. 💖
Fluffy Puffy Paint
Ingredients
Main Ingredients
- ½ cup white school glue (Elmer’s works great) Make sure to use white school glue.
- ½ cup foam shaving cream (the classic kind, not gel) Foam shaving cream gives the best texture.
- as needed food coloring or liquid watercolors Use to achieve desired colors.
Supplies
- 1 spoon or craft stick for mixing To fold the glue and shaving cream.
- as needed paintbrushes, cotton swabs, or fingers For applying the paint.
- as needed thick paper or cardstock Regular paper may curl with moisture.
- optional glitter Add for sparkle.
Instructions
Preparation
- In a small bowl, add ½ cup of white school glue.
- Next, gently squirt ½ cup of foam shaving cream into the bowl. Try not to pack it down.
- Using a spoon or craft stick, gently fold the glue and shaving cream together. Avoid stirring too vigorously.
- Drop in a few drops of food coloring or liquid watercolor and stir lightly until evenly colored.
- Use paintbrushes, cotton swabs, or fingers to apply the fluffy paint to thick paper.
- Place the artwork somewhere flat and ventilated to dry. Drying takes 12–24 hours.
Notes
Nutrition
More Craft Innovations
- I Found a Strange Growth on My Garage Wall—What It Revealed About Hidden Moisture
- After a Decade Together, She Discovered the True Value of Her Contributions
- My Daughter Disappeared After Prom Night—Almost a Year Later, an Ordinary Beanbag Chair Revealed the Truth
- Stop Your Bed Sheets From Balling Up in the Dryer: Simple Tricks That Actually Work