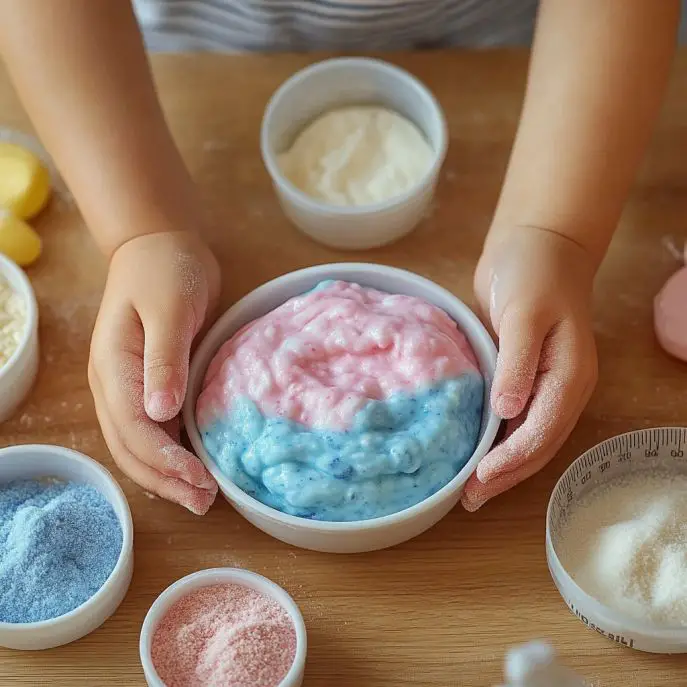
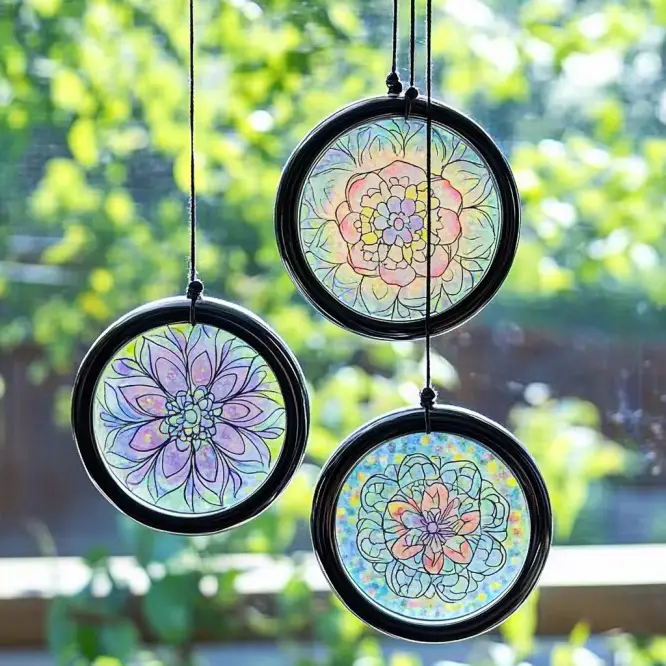
Before we dive into all things crafty and colorful, let me just say thank you. Thank you for stopping by, for making time for creativity, and most of all—for sharing it with the kids in your life. Whether you’re a parent, a teacher, a cool aunt, or just someone who adores vibrant DIY projects, this one’s for YOU. It’s simple, sensory, and seriously stunning when it’s done!
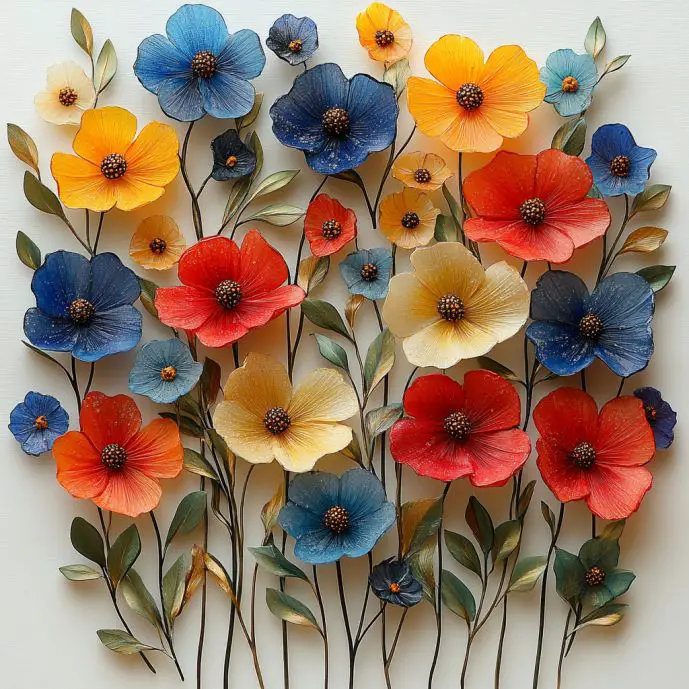
And hey, if you want this salt painting craft sent straight to your inbox (plus more hands-on art ideas just like it), subscribe below to get creative inspo delivered weekly!
What is Salt Painting, and Why Is It So Fun?
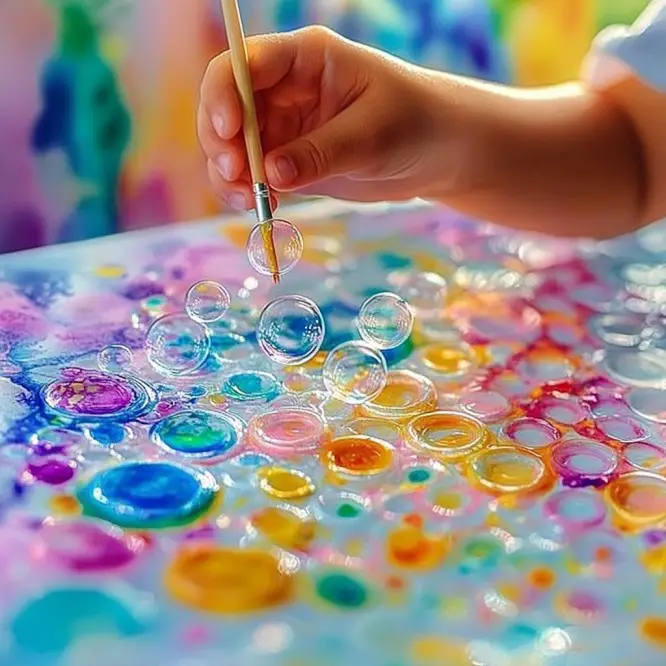
Salt painting is an engaging process-art activity that blends art and science beautifully. It’s all about watching watercolors magically travel along textured, salty glue lines. There’s something undeniably wow-worthy about how the colors spread and sparkle—it’s like watching tiny rainbows bloom on paper.
This project isn’t just cute, it’s packed with benefits for little learners: it boosts fine motor skills, encourages color experimentation, and invites open-ended creativity.
Best part? It’s practically mess-free and doesn’t require fancy supplies. I promised you simple, and I meant it!
Why You’ll Love This DIY Salt Painting Craft
- 🧠 Stimulates creativity with endless shapes and color combos
- 👶 Perfect for kids of all ages—from toddlers to tweens
- 🖌️ Encourages fine motor development (great for pencil grip practice!)
- 🎨 Process-focused art—it’s about the journey, not the perfect result
- 🧼 Minimal cleanup thanks to some smart setup tricks
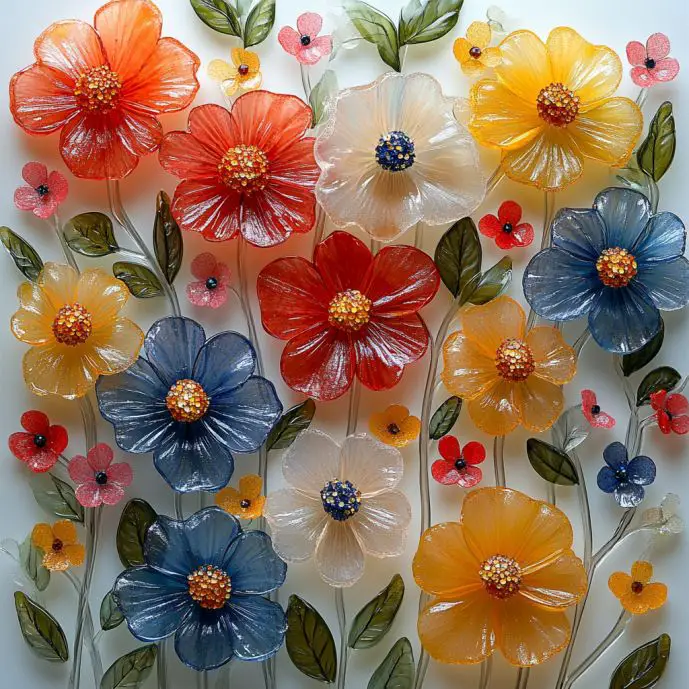
What Does Salt Painting Feel Like?
Honestly? Magical. The salt adds a raised, sparkly texture, while the paint wicks along the glue like it’s dancing. The final result is a colorful, slightly crystallized piece of art that feels as joyful to make as it looks.
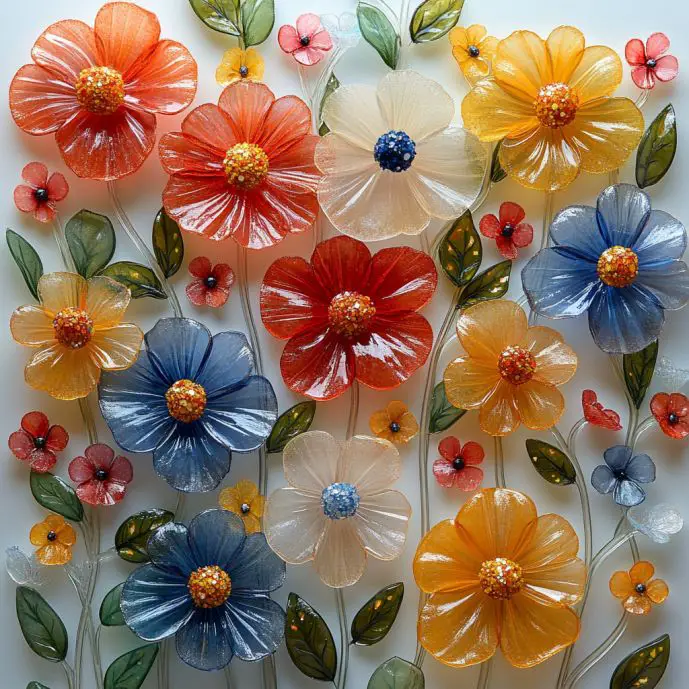
Each flower feels alive with personality, and every project turns out totally unique—just like your little artist!
Supplies You’ll Need
Ingredients:
- ✅ White school glue (PVA)
- ✅ Table salt (fine grain)
- ✅ Watercolor paints, liquid watercolors, or food coloring diluted with water
- ✅ Paintbrushes, pipettes, or droppers
- ✅ Heavyweight paper (watercolor paper or thick cardstock)
- ✅ Small cups or palette for mixing paints
- ✅ Tray or newspaper (to catch excess salt and keep mess to a minimum)
Tools:
- A flat, stable workspace
- Optional: Apron or smock for little artists
Ingredient Swaps and Add-Ons
- No watercolors? Mix a few drops of food coloring into water and voilà—instant paint!
- Try colored salt for an added surprise effect (just mix salt with a drop of food coloring and let it dry before using).
- Swap flowers for hearts, stars, dinosaurs, or even name initials—this method is totally customizable!
How to Make DIY Salt Flower Paintings – Step-by-Step
1. Prep Your Station
Lay out all your materials on a flat, covered surface. Trust me, this simple step makes everything go smoother.
2. Draw with Glue
On your heavyweight paper, use white glue to draw flowers—think petals, stems, leaves, maybe even a sun if you’re feeling ambitious! Keep the glue lines thick so the salt can really stick.
3. Sprinkle the Salt
While the glue is still wet, generously sprinkle salt all over your drawing. Tap the paper gently to shake off the excess salt onto a tray. (You can reuse this!)
4. Add the Paint
Using a paintbrush, pipette, or dropper, gently drop your watercolor onto the salted glue. Watch closely—the paint spreads beautifully along the salt like it’s alive!
5. Let it Dry
Place your painting somewhere flat and undisturbed. Leave it to dry for a few hours or overnight. No touching—tempting, I know, but worth the wait!
6. Display Your Art
Once dry, your textured flower masterpiece is ready for the spotlight. Tape it on a wall, frame it, or string up a gallery line for instant cheer.
What to Pair With This Craft
- 🍎 A fun read-aloud book about flowers (like Planting a Rainbow)
- 🌱 A mini gardening session—plant real seeds after painting them!
- 🎶 A nature-themed playlist to paint along to
- 🧼 A gentle handwashing break afterward with scented soap—always a hit!
Tips for Success
- Stick with heavier paper—it handles the glue and paint without warping.
- Encourage kids to drop the paint, not brush it—this preserves the salt texture and avoids smearing.
- Add glitter before the paint for extra sparkle!
- Want to sneak in learning? Talk about color mixing as they blend shades!
Storage & Longevity
Salt paintings are fragile, so treat them gently. Once fully dry:
- Store them flat in a folder or scrapbook.
- Spray with a light fixative (optional) to reduce flaking.
- Avoid humidity and don’t stack them to preserve texture.
FAQs: Salt Painting with Kids
How old should kids be to try this?
This activity is safe for toddlers with supervision, but most magical for ages 4–10. Even teens will enjoy the effects!
Can I use regular paper?
Technically yes, but it may wrinkle from the moisture. Watercolor paper or cardstock = best results.
Is it messy?
Minimal! As long as you use a tray or newspaper to catch the salt, cleanup is a breeze.
Can I do this in a classroom?
Absolutely. Just prep stations in advance and let kids work in pairs to minimize crowding.
In Summary: Why You’ll Keep Coming Back to Salt Painting
This DIY Flowers Salt Painting isn’t just another craft—it’s a memory-maker. It’s the kind of activity that invites “oohs” and “ahhs,” encourages exploration, and leaves both you and your young artist feeling proud.
It’s also super adaptable—once you try it, you’ll be dreaming up seasonal and themed versions year-round.
More Crafty Fun with Peaches!
Wait, what?! Yep—if you’re here for sweet, summery vibes, you might also love:
- 🍑 Peach Hand Pies
- 🍑 Peach Cobbler with Biscuit Topping
- 🍑 No-Churn Peach Ice Cream
Let me know if you’d like one of those recipes next!
Share the Love 💖
Tried this project? I’d love to see your salty masterpieces!
📌 Pin it on Pinterest and tag me so I can cheer you on!
📸 Or leave a photo and comment below—your feedback means the world.
Nutritional Information
Okay, okay—this one’s not edible, but here’s what you do get per project:
- ✨ 100% Creativity Boost
- 🧠 Full serving of Curiosity
- 💖 Zero calories, Infinite Joy
Thanks for being here. Happy crafting—and may your flowers always bloom beautifully, both on paper and in life. 🌸
Salt Flower Painting
Ingredients
Supplies
- 1 bottle White school glue (PVA)
- 1 cup Table salt (fine grain) Generously sprinkle over glue
- 1 set Watercolor paints, liquid watercolors, or food coloring diluted with water Use any of these for color
- 1 set Paintbrushes, pipettes, or droppers For applying paint
- 1 sheets Heavyweight paper (watercolor paper or thick cardstock) High quality ensures best results
- 2 pieces Small cups or a palette For mixing paints
- 1 piece Tray or newspaper To catch excess salt
Tools
- 1 flat stable workspace
- 1 optional Apron or smock For keeping clothes clean
Instructions
Preparation
- Lay out all your materials on a flat, covered surface.
Creating the Painting
- Use white glue to draw flowers on heavyweight paper, keeping glue lines thick.
- While the glue is wet, sprinkle salt generously over the drawing and tap off excess.
- Using a paintbrush or pipette, drop watercolor onto the salted glue and watch the paint spread.
- Place the painting in a flat area to dry for several hours or overnight.
Final Touches
- Once dry, display your artwork on a wall, frame it, or string it up.
Notes
Nutrition
More Craft Innovations
- I Found a Strange Growth on My Garage Wall—What It Revealed About Hidden Moisture
- After a Decade Together, She Discovered the True Value of Her Contributions
- My Daughter Disappeared After Prom Night—Almost a Year Later, an Ordinary Beanbag Chair Revealed the Truth
- Stop Your Bed Sheets From Balling Up in the Dryer: Simple Tricks That Actually Work