There’s something so satisfying about mixing colors and watching a fun little science experiment come to life—especially when it ends with a bouncy, tie-dye surprise! These DIY Tie-Dye Bouncy Balls are part craft, part chemistry, and all fun. Whether you’re a parent looking for an afternoon activity, a teacher planning a hands-on science lesson, or just someone who loves a little nostalgic creativity, this is for you. 💫
Thank you for stopping by! I’m always thrilled to share projects that spark imagination and bring smiles to all ages. Want more kid-friendly crafts like this sent straight to your inbox? Be sure to subscribe so you never miss a messy, magical moment!
What Are Tie-Dye Bouncy Balls?
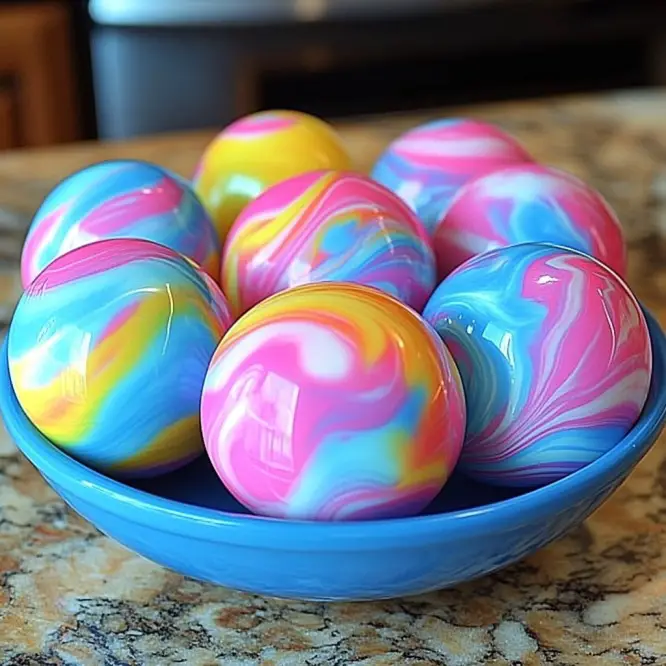
These are homemade, squishy-yet-bouncy balls made with common household ingredients like school glue, liquid starch, and food coloring. What makes them extra special is the vibrant tie-dye swirl you can customize yourself. Think of them as mini, colorful science experiments that bounce!
Reasons to Love This Craft
- ✅ Fun and easy for kids (and adults!)
- ✅ Teaches basic chemistry and color mixing
- ✅ Totally customizable—make them glittery, neon, or pastel!
- ✅ Great rainy day, birthday party, or STEM activity
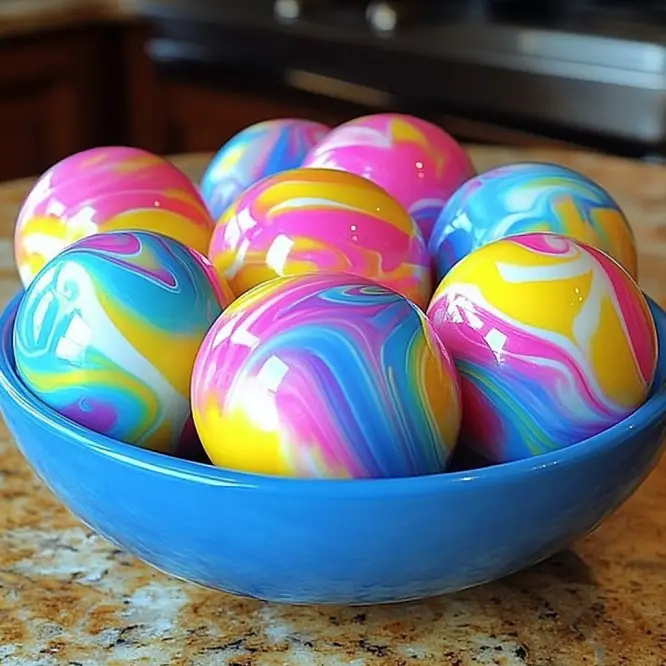
What Do They Feel Like?
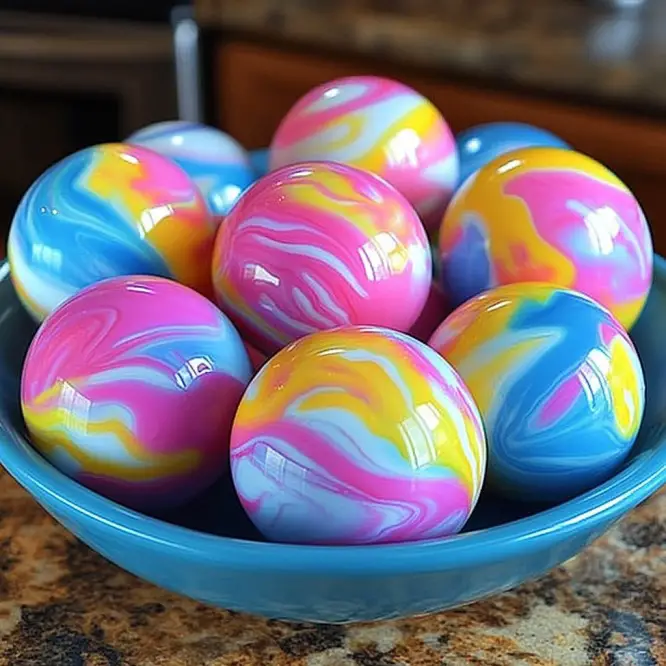
Soft, stretchy, and squishable while you’re forming them—and once dried, they firm up and gain a satisfying bounce! The tie-dye patterns are random and unique in every single ball, so no two will ever be the same. It’s like marbling meets bouncy magic. 🎨✨
Benefits of Making Homemade Bouncy Balls
- Encourages hands-on learning
- Promotes fine motor skills and sensory play
- Sparks curiosity about chemical reactions
- Provides screen-free, creative fun
- Doubles as a handmade party favor or gift
Ingredients & Supplies
You probably already have most of these at home!
- ½ cup white school glue
- ¼ cup liquid starch
- ¼ cup water
- 1 tablespoon cornstarch
- ½ teaspoon baking soda
- Food coloring (multiple colors for the tie-dye effect)
- Small mixing bowls (1 per color)
- Plastic spoons or craft sticks for stirring
- Wax paper (for drying surface)
Ingredient Notes & Fun Additions
Optional but awesome:
- Fine glitter – Add sparkle to your bouncy creations!
- Glow-in-the-dark paint – Add a touch for nighttime fun.
- Essential oils – A few drops for a light scent (lavender is calming!).
Step-by-Step Instructions
Step 1: Mix the Basics
In a small bowl, stir together ½ cup of white glue and ¼ cup of water.
Step 2: Add Baking Soda
Mix in ½ teaspoon of baking soda and stir until fully dissolved.
Step 3: Divide & Dye
Split the mixture into several small bowls. Add a few drops of different food coloring to each bowl and stir to combine. These will become your tie-dye colors!
Step 4: Add Liquid Starch
Slowly add ¼ cup liquid starch to each bowl, stirring constantly. The mixture will begin to thicken and clump together—keep stirring!
Step 5: Add Cornstarch & Knead
Stir in 1 tablespoon of cornstarch to each bowl. Once the mixture is hard to stir, use your hands to knead it until it becomes a soft, stretchy dough.
Step 6: Form the Balls
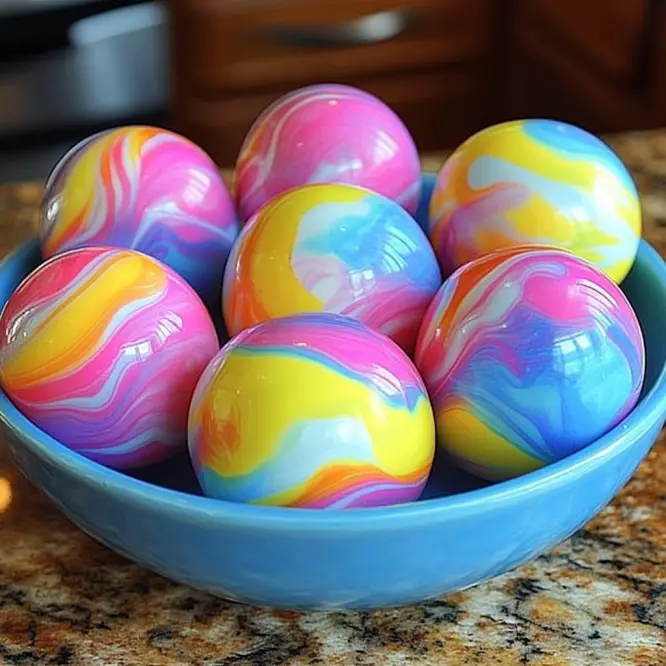
Pinch off bits of different colored dough and gently press and roll them together to form 1–2 inch balls. Don’t overmix if you want to keep the distinct tie-dye swirls!
Step 7: Dry on Wax Paper
Place your finished balls on wax paper and let them dry for a few hours.
Step 8: Bounce and Play!
Once they’re dry, give them a bounce and admire the colorful patterns you created!
Tips for the Best Tie-Dye Bouncy Balls
- 🌀 Don’t overmix the colors! Too much blending will turn them brown or gray.
- 🧼 Wash hands between colors to keep things neat.
- 💧 If the dough is too sticky, sprinkle in a little extra cornstarch.
- 🌀 Want perfect swirls? Twist two or three color doughs together gently before rolling.
Storage Instructions
Store bouncy balls in an airtight container or resealable bag to keep them from drying out. They’ll stay soft and bouncy for up to a week!
FAQs
Do these really bounce?
Yes! Once fully dried, they can bounce on hard surfaces. The height isn’t as high as store-bought rubber balls, but it’s still a ton of fun.
Are these safe for young kids?
They’re non-toxic, but should still be used under supervision. These are not edible, so keep them away from toddlers who like to taste-test everything!
Can I make them ahead of time?
Absolutely! You can prep the colored doughs ahead and shape them when ready. Just store the dough in plastic wrap or an airtight container.
Why do my balls crack or flake?
That’s usually from over-drying or adding too much starch. Make sure they’re kneaded well and stored properly.
Final Thoughts
These Tie-Dye Bouncy Balls are more than just a craft—they’re a joyful blend of science, art, and play. Each one is a mini masterpiece you can bounce, squish, and show off. Whether you’re whipping them up on a rainy day or as part of a classroom activity, they’re guaranteed to get giggles and spark curiosity.
More DIY Crafts to Try:
- DIY Puffy Paint Art (with shaving cream!)
- Glow-in-the-Dark Slime
- Homemade Bath Bombs
- Rainbow Salt Art Jars
Show Off Your Creations!
Made your own tie-dye bouncy balls? I’d love to see them! Tag your colorful creations on Pinterest or drop a comment below and tell us how it went. Let’s keep crafting and creating together!
Approximate Ingredients Per Ball (for science lovers):
- Glue: ~2 tbsp
- Water: ~1 tbsp
- Liquid Starch: ~1 tbsp
- Cornstarch: 1 tsp
- Baking Soda: A pinch
- Food Coloring: 2–3 drops
Happy bouncing! 🌈💫
Tie-Dye Bouncy Balls
Ingredients
Base Ingredients
- ½ cup white school glue Provides the main structure.
- ¼ cup liquid starch Thickens the mixture.
- ¼ cup water Dilutes the glue for mixing.
- 1 tablespoon cornstarch Adds density to the mixture.
- ½ teaspoon baking soda Helps in the chemical reaction.
- various drops Food coloring For tie-dye effects.
Supplies
- 1 piece Small mixing bowls One per color.
- multiple pieces Plastic spoons or craft sticks For stirring mixtures.
- 1 piece Wax paper For drying the bouncy balls.
Instructions
Preparation
- In a small bowl, stir together ½ cup of white glue and ¼ cup of water.
- Mix in ½ teaspoon of baking soda and stir until fully dissolved.
- Split the mixture into several small bowls. Add a few drops of different food coloring to each bowl and stir to combine.
Formation
- Slowly add ¼ cup of liquid starch to each bowl, stirring constantly until the mixture thickens.
- Stir in 1 tablespoon of cornstarch to each bowl. Once the mixture is hard to stir, use your hands to knead it until it becomes a soft, stretchy dough.
- Pinch off bits of different colored dough and gently press and roll them together to form 1–2 inch balls.
Drying and Playing
- Place your finished balls on wax paper and let them dry for a few hours.
- Once they’re dry, give them a bounce and admire the colorful patterns you created!
Notes
Nutrition
More Craft Innovations
- I Found a Strange Growth on My Garage Wall—What It Revealed About Hidden Moisture
- After a Decade Together, She Discovered the True Value of Her Contributions
- My Daughter Disappeared After Prom Night—Almost a Year Later, an Ordinary Beanbag Chair Revealed the Truth
- Stop Your Bed Sheets From Balling Up in the Dryer: Simple Tricks That Actually Work