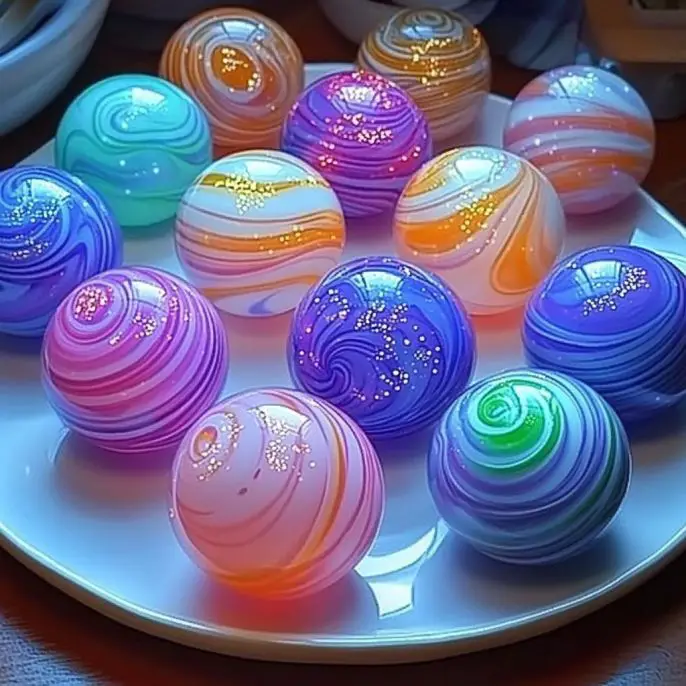
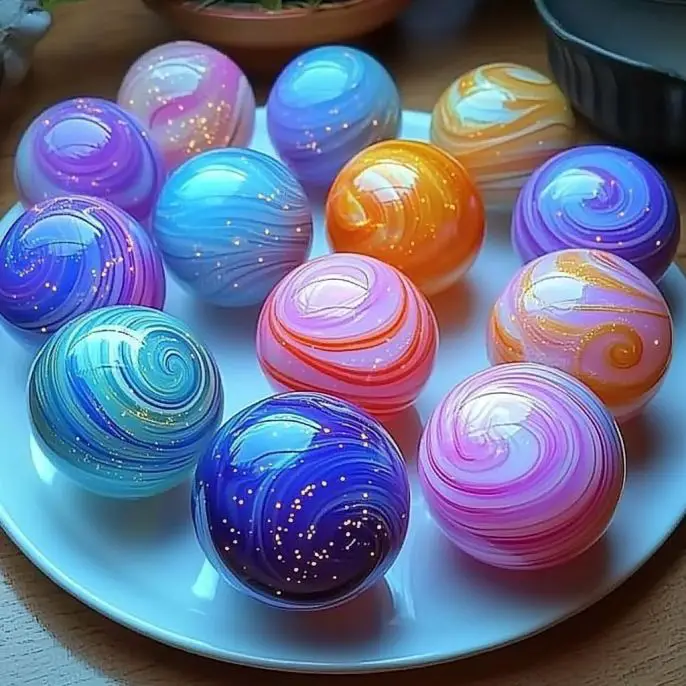
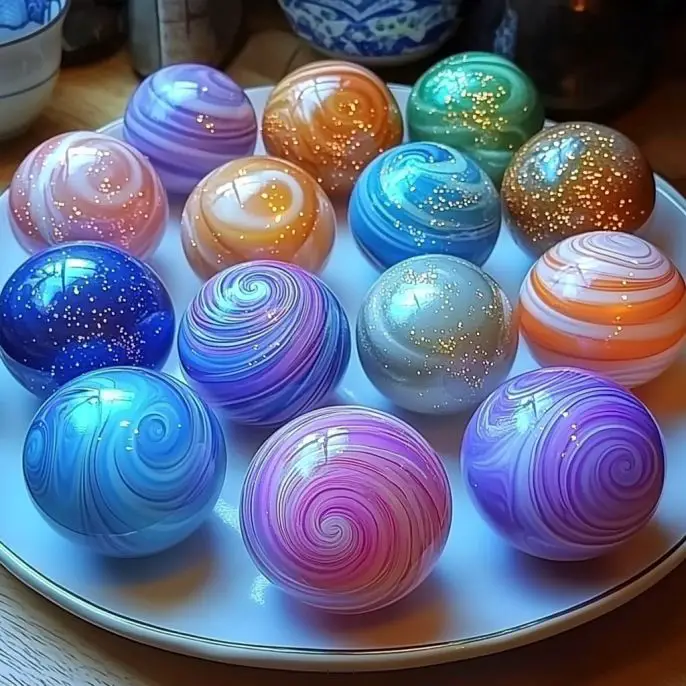
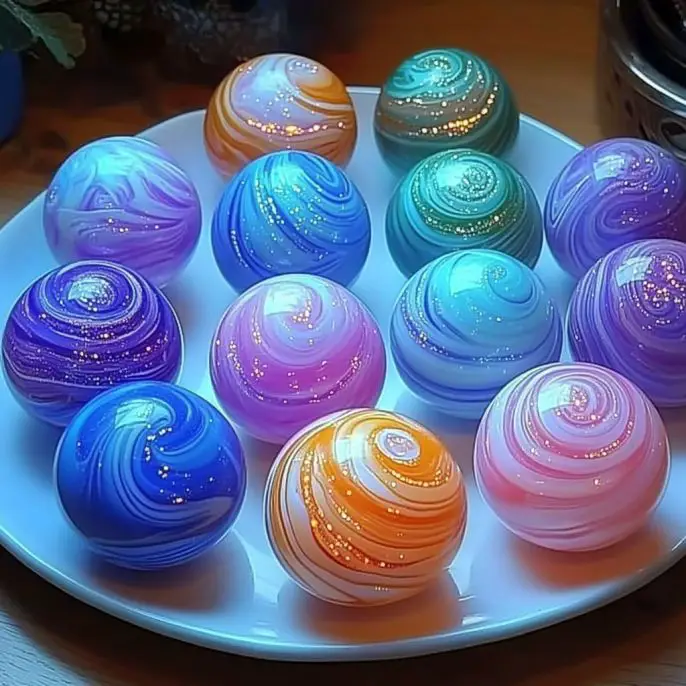
Hey, glow-getter! 🌟 Looking for a super fun, slightly science-y, and wildly cool activity that literally lights up your day (or night)? Then you’ve got to try this Swirl Glowing Bounce Ball DIY!
Not only does it bounce like magic, but it also glows in the dark and has colorful swirls that make each ball totally unique. It’s perfect for sleepovers, glow parties, science experiments, or just a hands-on activity that mixes art with a pinch of chemistry.
I first made these with my niece on a rainy afternoon and she couldn’t stop bouncing them around the room! We both agreed—anything that glows AND bounces deserves a permanent spot in the “best crafts ever” hall of fame.
💌 Want more bright and brilliant crafts like this? Don’t forget to subscribe so you never miss the fun!
What Is a Swirl Glowing Bounce Ball?
This DIY bounce ball combines borax, glue, and glow-in-the-dark paint or powder to form a bouncy, rubbery ball that charges in the light and glows in the dark. The addition of food coloring swirls turns each one into a little bouncing galaxy you can hold in your hand!
It’s part science experiment, part craft, and 100% awesome.
Why You’ll Love This Craft
Glows and bounces—hello, double fun!
Easy to make with kid-safe, household materials
Teaches STEM skills while sparking creativity
Customizable colors and glow effects
Ready in under 10 minutes
Great for birthday parties, classroom science, or rainy day fun
Ingredients & Supplies
Here’s what you’ll need:
½ cup warm water
1 tablespoon borax powder
1 tablespoon cornstarch
2 tablespoons white school glue
Glow-in-the-dark paint or powder
Food coloring (optional, for swirls)
2 small disposable cups
Popsicle stick or plastic spoon (for stirring)
Latex gloves (optional for clean hands)
Step-by-Step Instructions
1. Mix the Borax Solution
In Cup #1, pour ½ cup of warm water and stir in 1 tablespoon of borax. Keep stirring until completely dissolved. This is your activator solution.
2. Create Your Ball Base
In Cup #2, combine:
2 tablespoons white glue
1 tablespoon cornstarch
Glow-in-the-dark paint or powder (use as directed—start with about 1 tsp)
Optional: a few drops of food coloring for colorful swirls
Mix gently with your popsicle stick or spoon. Don’t stir too much—swirls look best with a light hand!
3. Activate the Bounce
Slowly pour your glue mixture from Cup #2 into the borax solution in Cup #1. Let it sit for 10–15 seconds—you’ll see it start to solidify. Then gently roll or stir it in the cup to help it absorb more borax and firm up.
Once it feels firmer, pull it out of the solution and roll it between your hands into a smooth ball. It might feel sticky at first but will become more rubbery as you shape it.
5. Dry and Charge
Let the ball sit for a minute or two to set. Then place it under a lamp or bright light for a few minutes to “charge” the glow-in-the-dark paint. Turn off the lights and get ready for some after-dark fun!
6. Store and Play
When not bouncing around the room, store your glowing ball in a zip-top bag to keep it soft and stretchy.
Tips & Variations
🌟 Charge longer = brighter glow! Let it soak in sunlight or under a strong bulb for a super-charged night effect.
🌈 Try swirl combos like pink + purple, or green + blue for a cosmic look.
✨ Add glitter to the glue mix for a sparkling glow ball.
🎨 Layer multiple batches to create striped or marbled bounce balls.
🔍 Make it a mini science lesson: Talk about polymers, chemical reactions, and how phosphorescence works!
Frequently Asked Questions (FAQ)
Can I reuse the borax solution for more balls? Yes! As long as the water is clean and still saturated with borax, you can make a few balls from one batch.
How long does the glow last? It depends on the glow material, but typically 10–30 minutes per charge. Just re-charge it under light!
Are these safe for kids? Yes—with adult supervision. Borax is safe for crafting but should never be ingested or handled excessively without washing hands after.
Why is my ball too sticky or not bouncing well? Try adding a bit more cornstarch or let it sit in the borax solution a little longer before shaping.
Conclusion
Your Swirl Glowing Bounce Ball is more than just a craft—it’s a science party in your hand! From squishy to solid, from invisible to glowing, it’s such a satisfying transformation—and the best part? You get to play with the result.
Whether you’re crafting with kids, hosting a science-themed birthday, or just love a little glow-in-the-dark magic, this project promises fun, learning, and lots of bouncing giggles. ✨🟢💫
Tried this DIY? I glowingly encourage you to share your bounce ball creations! Tag your pics with #GlowBounceDIY on Pinterest or social media so we can all see your cosmic swirls and luminous leaps!
Approximate Cost Per Ball
$2–$4 depending on materials and glow paint used.
Thanks for bouncing in today. Until next time—keep glowing, keep experimenting, and never stop making magic with your hands. 💡💖🌙
Want a printable instruction card or party version of this craft? Just let me know!
Swirl Glowing Bounce Ball
Create your own magical bouncing balls that glow in the dark with colorful swirls—a fun blend of art and science!
1teaspoonglow-in-the-dark paint or powderUse as directed
food coloring (optional, for swirls)Add a few drops for colorful swirls
2small cupsdisposable cupsUsed for mixing
1popsicle stick or plastic spoonFor stirring
latex gloves (optional)For clean hands
Method
Mix the Borax Solution
In Cup #1, pour ½ cup of warm water and stir in 1 tablespoon of borax. Keep stirring until completely dissolved. This is your activator solution.
Create Your Ball Base
In Cup #2, combine 2 tablespoons of white glue, 1 tablespoon of cornstarch, and glow-in-the-dark paint or powder. (Use about 1 tsp to start).
Optional: Add a few drops of food coloring for colorful swirls.
Mix gently with your popsicle stick or spoon. Don't stir too much—swirls look best with a light hand!
Activate the Bounce
Slowly pour your glue mixture from Cup #2 into the borax solution in Cup #1. Let it sit for 10–15 seconds—you'll see it start to solidify.
Gently roll or stir it in the cup to help it absorb more borax and firm up.
Shape and Smooth
Once it feels firmer, pull it out of the solution and roll it between your hands into a smooth ball. It might feel sticky at first but will become more rubbery as you shape it.
Dry and Charge
Let the ball sit for a minute or two to set.
Then place it under a lamp or bright light for a few minutes to 'charge' the glow-in-the-dark paint.
Turn off the lights and get ready for some after-dark fun!
Store and Play
When not bouncing around the room, store your glowing ball in a zip-top bag to keep it soft and stretchy.
Notes
Charge longer equals a brighter glow! Let it soak in sunlight or under a strong bulb for a super-charged night effect. Optional tips: add glitter, use swirl combos, or make layered balls. Discuss polymers, chemical reactions, and phosphorescence during the activity for educational value.
Swirl Glowing Bounce Ball
Create your own magical bouncing balls that glow in the dark with colorful swirls—a fun blend of art and science!
In Cup #1, pour ½ cup of warm water and stir in 1 tablespoon of borax. Keep stirring until completely dissolved. This is your activator solution.
In Cup #2, combine 2 tablespoons of white glue, 1 tablespoon of cornstarch, and the glow-in-the-dark paint. Optionally, add a few drops of food coloring. Mix gently with your popsicle stick or spoon.
Activation
Slowly pour your glue mixture from Cup #2 into the borax solution in Cup #1. Let it sit for 10–15 seconds before gently rolling or stirring it to help it absorb more borax.
Shaping
Once it feels firmer, pull it out of the solution and roll it between your hands into a smooth ball.
Let the ball sit for a minute or two to set. Then place it under a lamp or bright light for a few minutes to charge the glow-in-the-dark paint.
Turn off the lights and get ready for some after-dark fun!
Storage
When not bouncing around the room, store your glowing ball in a zip-top bag to keep it soft and stretchy.
Notes
Charge longer for a brighter glow and try different color combinations for swirls. Adding glitter can enhance the visual effect and ensure adult supervision while crafting with kids.
Thank you so much for being here! I get so excited when I find a kids’ activity that’s equal parts educational, creative, and just plain fun — and this one? Oh, it’s fizz-tastic. ✨ These Fizzing Ice Cubes take the classic vinegar and baking soda reaction and give it a cool twist — literally. Add…
Aloe Vera Hair Oil is one of the simplest and most effective natural remedies for improving hair health. Known for its soothing and moisturizing properties, aloe vera nourishes the scalp, strengthens hair strands, and promotes natural shine. If you are looking for a gentle, chemical-free solution for hair care, this homemade oil is a perfect…
Before we dive into this colorful, fizzy science fun—I just want to say thank you for being here. Whether you’re a curious kiddo, a science-loving parent, or a teacher looking for a WOW moment in class, this is the experiment to try. The Elephant Toothpaste Experiment never fails to amaze. It’s big, it’s bubbly, and…
Hello, crafty friend — I’m so glad you’re here! There’s something truly magical about kids crafting their own glowing lanterns — watching their eyes light up as their handmade creation twinkles is priceless. This DIY Kids Lantern Craft is the perfect way to turn everyday recyclables into colorful treasures. Whether it’s a rainy day, a…
First of all—thank you for being here. If you’re reading this, chances are you’re either a fellow lover of sea-themed crafts, a parent looking for a fun afternoon activity, or just someone craving a little creative escape. Whichever it is, I’m so glad you found your way here! This Jellyfish Salt Painting project is one…
Before we get our hands delightfully messy, I just want to say thank you for stopping by! If you’ve been looking for a super fun, totally satisfying, and sensory-rich activity for you or your kids—this is it. I’m genuinely so excited to share this easy, affordable, and magical project with you. I’ve made it more…