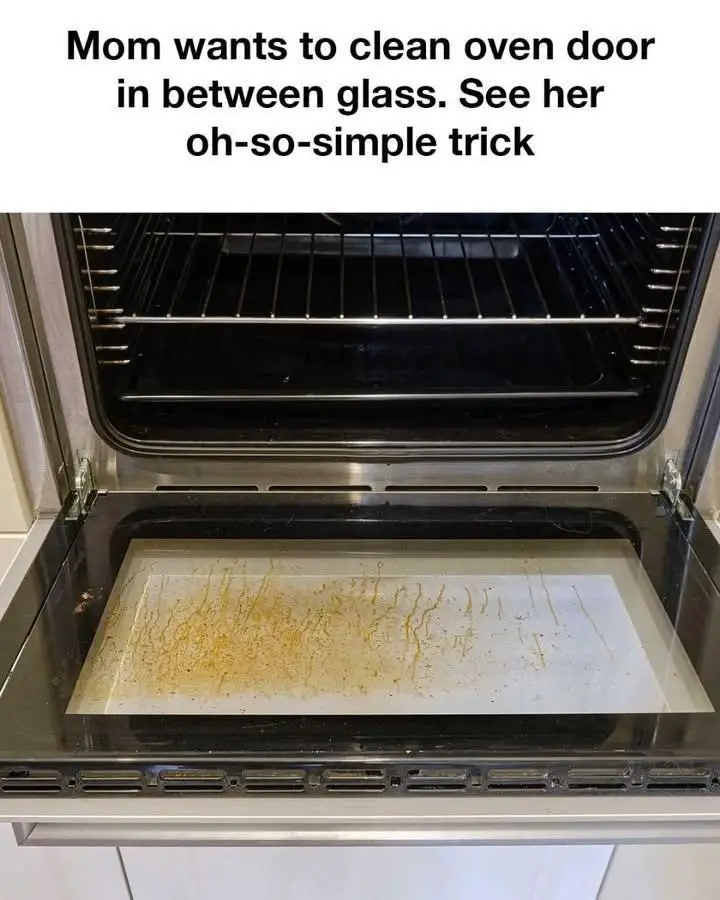
Cleaning the oven is nobody’s favorite household chore. While most of us can wipe down racks, scrub spills, and tackle baked-on grease, there’s one spot that often seems impossible to clean: the space between the glass panels of the oven door.
You know the look. The outside glass is spotless. The inside surface is clean. Yet somehow, streaks, grease splatters, and mysterious stains remain trapped between the panes, making the entire oven appear dirty no matter how much effort you put into cleaning it.
For years, many homeowners assumed the only solution was to remove the oven door completely or call a repair technician. Fortunately, a simple cleaning trick has been making the rounds online, and for many oven models, it offers an easy way to restore that crystal-clear view without complicated disassembly.
Here’s everything you need to know about cleaning between oven door glass panels safely and effectively.
Why Does Dirt Get Between Oven Door Glass Panels?
Most modern ovens feature multiple layers of glass in the door. These layers serve several important purposes:
- Improve insulation
- Keep exterior surfaces cooler
- Increase energy efficiency
- Enhance safety during cooking
Although the panels appear sealed, many oven doors contain small ventilation openings designed to regulate temperature and moisture. Over time, grease particles, cooking vapors, dust, and food residue can enter through these openings and settle between the glass layers.
The result is a cloudy, greasy appearance that becomes increasingly noticeable over the years.
Many homeowners become frustrated because ordinary cleaning sprays can’t reach these hidden surfaces.
Understanding Your Oven Door Design
Before attempting any cleaning method, it’s important to understand how your oven door is constructed.
Most oven doors fall into one of three categories:
Doors With Access Gaps
Many models have small openings along the bottom or top edge that allow indirect access to the space between glass panels.
Removable Glass Panels
Some ovens allow homeowners to remove screws or clips to access the interior glass safely.
Fully Sealed Doors
Certain models have completely sealed glass assemblies. These may require partial disassembly according to manufacturer instructions.
Always consult your owner’s manual before inserting any tools into the door.
The Viral Cleaning Trick
One clever homeowner discovered a surprisingly simple way to reach the hidden area between oven glass panels using household items.
The method requires:
- A wire coat hanger
- A microfiber cloth
- Rubber bands
- Glass cleaner or vinegar solution
The idea is simple: create a long cleaning wand capable of reaching between the glass layers without dismantling the door.
Materials You’ll Need
Gather the following supplies:
Wire Hanger
A standard wire clothing hanger works perfectly because it’s flexible yet sturdy.
Microfiber Cloth
Microfiber effectively captures grease and dust without scratching glass surfaces.
Rubber Bands
These secure the cloth to the hanger.
Cleaning Solution
Choose one of the following:
- Commercial glass cleaner
- White vinegar and water mixture
- Mild dish soap solution
Avoid harsh abrasive cleaners that may damage coatings.
Step 1: Prepare the Cleaning Tool
Begin by straightening the wire hanger.
Leave a small hook or bend at one end.
This hook will hold the microfiber cloth securely in place.
Wrap a clean microfiber cloth around the end of the wire and secure it tightly with rubber bands.
Make sure no sharp wire edges are exposed.
The finished tool should resemble a long, flexible cleaning wand.
Step 2: Locate the Access Opening
Inspect the bottom edge of your oven door carefully.
Many ovens have narrow slots or vents that provide access to the space between glass panels.
If you cannot find an opening, check your owner’s manual.
Never force a tool into an area that doesn’t provide natural access.
Step 3: Insert the Cleaning Wand
With the oven completely cool:
- Open the door slightly
- Carefully insert the cloth-covered end into the opening
- Guide it gently between the glass layers
Take your time.
The goal is to reach the stained areas without applying excessive pressure.
Step 4: Clean the Glass
Once the cloth reaches the dirty section:
- Move the tool slowly back and forth
- Use gentle sawing motions
- Wipe from side to side and top to bottom
If buildup is heavy, lightly dampen the cloth with cleaning solution before inserting it.
Many homeowners are surprised by how much grease and residue the cloth removes during the first pass.
Step 5: Repeat as Necessary
Remove the cloth periodically and inspect it.
If it becomes dirty:
- Replace it with a fresh cloth
- Reapply cleaning solution if needed
- Continue cleaning until the glass appears clear
Several passes may be necessary for heavily soiled doors.
Step 6: Finish the Exterior
After cleaning between the panels:
- Wipe the exterior glass
- Clean the interior surface
- Polish with a dry microfiber cloth
This final step restores a streak-free shine.
Common Mistakes to Avoid
Cleaning a Warm Oven
Always allow the oven to cool completely before cleaning.
Hot glass can crack when exposed to cooler cleaning solutions.
Using Excess Liquid
Too much cleaner can drip into internal components.
Use only lightly dampened cloths.
Scrubbing Aggressively
Glass scratches more easily than many people realize.
Gentle cleaning is usually sufficient.
Ignoring Manufacturer Guidelines
Some oven models have unique designs.
When in doubt, follow the manufacturer’s recommendations.
Alternative Methods for Stubborn Build-Up
If the wire hanger trick doesn’t work for your model, consider these alternatives:
Removing the Door
Some ovens allow safe door removal for deeper cleaning.
Consult your owner’s manual before attempting this.
Professional Cleaning
For severe buildup or older ovens, professional appliance cleaning may be worthwhile.
Replacement Glass
In rare cases, staining becomes permanent due to heat damage inside the glass layers.
Replacement may be necessary.
Preventing Future Buildup
Keeping the glass clean is much easier than restoring years of accumulated grime.
Wipe Spills Quickly
Clean splatters as soon as the oven cools.
Cover Foods When Appropriate
Lids, splatter guards, and roasting covers help reduce grease circulation.
Clean Monthly
A quick monthly wipe-down prevents heavy buildup.
Use Self-Cleaning Features Carefully
While self-cleaning cycles can help, they may also bake grease into difficult-to-reach areas if used excessively.
Why a Clean Oven Matters
A sparkling oven isn’t only about appearance.
Clean glass allows you to:
- Monitor food without opening the door
- Maintain consistent cooking temperatures
- Improve kitchen aesthetics
- Extend appliance longevity
It also creates a sense of pride in your home.
Small improvements often make a bigger difference than we expect.
Final Thoughts
Cleaning between oven door glass panels may seem impossible at first, but with a simple wire hanger, a microfiber cloth, and a little patience, you can often restore clarity without expensive repairs or complicated disassembly.
The beauty of this method lies in its simplicity. Instead of relying on harsh chemicals or professional services, it uses items most people already have at home.
The next time you notice cloudy, greasy oven glass, don’t assume you’re stuck with it forever. A few minutes of effort can transform your oven door from frustratingly dirty to impressively spotless.
Sometimes the smartest household solutions are also the simplest.
And once you see that clear, gleaming oven window again, you’ll wonder why you didn’t try it sooner.