Ready for a super cool science experiment that’s easy, safe, and seriously mesmerizing? Say hello to the Salt Volcano Experiment!
With just a few things from your kitchen — water, oil, salt, and maybe some food coloring — you can create your very own bubbling, fizzing “volcano” right in a jar. It’s the perfect hands-on activity for curious kids (and kids at heart) who love a little wow factor.
So, roll up your sleeves, grab your salt shaker, and let’s get fizzing! 🌋✨
Why You’ll Love This Experiment
✔️ Super easy to set up — no fancy ingredients needed!
✔️ Fun and safe — perfect for kids with adult supervision.
✔️ Teaches basic science — explore density and chemical reactions.
✔️ Customizable — add food coloring for extra flair!
What You’ll Need
-
1 cup room temperature water
-
¼ cup vegetable oil
-
Salt (table salt or rock salt both work!)
-
Clear glass jar or cup
-
Optional: Food coloring (red, orange, yellow look extra fiery!)
How to Make Your Salt Volcano
1️⃣ Fill the Jar
Fill your clear glass jar or cup about ¾ full with room temperature water.
2️⃣ Add the Oil
Slowly pour ¼ cup vegetable oil into the jar. The oil will float on top — give it a minute to settle into a nice, even layer.
3️⃣ Add Some Color (Optional)
Feeling creative? Add a few drops of food coloring to the oil layer — red, orange, or yellow look amazing for a “lava” vibe!
4️⃣ Make It Erupt!
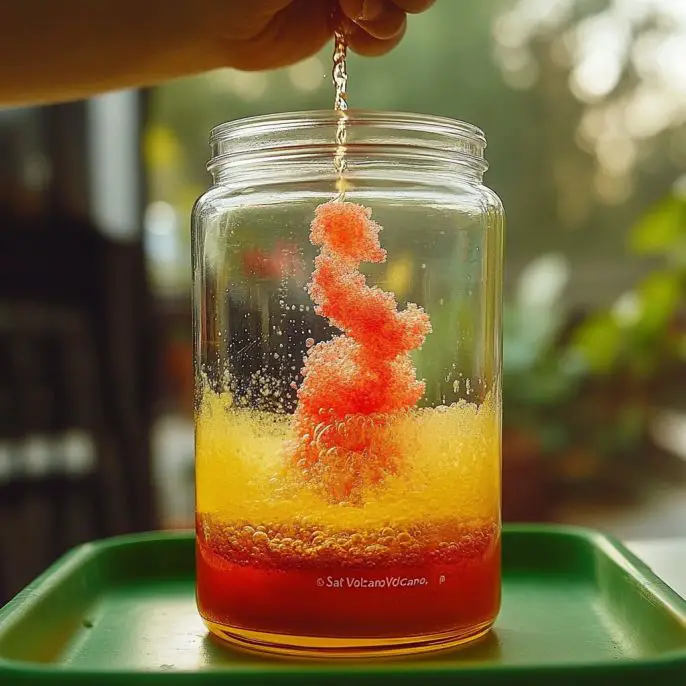
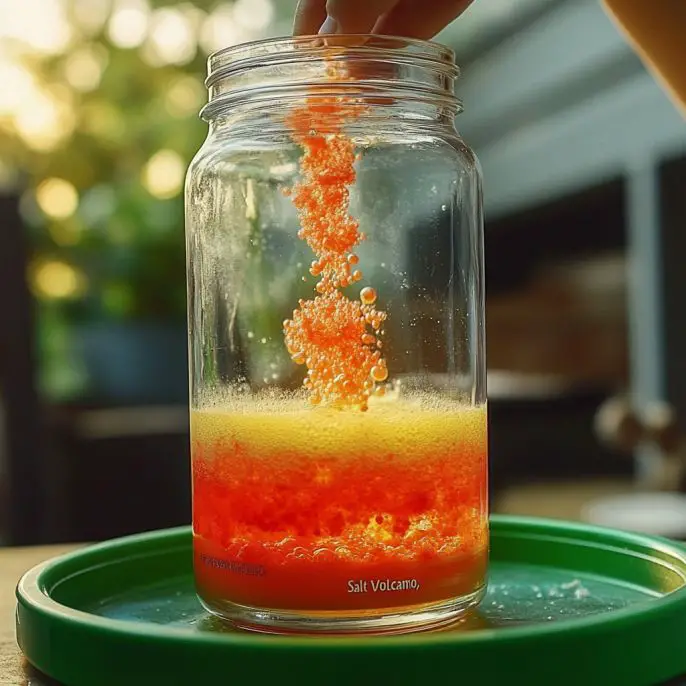
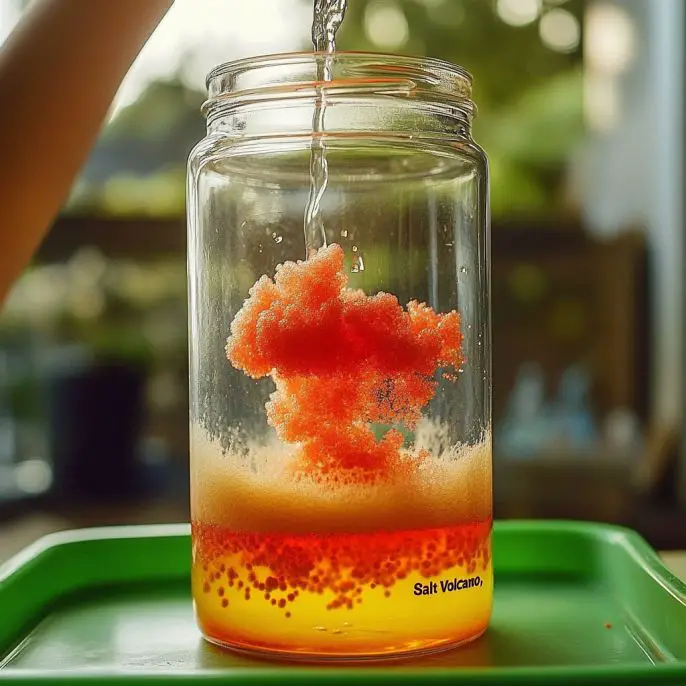
Here’s where the magic happens: slowly sprinkle salt into the jar. Watch as the salt carries the oil down through the water, creating bubbling, swirling eruptions that look just like a tiny volcano.
5️⃣ Keep It Going
Want a bigger show? Keep adding pinches of salt and watch your volcano bubble again and again!
Tips & Fun Variations
🧂 Try different salts! Coarse sea salt or pink Himalayan salt can make bigger bubbles or a longer eruption.
🌈 Mix up the colors! Add multiple food colors for a rainbow volcano effect.
🔬 Talk about the science! This is a fun way to learn about density — oil floats because it’s lighter than water, and the salt temporarily sinks the oil down until it rises again.
Safety Reminders
✔️ Best done on a tray or easy-to-clean surface.
✔️ Keep an eye on young kids — it’s safe, but grown-ups should always help.
✔️ No tasting! This volcano is for your eyes only. 😉
Conclusion
And there you have it — your very own colorful, bubbly Salt Volcano in a jar! Whether you’re doing this for a rainy day science project or just to wow your friends, this simple experiment never disappoints.
Have fun exploring, keep asking “why?”, and don’t forget to share your colorful volcano pics with #SaltVolcanoFun — I’d love to see what you create!
More Easy Science Fun
-
Magical Baking Soda Balloon Experiment
-
DIY Lava Lamp in a Jar
-
Rainbow Walking Water Activity
-
Homemade Moon Sand
🌋✨ Happy fizzing, young scientists!
Salt Volcano
Ingredients
For the Salt Volcano
- 1 cup room temperature water Fill about ¾ full in the jar.
- ¼ cup vegetable oil This will float on top of the water.
- to taste tablespoon salt (table salt or rock salt) Sprinkle into the jar to create the eruption.
- optional drops food coloring Red, orange, or yellow for a fiery volcano.
- 1 clear glass jar or cup clear glass jar or cup To hold the water and oil.
Instructions
Preparation
- Fill your clear glass jar or cup about ¾ full with room temperature water.
- Slowly pour ¼ cup vegetable oil into the jar. The oil will float on top — give it a minute to settle into a nice, even layer.
- Add a few drops of food coloring to the oil layer if you want to create a 'lava' vibe.
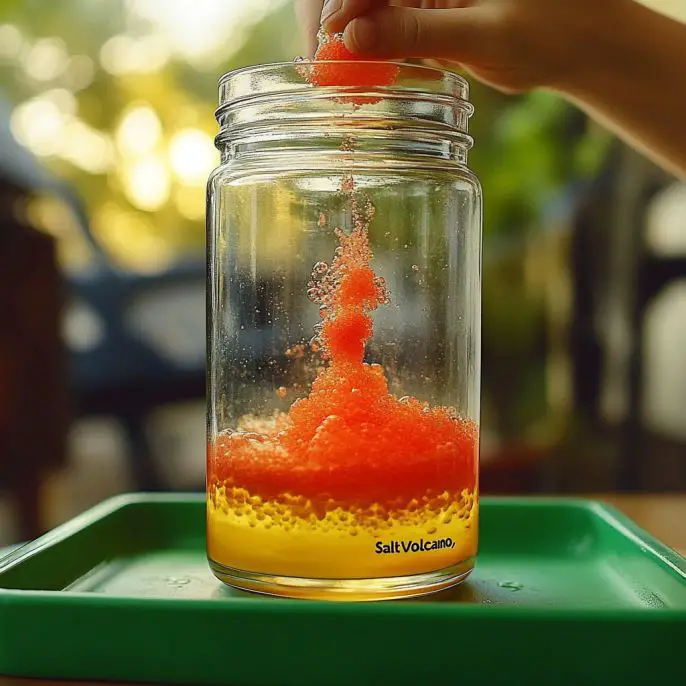
- Slowly sprinkle salt into the jar and watch the salt carry the oil down through the water, creating bubbling eruptions.
- Keep adding pinches of salt to make your volcano bubble again.
Notes
Nutrition
Salt Volcano
Ingredients
For the Salt Volcano
- 1 cup room temperature water Use fresh, clean water
- ¼ cup vegetable oil Any type of vegetable oil will work
- to taste none salt (table salt or rock salt) Both types of salt work well
- 1 each clear glass jar or cup Must be transparent for visibility
- a few drops none food coloring (optional) Red, orange, or yellow look extra fiery!
Instructions
How to Make Your Salt Volcano
- Fill your clear glass jar or cup about ¾ full with room temperature water.
- Slowly pour ¼ cup vegetable oil into the jar. The oil will float on top — give it a minute to settle into a nice, even layer.
- Add a few drops of food coloring to the oil layer for a ‘lava’ vibe, if desired.
- Slowly sprinkle salt into the jar and watch as the salt carries the oil down through the water, creating bubbling, swirling eruptions that look just like a tiny volcano.
- For a bigger show, keep adding pinches of salt to watch your volcano bubble again and again!
Notes
Nutrition
More Craft Innovations
- I Found a Strange Growth on My Garage Wall—What It Revealed About Hidden Moisture
- After a Decade Together, She Discovered the True Value of Her Contributions
- My Daughter Disappeared After Prom Night—Almost a Year Later, an Ordinary Beanbag Chair Revealed the Truth
- Stop Your Bed Sheets From Balling Up in the Dryer: Simple Tricks That Actually Work