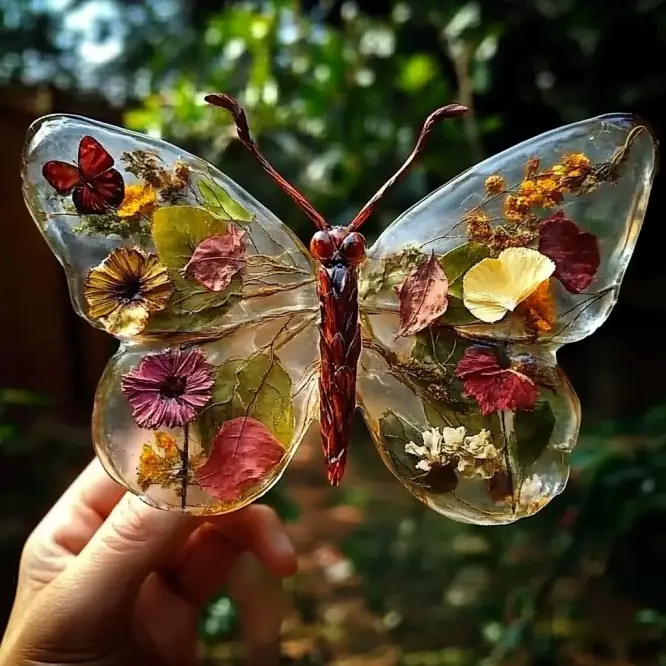
There’s something magical about watching colors dance, blend, and transform before your eyes—and that’s exactly what happens when you make Chromatography Coffee Filter Butterflies. This simple, beautiful craft turns humble coffee filters into vibrant butterflies with soft, watercolor-like wings.
I love projects like this because they’re low-mess, budget-friendly, and full of “wow” moments for kids and adults alike. Plus, it’s a sneaky little science experiment—showing the magic of chromatography while creating something you can actually keep and display.
If you’re new here and want more creative projects delivered straight to your inbox, subscribe and join our craft-loving community. We share hands-on activities, kid-friendly fun, and colorful DIY ideas that make everyday moments special.
Why You’ll Love This Project
- Science + Art: It’s a perfect STEAM activity—part science experiment, part art project.
- Easy to Set Up: Minimal supplies you probably already have at home.
- Customizable: Every butterfly is one-of-a-kind.
- Kid-Friendly: Safe and mess-light enough for all ages (with supervision for littles).
What They Look & Feel Like
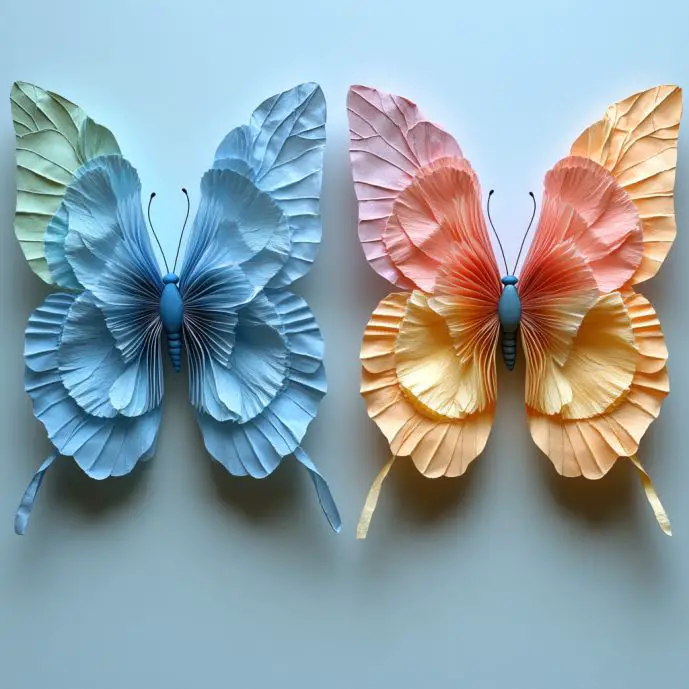
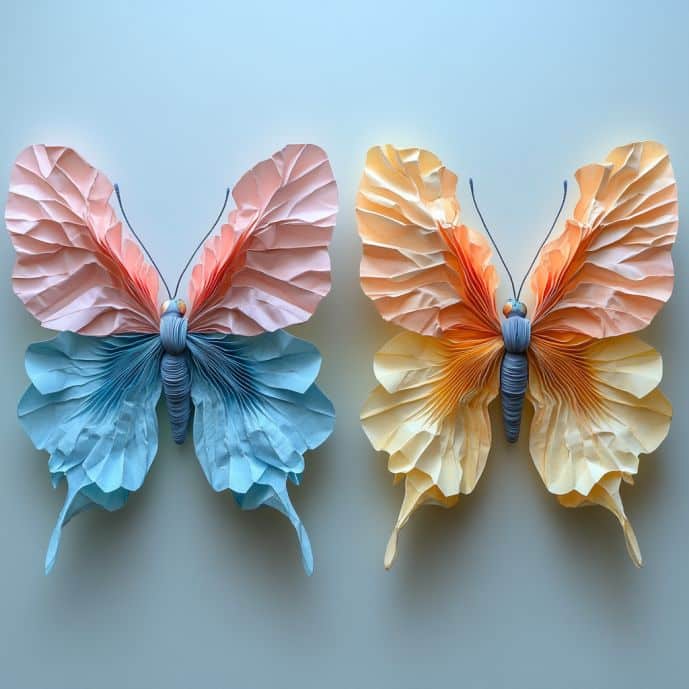
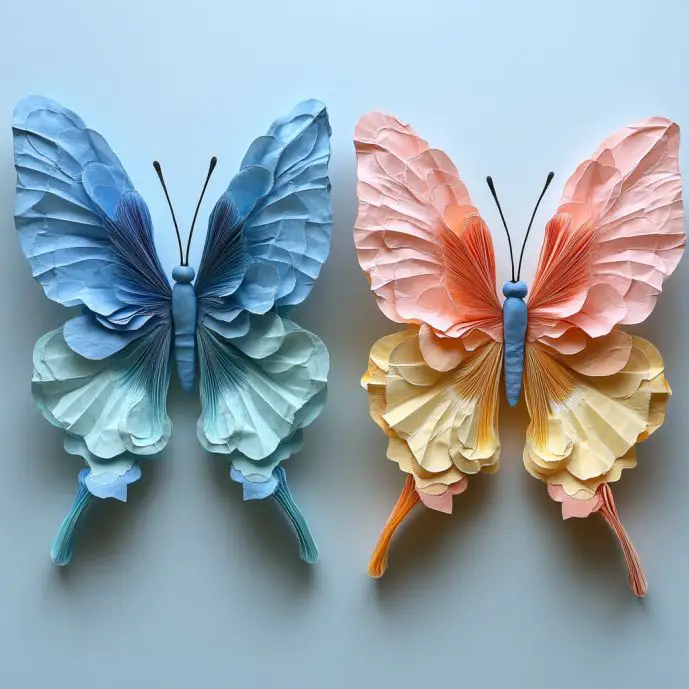
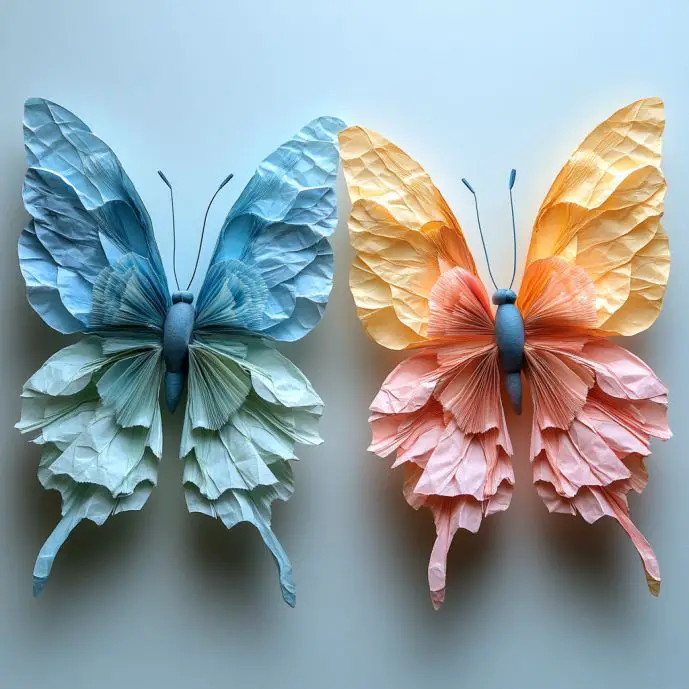
Imagine delicate, tissue-thin wings, their colors melting together in dreamy gradients—like watercolors spilled across a sunset. The pipe cleaner “bodies” add a playful touch, and if you pop on googly eyes, suddenly they have personalities too! These butterflies are light as air, with a slightly crinkled texture that makes them look like they might flutter away.
Benefits of Making These Butterflies
- Educational: Teaches kids about chromatography (how colors separate and spread through capillary action).
- Mindful Crafting: Coloring and folding is wonderfully relaxing for adults too.
- Seasonal Decor: Perfect for spring, summer, or even brightening up a winter day.
- Gift-Ready: Tuck one into a greeting card for a handmade surprise.
Ingredients & Materials You’ll Need
- White coffee filters
- Washable markers (bright colors work best)
- Spray bottle or pipettes with water
- Pipe cleaners
- Tray or baking sheet
- Optional: googly eyes, glue
Tools You’ll Need
- Scissors (optional, for trimming antennas)
- A flat space for drying (countertop, sunny windowsill, or table)
Step-by-Step Instructions
Step 1: Prepare Your Canvas
Lay a white coffee filter flat on your tray or baking sheet. This keeps surfaces clean and gives the water room to spread without making a mess.
Step 2: Add Color
Using your washable markers, color the center of the filter with swirls, circles, stripes—anything you like. Don’t worry about perfection; the magic is in the blending.
Step 3: Activate the Chromatography
Lightly mist the colored area with water using your spray bottle or pipette. Avoid soaking—it should be just enough for the colors to start spreading.
Step 4: Let It Dry
Set your filter aside for 1–2 hours. As it dries, the colors will continue to bloom and blend into soft patterns.
Step 5: Fold in Half
Once completely dry, fold the filter in half so the colors are facing out.
Step 6: Accordion Fold
Make accordion folds (about 1 inch wide) across the width of the filter until it’s fully folded.
Step 7: Make the Body
Pinch the center and twist a pipe cleaner around it to form the butterfly’s body and antennas.
Step 8: Fluff the Wings
Gently pull the wings apart to give them shape and dimension.
Step 9: Add Personality
Glue on googly eyes if you want your butterfly to have a face.
Step 10: Display
Perch them on windowsills, pin them to curtains, or use as table decorations.
Tips & Variations
- Try making rainbow patterns, polka dots, or color blocks for different effects.
- Use two coffee filters layered together for a fuller butterfly.
- Experiment with pastel vs. bold colors to see how they blend differently.
- Make a mobile by hanging multiple butterflies from a branch.
Storage & Longevity
These butterflies last indefinitely if kept dry. Store them flat in a box or envelope to avoid crushing the wings.
Frequently Asked Questions
Q: Can I use permanent markers?
A: You can, but washable markers give the best spread of colors.
Q: How do I speed up drying time?
A: Use a hair dryer on low or place the filters in a sunny window.
Q: Can I use paper towels instead of coffee filters?
A: Yes, but coffee filters give more even color spread and hold their shape better.
Conclusion
Chromatography Coffee Filter Butterflies are anything but ordinary! They’re a joyful mix of creativity and science, easy enough for a rainy afternoon but pretty enough to keep on display all year. Once you make one, you’ll want a whole kaleidoscope of them (yes—that’s the collective noun for butterflies!).
If you loved this project, you might also enjoy:
- Watercolor Salt Painting for Kids
- Tissue Paper Stained Glass Suncatchers
- DIY Nature-Pressed Bookmarks
Join the Fun!
If you try this project, I’d love to see your butterflies! Share them on Pinterest or tag me on Instagram so we can admire your creations together.
Nutritional Information
Well… this time the “nutritional value” is joy, curiosity, and maybe a sprinkle of glitter in your day!
Chromatography Coffee Filter Butterflies
Ingredients
Materials Needed
- 5 pieces White coffee filters Standard size, unbleached or bleached
- 4 pieces Washable markers Bright colors work best
- 1 unit Spray bottle or pipettes For applying water
- 2 pieces Pipe cleaners For creating the butterfly body
- 1 unit Tray or baking sheet To catch excess water
- optional pieces Googly eyes For personalizing the butterflies
- 1 unit Glue To attach googly eyes if used
Tools Needed
- 1 unit Scissors Optional for trimming antennas
- 1 unit Flat space for drying Countertop, sunny windowsill, or table
Instructions
Preparation
- Lay a white coffee filter flat on your tray or baking sheet to keep surfaces clean.
- Using washable markers, color the center of the filter in swirls, circles, or stripes.
- Lightly mist the colored area with water using your spray bottle or pipette.
- Set the filter aside for 1-2 hours to dry.
Assembly
- Once the filter is completely dry, fold it in half with the colors facing out.
- Make accordion folds (about 1 inch wide) across the width of the filter.
- Pinch the center and twist a pipe cleaner around it to form the butterfly’s body and antennas.
- Gently pull the wings apart to shape them.
- Optionally, glue on googly eyes to add personality to your butterfly.
- Display your butterflies on windowsills, curtains, or as table decorations.
Notes
Nutrition
More Craft Innovations
- I Found a Strange Growth on My Garage Wall—What It Revealed About Hidden Moisture
- After a Decade Together, She Discovered the True Value of Her Contributions
- My Daughter Disappeared After Prom Night—Almost a Year Later, an Ordinary Beanbag Chair Revealed the Truth
- Stop Your Bed Sheets From Balling Up in the Dryer: Simple Tricks That Actually Work