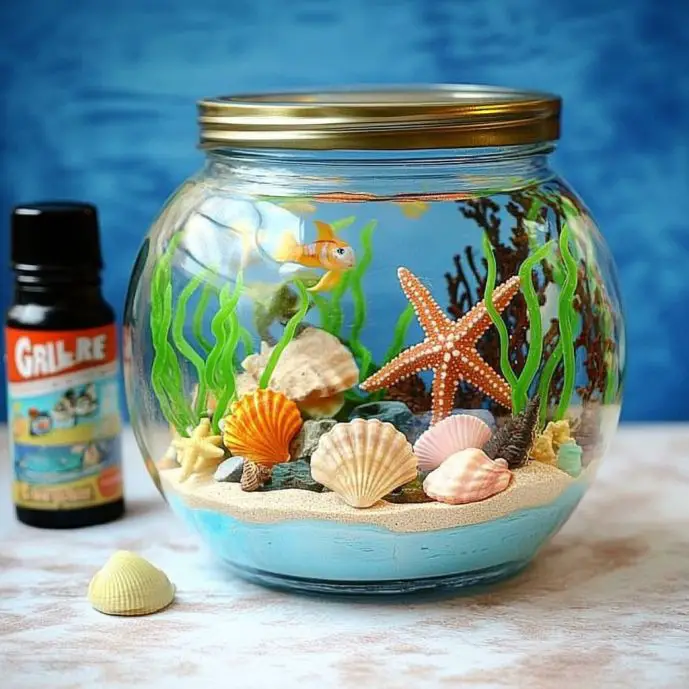
There’s something soothing about the sea—the way sunlight dances on the water, the shimmer of shells, the endless shades of blue and green. But what if you could capture a piece of that magic… and keep it forever? That’s exactly what this Mini Glass Jar Sea Aquarium does.
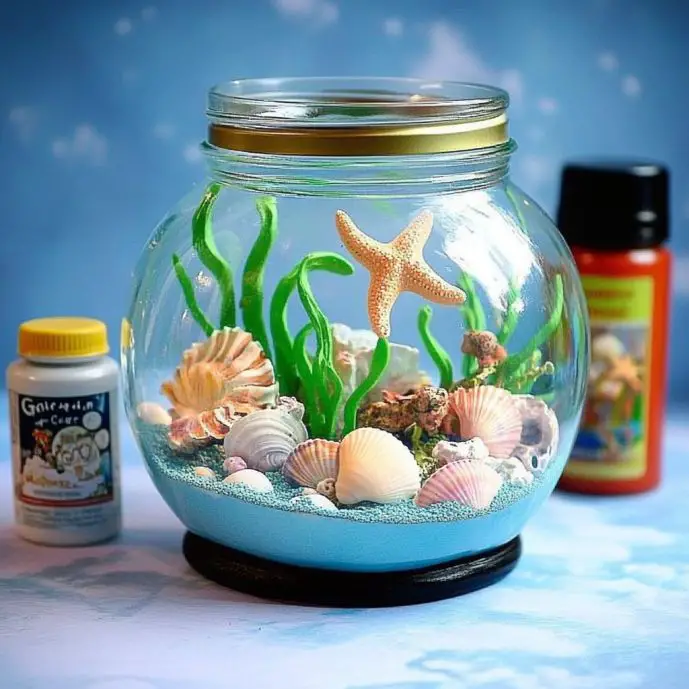
I can’t tell you how much joy this little jar brings. It’s like holding a memory of summer vacations, sandy toes, and salty breezes in the palm of your hand. And the best part? You don’t need a beach (or even water!) to make it—just a handful of beautiful materials and a dash of creativity.
If you love whimsical DIYs that double as décor, make sure you subscribe so you never miss a new project. We share crafts, creative tips, and easy tutorials that turn everyday items into something magical.
Why You’ll Love This Craft
- Beach Vibes All Year Round – Bring the ocean indoors, no matter the season.
- Customizable – Every jar is unique, just like every seashell.
- Low-Maintenance – All the beauty of an aquarium with zero water changes.
- Perfect Gift – A thoughtful handmade keepsake for ocean lovers.
What It Looks & Feels Like
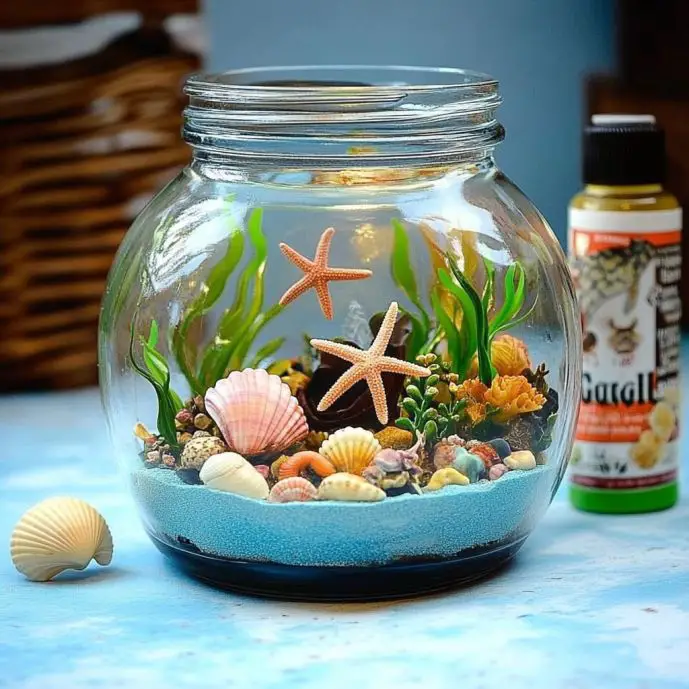
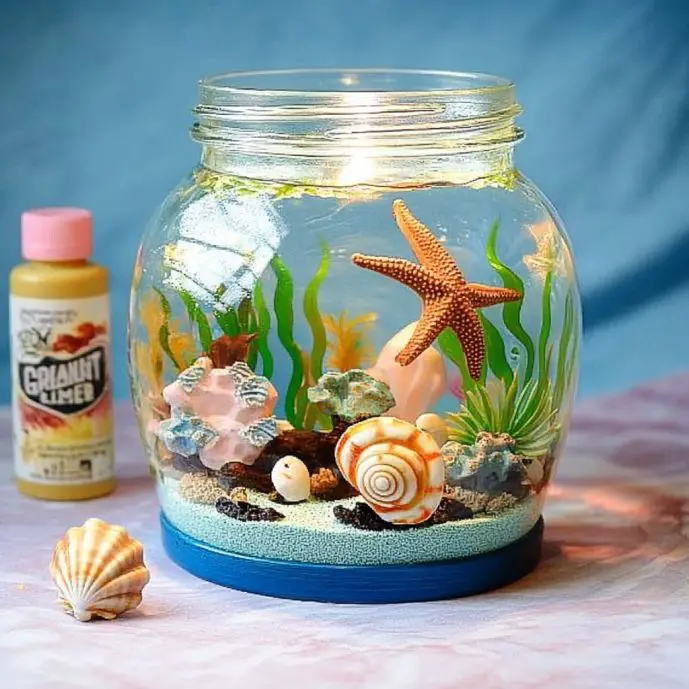
Picture a tiny underwater scene, frozen in time. Smooth sea glass glints like treasure. Miniature shells nestle into a soft bed of colored sand. Delicate “seaweed” sways—crafted from vibrant green sand. It’s part sculpture, part diorama, and completely mesmerizing.
Benefits of Making a Mini Glass Jar Aquarium
- Relaxing to Create – The slow, deliberate process feels like meditation.
- Eco-Friendly Décor – Made from natural and reusable materials.
- Educational – A gentle introduction to underwater habitats for kids.
- Portable Beauty – Small enough to sit on a desk, shelf, or nightstand.
Materials You’ll Need
- Sea shells
- Small pebbles
- Seaweed (real, preserved, or imitation)
- Beads
- Sea glass
- Colored craft sand (blue, yellow, green, or your choice)
- Gorilla Glue Clear
- Small glass jar with lid
- Wooden skewers
- Old small paintbrush
Tools You’ll Need
- Tweezers (optional, for precise placement)
- Small spoon (for pouring sand neatly)
Step-by-Step Instructions
Step 1: Prepare the Jar Base
Paint the bottom inside of your jar with Gorilla Glue, avoiding the neck.
Step 2: Add the Ocean Floor
Pour in blue craft sand, shake gently to coat the glue, pour out excess, and let dry for about 30 minutes.
Step 3: Add a Sunny Accent
Paint the neck of the jar with Gorilla Glue, coat with yellow sand, pour out excess, and let dry completely.
Step 4: Decorate the Lid
Apply Gorilla Glue to the inside of the lid (avoiding the edge), sprinkle with yellow sand, and dry for 30 minutes.
Step 5: Create Seaweed
Use the paintbrush to paint glue shapes above the blue sand where your “seaweed” will grow. Cover with green sand, shake off extra, and let dry for a couple of hours.
Step 6: Clean & Prep
Rinse inside the jar with water to remove loose sand, then let it dry completely.
Step 7: Build the Centerpiece
Add Gorilla Glue to the center, working in small layers so each dries before adding more.
Step 8: Add Your Treasures
Using wooden skewers, apply glue to the sides of the jar and place shells, beads, and sea glass inside. Work on one side at a time for precision.
Step 9: Seal the Scene
Once everything has set, screw the lid back onto the jar.
Tips & Variations
- Add tiny plastic fish or turtles for an even more realistic mini-aquarium.
- Layer sand colors for a beach-sunset gradient.
- Use a small LED tea light behind the jar to make it glow.
Storage & Longevity
Your mini aquarium will last indefinitely if kept away from direct sunlight (which can fade colors) and moisture. Dust gently with a soft brush when needed.
Frequently Asked Questions
Q: Can I use a plastic jar instead of glass?
A: Yes—especially if making this with kids, plastic is safer.
Q: What if I don’t have Gorilla Glue?
A: You can use another strong, clear-drying craft adhesive, but Gorilla Glue Clear works best for lasting hold.
Q: Will real seaweed work?
A: Only if it’s preserved or dried—fresh seaweed will decay inside the jar.
Conclusion
This Mini Glass Jar Sea Aquarium is proof that a little creativity can bottle up a whole world of beauty. Whether you make it for yourself or as a gift, it’s a reminder that even the smallest things can bring big joy—kind of like seashells you find at the shore.
If this project has you dreaming of more beachy crafts, you might also enjoy:
- DIY Seashell Wind Chimes
- Painted Sea Glass Suncatchers
- Ocean-Inspired Resin Coasters
Share Your Creations!
If you try this aquarium, post a photo on Pinterest or tag me on Instagram so I can see your ocean-in-a-jar masterpiece.
Nutritional Information
Calories: 0.
Happiness: 100%.
Mini Glass Jar Sea Aquarium
Ingredients
Aquarium Materials
- 5 pieces Sea shells
- 1 cup Small pebbles Alternatively, you can use colored stones.
- 1 cup Seaweed (real, preserved, or imitation) Ensure it is preserved if using real seaweed.
- 20 pieces Beads Choose colors that match your theme.
- 1 cup Sea glass
- 1 cup Colored craft sand (blue, yellow, green, or your choice) Feel free to mix colors.
- 1 bottle Gorilla Glue Clear Other strong clear-drying glues can be used.
- 1 jar Small glass jar with lid
- 2 pieces Wooden skewers For precise placement of materials.
- 1 piece Old small paintbrush
Instructions
Preparation Steps
- Step 1: Prepare the Jar Base - Paint the bottom inside of your jar with Gorilla Glue, avoiding the neck.
- Step 2: Add the Ocean Floor - Pour in blue craft sand, shake gently to coat the glue, pour out excess, and let dry for about 30 minutes.
- Step 3: Add a Sunny Accent - Paint the neck of the jar with Gorilla Glue, coat with yellow sand, pour out excess, and let dry completely.
- Step 4: Decorate the Lid - Apply Gorilla Glue to the inside of the lid, sprinkle with yellow sand, and dry for 30 minutes.
- Step 5: Create Seaweed - Use the paintbrush to paint glue shapes above the blue sand where your 'seaweed' will grow. Cover with green sand, shake off extra, and let dry for a couple of hours.
- Step 6: Clean & Prep - Rinse inside the jar with water to remove loose sand, then let it dry completely.
- Step 7: Build the Centerpiece - Add Gorilla Glue to the center, working in small layers so each dries before adding more.
- Step 8: Add Your Treasures - Using wooden skewers, apply glue to the sides of the jar and place shells, beads, and sea glass inside. Work on one side at a time for precision.
- Step 9: Seal the Scene - Once everything has set, screw the lid back onto the jar.
Notes
Nutrition
More Craft Innovations
- I Found a Strange Growth on My Garage Wall—What It Revealed About Hidden Moisture
- After a Decade Together, She Discovered the True Value of Her Contributions
- My Daughter Disappeared After Prom Night—Almost a Year Later, an Ordinary Beanbag Chair Revealed the Truth
- Stop Your Bed Sheets From Balling Up in the Dryer: Simple Tricks That Actually Work