
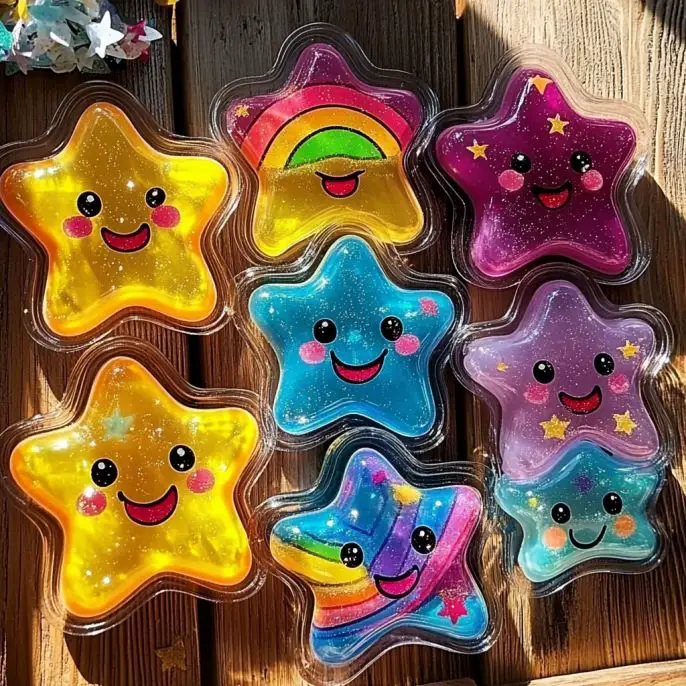

DIY Window Clings
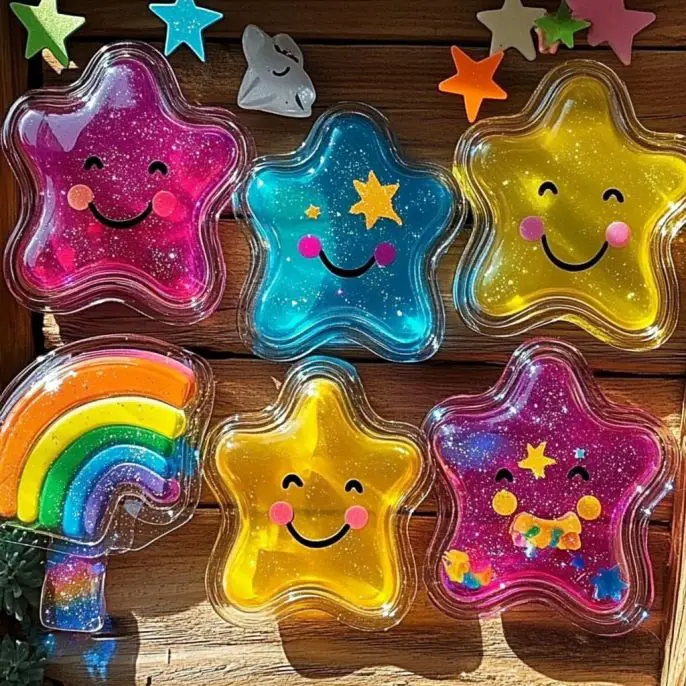
Create colorful and customizable window clings using basic supplies like school glue and food coloring that can be reused and repositioned on glass surfaces.
Print
Pin
Rate
Servings: 1 project
Ingredients
Basic Supplies
- 1 bottle White school glue (clear or white)
- 4 drops Liquid food coloring or liquid watercolors
- 1 Plastic sheet protectors, zip-top bags, or wax paper
- 2 pieces Cotton swabs or paintbrushes
- 2 pieces Small squeeze bottles or cups (for mixing colors)
- 1 pair Scissors
Optional Fun Add-Ons
- 1 tube Glitter For a sparkly effect
- 1 bag Googly eyes To add personality to your designs
- 1 bag Sequins For extra flair
Tools
- 1 piece Cookie cutters For easy shapes
- 1 piece Old baking sheet To keep your surface sturdy
- 1 piece Plastic tablecloth or newspapers To protect your workspace
Instructions
Preparation
- Lay down a plastic sheet protector, wax paper, or a clear zip-top bag on a flat, level table.
Mixing
- In small cups or squeeze bottles, mix school glue with a few drops of food coloring or liquid watercolor. Stir well and add glitter if desired.
Painting Designs
- Use cotton swabs or paintbrushes to draw shapes directly onto your surface. Press in sequins or googly eyes while it’s wet for added flair.
Drying
- Allow the clings to dry completely for 24-48 hours until they peel off cleanly and aren’t sticky.
Application
- Carefully lift your window cling off the plastic, press it onto any glass surface, and admire your handiwork.
Notes
Store extras on wax paper in a plastic bag when not in use. For best results, make thin layers and peel off slowly to prevent tearing.
Nutrition
Serving: 1g
DIY Window Clings
Create colorful and customizable window clings using basic supplies like school glue and food coloring that can be reused and repositioned on glass surfaces.
Print
Pin
Rate
Servings: 1 project
Ingredients
Basic Supplies
- 1 bottle White school glue (clear or white)
- few drops Liquid food coloring or liquid watercolors Or use acrylic craft paint
- 1 sheet Plastic sheet protectors, zip-top bags, or wax paper For working surface
- 1 Cotton swabs or paintbrushes For applying the glue mixture
- 1 Small squeeze bottles or cups For mixing colors
- 1 pair Scissors For cutting the cling shapes
Optional Fun Add-Ons
- as desired Glitter
- as desired Googly eyes
- as desired Sequins
Tools You Might Want
- as needed Cookie cutters For easy shapes
- 1 sheet Old baking sheet To keep your surface sturdy
- 1 Plastic tablecloth or newspapers To protect your workspace
Instructions
Making the Window Clings
- Lay down a plastic sheet protector, wax paper, or a clear zip-top bag on a flat, level table.
- In small cups or squeeze bottles, mix school glue with a few drops of food coloring or liquid watercolor. Stir well! Add glitter if desired.
- Use cotton swabs or paintbrushes to draw shapes directly onto your surface. Press in sequins or googly eyes while it’s wet if desired.
- Patience is key—these need 24–48 hours to dry fully. They’re ready when they peel off cleanly and aren’t sticky to the touch.
- Carefully lift your window cling off the plastic, press it onto any glass surface, and admire your handiwork. Move it around whenever you want!
Notes
Tips: Make thin layers for quicker drying; Handle delicate shapes slowly to avoid tearing; Store extras on wax paper in a plastic bag.
More Craft Innovations
- I Found a Strange Growth on My Garage Wall—What It Revealed About Hidden Moisture
- After a Decade Together, She Discovered the True Value of Her Contributions
- My Daughter Disappeared After Prom Night—Almost a Year Later, an Ordinary Beanbag Chair Revealed the Truth
- Stop Your Bed Sheets From Balling Up in the Dryer: Simple Tricks That Actually Work