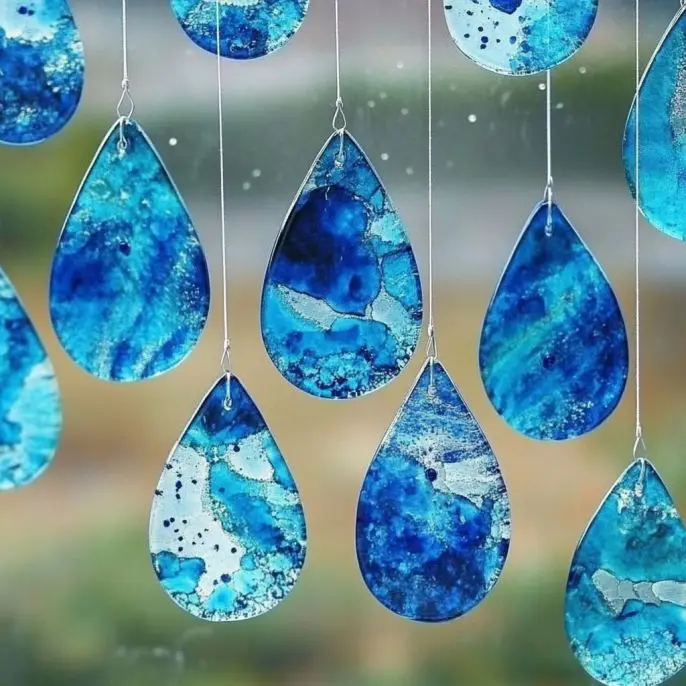
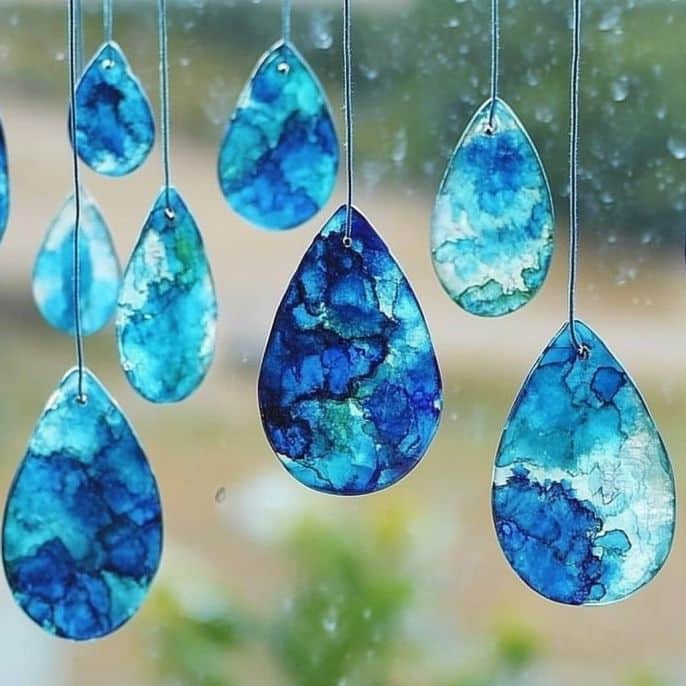
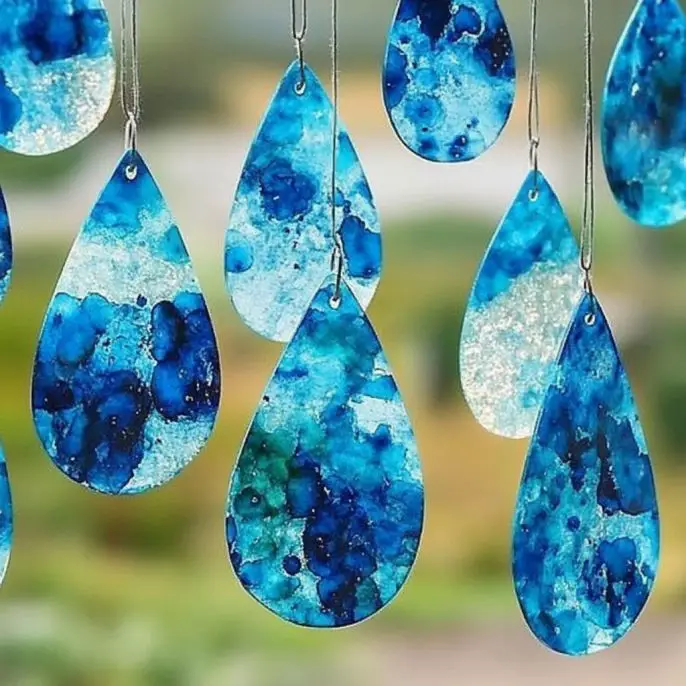
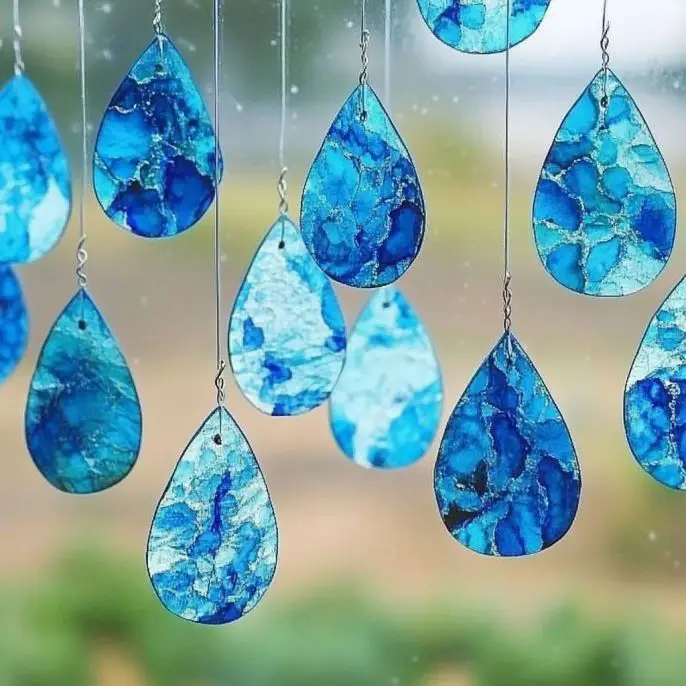
Hey there, creative soul! 💙 Whether it’s drizzling outside or you just want to bring a splash of calm to your space, these Blue Crayon Raindrop Suncatchers are the perfect blend of art, science, and simple joy.
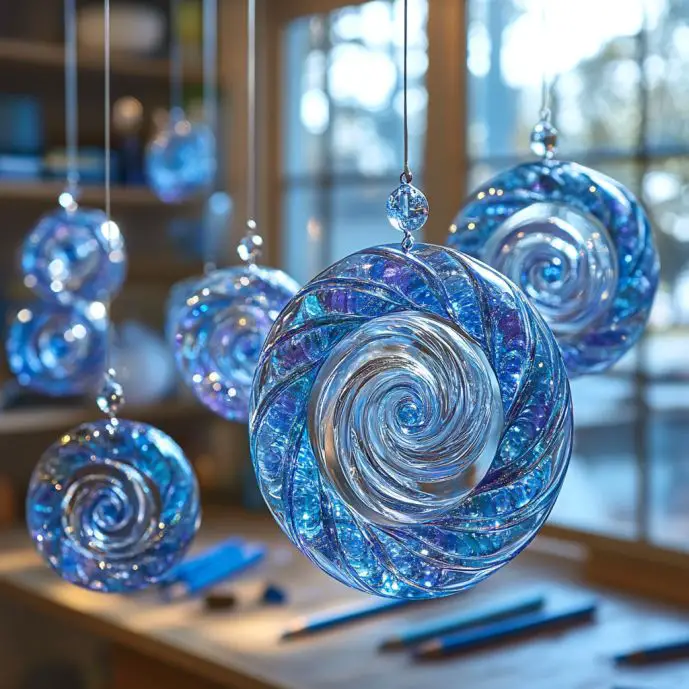
Made from old crayons and a bit of waxed paper, they catch the light just right, like little drops of stained glass dancing in your window. It’s a beautiful way to reuse worn-down crayons and turn them into something magical—and trust me, the swirling blues are anything but boring!!
I made these with my little cousins on a moody spring afternoon, and watching the light filter through our handmade raindrops afterward felt like a moment of sunshine in itself. ☀️💧
💌 Love simple, light-filled crafts like this? Be sure to subscribe so every new idea finds its way to your inbox!
What Are Blue Crayon Raindrop Suncatchers?
These suncatchers are made by melting shavings of blue crayon between sheets of waxed paper. Once cooled, you cut out raindrop shapes, add string, and hang them in a sunny window to catch and scatter the light. The melting creates beautiful swirls and patterns—like watercolor meets stained glass.
It’s a craft that’s low-cost, beginner-friendly, and oh-so-lovely.
Why You’ll Love This Craft
Uses recycled materials you likely already have
A beautiful way to explore color and light
Kid-safe (with adult supervision for the iron!)
Great for rainy day crafting or spring window decor
Easy to customize with different shades and textures
Soothing, relaxing, and just a little bit magical
Ingredients & Supplies
Blue crayons (various shades work best!)
Pencil or crayon sharpener
Waxed paper
Iron (for adult use only)
Scissors
Embroidery floss or string
Hole punch
Optional: permanent marker, glitter, or clear vinyl for extra shine
Step-by-Step Instructions
1. Choose Your Crayons
Pick your favorite shades of blue—light, dark, and everything in between. Unwrap the paper coverings to get them ready for shaving.
2. Create Crayon Shavings
Use a pencil sharpener to make small curls of crayon. (You can also use a grater or a knife with caution.) Scatter the shavings evenly on a sheet of waxed paper—not too thick, but not too sparse either.
3. Prep for Melting
Place another sheet of waxed paper over the shavings. Make sure the layers line up and the shavings are spread out well—this helps the melted design look smooth and balanced.
4. Melt with Care
With adult supervision, gently iron the top layer of waxed paper on the lowest heat setting. Don’t press too hard—just enough to melt the shavings underneath. Watch as the colors blend and swirl—it’s mesmerizing!
Safety Note: Always supervise children when using an iron, and place an old towel or cloth under your project to protect your surface.
5. Cool Completely
Carefully lift the waxed paper off the heat and lay it flat to cool for 5–10 minutes. Once cool, the melted crayon will be firm and ready for cutting.
Use a marker to draw raindrop shapes on the cooled wax. Cut them out with scissors—feel free to experiment with big drops, small drops, or even hearts and stars if you’re feeling whimsical!
7. Punch & Thread
Use a hole punch at the top of each raindrop. Thread through embroidery floss, string, or fishing line—knot the ends so they’re ready to hang.
8. Hang & Enjoy
Display your suncatchers in a sunny window, hang them from a branch or mobile, or string them into a garland. Watch them dance with the light and bring a little calm to your day.
Tips & Variations
🌊 Mix blue with a hint of white or purple for a cloudy-sky vibe
✨ Add a touch of glitter or clear plastic for sparkle and shine
🌈 Try a gradient effect by placing darker shavings at one end, and lighter ones at the other
🌧️ Hang your raindrops in groups like a rainfall mobile for dreamy spring decor
🖍️ Don’t toss broken crayons—this is the perfect way to use them up!
Frequently Asked Questions (FAQ)
Can I use other colors? Absolutely! Try warm tones for sunshine suncatchers or greens for a leafy look.
What’s the best way to sharpen crayons? A traditional pencil sharpener works great! Just go slowly to avoid breaking the crayon inside.
Will the waxed paper curl after ironing? It might! Just flatten it under a book after cooling, or trim the edges once your shapes are cut out.
Are these waterproof? Not entirely—avoid hanging them outside unless covered or laminated.
Conclusion
These Blue Crayon Raindrop Suncatchers are the perfect little project to brighten up a window and your day. They’re simple to make, endlessly customizable, and give you a front-row seat to the beauty of melted crayon art. Whether you’re crafting solo or with little helpers, this is one of those activities that just feels soul-soothing.
And every time the sunlight catches those dreamy blue swirls? It’s like a tiny piece of sky came to say hello. 💙☀️
Did you create a suncatcher masterpiece? I’d love to see! Tag your photos on Pinterest or social media with #CrayonRaindrops and let’s turn our windows into galleries of light and color. 🎨🌦️
Approximate Cost Per Batch
$2–$5, depending on materials you already have at home.
Thanks for creating with me today. Until next time—keep melting, crafting, and letting the light shine through. ☀️💧
Want a printable guide or classroom version of this craft? Just let me know!
Blue Crayon Raindrop Suncatchers
Create beautiful Blue Crayon Raindrop Suncatchers using old crayons and waxed paper. This craft captures light and repurposes materials beautifully.
5piecesBlue crayons (various shades work best!)You can use leftover or broken crayons.
1pieceWaxed paperUsed for melting the crayon shavings.
1pieceIronFor adult use only during the melting process.
1pieceScissorsFor cutting the shapes.
1rollEmbroidery floss or stringUsed for hanging the suncatchers.
1pieceHole punchTo make a hole for hanging.
1optionalPermanent marker, glitter, or clear vinylFor added decoration and shine.
Method
Preparation
Choose your favorite shades of blue and unwrap the paper coverings from the crayons.
Using a pencil sharpener, create small curls of crayon and scatter the shavings evenly on a sheet of waxed paper.
Cover the shavings with another layer of waxed paper and ensure the layers line up neatly.
Melting
With adult supervision, use an iron on the lowest heat setting to gently melt the top layer of waxed paper.
Press lightly to avoid flattening; watch the colors blend and swirl during melting.
Cooling and Shaping
Once melted, carefully lift the waxed paper and lay it flat to cool for 5–10 minutes.
After cooling, use a marker to draw raindrop shapes on the cooled wax and cut them out with scissors.
Finishing Touches
Use a hole punch to create a hole at the top of each raindrop and thread through embroidery floss or string.
Knot the ends and hang your suncatchers in a sunny window to enjoy.
Notes
For added sparkle, try mixing in a hint of white or purple crayon, or adding glitter to the melted pieces. Ensure to supervise children during the melting process.
Blue Crayon Raindrop Suncatchers
Create beautiful Blue Crayon Raindrop Suncatchers using old crayons and waxed paper. This craft captures light and repurposes materials beautifully.
Choose your favorite shades of blue—light, dark, and everything in between. Unwrap the paper coverings to get them ready for shaving.
Use a pencil sharpener to make small curls of crayon. Scatter the shavings evenly on a sheet of waxed paper.
Place another sheet of waxed paper over the shavings, ensuring that the layers line up and the shavings are well spread out.
With adult supervision, gently iron the top layer of waxed paper on the lowest heat setting, enough to melt the shavings underneath.
Carefully lift the waxed paper off the heat and lay it flat to cool for 5–10 minutes.
Cutting and Assembling
Use a marker to draw raindrop shapes on the cooled wax. Cut them out with scissors.
Use a hole punch at the top of each raindrop and thread through embroidery floss, string, or fishing line. Knot the ends.
Display your suncatchers in a sunny window, hang them from a branch or mobile, or string them into a garland.
Notes
Mix blue with a hint of white or purple for a cloudy-sky vibe. Add a touch of glitter or clear plastic for sparkle. Try a gradient effect with darker to lighter shavings. Hang in groups for a mobile look.
Prom night is supposed to mark the end of one chapter and the beginning of another. For parents, it’s a bittersweet milestone—a final high school dance before graduation, college, careers, and adulthood begin pulling families in different directions. For our family, it became the night everything changed. My daughter, Lily, was seventeen years old and…
Turn recycled bottles into glowing nighttime magic with this easy glow-in-the-dark firefly craft. Fun, customizable, and perfect for summer nights or party décor! Step-by-Step Instructions 1. Prep Your Bottle Start by cleaning your clear plastic bottle thoroughly. Remove any labels and let it dry completely. 2. Decorate (Optional but Fun!) If you want a custom…
Is there anything more enchanting than watching snow gently fall? Whether you live in a snowy climate or just dream of one, this Snowstorm in a Jar brings the winter magic indoors — no mittens required! Thank you for stopping by to make something truly special. This simple, mesmerizing craft is perfect for kids and…
Before we dive into this colorful creation, let me say thank you for being here. Whether you’re a parent looking for a creative outlet for your little ones, an educator in search of a classroom crowd-pleaser, or simply someone who adores the gentle magic of watercolor—welcome! I’m so excited to share this sweet little project…
Before we dive in—thank you so much for dropping by my cozy little craft nook today! It warms my heart to know you’re here, ready to make something beautiful with your own two hands. These Blue Crayon Raindrop Suncatchers are exactly the kind of simple, charming craft that will make your windows sparkle, even when…
Before we dive into the sparkles and swirls, can I just say thank you for sharing your creative energy with me today? Seriously — if you’re looking for a festive, low-mess, high-wow craft to celebrate Independence Day, this 4th of July Fireworks Jar is pure magic in a bottle! ✨🇺🇸 This is one of those…