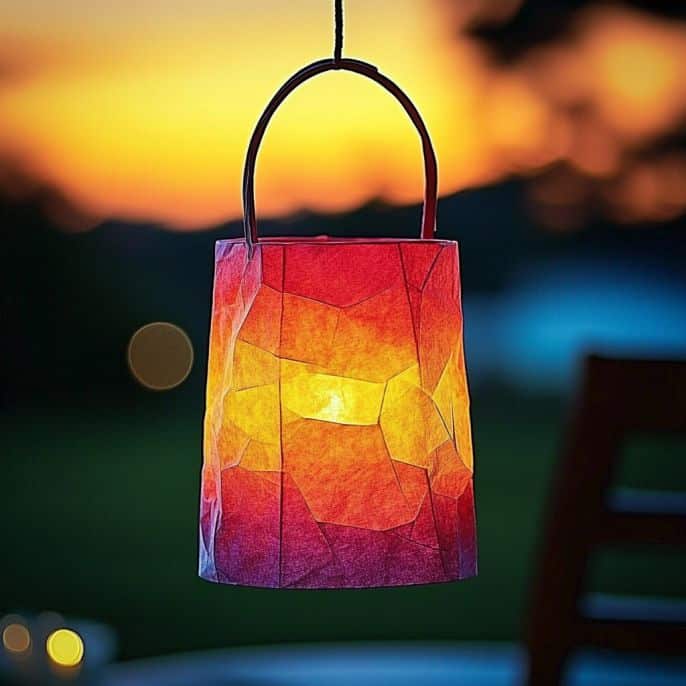
Kids Lantern Craft
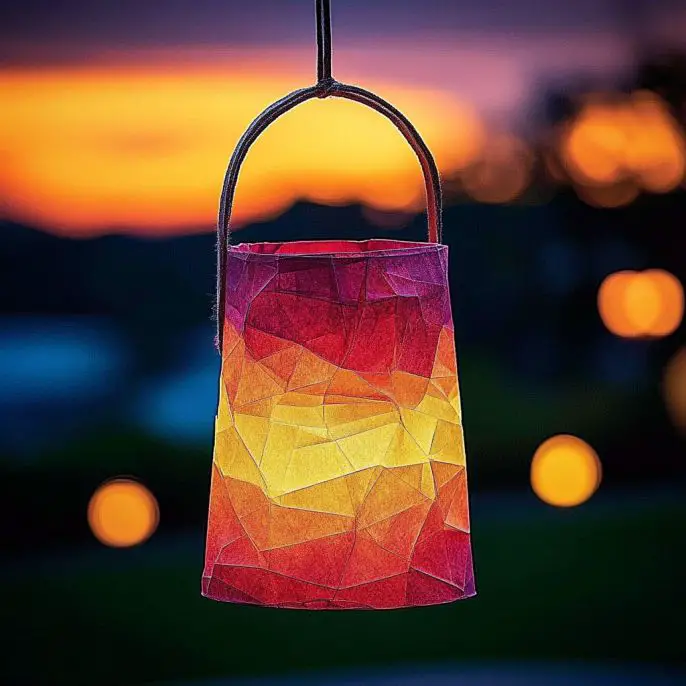
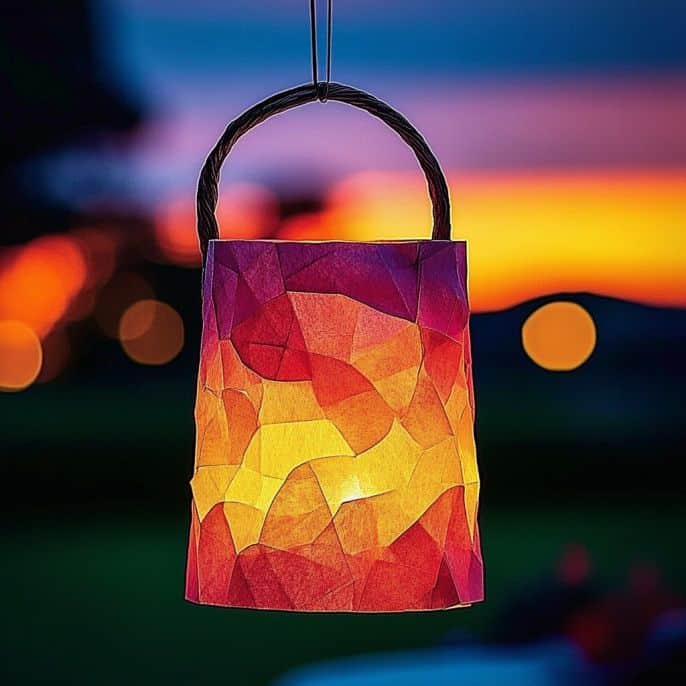
Create magical glowing lanterns with simple recyclables and colorful decorations, perfect for sparking creativity in children.
Print
Pin
Rate
Servings: 1 lantern
Ingredients
Main Supplies
- 1 piece clean, empty plastic container (milk jug, yogurt tub, or mason jar) Any type of clean plastic container can be used.
- 1 piece battery-operated tealight or glow stick Safer than real candles.
- 1 sheet tissue paper, scrap paper, or old magazines Bright colors work best.
- 1 bottle white glue or Mod Podge For sticking and sealing decorations.
- 1 piece paintbrush or sponge For applying glue.
- 1 piece scissors For cutting the container or paper.
- 1 piece hole punch For making holes for the handle.
- 1 piece string or pipe cleaner For making the handle.
- optional stickers, washi tape, glitter, pressed leaves For extra decorating fun.
Instructions
Making the Lantern
- Wash your container thoroughly and remove any labels. Cut off the top to create an open lantern if using a bottle or jug.
- Tear tissue paper or old magazine pages into small pieces. The more colors, the better!
- Brush a layer of white glue or Mod Podge all over the outside of your container.
- Stick the torn paper pieces all over the gluey surface, overlapping them for a fun stained-glass look.
- Brush another layer of glue or Mod Podge over the paper pieces to seal them. Sprinkle on glitter while it’s still wet if desired.
- Use a hole punch to make two holes near the top rim. Thread a string, yarn, or pipe cleaner through both holes and tie or twist securely.
- Pop in your battery tealight or glow stick.
- Turn off the lights, head outside, or snuggle up in a dark room to enjoy the glowing lantern.
Notes
Add stickers or pressed flowers for more texture, and you can create themed lanterns for different seasons or occasions.
Nutrition
Serving: 1g
Kids Lantern Craft
Create magical glowing lanterns with simple recyclables and colorful decorations, perfect for sparking creativity in children.
Print
Pin
Rate
Servings: 1 lantern
Ingredients
Supplies
- 1 pc clean, empty plastic container (milk jug, yogurt tub, or mason jar) Any clean and empty container will work.
- 1 pc battery-operated tealight or glow stick Safer than real candles.
- 1 bunch tissue paper, scrap paper, or old magazines Bright colors work best.
- 1 pc white glue or Mod Podge To stick and seal your decorations.
- 1 pc paintbrush or sponge For applying glue.
- 1 pc scissors For cutting container or paper.
- 1 pc hole punch For making holes for the handle.
- 1 pc string or pipe cleaner For the handle.
Optional Decorations
- as desired stickers, washi tape, glitter, pressed leaves For extra decorating fun!
Instructions
Crafting Steps
- Clean & Prep the Container: Wash your container thoroughly and remove any labels. If you’re using a bottle or jug, carefully cut off the top to create an open lantern.
- Tear Up the Paper: Tear tissue paper or old magazine pages into small pieces. Kids love this step — the more colors, the better!
- Glue the Base: Brush a layer of white glue or Mod Podge all over the outside of your container.
- Decorate!: Stick your torn paper pieces all over the gluey surface. Overlap them for a fun stained-glass look. Be bold with color combos!
- Seal & Sparkle: Brush another layer of glue or Mod Podge over the paper pieces to seal them. Sprinkle on glitter while it’s still wet if you’d like extra sparkle!
- Add the Handle: Use a hole punch to make two holes near the top rim. Thread a string, yarn, or pipe cleaner through both holes and tie or twist securely.
- Light it Up: Pop in your battery tealight or glow stick. No flames, no worries!
- Show it Off: Turn off the lights, head outside, or snuggle up in a dark room — and watch your child’s face glow right along with their lantern.
Notes
✨ Add stickers, washi tape, or pressed flowers for more texture.✨ Theme it up — fall leaves for an autumn walk, spooky colors for Halloween, bright hues for summer nights.✨ Make a whole set — line them up along the porch or carry them on a backyard adventure.
Nutrition
Serving: 1g
More Craft Innovations
- I Found a Strange Growth on My Garage Wall—What It Revealed About Hidden Moisture
- After a Decade Together, She Discovered the True Value of Her Contributions
- My Daughter Disappeared After Prom Night—Almost a Year Later, an Ordinary Beanbag Chair Revealed the Truth
- Stop Your Bed Sheets From Balling Up in the Dryer: Simple Tricks That Actually Work