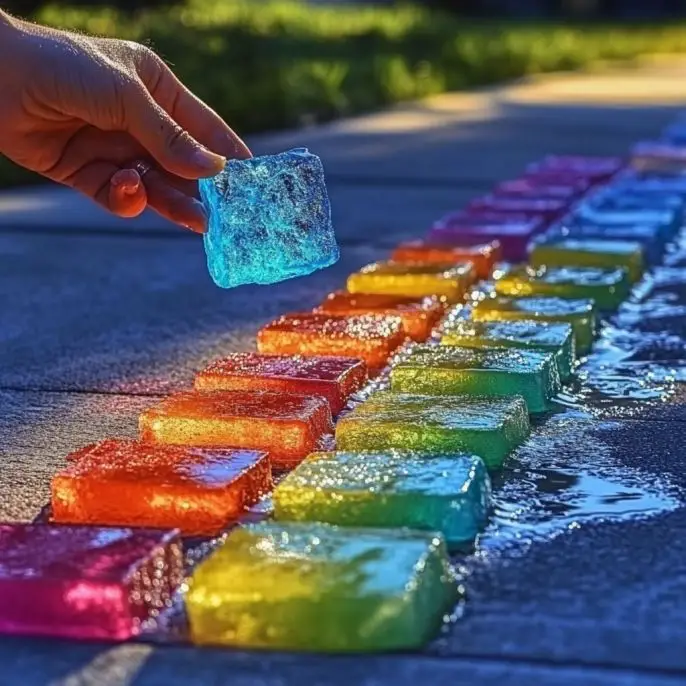
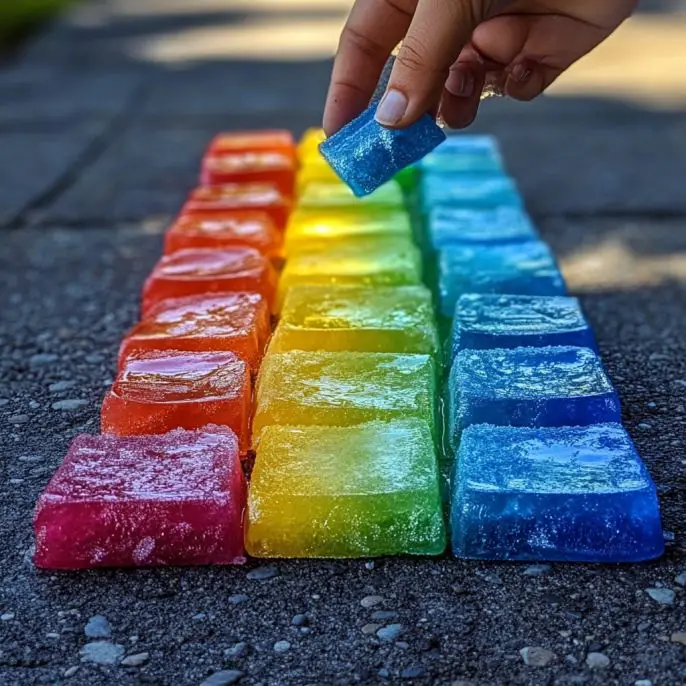
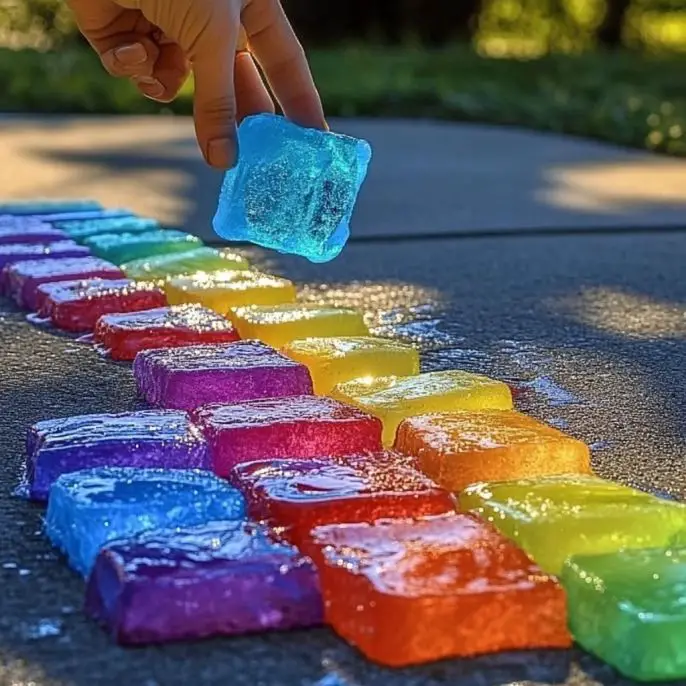
First off—thank you for being here! If you’re reading this, you’re likely a fellow fan of messy, magical, and memory-making activities with your kiddos, friends, or just for yourself (we don’t judge!). Whether you stumbled across this on a hunt for boredom-busters or you’re a longtime creative soul, I’m thrilled to share one of our favorite summer projects: DIY Ice Chalk!
Before we dive in, want this recipe sent straight to your inbox? Tap below to subscribe and never miss another playful project. I send goodies like this every week, along with my favorite tips, tricks, and seasonal inspirations. 💌
What Is Ice Chalk?
Imagine sidewalk chalk, watercolor paint, and a popsicle had a baby—and you get Ice Chalk! It’s cool (literally), completely washable, and ridiculously fun for kids and adults alike. Made with just a few pantry staples and food coloring, it freezes into vibrant cubes of creativity that melt into mesmerizing art on warm sidewalks.
I promised you versatile, and here’s proof!
Why You’ll Love This Ice Chalk Recipe
Safe & Washable: Made with cornstarch, water, and food-safe colors—100% kid-approved.
Hands-On Fun: Sensory play meets outdoor art. Anything but boring!!
Beat the Heat: Keeps little hands cool while they paint the pavement.
Budget-Friendly: Most of the ingredients are probably already in your kitchen.
Creative Freedom: Let kids experiment with mixing colors, shapes, and patterns.
What Does Ice Chalk Feel Like?
When it hits the warm pavement, it melts slowly, leaving behind bold streaks of color that spread and blend. Think watercolor meets tie-dye meets Jackson Pollock—except it’s all gone with the next rain or rinse of the hose.
It’s an art experience and a science experiment in one.
Benefits of Making Ice Chalk
Enhances fine motor skills
Encourages outdoor play
Boosts creativity and color recognition
Offers a cool sensory experience on hot days
Easy cleanup (it rinses right off!)
Ingredients
1 cup cornstarch
1 cup water
Food coloring or washable liquid watercolors
Optional: glitter for extra sparkle ✨
Tools You’ll Need
Mixing bowl & spoon
Small bowls for color mixing
Ice cube trays or silicone molds
Craft sticks (optional, but great for holding the chalk!)
Customize It: Additions & Substitutions
No food coloring? Use a few drops of washable paint or natural dyes (beets, turmeric, spirulina).
Want sparkle? Add glitter to the mix for glimmering pavement art.
Don’t have molds? Use muffin tins or even empty yogurt cups.
In a bowl, combine 1 cup cornstarch with 1 cup water. Stir until the mixture is smooth and lump-free.
2. Color It Up
Divide the mixture into smaller bowls and add a few drops of food coloring to each. Mix thoroughly to get bold, bright colors.
3. Fill Your Trays
Carefully pour each colored mixture into your ice cube trays or silicone molds.
4. Add Sticks (Optional)
Place craft sticks in the center of each mold for easier handling once frozen.
5. Freeze
Freeze for 4 to 6 hours, or until completely solid.
6. Create!
Pop the frozen chalk cubes out of the tray and head outside. Use them on sidewalks, driveways, or outdoor easels and watch the colors drip, blend, and swirl!
What to Pair with Your Ice Chalk Fun
A water table or sprinklers for double the sensory play
Homemade lemonade or popsicles for post-art refreshments
A camera—trust me, you’ll want to capture these colorful masterpieces
A playlist of favorite summer songs to keep the vibes high
Tips for Ice Chalk Success
Use silicone molds for easy removal.
Layer colors in each mold to create fun gradients.
Make a big batch and keep extras in the freezer for impromptu art sessions.
If your child is sensitive to cold, use gloves or attach the chalk to sticks.
Don’t stress the mess—everything washes off!
Storage Instructions
Store unused ice chalk cubes in an airtight container or zip-top bag in the freezer for up to two weeks. Let them sit for 1-2 minutes at room temperature before using for best melting performance.
General Info
Prep Time: 10 minutes
Freeze Time: 4–6 hours
Total Time: Approx. 5 hours
Difficulty: Easy
Age Range: Perfect for toddlers through tweens (and beyond!)
Frequently Asked Questions
Can I use flour instead of cornstarch?
Cornstarch gives the best consistency and color vibrancy. Flour may work, but expect a chalkier, more opaque result.
Is it safe if kids put it in their mouths?
While it’s technically non-toxic, it’s not made for eating. Use food-grade ingredients and supervise young children.
Nope! Food coloring and washable paints will rinse off with water or rain. If you’re unsure, test a small area first.
Can I use this on paper or canvas?
You can, but the melting process works best on warm, absorbent outdoor surfaces like concrete or asphalt.
Conclusion: Why Ice Chalk Belongs in Your Summer
This isn’t just another craft—it’s a full-body, sunshine-filled creative experience. It’s science. It’s art. It’s a popsicle that makes a masterpiece. Whether you’re wrangling a group of neighborhood kids or spending quiet time outdoors with your littles, DIY Ice Chalk is summer magic in a mold.
And hey, if you try this project and love it, would you do me a favor?
💬 Share Your Ice Chalk Creations!
Pin it, post it, or tag me on Pinterest! I absolutely LOVE seeing your creative spins. Got a favorite color blend or glitter trick? Let’s swap ideas!
Nutrition Information (Per Batch)
Since this isn’t edible, there’s no nutritional info—but here’s what you are feeding:
Imagination
Joy
Hours of screen-free fun
More Summer Fun with Peaches (and Play!)
If you’re into sensory-rich, peach-perfect experiences, don’t miss these next:
🍑 Peach Cobbler with Brown Sugar Biscuit Topping
🍑 Frozen Yogurt Peach Bites for Toddlers
🍑 Homemade Peach-Scented Playdough
Subscribe below for more recipes & projects like this one! Let’s keep the creativity flowing all summer long. 🌞
Demander à ChatGPT
Ice Chalk
Create your own colorful Ice Chalk for a fun and messy outdoor art project. Perfect for kids and adults, it's safe, washable, and an exciting way to inspire creativity during the summer!
few dropsfood coloring or washable liquid watercolorsUse various colors for more fun.
optionalglitterAdd for extra sparkle.
Method
Preparation
In a bowl, combine 1 cup cornstarch with 1 cup water. Stir until the mixture is smooth and lump-free.
Divide the mixture into smaller bowls and add a few drops of food coloring to each. Mix thoroughly to get bold, bright colors.
Carefully pour each colored mixture into your ice cube trays or silicone molds.
Place craft sticks in the center of each mold for easier handling once frozen.
Freeze for 4 to 6 hours, or until completely solid.
Pop the frozen chalk cubes out of the tray and head outside. Use them on sidewalks, driveways, or outdoor easels and watch the colors drip, blend, and swirl!
Notes
Store unused ice chalk cubes in an airtight container or zip-top bag in the freezer for up to two weeks. Let them sit for 1-2 minutes at room temperature before using for best melting performance.
Ice Chalk
Create your own colorful Ice Chalk for a fun and messy outdoor art project. Perfect for kids and adults, it's safe, washable, and an exciting way to inspire creativity during the summer!
In a bowl, combine 1 cup cornstarch with 1 cup water. Stir until the mixture is smooth and lump-free.
Divide the mixture into smaller bowls and add a few drops of food coloring to each. Mix thoroughly to get bold, bright colors.
Carefully pour each colored mixture into your ice cube trays or silicone molds.
Place craft sticks in the center of each mold for easier handling once frozen (optional).
Freeze for 4 to 6 hours, or until completely solid.
Use
Pop the frozen chalk cubes out of the tray and head outside. Use them on sidewalks, driveways, or outdoor easels.
Notes
Store unused ice chalk cubes in an airtight container or zip-top bag in the freezer for up to two weeks. To use, let them sit for 1-2 minutes at room temperature for best melting performance. Don't stress the mess—everything washes off!
Grandma’s Rustic Macaroni Egg Bake proves that a comforting meal does not require a long ingredient list. With just pasta, eggs, and cheese, this cozy dish bakes into creamy layers topped with a golden, slightly crisp surface. Each slice offers warm, cheesy goodness that feels both nostalgic and satisfying. This classic recipe turns simple pantry…
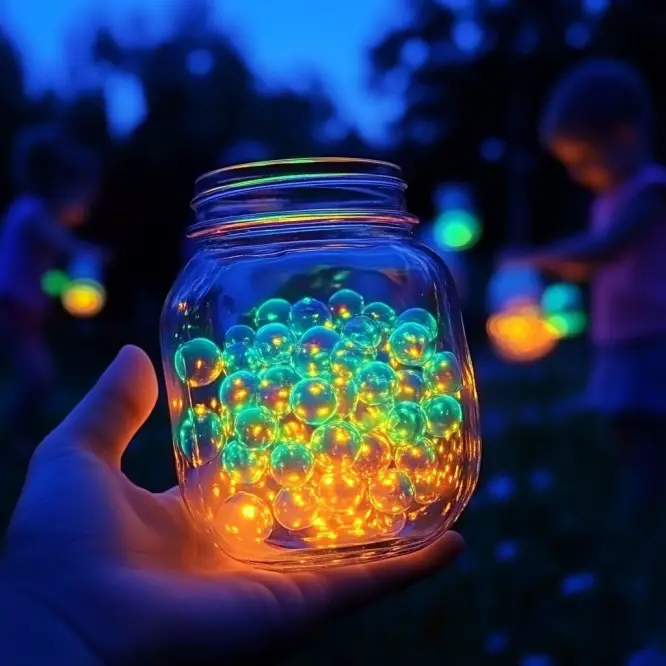
First of all—thank you so much for being here. Whether you’re a parent looking for a fun activity, a science lover hunting for a cool experiment, or just someone who needs a little extra sparkle in their life… welcome! I’m genuinely thrilled to share this glowing gem of a DIY project with you. This one’s…
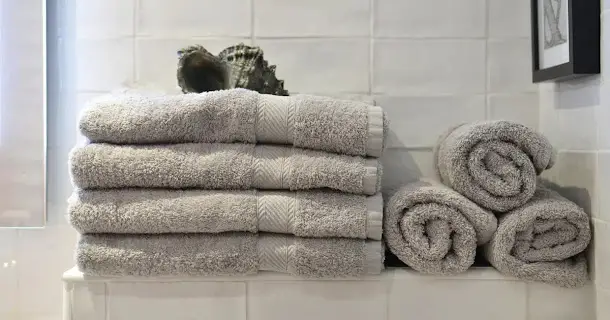
Laundry is one of those household chores that most of us complete on autopilot. We separate lights from darks, choose the right detergent, press a few buttons, and move on with our day. When it comes to towels, however, many people simply toss every towel in the house into one load without giving it much…
Introduction If you’re searching for a show-stopping, science-meets-snack creation, then this Watermelon Popping Boba recipe is exactly what you need. Not only does it burst with the refreshing taste of summer fruit, but it also showcases the magic of molecular gastronomy. Whether you’re planning a party, crafting a fun food science experiment with kids, or…
Thank you so much for stopping by today! Whether you’re a parent searching for a fun afternoon activity, a teacher planning a hands-on science demo, or just someone who loves a little kitchen chemistry, this one’s for you. I’m genuinely excited to share this—it’s one of those easy experiments that never fails to wow both…
Before we dive into today’s creative adventure, I just want to say — thank you. Thank you for being here, for embracing the beauty of handmade crafts, and for making space in your life for color, light, and a little magic. Projects like this one are simple yet soul-satisfying, and I’m so excited to share…