Before we get glowing and bubbling, let me just say—thank you for being here. Thank you for nurturing curious minds, for encouraging exploration, and for turning everyday kitchen ingredients into something magical. Whether you’re a parent, teacher, caregiver, or crafty kid at heart, this one’s going to light you up—literally!
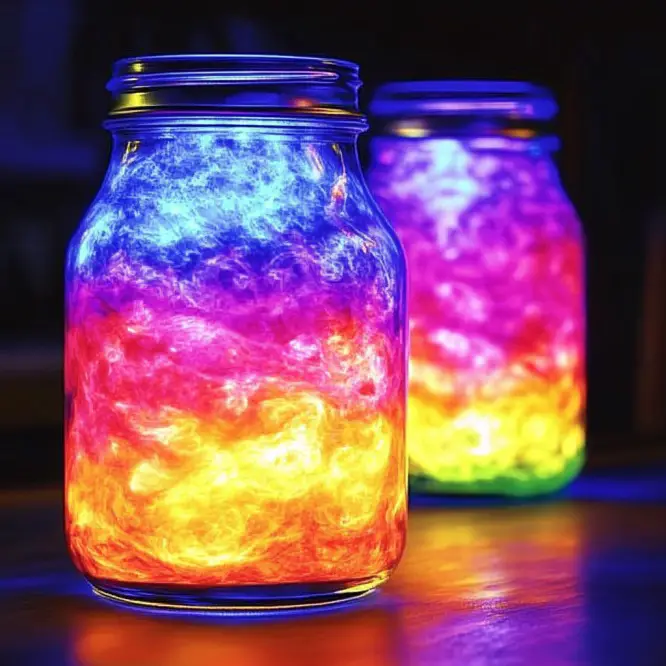
Today, we’re diving into a project that blends science, creativity, and sensory magic: DIY Color-Changing Lava Lamp Jars. These jars don’t just sit there—they bubble, swirl, and shimmer with vibrant color. The chemical reaction is safe, fun, and easy enough for even the youngest scientists to enjoy (with a bit of grown-up help).
📩 Love hands-on learning? Subscribe below to get this experiment—and more like it—delivered straight to your inbox!
What Are Color-Changing Lava Lamp Jars?
These aren’t just your typical kitchen science jars. This project combines oil, water, and food coloring, and activates with a fizzy, bubbly chemical reaction between baking soda and citric acid. The result? A lava lamp effect—like something out of a wizard’s lab!
It’s vibrant, interactive, and 100% mesmerizing.
Why You’ll Love This Activity
- Visually Stunning: Think swirling colors and bubbly movement—it’s so pretty.
- Safe & Kid-Friendly: No heat, no harsh chemicals—just safe science fun.
- STEM-Inspired Learning: Teaches about density, polarity, and chemical reactions.
- Creative Freedom: Customize your colors, jars, and reactions for endless fun!
What Does It Look and Feel Like?
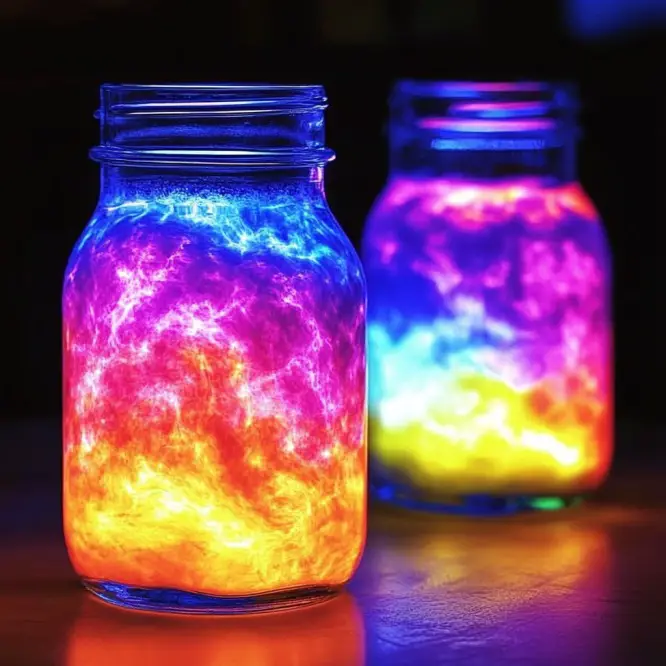
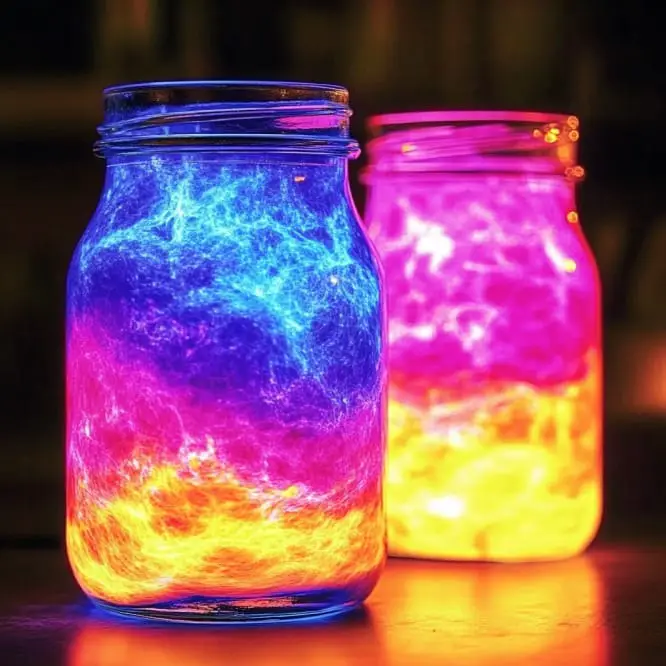
Imagine a tall jar with glittery bubbles dancing slowly up and down, tinted in rainbow hues. The bubbles pop, sink, and swirl in layers. It’s relaxing and energizing at the same time—anything but boring!!
Benefits of This Activity
- Encourages creative exploration.
- Teaches cause and effect and scientific observation.
- Improves fine motor skills (pouring, stirring, etc.).
- Makes a beautiful sensory jar for calming corners or quiet playtime.
🧂 Ingredients You’ll Need
- ½ cup clear vegetable oil
- ¼ cup water
- 1 tablespoon dish soap
- Food coloring (multiple colors = more fun!)
- ¼ teaspoon baking soda
- ¼ teaspoon citric acid
- 1 small jar or clear plastic bottle
- 1 spoon or craft stick for stirring
- (Optional) Small funnel
🧰 Tools You Might Want
- Tray or placemat to contain messes
- Tall, narrow bottle (for a lava lamp “look”)
- Glitter (if you’re feeling extra creative!)
- Measuring spoons
🎨 Optional Additions & Variations
- Glow-in-the-dark paint on the outside of the jar
- Glitter inside the jar for sparkle
- Layering colors to create ombré lava
- Use different shaped bottles for varying effects
👩🔬 Step-by-Step Instructions
1. Prepare the Base Liquid
Pour ½ cup of clear vegetable oil into your jar or bottle. Then slowly add ¼ cup of water. You’ll see the water sink to the bottom, while the oil floats on top—yay, density!
2. Add Dish Soap
Stir in 1 tablespoon of dish soap. This helps thicken the mixture and makes the bubbles more lava-like.
3. Add Food Coloring
Drop in your favorite food coloring! Stir gently so it mixes with the water layer. Want rainbow vibes? Add a few different colors for a layered effect!
4. Create the Lava Reaction Paste
In a small bowl, mix ¼ teaspoon of baking soda with a splash of water—just enough to form a paste.
5. Add the Paste to the Jar
Scoop the paste into the jar using your spoon or funnel. Let it settle to the bottom—this is where the magic begins.
6. Activate the Color Change!
Sprinkle in ¼ teaspoon of citric acid. Instantly, you’ll see fizzing and bubbling as the citric acid reacts with the baking soda—and bubbles of colored water rise through the oil like lava!
7. Keep the Fun Going
Add more citric acid to keep the bubbles flowing. Want a new color? Add a few drops of a different food coloring and watch the show change in real time!
🪄 Tips for the Best Lava Lamp Experience
- Let the kids choose the colors—they’ll feel more involved and excited.
- Make sure the jar is clear so the effect is visible.
- Use a narrow bottle to get more of that classic lava-lamp look.
- Want to repeat the fun? Just add more baking soda and citric acid!
🧊 Storage & Cleanup
- You can store your jar for a while! Just seal the lid tightly.
- To reuse, gently swirl before adding more citric acid.
- Clean up with warm, soapy water. Food coloring can stain—so wear aprons or old clothes just in case!
📚 General Info
- Time Required: 10 minutes
- Best Age Group: Ages 4+ (with supervision)
- Skill Level: Beginner
- Science Concepts Explored: Chemical reactions, density, polarity
❓Frequently Asked Questions
Is citric acid safe for kids?
Yes—when used in small amounts and handled with supervision. It’s the same stuff in sour candies!
Can I use lemon juice instead?
You can try, but citric acid powder gives a better fizz. Lemon juice is less concentrated.
Do I have to use dish soap?
No, but it makes the reaction foamier and more “lava-like.”
How long does the effect last?
About 3–5 minutes per round, but you can keep reactivating with more citric acid!
💬 Final Thoughts
There’s something undeniably magical about watching color and chemistry collide in these DIY Lava Lamp Jars. They’re beautiful, educational, and just so satisfying to watch. Whether you’re doing this as a quick activity or building a whole science-themed day around it, this is one of those projects that really wows.
I promised you hands-on, color-filled fun, and here’s the proof!
🧪 More Experiments to Try Next
- Volcano Eruption in a Jar – A fizzy favorite!
- Rainbow Density Column – Layered liquids with science flair.
- Dancing Raisins Experiment – Watch raisins boogie thanks to carbon dioxide!
📸 Share Your Lava Creations!
Made your own lava lamp jar? Snap a photo and tag it on Pinterest or share in the comments below. We love seeing how yours turn out!
🔍 Nutritional Info (Just for Fun!)
Calories: 0
Fizz Level: 11/10
Mess Potential: Manageable
Kid Giggles per Minute: Unlimited
Here’s to bubbles, science, and color-changing fun—happy experimenting! 🌈🧪✨
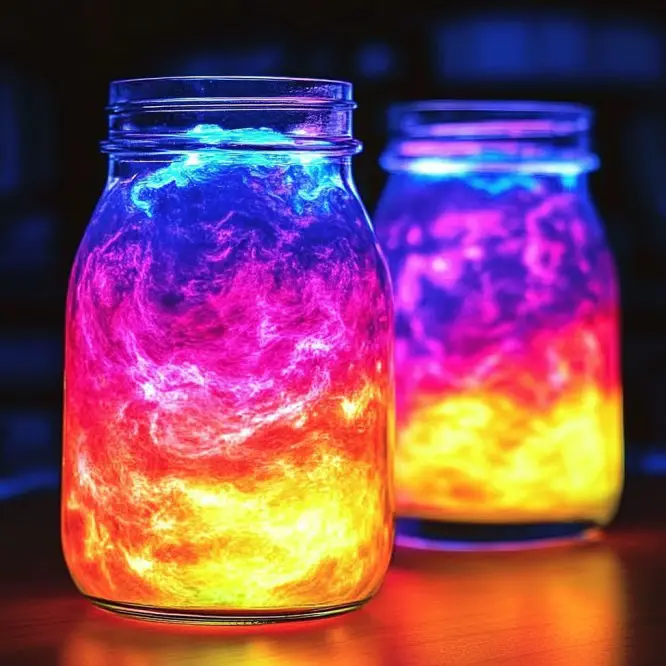
Color-Changing Lava Lamp Jars
Ingredients
Base Ingredients
- ½ cup clear vegetable oil This forms the base of the lava lamp effect.
- ¼ cup water Sinks to the bottom when added to the oil.
- 1 tablespoon dish soap Helps to thicken the mixture.
- ¼ teaspoon baking soda Creates the fizzing reaction.
- ¼ teaspoon citric acid Causes the bubbling effect when added to the paste.
- 1 small jar or clear plastic bottle jar or bottle To contain the lava lamp creation.
- 1 spoon spoon or craft stick for stirring For mixing ingredients.
- 1 optional small funnel To help add the paste to the jar without spills.
Optional Additions
- 1 as desired glitter For added sparkle inside the jar.
Instructions
Preparation
- Pour ½ cup of clear vegetable oil into your jar or bottle. Then slowly add ¼ cup of water. You’ll see the water sink to the bottom, while the oil floats on top.
- Stir in 1 tablespoon of dish soap to thicken the mixture and resemble lava.
- Add your favorite food coloring and stir gently to mix with the water layer.
- In a small bowl, mix ¼ teaspoon of baking soda with a splash of water to form a paste.
- Scoop the paste into the jar and let it settle at the bottom.
- Sprinkle in ¼ teaspoon of citric acid to activate the color change and create the fizzing effect.
- Add more citric acid as desired to keep the bubbles flowing, and use different food colorings for new effects.
Notes
Nutrition
More Craft Innovations
- I Found a Strange Growth on My Garage Wall—What It Revealed About Hidden Moisture
- After a Decade Together, She Discovered the True Value of Her Contributions
- My Daughter Disappeared After Prom Night—Almost a Year Later, an Ordinary Beanbag Chair Revealed the Truth
- Stop Your Bed Sheets From Balling Up in the Dryer: Simple Tricks That Actually Work