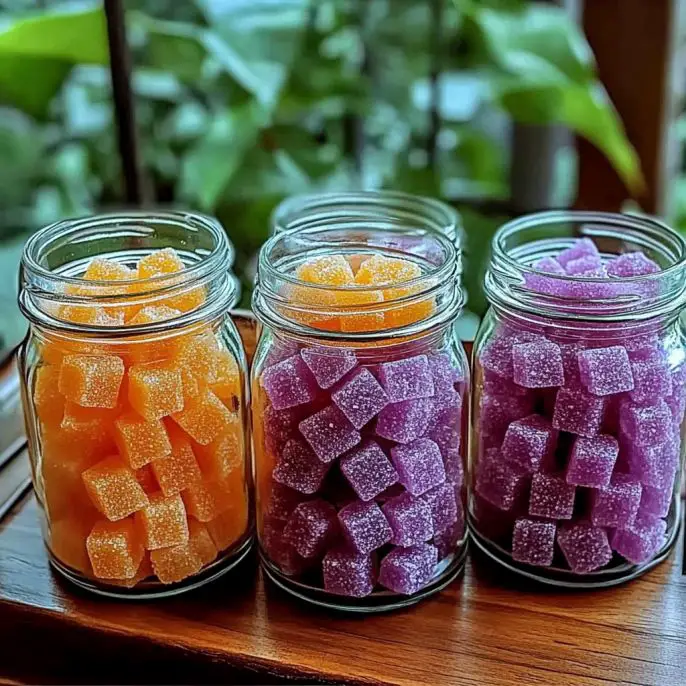
DIY Aroma Stones: A Naturally Scented Craft to Calm Your Space

Hello, friend! If you’ve ever wished you could bottle the feeling of a peaceful moment, I’ve got the next best thing: DIY Aroma Stones. These little beauties are soothing to make, delightful to customize, and oh-so-calming to keep around your home.

They’re like mini spa moments tucked into every corner—by your bedside, in your bathroom, or gently scenting your desk while you work. I made a batch last week with lavender and lemon, and now every drawer and windowsill feels like a little escape.

💌 Want more homey, soul-soothing DIYs like this? Be sure to subscribe and let the calm come to you!


What Are Aroma Stones?

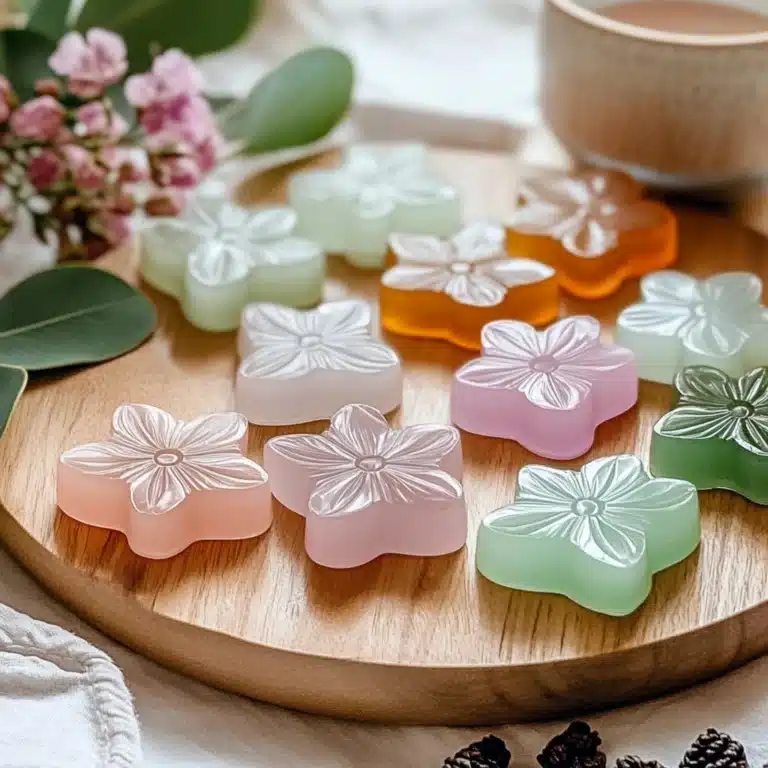
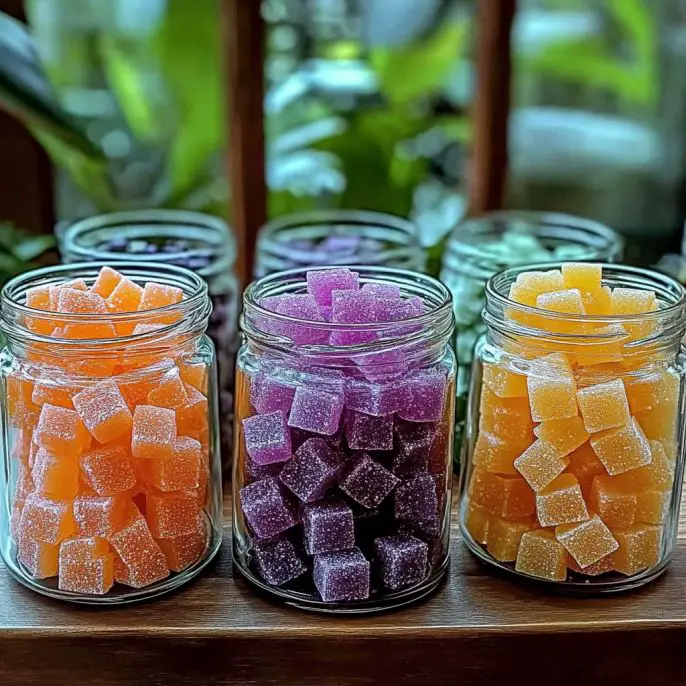
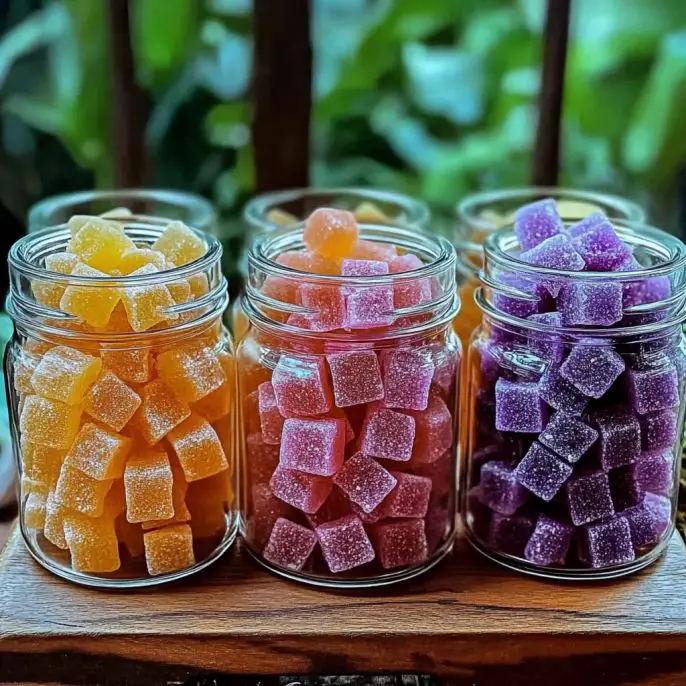
Aroma stones are natural air fresheners made with baking soda and cornstarch, infused with essential oils, and molded into beautiful little shapes. Once they dry and harden, they slowly release scent into your space—no heat, flame, or electricity required.

They’re perfect for:

  • Gentle aromatherapy

  • A natural way to freshen small spaces

  • Handmade gifts or party favors

  • Mindful moments during crafting


Why You’ll Love This Project

  • Made with simple pantry ingredients

  • Safe, non-toxic, and flame-free

  • Customizable with colors, scents, and shapes

  • Great for gifting (hello, self-care baskets!)

  • A fun craft for kids and adults alike

  • Beautiful, functional, and oh-so-fragrant!


Ingredients

Here’s everything you’ll need:

  • 2 cups baking soda

  • 1 cup cornstarch

  • 1¼ cups water

  • Food coloring (optional but fun!)

  • 10–15 drops essential oils (per portion)


Tools & Materials

  • Mixing bowl

  • Spoon or spatula

  • Whisk

  • Silicone molds or clean hands for shaping

  • Wax paper or drying rack

  • Optional: measuring cups, gloves for coloring


Step-by-Step Instructions

1. Mix the Base

In a large mixing bowl, whisk together 2 cups of baking soda and 1 cup of cornstarch until well combined.

2. Add Water

Slowly pour in 1¼ cups water, stirring constantly. You’re aiming for a wet sand-like consistency—thick but moldable.

3. Divide & Color (Optional)

If using multiple colors, divide your mixture into smaller bowls. Add a few drops of food coloring to each, and mix until the color is fully incorporated.

4. Add Essential Oils

Drop in 10–15 drops of your chosen essential oil per batch. Stir gently to infuse the paste with scent. Lavender, eucalyptus, lemon, peppermint—follow your nose and your mood!

See also  Make a Rain Cloud in a Jar ☁️🌧️ – A Simple Science Experiment with Magical Results

5. Shape Your Stones

Now the fun begins! Either:

  • Mold by hand into stone-like shapes

  • Press into silicone molds for hearts, flowers, stars—whatever makes you smile!

Place shaped stones on wax paper or a drying rack to prevent sticking.

6. Let Them Dry

Set your stones aside in a dry area. Let them air dry for 24–48 hours, depending on size and humidity. They’re ready when hard and no longer tacky.

7. Enjoy!

Place your aroma stones in bowls, jars, drawers, or anywhere you want a gentle, lasting scent.


Tips & Variations

  • Add texture with a pinch of Epsom salt or fine herbs

  • Scent combos to try:

    • Lavender + Lemon (calm + clean)

    • Eucalyptus + Mint (refreshing)

    • Orange + Clove (cozy + warm)

  • For extra visual pop, dust finished stones with mica powder or roll edges in glitter before they dry

  • Want longer scent life? Add a drop or two of essential oil directly onto stones once a week


Frequently Asked Questions (FAQ)

Do aroma stones lose their scent?
Yes, over time. But the beauty is—you can refresh them! Just add a drop or two of essential oil when they begin to fade.

Can I bake them to speed up drying?
It’s best to air dry. Baking may crack or dry them unevenly.

Are they safe around pets and kids?
Yes—just be sure to use pet- and child-safe essential oils and keep them out of reach of curious mouths.

Can I use these in the car?
Absolutely! Place a few in a small fabric pouch or cup holder for an on-the-go scent boost.


Conclusion

There’s something magical about making something with your own two hands—especially when it fills your home with your favorite scents. These DIY Aroma Stones are simple, satisfying, and a beautiful way to bring a little calm into your space, one breath at a time.

Whether you’re gifting them to a friend or setting them around your own sanctuary, these stones are a gentle reminder to pause, inhale, and enjoy the moment. 💛


More Natural Crafts You’ll Love

  • Homemade Lavender Play Dough

  • DIY Bath Fizzies

  • Scented Wax Sachets

  • Essential Oil Room Spray

  • Relaxing Sleepy-Time Rice Bags

See also  Jolly Rancher Candy Grapes: A Sweet and Crunchy Treat You’ll Love!

Show Me Your Stones!

Did you make a batch? I’d love to see! Share your creations on Pinterest or tag me on social with your scent blends and beautiful shapes. Let’s inspire each other to breathe a little deeper.


Approximate Cost per Batch

$3–$6 depending on the oils and supplies you have on hand.

Thank you for crafting with me today. Until next time—keep creating beauty, one breath at a time. 🌿✨

Want a printable instruction sheet or label template for gifting? Just let me know!

Demander à ChatGPT

DIY Aroma Stones

Create soothing aroma stones using simple pantry ingredients and essential oils to freshen your home naturally.
Prep Time 20 minutes
Total Time 20 hours
Servings: 1 batch
Course: Craft, DIY
Cuisine: Homemade, Natural

Ingredients
  

Base Ingredients
  • 2 cups baking soda Main ingredient for the base.
  • 1 cup cornstarch Helps to bind the mixture.
  • 1.25 cups water To achieve the right consistency.
  • 10–15 drops essential oils Customize your scent.
  • food coloring Optional for coloring the stones.
Tools & Materials
  • mixing bowl
  • spoon or spatula
  • whisk
  • silicone molds or clean hands for shaping
  • wax paper or drying rack To prevent sticking.

Method
 

Preparation
  1. In a large mixing bowl, whisk together 2 cups of baking soda and 1 cup of cornstarch until well combined.
  2. Slowly pour in 1¼ cups of water, stirring constantly, until you achieve a wet sand-like consistency.
  3. If using multiple colors, divide your mixture into smaller bowls, add food coloring, and mix until the color is fully incorporated.
  4. Drop in 10–15 drops of your chosen essential oil per batch and stir gently.
  5. Mold the mixture into stone-like shapes by hand or press into silicone molds.
  6. Place the shaped stones on wax paper or a drying rack to prevent sticking.
  7. Let them air dry for 24–48 hours until hard and no longer tacky.
  8. Place your aroma stones in bowls, jars, or anywhere you want a gentle scent.

Notes

For longer scent life, add a drop or two of essential oil to the stones weekly. Customize scents with combinations like Lavender + Lemon or Eucalyptus + Mint. Use mica powder or glitter for extra visual appeal.

DIY Aroma Stones

Create soothing aroma stones using simple pantry ingredients and essential oils to freshen your home naturally.
Prep Time 20 minutes
Total Time 1 day
Servings: 1 batch
Course: Craft, DIY
Cuisine: Homemade, Natural

Ingredients
  

Tools & Materials
  • mixing bowl
  • spoon or spatula
  • whisk
  • silicone molds or clean hands for shaping
  • wax paper or drying rack
  • optional: measuring cups, gloves for coloring

Method
 

Preparation
  1. In a large mixing bowl, whisk together 2 cups of baking soda and 1 cup of cornstarch until well combined.
  2. Slowly pour in 1¼ cups water, stirring constantly. You’re aiming for a wet sand-like consistency—thick but moldable.
  3. If using multiple colors, divide your mixture into smaller bowls. Add a few drops of food coloring to each, and mix until the color is fully incorporated.
  4. Drop in 10–15 drops of your chosen essential oil per batch. Stir gently to infuse the paste with scent.
  5. Mold by hand into stone-like shapes or press into silicone molds for hearts, flowers, stars—whatever makes you smile! Place shaped stones on wax paper or a drying rack to prevent sticking.
Drying
  1. Set your stones aside in a dry area. Let them air dry for 24–48 hours, depending on size and humidity. They’re ready when hard and no longer tacky.
Finishing Touch
  1. Place your aroma stones in bowls, jars, drawers, or anywhere you want a gentle, lasting scent.

Notes

For extra visual pop, dust finished stones with mica powder or roll edges in glitter before they dry. Want longer scent life? Add a drop or two of essential oil directly onto stones once a week.

Similar Posts

Leave a Reply

Your email address will not be published. Required fields are marked *

Recipe Rating