Before we dive in, I just want to say thank you. Whether you’re a teacher looking for a fun classroom activity, a parent searching for a rainy-day project, or just someone who loves a splash of color and a little science—I’m so glad you’re here. This project is one of those deceptively simple ideas that brings pure joy and curiosity to anyone who tries it!
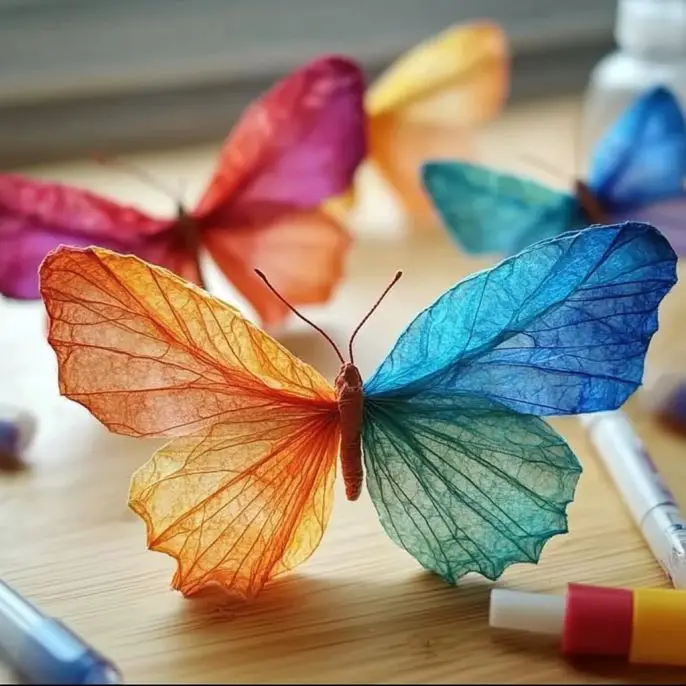
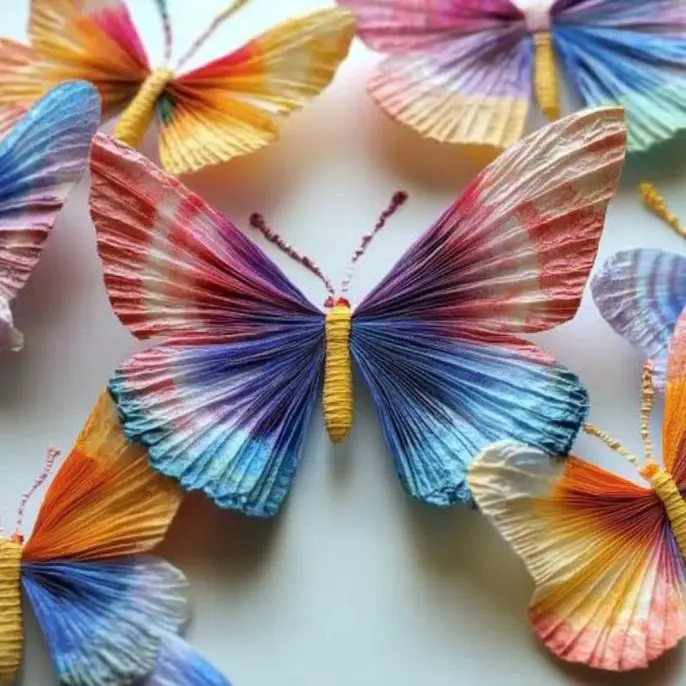
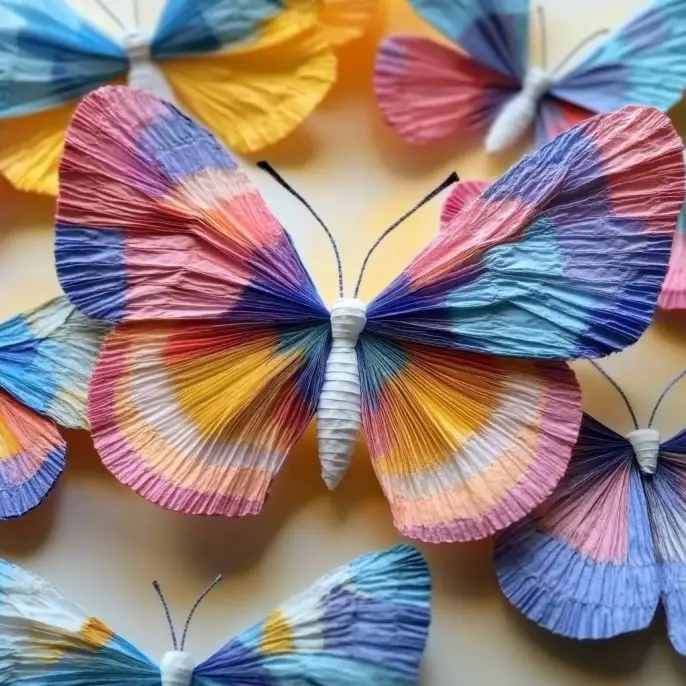
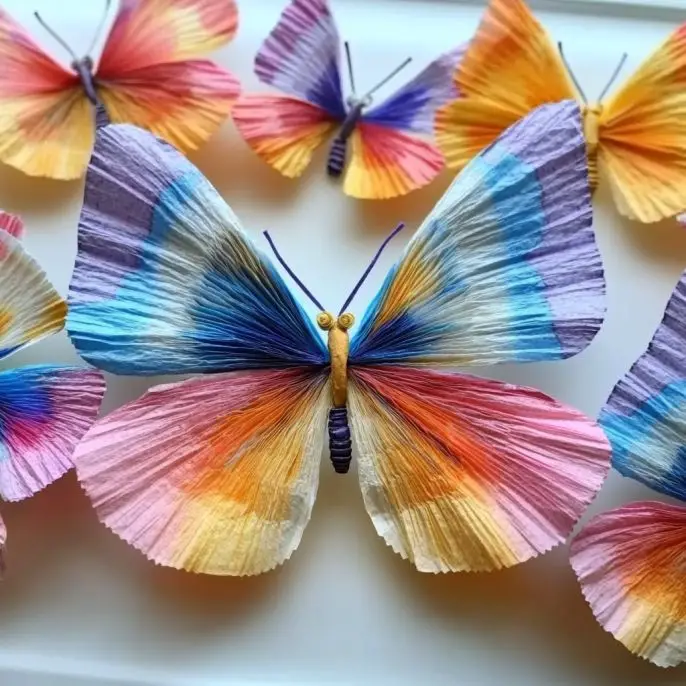
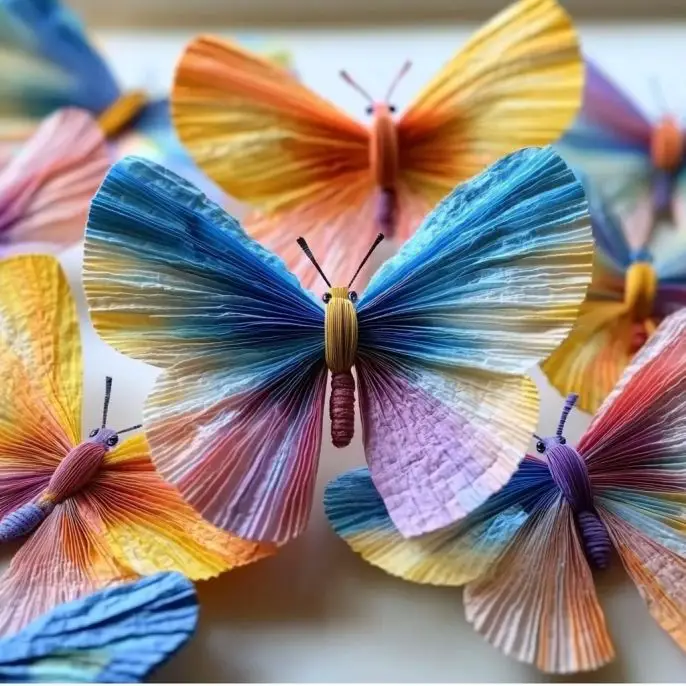
Today, we’re making Chromatography Coffee Filter Butterflies—a magical blend of science and art that turns ordinary materials into a flutter of vibrant creativity. And yes, I promised you versatile, and here’s proof! These beauties can be used in STEM lessons, holiday decor, nature mobiles, or just stuck on your fridge to brighten your day.
Want this project delivered straight to your inbox with printable instructions? 📩 [Subscribe here and I’ll send it right over to you!]
Why You’ll Love These Chromatography Butterflies
🦋 Fun Meets Science: This is an engaging way to introduce kids (and adults!) to the basic concept of chromatography—how different pigments separate when exposed to water.
🎨 Bursting with Creativity: Every butterfly turns out unique. No two are ever alike!
💰 Budget-Friendly: You probably already have most of these supplies at home.
🧠 STEAM in Action: Combines Science, Art, and a touch of Engineering.
❤️ Just Plain Delightful: Watching the colors spread is mesmerizing. It never gets old!
What Do They Look Like?
Imagine watercolor wings, swirling with vibrant hues, folded gently into butterfly shapes and topped with twirled antennae. The look is whimsical, soft, and totally enchanting. Whether you stick googly eyes on for some personality or keep them simple, these butterflies are anything but boring!!
Benefits of This Craft
Encourages creativity and experimentation
Demonstrates a basic scientific principle
Enhances fine motor skills in younger kids
Offers a screen-free activity the whole family can enjoy
Doubles as an educational tool and a decoration!
🛒 Ingredients (a.k.a. Supplies You’ll Need)
White coffee filters (the basket-style work best)
Washable markers (water-based, bright/dark colors work best for separation)
Spray bottle or pipette (for adding water)
Tray or baking sheet (to contain the mess)
Pipe cleaners (your butterfly bodies + antennae!)
Optional: Googly eyes, glitter, or stickers for extra flair
🧰 Tools You’ll Need
Flat workspace
Scissors (optional, if you want to trim wing shapes)
🧪 How to Make Chromatography Coffee Filter Butterflies
Step 1: Prep Your Space
Lay everything out on a clean, flat surface. Cover your area if needed—things might get a little damp!
Step 2: Design Your Coffee Filters
Flatten out a white coffee filter and start decorating with bold dots, lines, and patterns using your washable markers. Don’t be afraid to use darker colors—they give more dramatic results when the water spreads them.
Step 3: Add Water and Watch the Magic
Place your filter onto the tray or baking sheet. Spray lightly with water or gently drip with a pipette until you see the colors begin to spread, separate, and blend. This is chromatography in action!
Step 4: Let Them Dry
Let your coffee filters dry completely. You can air-dry them (about 1–2 hours) or use a hairdryer on low heat if you’re impatient like me 😄
Step 5: Shape Your Butterfly
Pinch the center of your filter to form wings. Wrap a pipe cleaner around the center and twist it to secure. Leave some pipe cleaner ends sticking up and curl them into cute antennae. Stick on some googly eyes if you like—instant personality!
🧁 What to Pair It With (Optional Fun Ideas)
🖼 Hang them in a window to catch the light
🌈 Create a rainbow butterfly garland
📚 Pair with a book like The Very Hungry Caterpillar for an educational reading activity
🧲 Attach a magnet and pop it on the fridge!
📝 Tips & Variations
💡 Use darker markers like blue, purple, and black for more dramatic color separation.
✂️ Want a different wing shape? Trim the coffee filters into ovals or hearts before coloring.
✨ After the butterflies dry, add stickers, glitter, or even a little ribbon to personalize each one.
📷 Don’t forget to take before-and-after photos to capture the transformation!
🗄️ Storage Instructions
Your butterflies can be stored flat in a dry box or gently clipped onto string or twine. If using for classroom decor or mobiles, hang them up with clothespins or clear fishing line.
ℹ️ FAQ
Can I use permanent markers?
Stick with washable, water-based markers for the chromatography effect to work. Permanent markers won’t spread with water.
What age is this activity good for?
Ages 3 and up! Just supervise the water use and help little hands with the pipe cleaners.
This craft is a perfect visual introduction to chromatography, the separation of mixtures. Great for elementary and even middle school!
🏁 Conclusion: Let the Butterflies Fly!
This sweet little craft is proof that learning doesn’t have to be complicated to be joyful, colorful, and completely magical. With just a few household items and a splash of water, you’ll have a fluttering collection of butterflies and a whole lot of memories made.
🌟 Want more creative, hands-on activities like this? Be sure to subscribe so you never miss a colorful moment!
Step 1: Prep Your Space. Lay everything out on a clean, flat surface. Cover your area if needed—things might get a little damp!
Step 2: Design Your Coffee Filters. Flatten out a white coffee filter and start decorating with bold dots, lines, and patterns using your washable markers. Don’t be afraid to use darker colors—they give more dramatic results when the water spreads them.
Step 3: Add Water and Watch the Magic. Place your filter onto the tray or baking sheet. Spray lightly with water or gently drip with a pipette until you see the colors begin to spread, separate, and blend. This is chromatography in action!
Step 4: Let Them Dry. Let your coffee filters dry completely. You can air-dry them (about 1–2 hours) or use a hairdryer on low heat if you’re impatient.
Step 5: Shape Your Butterfly. Pinch the center of your filter to form wings. Wrap a pipe cleaner around the center and twist it to secure. Leave some pipe cleaner ends sticking up and curl them into cute antennae. Stick on some googly eyes if you like—instant personality!
Notes
Your butterflies can be stored flat in a dry box or gently clipped onto string or twine. If using for classroom decor or mobiles, hang them up with clothespins or clear fishing line.
There’s something naturally relaxing about standing on the shoreline and watching waves roll toward the sand. Most of us instinctively associate rough, crashing surf with danger and calm water with safety. It seems logical: fewer waves should mean easier swimming. Unfortunately, the ocean doesn’t always work that way. One of the most hazardous places along…
Traveling abroad often introduces people to unfamiliar foods, languages, customs, and traditions. Yet one of the most unexpected cultural surprises can be found in a place few travelers anticipate: the bathroom. For many visitors exploring parts of Europe, encountering a so-called “shelf toilet” for the first time can be a memorable experience. Unlike modern toilets…
There’s something enchanting about fireflies—the way they flicker in the twilight, floating like tiny stars come down to play. Recreating that glow indoors (or in your backyard!) with these DIY Light-Up Fireflies is one of my favorite crafts to do with kids. It’s simple, imaginative, and oh-so-magical! First, thank you for joining me here—truly. I…
Hi there, friend! ☀️ Today’s craft brings together science, art, and sustainability in the most beautiful way. If you’ve ever dreamed of catching sunlight with something you made yourself, you’re going to fall in love with these DIY Bioplastic Suncatchers. They’re a perfect fusion of creativity and eco-consciousness—made from cornstarch, vinegar, and water, these suncatchers…
Before we jump into glowing fun, thank you—truly—for being the kind of person who brings joy, wonder, and curiosity into kids’ lives. Whether you’re a parent planning a magical evening, a teacher prepping for a science party, or just someone who loves a bit of nighttime sparkle—this activity is your golden ticket! These Glow-in-the-Dark Bubbles…
First off—thank you for being here! If you’re reading this, you’re likely a fellow fan of messy, magical, and memory-making activities with your kiddos, friends, or just for yourself (we don’t judge!). Whether you stumbled across this on a hunt for boredom-busters or you’re a longtime creative soul, I’m thrilled to share one of our…