Before we dive into today’s magical little project, I just want to take a moment to say thank you. If you’re here, it’s likely because you care about creativity, sustainability, and maybe even a little bit of childhood wonder—and I’m so grateful to be sharing this with you!
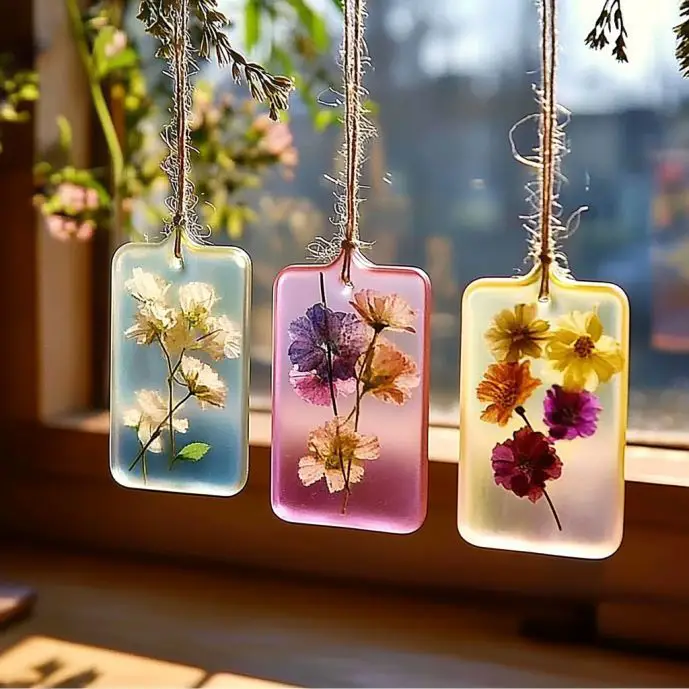
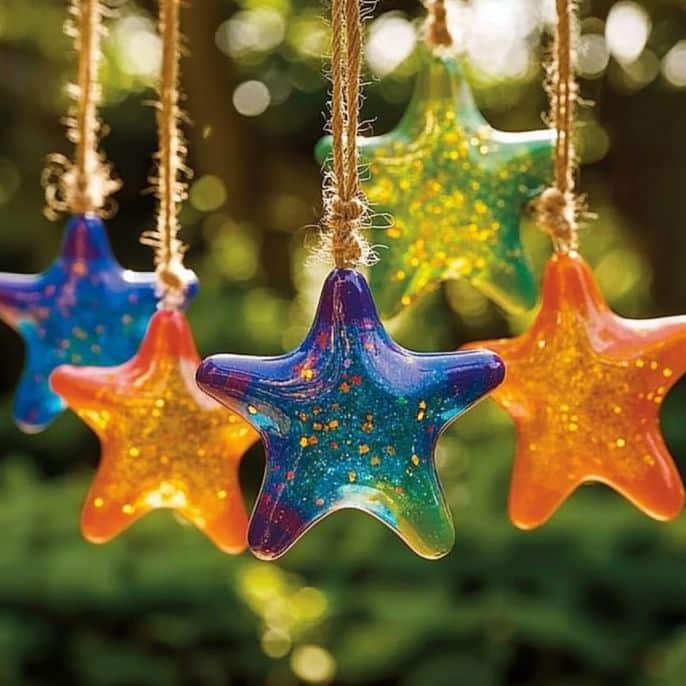
Today, we’re making Bioplastic Suncatchers—a vibrant, earth-friendly craft that’s equal parts science experiment and art therapy. Whether you’re a parent looking for an educational rainy-day activity, a teacher hoping to brighten up a classroom window, or just someone who loves a splash of color with a conscience—this one’s for you.
👉 Want the full step-by-step and printable instructions?
Subscribe below and I’ll send it straight to your inbox!
What Are Bioplastic Suncatchers?
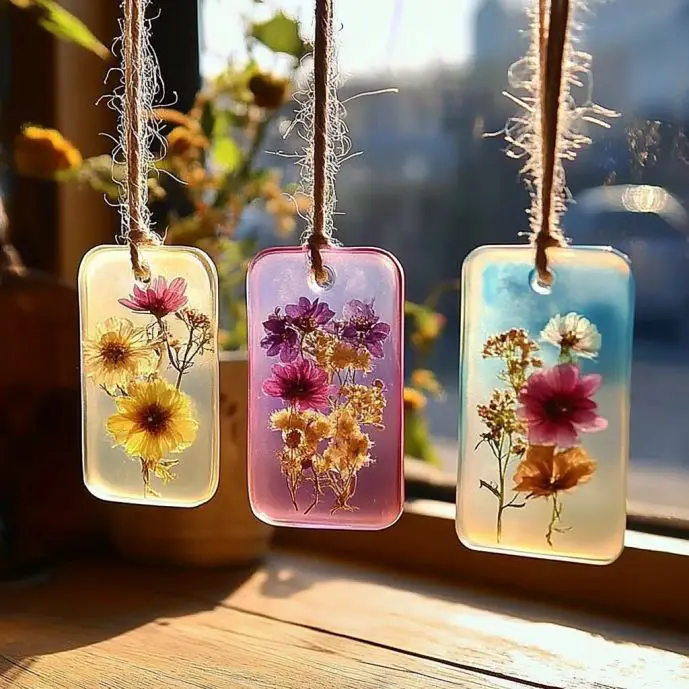
Bioplastic suncatchers are beautiful, light-catching decorations made from a homemade, biodegradable plastic mixture. Unlike traditional plastics, this DIY version is made from kitchen staples like gelatin, cornstarch, and vinegar—plus a little creative magic from natural colorants and optional add-ins like petals or glitter.
These aren’t just a fun craft—they’re a hands-on way to explore sustainability, science, and creativity all at once!
Why You’ll Fall in Love With This Project
✨ Eco-Friendly & Non-Toxic – You’re using biodegradable, food-safe ingredients. That’s a win for the planet AND your peace of mind.
🎨 Customizable Beauty – From bold beet pinks to turmeric yellows and spirulina greens, the natural dye options are endless and breathtaking.
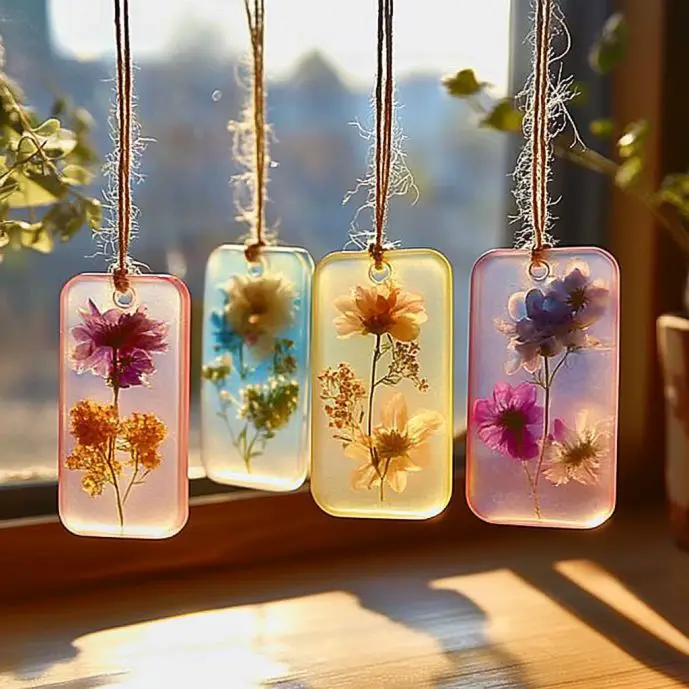
🌞 Light-Catching Wonder – When sunlight streams through your handmade suncatcher? Pure joy. The colors glow like stained glass—without the chemicals.
👩👧 Great for All Ages – This project is simple enough for kids, yet satisfying and calming for adults too.
What Do They Smell and Feel Like?
While cooking, the vinegar gives off a slightly tangy scent, but it fades as the suncatcher dries. Once dry, these bioplastics feel slightly rubbery at first, then firm up into a semi-flexible, glass-like sheet. They’re smooth, lightweight, and so satisfying to touch!
Benefits of Making Bioplastic Suncatchers
- Teaches sustainability in action
- A STEM + art combo (hello, science-meets-creativity!)
- Minimal waste, zero synthetic plastic
- A gorgeous DIY gift or décor piece
Ingredients You’ll Need
- ½ cup water
- 2 tablespoons cornstarch
- 1 tablespoon white vinegar
- 1 tablespoon unflavored gelatin
- Natural or food-safe coloring (like beet juice, turmeric, spirulina, etc.)
- Optional: glitter, flower petals, tissue paper
Tools for the Job
- Small saucepan
- Spoon or silicone spatula
- Non-stick surface (wax paper, silicone mat, or acetate sheet)
- Scissors or cookie cutters
- Hole punch
- String or ribbon for hanging
Optional Additions & Substitutions
🖌️ No spirulina? Use natural food coloring or brewed hibiscus tea for beautiful purples and reds.
🌼 Petals too delicate? Try confetti, pressed leaves, or even small pieces of cut tissue paper.
✨ Don’t want glitter? Totally fine—leave it out or use eco-glitter made from cellulose!
Step-by-Step Instructions
Step 1: Mix the Ingredients
In a small saucepan, stir together water, cornstarch, vinegar, and gelatin until fully combined.
Step 2: Heat the Mixture
Over low to medium heat, stir constantly. Watch as the mixture changes from cloudy to glossy and begins to thicken. This is your bioplastic forming!
Step 3: Remove from Heat
Once the mixture is syrupy (like warm pudding), remove from heat.
Step 4: Add Color
Stir in your chosen natural dye. Swirl gently for a marble effect or stir fully for a solid tone.
Step 5: Spread It Out
Pour the hot mixture onto your non-stick surface. Spread it gently with the back of a spoon to your desired thickness.
Step 6: Get Creative!
Quickly press in flower petals, glitter, or tissue shapes. Work fast—the bioplastic will start to firm up quickly!
Step 7: Let It Dry
Leave the suncatchers undisturbed in a cool, dry place for 24–48 hours. Be patient—this is when the magic happens!
Step 8: Cut Into Shapes
Once fully dry, peel off the sheet. Use scissors or cookie cutters to make stars, hearts, or whatever your heart desires!
Step 9: Hang and Enjoy
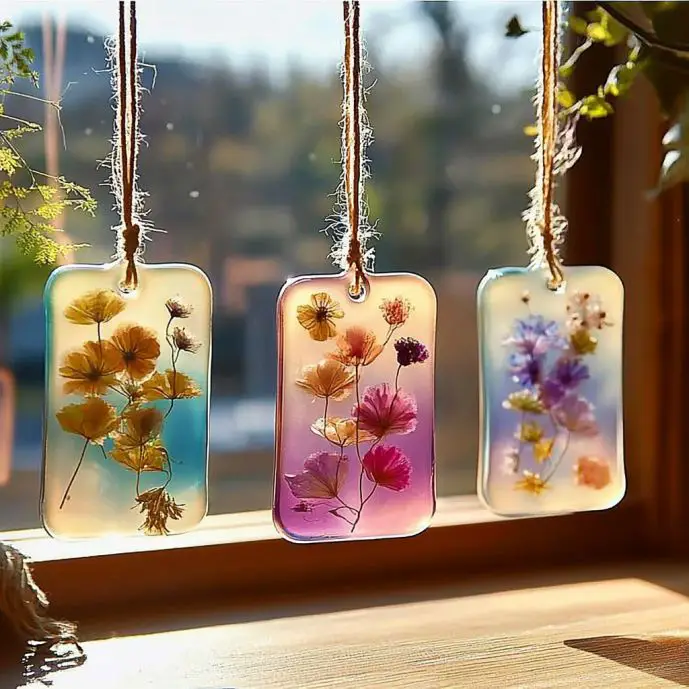
Punch a hole at the top of each shape and thread with ribbon or string. Hang in a sunny window and let the light dance through your creation.
What to Pair Your Suncatchers With
These pair beautifully with:
- A recycled frame for display
- A homemade card for gifting
- A sunny kitchen window
- A classroom Earth Day lesson
Tips for Best Results
- Spread thinner for more transparency and faster drying.
- Use a silicone baking mat for easiest peeling.
- Avoid humid environments—they’ll slow the drying and might warp the shape.
- Want to layer colors? Let each color dry partially before adding the next.
How to Store Them
Store your dried suncatchers flat in a cool, dry place. Avoid high humidity or direct moisture. For gifting or long-term storage, wrap in wax paper and keep them between books or under gentle weight to prevent curling.
Frequently Asked Questions
Can I use flavored gelatin?
Not recommended—flavored gelatin can add sugars and colors that affect texture and drying. Stick to unflavored.
How long do they last?
They can last for several weeks or more if kept dry and out of direct humidity. Over time, they may become more brittle.
Can kids help with this?
Absolutely! But adult supervision is needed during the cooking and pouring stages, as the mixture gets hot.
Are these compostable?
Yes! Once their life is done, you can compost them—just remove any non-biodegradable additions like ribbon or plastic glitter.
In Summary
These DIY Bioplastic Suncatchers are anything but ordinary. They’re a creative escape, a science project, a sustainable art piece, and a heartfelt handmade gift all in one. With just a few pantry staples and a little patience, you can create something truly radiant—and gentle on the Earth. 🌎💛
Love This Project? Try These Next!
🍑 Peach Cobbler Cookies – A sweet treat to match your sunny suncatcher vibes
🍑 Peach Iced Tea Popsicles – Summer in a frozen bite
🍑 Grilled Peach & Burrata Salad – For a peachy dinner under golden light
Share Your Creations!
Did you try this project? I’d love to see what you made!
📌 Tag me on Pinterest or leave a review below with photos of your finished suncatchers. Let’s inspire others to make sustainable beauty!
Nutritional Information
Okay, this one’s not for eating—but let’s just say it feeds your soul instead. 💫
Let me know if you want this in printable format, or if you’d like a kid-friendly version with large illustrations!
Bioplastic Suncatchers
Ingredients
Main Ingredients
- ½ cup water
- 2 tablespoons cornstarch
- 1 tablespoon white vinegar
- 1 tablespoon unflavored gelatin
- to taste natural or food-safe coloring like beet juice, turmeric, spirulina, etc.
Optional Additions
- to taste glitter Use eco-glitter if preferred.
- to taste flower petals Can substitute with confetti or pressed leaves.
- to taste tissue paper For added texture.
Instructions
Preparation
- In a small saucepan, stir together water, cornstarch, vinegar, and gelatin until fully combined.
- Over low to medium heat, stir constantly. Watch as the mixture changes from cloudy to glossy and begins to thicken.
- Once the mixture is syrupy (like warm pudding), remove from heat.
- Stir in your chosen natural dye. Swirl gently for a marble effect or stir fully for a solid tone.
- Pour the hot mixture onto your non-stick surface. Spread it gently with the back of a spoon to your desired thickness.
- Quickly press in flower petals, glitter, or tissue shapes. Work fast—the bioplastic will start to firm up quickly.
- Leave the suncatchers undisturbed in a cool, dry place for 24–48 hours to dry.
- Once fully dry, peel off the sheet. Use scissors or cookie cutters to make your desired shapes.
- Punch a hole at the top of each shape and thread with ribbon or string. Hang in a sunny window.
Notes
Nutrition
More Craft Innovations
- I Found a Strange Growth on My Garage Wall—What It Revealed About Hidden Moisture
- After a Decade Together, She Discovered the True Value of Her Contributions
- My Daughter Disappeared After Prom Night—Almost a Year Later, an Ordinary Beanbag Chair Revealed the Truth
- Stop Your Bed Sheets From Balling Up in the Dryer: Simple Tricks That Actually Work