
Thank you for being here, truly. In the middle of life’s busyness—work, parenting, to-do lists, and responsibilities—it means so much that you’re taking a moment to explore something gentle, creative, and calming. This one’s close to my heart, and I think you’ll love it just as much as I do.
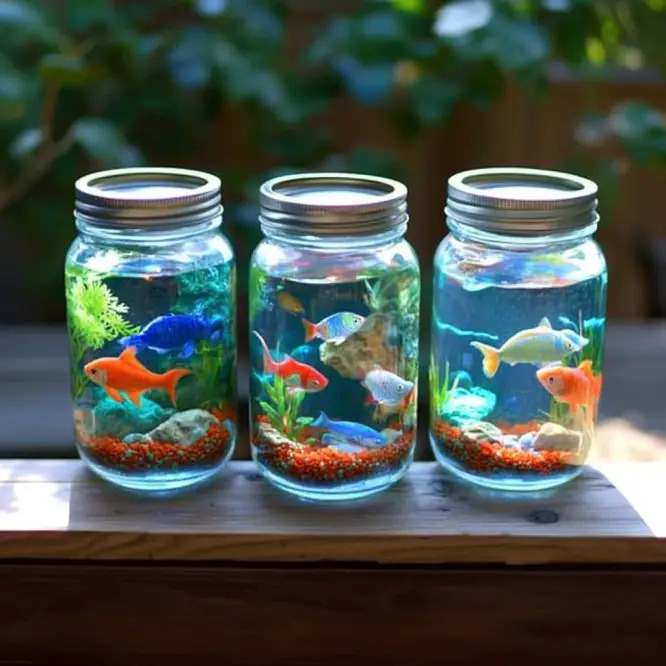
Let’s bring the serenity of the beach right to your hands with this Beach-in-a-Bottle Calming Jar. It’s the kind of DIY that’s as beautiful to look at as it is peaceful to use. Whether for little hands learning to self-regulate, or for grown-ups needing a visual breath of fresh air—it’s a perfect blend of craft and calm.
💌 Want the printable version of this activity sent straight to your inbox? [Subscribe here to receive it instantly!]
What Is a Beach-in-a-Bottle Calming Jar?
It’s exactly what it sounds like—a mesmerizing mini ocean captured in a jar! This calming jar layers water, sand, oil, and a touch of color to create slow, soothing movements that look just like waves. Add in seashells and glitter? It’s coastal magic you can hold.
Why You’ll Love This DIY
- Simple & beautiful – Just a few basic materials!
- Visually soothing – The slow drift of sand and oil is almost meditative.
- Kid- and adult-friendly – Great for sensory play or stress relief.
- Customizable – Add your own seaside treasures or switch up the colors.
What Does It Feel Like?
The calming jar doesn’t feel like much physically—but it feels like peace. Like a deep breath. Like a walk along the shoreline without ever leaving home. Watching the elements swirl and settle is incredibly relaxing and grounding, for kids and adults alike.
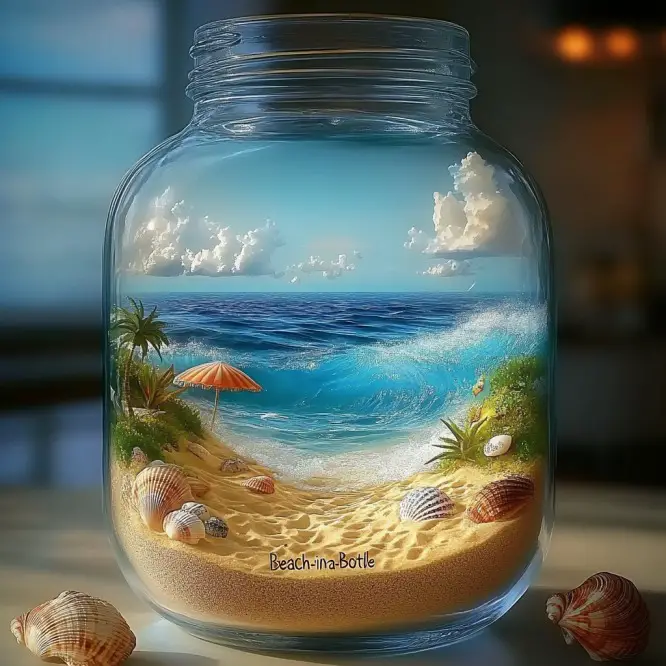
Benefits of a Calming Jar
- Helps with emotional regulation and calming down.
- Encourages focus and mindfulness.
- Offers a screen-free visual sensory tool.
- Great addition to a calm-down corner, classroom, or even your desk!
Ingredients You’ll Need
- 1 clear plastic jar or bottle with a secure lid
- Water
- Baby oil or vegetable oil
- A few drops of blue food coloring
- 1–2 tablespoons of sand (real or craft)
- Glitter (optional, for sparkle)
- Small seashells or sea-themed decorations (optional)
- Funnel (optional, but helpful)
Tools You’ll Need
- Spoon or stir stick
- Measuring spoons
- Optional: hot glue or tape to secure the lid if used with small children
Optional Additions & Substitutions
- No baby oil? Use vegetable oil, mineral oil, or clear lamp oil instead.
- Want more texture? Add tiny pebbles or colored glass beads.
- No real sand? Try kinetic sand, craft sand, or even sugar dyed with food coloring.
- Need a color twist? Try teal, purple, or soft green food coloring for a different beachy vibe.
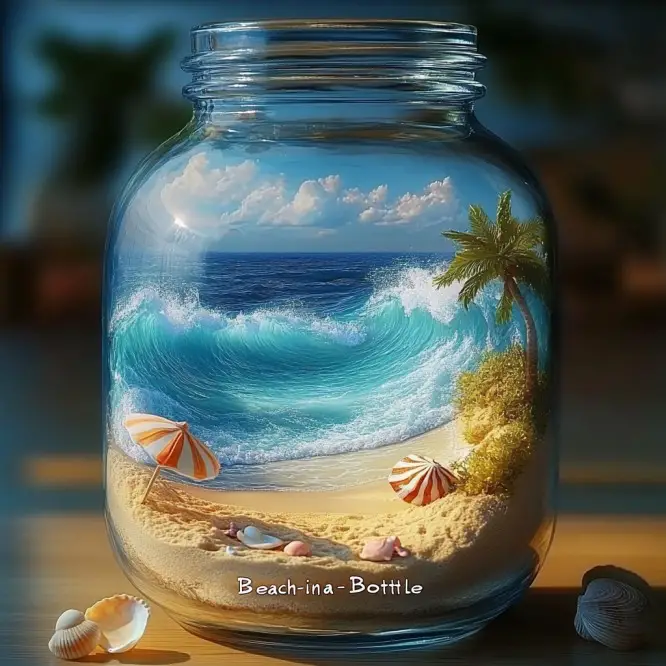
Step-by-Step Instructions
Step 1: Clean & Prep the Jar
Start with a clean, clear plastic jar or bottle. (Plastic is safer than glass, especially for little ones.)
Step 2: Add Water
Fill the jar about two-thirds full with water.
Step 3: Add Sand
Add 1–2 tablespoons of sand into the jar. Stir gently to combine with the water—it’ll start to settle, like a mini beach.
Step 4: Add Oil
Fill the rest of the jar with baby oil or vegetable oil, leaving a little space at the top for shaking.
Step 5: Add Color
Drop in a few drops of blue food coloring and stir gently. Watch as it floats and swirls—just like ocean currents!
Step 6: Add Sparkle (Optional)
If using, sprinkle in glitter to catch the light and mimic sea sparkle.
Step 7: Add Shells & Treasures (Optional)
Drop in mini seashells, sea-themed buttons, or tiny starfish figurines to complete your ocean scene.
Step 8: Seal It Tight
Screw the lid on tightly. For extra security, use hot glue or strong tape around the rim.
Step 9: Shake & Watch
Gently tilt, shake, and swirl your calming jar. Watch as the sand drifts down, oil flows slowly, and everything gently settles like a quiet wave rolling ashore.
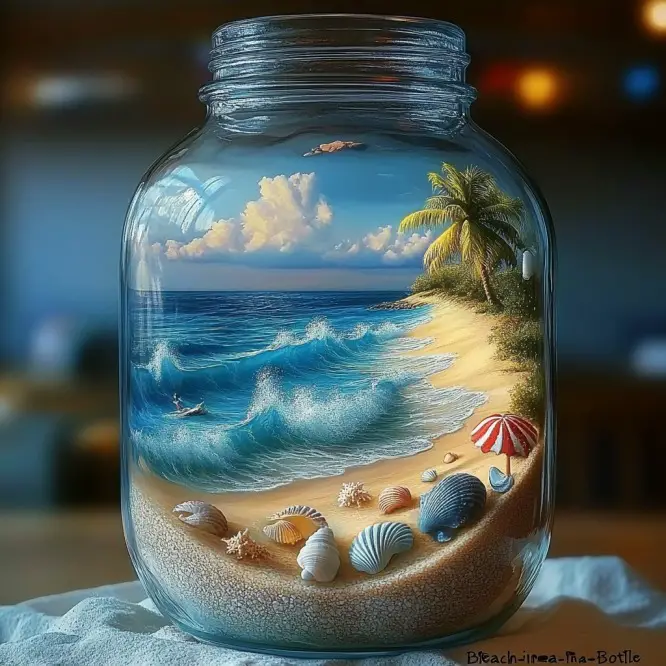
Tips for the Best Beach-in-a-Bottle
- Use lightweight decorations so they float or drift instead of sinking fast.
- Try layering different colors of sand for a sunset or sunrise beach effect.
- Keep one in your car or bag for calming moments on the go.
- If gifting, add a mini message in a bottle inside for a fun surprise!
How to Store & Use It
Your calming jar is low-maintenance—just keep it in a cool, dry place. Shake it whenever you need a moment of calm. If using with young children, supervise to prevent opening or tipping.
Frequently Asked Questions
Can I use glass instead of plastic?
Yes, for older kids or adults. But for safety, especially with young children, stick with clear plastic bottles or jars.
What kind of sand should I use?
Clean, dry craft sand works best. Beach sand is okay too—just make sure it’s clean and dry to prevent mold.
Is it safe for toddlers?
It can be! Use a plastic jar, seal the lid with hot glue, and always supervise. The materials are non-toxic, but this isn’t meant for tasting!
What if the oil and water don’t mix?
That’s the magic! Oil and water naturally separate, creating that beautiful slow-motion wave effect.
In Conclusion…
This Beach-in-a-Bottle Calming Jar is more than just a craft—it’s a small, soothing escape in the palm of your hand. It reminds us of the peace that comes from nature, the joy of hands-on creativity, and the power of slowing down.
Whether you’re making one with your kids, as a classroom tool, or just for yourself—it’s a project that brings beauty, calm, and a little seaside serenity anywhere you go. 🌊💙
You Might Also Love…
- Ocean Sensory Bottles
- DIY Mermaid Slime
- Under-the-Sea Playdough Invitation
Share Your Beach-in-a-Bottle!
Made one? I’d love to see it!
📌 Pin this project on Pinterest
📸 Tag your creations on social or leave a comment below with your experience!
Let’s keep crafting, calming, and connecting—one jar at a time.
Nutritional Information
Not edible—but incredibly soothing for the soul.
Filled with peace, sparkle, and beachy vibes. 🐬✨
Want me to create a printable version or turn this into a Pinterest graphic set too? Just say the word!
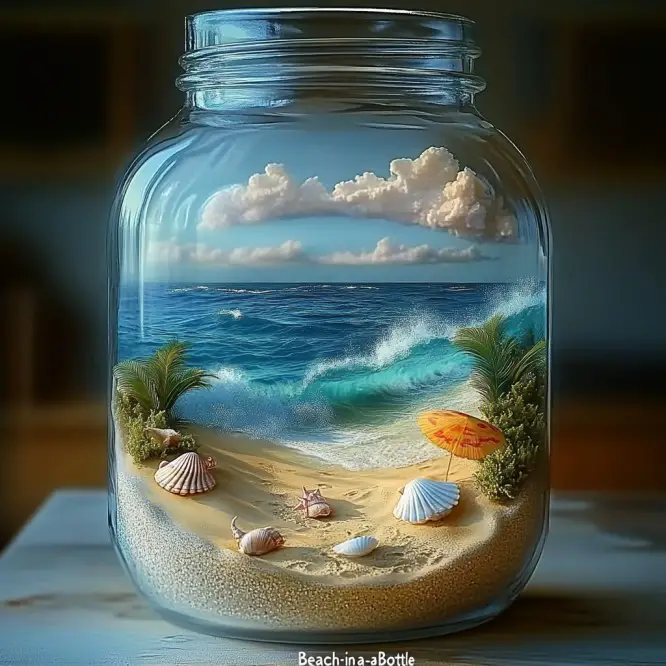
Beach-in-a-Bottle Calming Jar
Ingredients
Method
- Start with a clean, clear plastic jar or bottle.
- Fill the jar about two-thirds full with water.
- Add 1–2 tablespoons of sand into the jar and stir gently.
- Fill the rest of the jar with baby oil or vegetable oil, leaving some space at the top.
- Drop in a few drops of blue food coloring and stir gently.
- Sprinkle in glitter if using.
- Add seashells, sea-themed buttons, or tiny starfish figurines.
- Screw the lid on tightly. Optionally, secure it with hot glue or tape.
- Gently tilt, shake, and swirl your calming jar.
Notes
More Craft Innovations
- I Found a Strange Growth on My Garage Wall—What It Revealed About Hidden Moisture
- After a Decade Together, She Discovered the True Value of Her Contributions
- My Daughter Disappeared After Prom Night—Almost a Year Later, an Ordinary Beanbag Chair Revealed the Truth
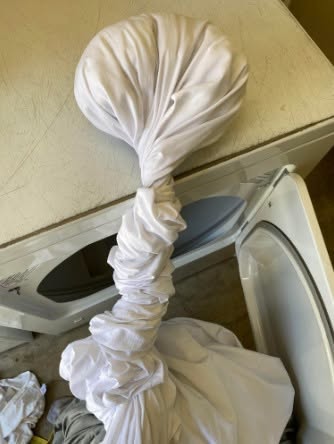
- Stop Your Bed Sheets From Balling Up in the Dryer: Simple Tricks That Actually Work



Please I would love a printable for our group.