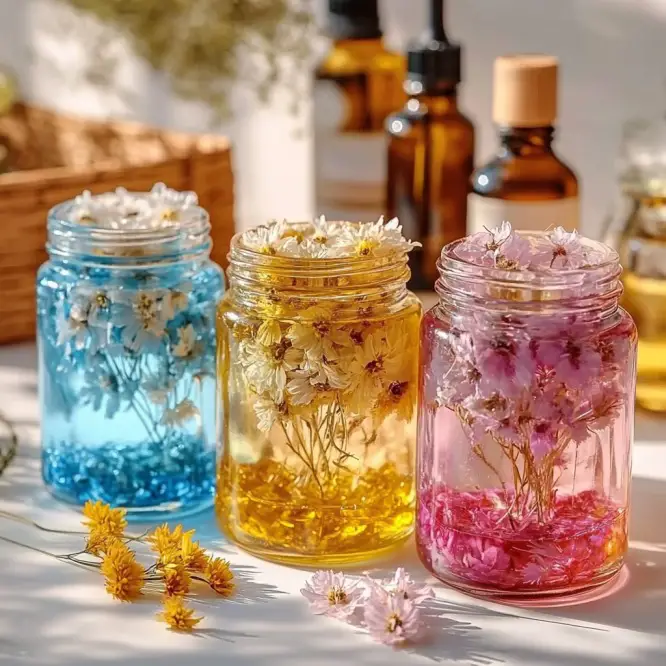
If you love a home that smells amazing but want to avoid the harsh chemicals found in store-bought sprays and plug-ins, then homemade gel air fresheners are about to become your new favorite project. Not only are they easy and inexpensive to make, but they also let you customize the fragrance, color, and design to match your style and mood.
With just a few kitchen staples and some essential oils, you can create natural, long-lasting gel fresheners that look as beautiful as they smell. They make wonderful gifts, too—perfect for birthdays, housewarmings, or even as a holiday DIY craft.
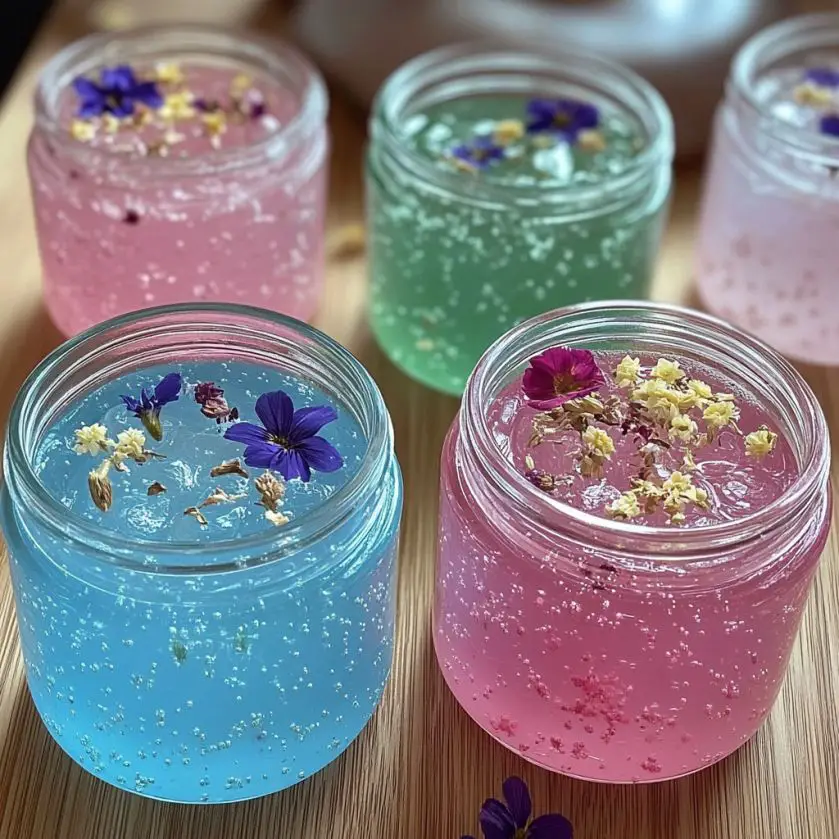
Why Make Your Own Gel Air Fresheners?
- Non-toxic & natural – You control the ingredients and avoid artificial perfumes.
- Budget-friendly – A batch costs just a fraction of what store-bought air fresheners do.
- Customizable – Choose your favorite scents, colors, and decorative touches.
- Long-lasting – With the added salt, these gels can last for weeks at a time.
- Fun & creative – Kids and adults alike can enjoy crafting them together.
Ingredients You’ll Need
- 1 cup water (divided into ½ cup cold, ½ cup hot)
- 1 packet unflavored gelatin (0.25 oz)
- 1 tablespoon salt (helps preserve freshness)
- 20–30 drops essential oil (lavender, eucalyptus, lemon, peppermint, or your favorite blend)
- Food coloring (optional, for fun colors)
- Small glass jars or decorative containers
- Optional decorations – dried flowers, glitter, herbs, or beads for a pretty finish
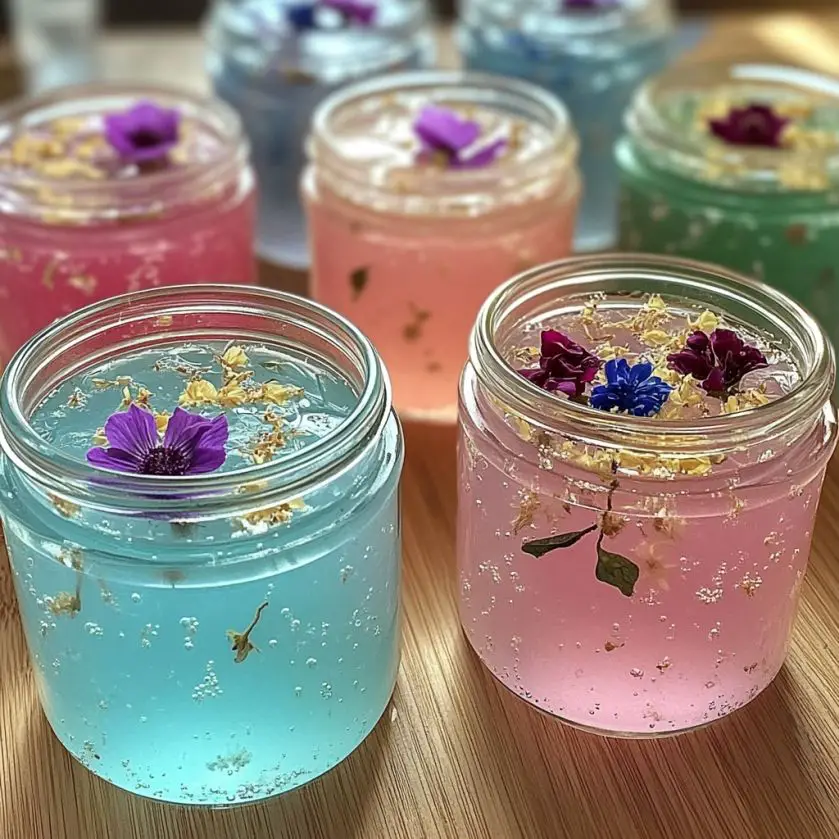
Homemade Gel Air Fresheners
Equipment
- Mixing bowl
- small saucepan or kettle
- stirring spoon
- measuring cup
- glass jars or containers
Ingredients
- 1 cup water (½ cup cold, ½ cup hot)
- 1 packet (0.25 oz) unflavored gelatin
- 1 tbsp salt
- 20–30 drops essential oil (lavender, eucalyptus, lemon, peppermint, or blend)
- food coloring (optional)
- small glass jars or decorative containers
- optional decorations (dried flowers, glitter, herbs, beads)
Instructions
- Sprinkle the gelatin over ½ cup cold water in a bowl. Let it sit 5–10 minutes until swollen.
- Bring the remaining ½ cup of water just below boiling.
- Pour the hot water over the bloomed gelatin and stir until dissolved.
- Stir in salt and 20–30 drops of essential oil.
- Add food coloring and optional decorations like flowers, herbs, or glitter.
- Pour mixture into jars and let cool until firm.
- Place around your home and enjoy the fresh scent.
Notes
Step-by-Step Instructions
Step 1 – Bloom the Gelatin
Sprinkle the gelatin over ½ cup of cold water in a bowl. Let it sit for 5–10 minutes until it swells. This process, called blooming, ensures the gel sets with the perfect texture.
Step 2 – Heat the Water
Meanwhile, bring the remaining ½ cup of water to just below boiling. It should be hot but not bubbling over.
Step 3 – Mix It All Together
Carefully pour the hot water over the bloomed gelatin. Stir thoroughly until the gelatin granules completely dissolve.
Step 4 – Add Salt & Essential Oils
Stir in 1 tablespoon of salt (this prevents mold growth and keeps the gel fresh longer). Add 20–30 drops of your chosen essential oil(s). You can use a single scent or create custom blends.
Step 5 – Add Color & Decorations
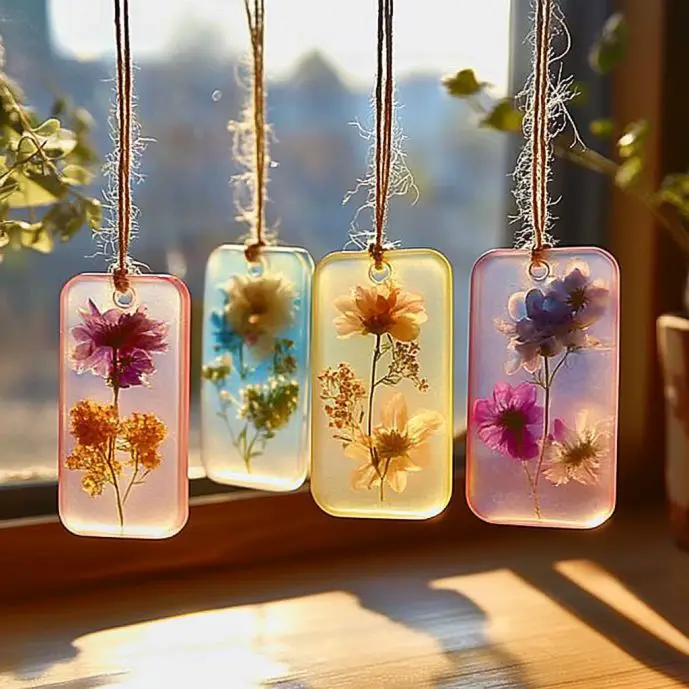
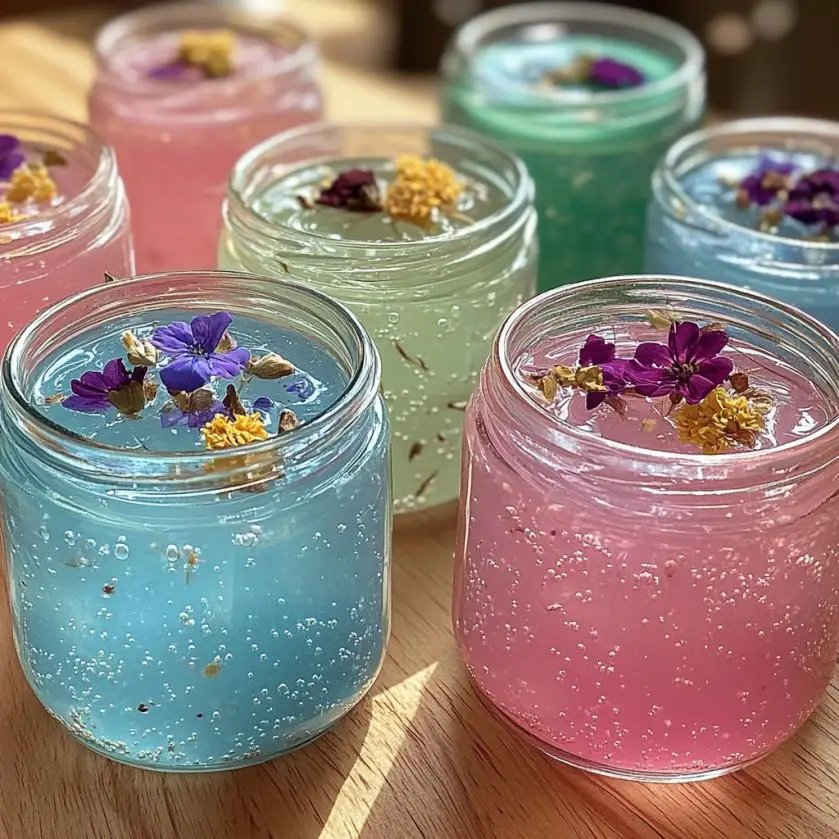
Get creative! Add a few drops of food coloring to brighten things up. For a more decorative touch, mix in dried flowers, a sprinkle of glitter, or a sprig of fresh herbs.
Step 6 – Pour Into Jars
Pour the fragrant mixture into your chosen glass jars or containers. Allow them to cool and set at room temperature until firm.
Step 7 – Enjoy Your Fresh Home
Place your finished gel air fresheners in different rooms—bedrooms, bathrooms, closets, or even your car—for a subtle, natural fragrance. When the scent fades, simply make a new batch with a different twist.
Tips & Variations
✨ Scent blends to try:
- Relaxing: lavender + chamomile
- Energizing: lemon + peppermint
- Cozy: vanilla + cinnamon
- Fresh: eucalyptus + tea tree
✨ Decor ideas:
- Layer two different colors in one jar for a fun ombré effect.
- Use vintage teacups, mason jars, or small ramekins as containers.
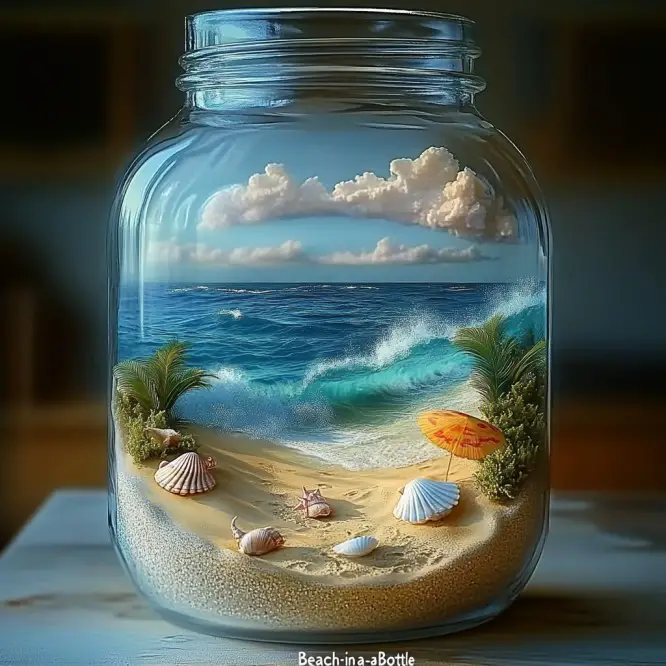
- Add seashells or beads for a coastal, spa-like look.
✨ Gift idea:
Tie a ribbon around the jar, add a label with the scent name, and you’ve got a thoughtful handmade present.
How Long Do They Last?
Homemade gel air fresheners typically last 2–4 weeks, depending on the climate and amount of essential oils used. If you notice the gel starting to dry out, simply top it off with a few drops of water and essential oil to revive it.
Final Thoughts
Making your own gel air fresheners is a fun, eco-friendly, and budget-friendly way to keep your home smelling wonderful. With endless scent and design combinations, you can craft gels that fit every season, occasion, or personal mood.
So, next time you’re tempted to grab a store-bought air freshener, try whipping up this easy DIY instead—you’ll love the results, and your home will thank you for the natural freshness. 🌿✨
More Craft Innovations
- I Found a Strange Growth on My Garage Wall—What It Revealed About Hidden Moisture
- After a Decade Together, She Discovered the True Value of Her Contributions
- My Daughter Disappeared After Prom Night—Almost a Year Later, an Ordinary Beanbag Chair Revealed the Truth
- Stop Your Bed Sheets From Balling Up in the Dryer: Simple Tricks That Actually Work