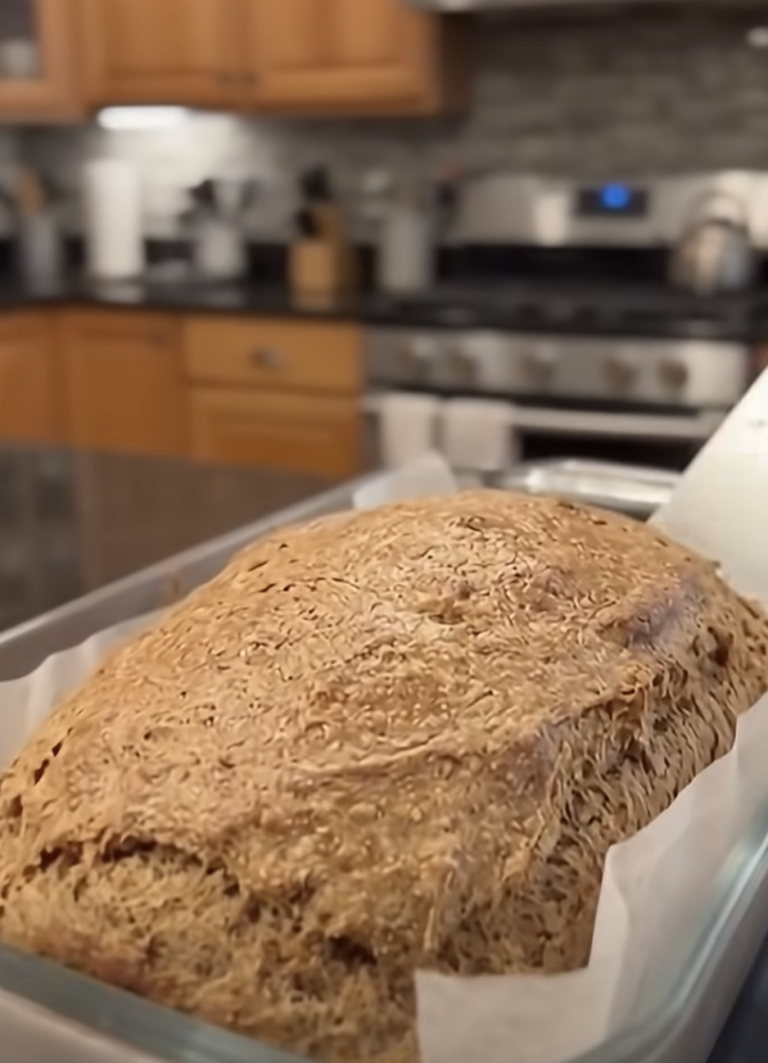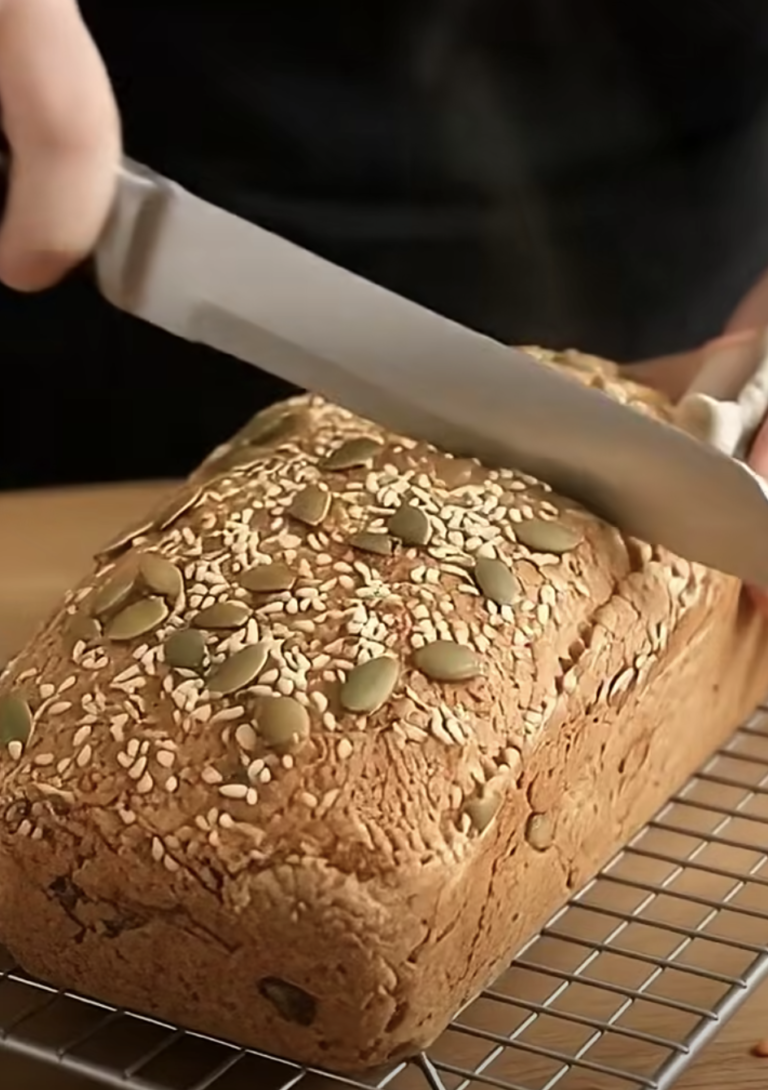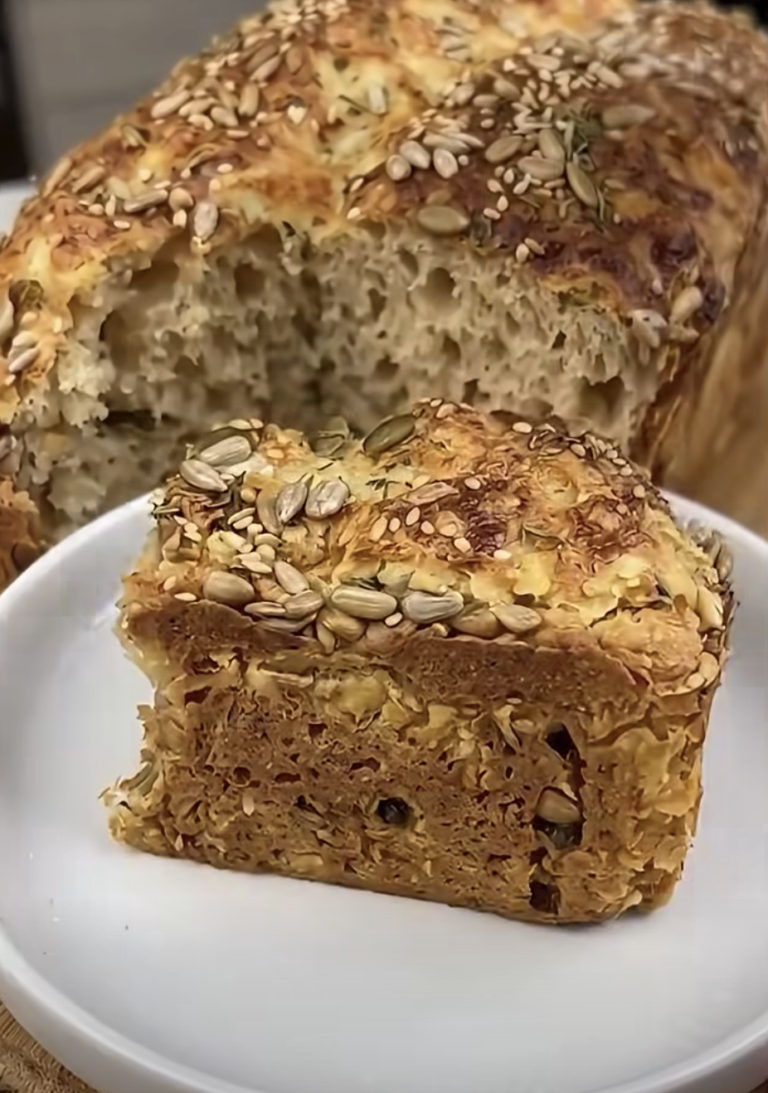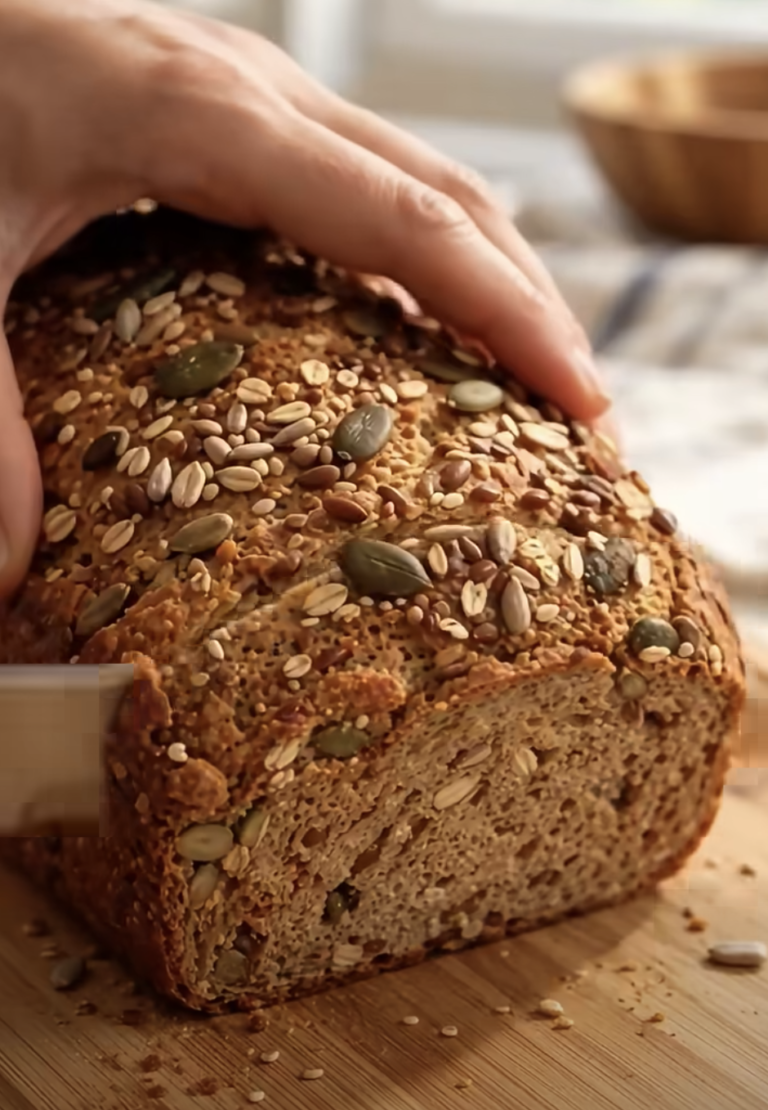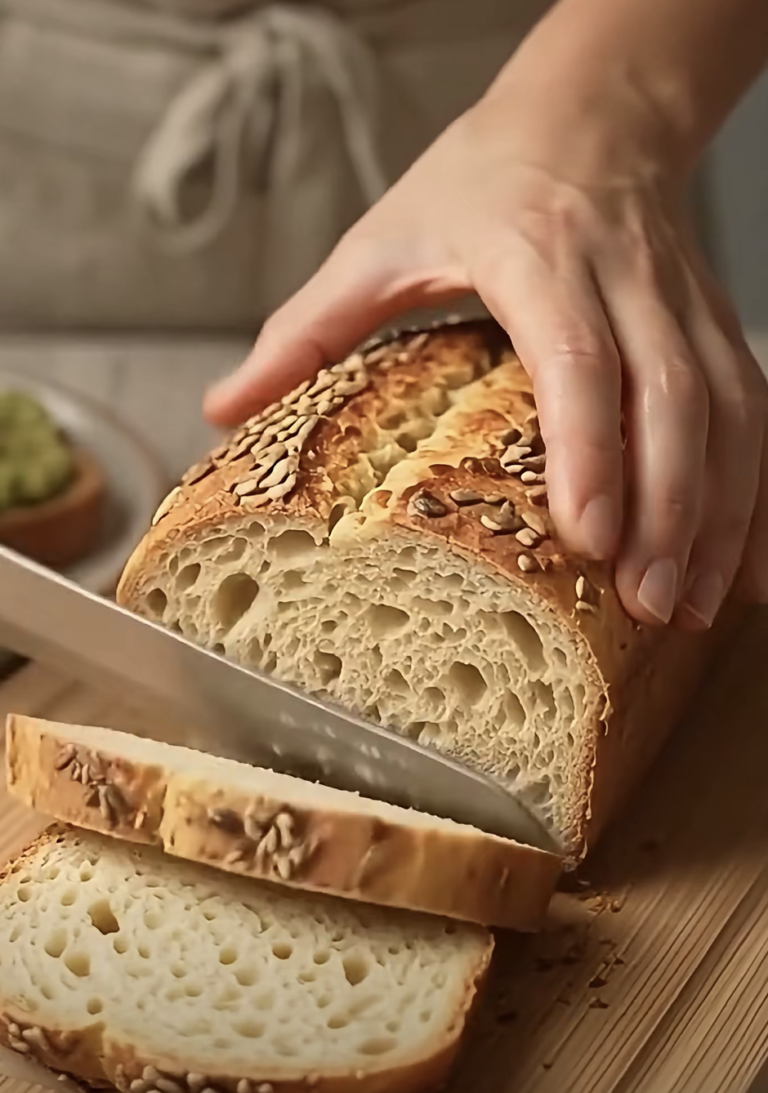
3-Ingredient High-Protein Chickpea Bread is a simple, hearty, naturally gluten-free bread alternative that you can make with canned chickpeas, eggs, and baking powder. You don’t need flour, yeast, kneading, or rising time. Instead, you blend three everyday ingredients into a smooth batter and bake them into a tender, satisfying loaf.
This homemade chickpea bread offers a convenient way to enjoy more protein and fiber while keeping your ingredient list short. Plus, its mild, savory flavor pairs beautifully with avocado, butter, hummus, eggs, and your favorite sandwich fillings.
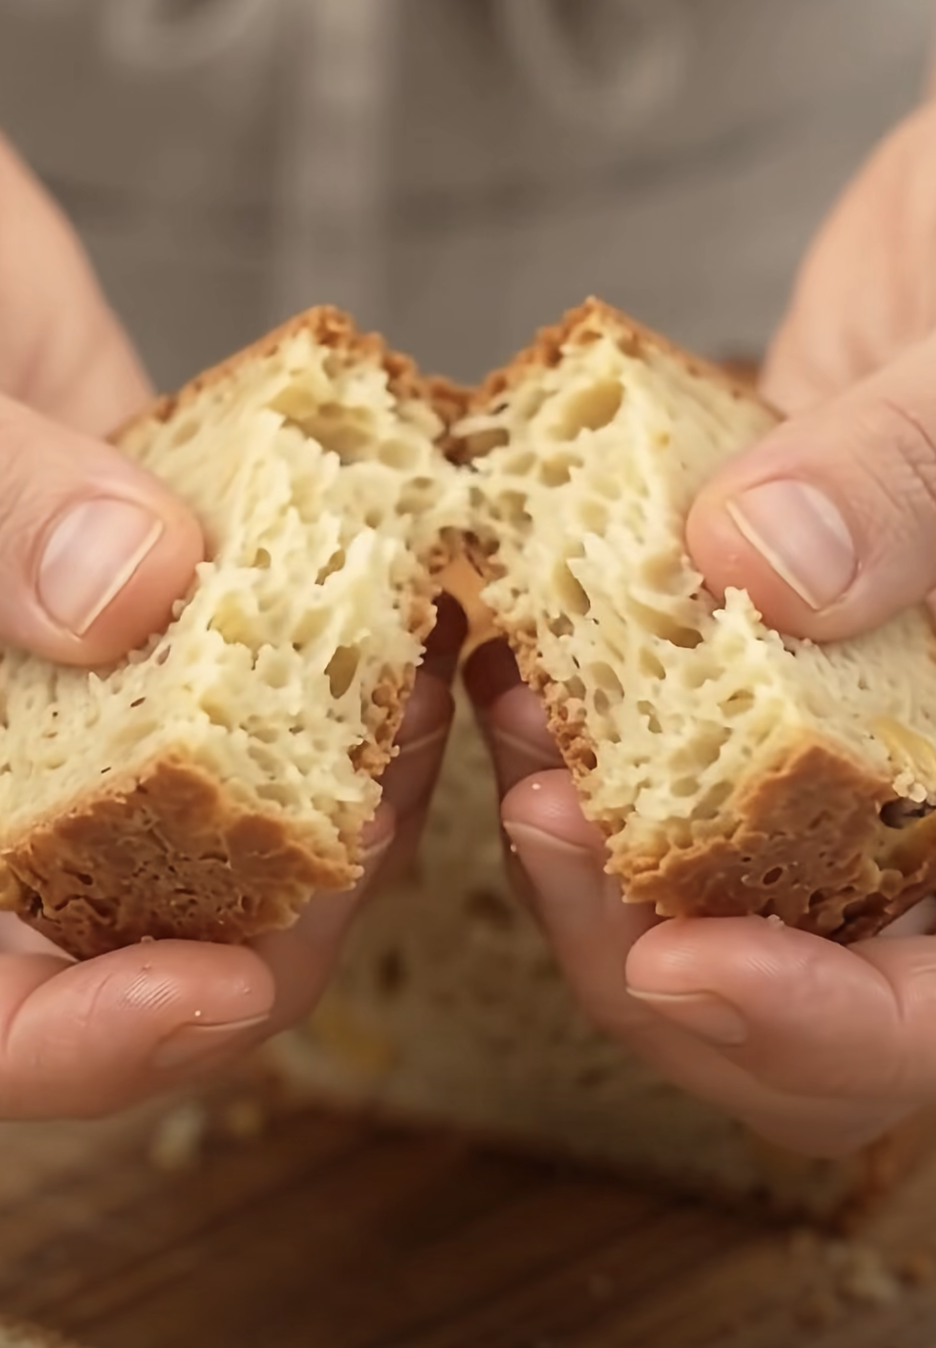
3-Ingredient High-Protein Chickpea Bread – Easy, Healthy & Homemade
Ingredients
Equipment
Method
- Preheat the oven to 350°F (175°C). Line a 9 x 5-inch loaf pan with parchment paper or lightly grease it.
- Drain and rinse both cans of chickpeas thoroughly. Allow excess water to drain.
- Add the drained chickpeas and four large eggs to a blender or food processor.
- Blend until the batter becomes smooth, thick, and creamy, scraping down the sides as needed.
- Add two teaspoons of baking powder and pulse briefly to combine. Stir in optional seasonings if desired.
- Pour the batter into the prepared loaf pan and smooth the top with a spatula.
- Bake for 35–45 minutes, or until the loaf feels firm and a toothpick inserted in the center comes out clean.
- Cool in the pan for 10–15 minutes, then transfer to a wire rack and cool completely.
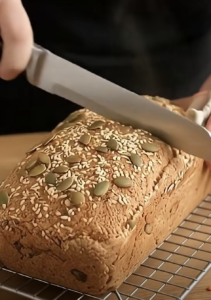
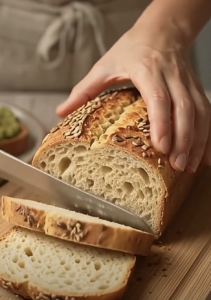
- Slice into approximately 10 pieces and serve plain, toasted, or with your favorite toppings.
Notes
Whether you follow a gluten-free diet, enjoy experimenting with nutritious ingredients, or simply want an easy alternative to traditional bread, this recipe makes homemade baking feel approachable.
I started exploring chickpea bread after looking for a simple way to make homemade toast without dealing with yeast or traditional bread dough. I already enjoyed adding chickpeas to salads and soups, but turning them into bread seemed like an interesting change. The first thing that caught my attention was how quickly the ingredients came together in a blender. There was no sticky dough to handle and no waiting for anything to rise. I especially liked how the finished loaf worked with savory toppings. A toasted slice with avocado and a little salt quickly became one of my favorite ways to enjoy it.
Why You’ll Love This 3-Ingredient High-Protein Chickpea Bread
A Simple Flourless Bread With Just Three Ingredients
One of the best things about 3-Ingredient High-Protein Chickpea Bread is its simplicity. You only need three main ingredients, and each one serves an important purpose.
Chickpeas form the base of the loaf. They contribute plant-based protein, fiber, and a naturally hearty texture. Once blended, canned chickpeas create a thick batter without requiring wheat flour or another grain flour.
Eggs provide moisture, structure, and additional protein. They help hold the chickpea mixture together as it bakes, allowing you to slice the finished loaf after cooling.
Baking powder helps the batter expand in the oven. Although the bread won’t develop the same airy texture as a traditional yeast loaf, baking powder creates a lighter result than chickpeas and eggs alone.
Because the recipe uses canned chickpeas, you can skip the soaking and cooking steps that dried chickpeas require.
Additionally, the preparation involves very little cleanup. You can blend everything in a food processor, pour the batter into a loaf pan, and place it directly in the oven.
You can also add a pinch of salt or dried herbs for extra flavor. However, the basic recipe works with just the three main ingredients.
The Nutritional Benefits of Chickpea Bread
Chickpeas provide several nutrients that make them a useful ingredient for homemade bread.
First, chickpeas contain plant-based protein. Protein supports muscle maintenance, tissue repair, and many essential functions throughout the body.
Second, chickpeas supply dietary fiber. Fiber supports digestive health and helps make meals more satisfying.
They also contain important nutrients such as folate, iron, magnesium, and potassium.
Meanwhile, eggs contribute complete protein, vitamin B12, choline, and other nutrients.
Together, these ingredients create a bread alternative with a different nutritional profile from traditional white bread.
Another advantage comes from the naturally flourless ingredient list. Chickpeas, eggs, and pure baking powder don’t require wheat flour, making this recipe suitable for many gluten-free diets.
However, always check your baking powder label and prevent cross-contact if you need strict gluten avoidance.
Keep in mind that the bread contains eggs, so it isn’t vegan.
Overall, 3-Ingredient High-Protein Chickpea Bread offers a convenient option for anyone who wants to enjoy a hearty homemade loaf with protein and fiber.
How to Make Perfect 3-Ingredient High-Protein Chickpea Bread
Preparing the Chickpeas and Making a Smooth Batter
The first step toward successful chickpea bread involves preparing the canned chickpeas correctly.
Start with two 15-ounce cans of chickpeas. Open the cans and pour the chickpeas into a fine-mesh strainer.
Rinse them thoroughly under cool running water.
This step removes much of the canning liquid and some of the surface starch. It also helps prevent excess moisture from affecting the batter.
Next, let the chickpeas drain well. You can gently shake the strainer to remove additional water.
For the smoothest texture, use a high-speed blender or food processor.
Add the drained chickpeas and four large eggs. Blend until the mixture becomes thick, creamy, and relatively smooth.
Stop occasionally to scrape down the sides of the container. This helps incorporate any chickpeas that stick to the edges.
Then add two teaspoons of baking powder and pulse briefly until combined.
If you want a savory flavor, stir in a pinch of salt or your favorite dried herbs.
The finished batter should look thick and pourable rather than watery.
Avoid adding extra liquid unless your blender absolutely needs it. Too much water can produce a wet or gummy center.
Baking the Loaf Until Tender and Firm
Once you prepare the batter, the baking process becomes straightforward.
Preheat your oven to 350°F (175°C).
Meanwhile, line a standard 9 x 5-inch loaf pan with parchment paper. You can also lightly grease the pan, but parchment paper makes removal easier.
Pour the chickpea batter into the prepared pan.
Use a spatula to smooth the top and distribute the batter evenly.
Next, place the pan on the middle oven rack.
Bake for approximately 35–45 minutes.
During baking, the loaf should become firmer and develop a lightly golden surface. The exact appearance depends on your oven, pan, and chickpeas.
After 35 minutes, insert a toothpick into the center.
If it comes out with wet batter, continue baking for another five minutes before checking again.
The center should feel set rather than loose or liquid.
Once the bread finishes baking, remove the pan from the oven.
Let the loaf cool in the pan for 10–15 minutes. Then carefully transfer it to a wire rack.
Allow it to cool completely before slicing.
This final cooling step helps the interior firm up, which makes the bread easier to cut and improves its overall texture.
Tips, Variations, and Common Mistakes to Avoid
How to Prevent Gummy or Dense Chickpea Bread
Although 3-Ingredient High-Protein Chickpea Bread requires very little preparation, a few details can influence the finished loaf.
One common problem involves excess moisture.
Canned chickpeas contain liquid, and leaving too much of it in the mixture can create a wet center.
Therefore, drain and rinse the chickpeas thoroughly before blending.
Another mistake involves insufficient blending.
If the batter contains large chickpea pieces, the bread may develop an uneven texture. Blend until the mixture looks creamy and consistent.
Also, check the freshness of your baking powder. Baking powder loses some of its effectiveness over time, which can affect how much the loaf rises.
Pan size matters as well.
A wider pan creates a flatter loaf, while a smaller pan produces a taller loaf that may need additional baking time.
For this recipe, a 9 x 5-inch loaf pan provides a useful starting point.
Finally, avoid cutting the bread while it remains hot.
The interior continues to firm as the loaf cools. Slicing too early can make it appear sticky or crumbly.
If you prefer a firmer texture, lightly toast the slices before serving.
Easy Flavor Variations and Creative Additions
The basic chickpea bread recipe has a mild, earthy flavor that works well with savory ingredients.
However, you can customize it without making the preparation complicated.
For a simple savory loaf, add ¼ teaspoon of salt.
If you enjoy garlic-flavored bread, mix in ½ teaspoon of garlic powder.
You can also add dried oregano, thyme, rosemary, or Italian seasoning.
For a Mediterranean-inspired variation, try a small amount of dried basil and oregano.
Alternatively, sprinkle sesame seeds or sunflower seeds over the batter before baking.
These toppings add texture and make the loaf more visually appealing.
For a richer flavor, you can experiment with a little grated Parmesan cheese, although this changes the three-ingredient recipe.
If you want to keep the recipe strictly limited to three ingredients, leave the batter unchanged and add flavor after baking.
For example, spread toasted slices with hummus, mashed avocado, or cream cheese.
You can also drizzle a little olive oil over warm slices and finish them with black pepper.
Because 3-Ingredient High-Protein Chickpea Bread has a mild flavor, it pairs well with many different toppings and fillings.
Serving Ideas, Storage, and Meal Preparation
Delicious Ways to Enjoy Homemade Chickpea Bread
One of the biggest advantages of 3-Ingredient High-Protein Chickpea Bread is its versatility.
You can serve it at breakfast, lunch, or alongside dinner.
For breakfast, toast a slice until the edges become lightly crisp. Then spread it with butter, mashed avocado, or cottage cheese.
You can also top it with scrambled eggs or sliced tomatoes.
For lunch, use two slices to prepare a sandwich with hummus, cucumber, spinach, and roasted peppers.
The bread’s hearty texture pairs especially well with savory fillings.
Another option involves making an open-faced sandwich.
Top a slice with mashed avocado, a cooked egg, and a little black pepper for a satisfying meal.
You can also cut the bread into smaller pieces and serve it alongside soup.
Tomato soup, vegetable soup, and lentil soup all complement the mild chickpea flavor.
For a quick snack, toast a slice and spread it with hummus or a little soft cheese.
Because this bread has a denser texture than traditional yeast bread, thinner slices often work best.
Additionally, toasting can improve the texture and enhance its natural savory flavor.
How to Store, Freeze, and Reheat Chickpea Bread
Proper storage helps maintain the flavor and texture of homemade chickpea bread.
First, allow the loaf to cool completely.
Then place it in an airtight container or wrap it securely.
Store the bread in the refrigerator for approximately 3–4 days.
Because the recipe contains eggs and moisture-rich chickpeas, avoid leaving the finished loaf at room temperature for extended periods.
For longer storage, freeze individual slices.
Start by cutting the cooled loaf into portions. Next, place small pieces of parchment paper between the slices.
Transfer them to a freezer-safe bag or airtight container.
For the best quality, use frozen chickpea bread within approximately three months.
When you’re ready to serve it, thaw a slice in the refrigerator or reheat it directly from frozen in a toaster oven.
You can also warm slices in a skillet over medium-low heat.
Toasting creates a slightly crisp exterior while keeping the inside tender.
For convenient meal preparation, consider refrigerating a few slices for the next several days and freezing the remaining portions.
This way, 3-Ingredient High-Protein Chickpea Bread can become an easy addition to your weekly breakfast and lunch routine.
Ingredients
Makes 1 loaf, approximately 10 slices.
- 2 cans (15 oz each) chickpeas, drained and rinsed (approximately 3 cups drained chickpeas)
- 4 large eggs
- 2 teaspoons baking powder
Optional flavor additions:
- ¼ teaspoon salt
- ½ teaspoon garlic powder
- ½ teaspoon dried oregano, thyme, or Italian seasoning
Instructions
1. Preheat the oven. Set your oven to 350°F (175°C). Line a 9 x 5-inch loaf pan with parchment paper or lightly grease it.
2. Prepare the chickpeas. Drain both cans of chickpeas in a fine-mesh strainer. Rinse thoroughly under cool running water and allow excess liquid to drain.
3. Add the ingredients. Transfer the drained chickpeas and four large eggs to a blender or food processor.
4. Blend until smooth. Process until the mixture becomes thick, creamy, and smooth. Scrape down the sides as necessary.
5. Add baking powder. Add two teaspoons of baking powder and pulse briefly until fully incorporated. Stir in optional seasonings if desired.
6. Fill the loaf pan. Pour the batter into the prepared pan and smooth the top with a spatula.
7. Bake the bread. Place the pan in the oven and bake for 35–45 minutes, or until the center feels firm and a toothpick comes out clean.
8. Cool the loaf. Let the bread rest in the pan for 10–15 minutes. Then transfer it to a wire rack and cool completely.
9. Slice and serve. Cut into approximately 10 slices. Enjoy plain, toasted, or topped with butter, avocado, eggs, or hummus.
Recipe at a glance
Prep time
10 minutes
Bake time
35–45 minutes
Total time, including cooling
About 75–90 minutes
Yield
1 loaf / 10 slices
Estimated nutrition per slice (without optional ingredients):
| Nutrient | Amount |
|---|---|
| Calories | 120 kcal |
| Protein | 7 g |
| Carbohydrates | 15 g |
| Total fat | 4 g |
| Fiber | 4 g |
| Sugar | 2 g |
Nutrition values are estimates based on 10 slices and drained canned chickpeas. Actual values vary by brand, draining, and slice size.
Frequently Asked Questions
1. Is 3-Ingredient High-Protein Chickpea Bread really gluten-free?
Yes, the three main ingredients contain no gluten naturally. However, check the baking powder label and use ingredients that meet your dietary needs. If you have celiac disease, choose certified gluten-free products and prevent cross-contact during preparation.
2. Can I use dried chickpeas instead of canned chickpeas?
Yes, but you must soak and fully cook the dried chickpeas before using them. Never substitute raw or merely soaked dried chickpeas directly into this recipe. Use approximately three cups of cooked, drained chickpeas to replace the two cans.
3. Why does my chickpea bread taste slightly eggy?
Eggs provide much of the structure in this flourless recipe, so their flavor may come through more strongly than in traditional bread. You can balance the flavor with salt, garlic powder, or dried herbs. Toasting the bread and adding savory toppings can also help.
4. Can I make chickpea bread without a blender?
A food processor works well as an alternative. You can also mash the chickpeas thoroughly and whisk them with the eggs and baking powder, but the loaf may have a coarser texture. For the smoothest bread, use a blender or food processor.
5. Can I freeze 3-Ingredient High-Protein Chickpea Bread?
Yes. Allow the loaf to cool completely, then cut it into slices. Place parchment paper between the slices and freeze them in an airtight container for up to three months for best quality. Reheat individual slices in a toaster oven or skillet when needed.
Conclusion
3-Ingredient High-Protein Chickpea Bread makes homemade baking simple, convenient, and satisfying.
With just canned chickpeas, eggs, and baking powder, you can create a hearty loaf without traditional flour, yeast, kneading, or rising time.
The chickpeas contribute plant-based protein and fiber, while the eggs help create a tender, sliceable texture.
Plus, the recipe offers plenty of flexibility. You can enjoy the bread plain, toast it for breakfast, turn it into a sandwich, or serve it alongside your favorite soup.
Whether you’re exploring gluten-free alternatives or simply looking for a different way to enjoy chickpeas, this homemade loaf makes a practical addition to your recipe collection.
Prepare a loaf, allow it to cool, and keep a few slices ready for quick meals throughout the week.