Before we dive into the magic, can I just say: thank you for being here! Whether you’re a crafty parent, a teacher hunting for classroom fun, or just someone who needs a little extra sparkle in their day, this project is for you. These Suncatcher Glitter Jars aren’t just beautiful — they’re soothing, mesmerizing, and ridiculously fun to make.
I’ve made them with kids, given them as gifts, and kept a couple on my own windowsill just for that moment of peace they bring when the sunlight hits. Trust me — it’s like bottling a bit of calm and color all in one.
💌 Love crafts like this? Subscribe and I’ll send more easy, heartfelt DIYs straight to your inbox every week.
What Are Suncatcher Glitter Jars?
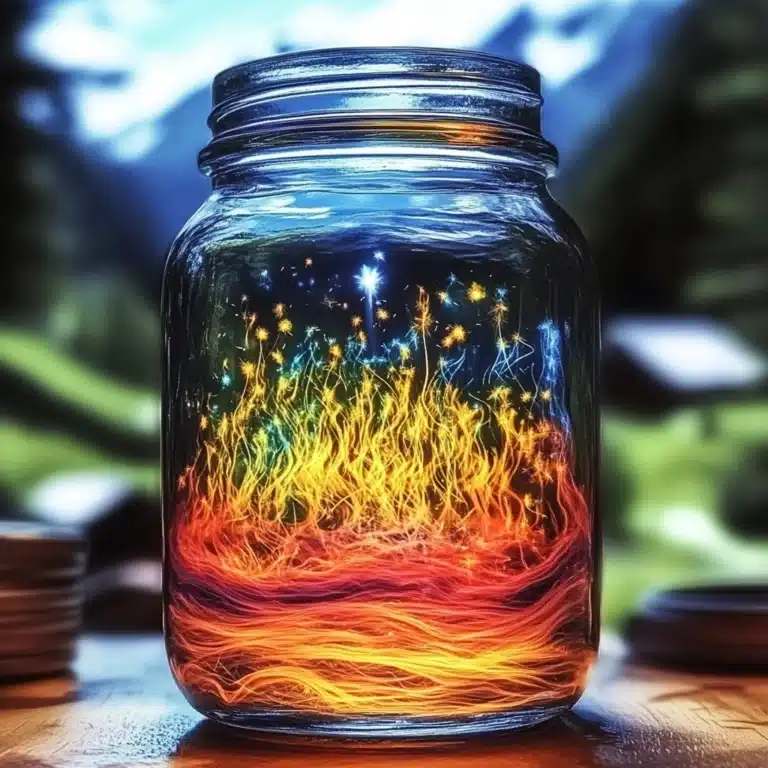
A Suncatcher Glitter Jar is a jar filled with water, glue, and fine glitter that swirls and sparkles when shaken — like a slow-moving snow globe for every season! They’re also called calm jars or meditation jars because watching the glitter settle is incredibly relaxing. And when sunlight shines through? 🌈 Pure joy.
Why You’ll Love This Craft
- Easy & inexpensive – no fancy supplies required!
- Customizable – endless color and glitter combos.
- Therapeutic – calming for both kids and adults.
- Sunlight-friendly – they double as beautiful window décor.
What It Feels Like to Use One
Imagine a slow swirl of rainbow glitter catching the light just right, settling like fairy dust on a sleepy breeze. That’s the kind of gentle magic these jars bring. Shake one up after a long day and watch your mood shift as the glitter drifts down. ✨
Benefits of Making Glitter Jars
- Encourages mindfulness and relaxation
- Great for sensory play and emotional regulation
- A fun screen-free craft for all ages
- Makes a sweet homemade gift or party favor
🧃 Materials You’ll Need
- 1 clear plastic or glass jar/bottle (8–16 oz, with a tight-fitting lid)
- 1–2 tablespoons clear glue or glitter glue
- Warm water (enough to fill the jar)
- Fine glitter (multiple colors for max sparkle!)
- Optional: 1 tsp baby oil or clear liquid soap (slows the glitter swirl)
- Optional: A drop or two of food coloring (for a light tint)
- Superglue or hot glue (for sealing the lid)
🛠 Tools That Help
- Funnel (optional, but handy!)
- Stir stick or chopstick
- Measuring spoons
- A cloth for spills
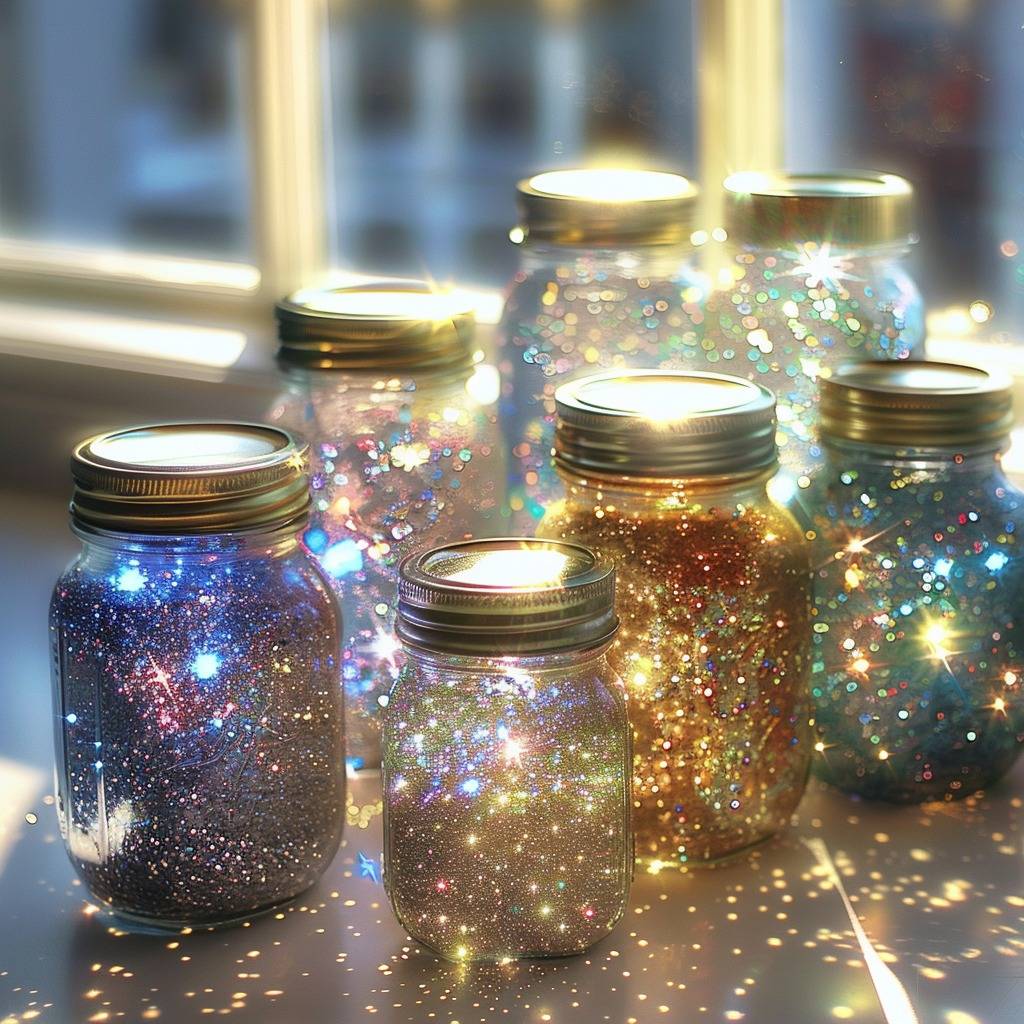
Optional Variations to Try
- Add star, moon, or heart-shaped glitter for a magical vibe.
- Use holiday-themed glitter (red & green for Christmas, pastel for Easter).
- Add a sticker or label to name your jar: “Calm in a Storm” or “Galaxy Dreams.”
- Want a toddler-safe version? Use a plastic bottle and tape the lid securely.
💫 How to Make a Suncatcher Glitter Jar
Step 1: Prepare the Jar
- Add 1–2 tablespoons of clear glue or glitter glue to the bottom of your jar.
- Pour in warm water until the jar is about ¾ full.
- Stir gently to mix the glue with the water.
Step 2: Add the Sparkle
- Sprinkle in your chosen glitter colors — use fine glitter for the best shimmer!
- Add a drop or two of food coloring if you want a tinted background.
- For a slower, dreamy swirl, stir in 1 teaspoon of baby oil or clear liquid soap.
Step 3: Fill and Seal
- Fill the rest of the jar with warm water, leaving a bit of space at the top.
- Tighten the lid and seal it with superglue or hot glue for a leak-proof finish.
Step 4: Shake and Shine
- Shake gently and hold the jar up to the light or a sunny window.
- Watch as the glitter dances, settles, and captures the sun’s glow like a tiny galaxy!
Where to Display or Use Your Glitter Jar
- In the windowsill where sunlight can beam through.
- On your desk as a calming focus tool.
- As part of a kids’ bedtime routine (watch the glitter settle as they relax).
- In a classroom calm corner for sensory breaks.
💡 Pro Tips
- Use warm water to help the glue mix smoothly.
- Fine glitter works better than chunky glitter — it swirls longer and catches light better.
- Want it to swirl slower? Add a few extra drops of glue or a little more baby oil.
FAQs
Can I use white school glue instead of clear glue?
Yes, but the water may turn cloudy. For the best sun-catching effect, clear glue or glitter glue is ideal.
Is this safe for toddlers?
If using a plastic bottle and sealing it well, yes! Always supervise during use.
What if I don’t have food coloring?
No problem — the glitter alone still looks amazing in natural light!
Let’s Wrap It Up
These Suncatcher Glitter Jars are more than just a pretty craft — they’re a moment of peace, a burst of creativity, and a reminder that sometimes, beauty comes from just watching things settle. 🌟 Whether you’re making them with kids or just for yourself, this craft is pure, sparkly joy in a jar.
🫶 Don’t forget to subscribe for more magical DIYs, cozy crafts, and creative calm delivered straight to your inbox!
🧵 You Might Also Love:
- DIY Calming Lavender Play Dough
- Homemade Window Clings
- Rainbow Sensory Bottles
📸 Show Off Your Sparkle!
Made a glitter jar? I’d love to see it!
Tag me on Pinterest or leave a comment with a photo — let’s share the shine together. 💖
🧮 Estimated Time & Cost
- Prep Time: 5–10 minutes
- Total Time: 15 minutes
- Approximate Cost: $2–4 per jar (depending on supplies)
Now go shake up some sunshine — and let it sparkle your day. 🌈
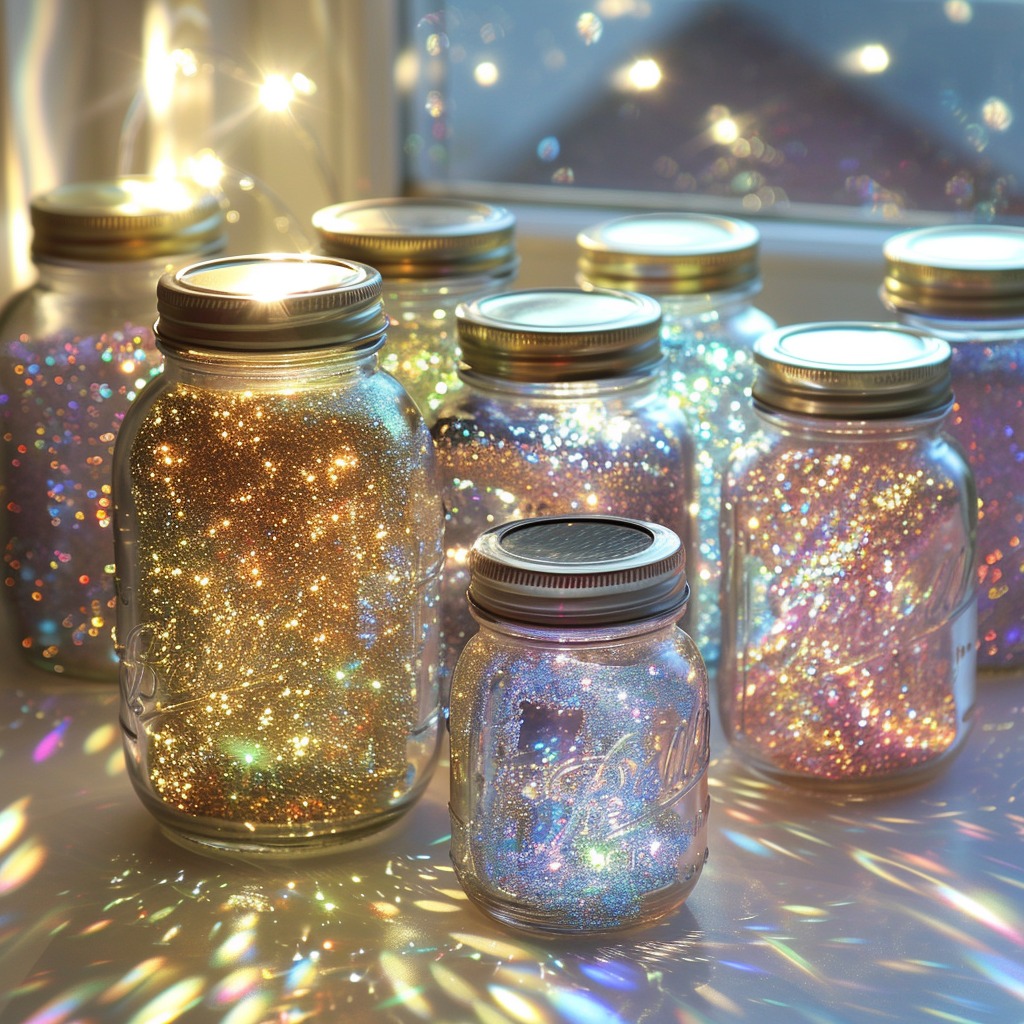
Suncatcher Glitter Jars
Ingredients
Main Ingredients
- 1 each clear plastic or glass jar/bottle (8–16 oz, with a tight-fitting lid)
- 1–2 tablespoons clear glue or glitter glue
- enough to fill the jar ml warm water
- multiple each colors of fine glitter for maximum sparkle
Optional Ingredients
- 1 teaspoon baby oil or clear liquid soap slows the glitter swirl
- 1–2 drops food coloring for a light tint
- as needed each superglue or hot glue for sealing the lid
Instructions
Preparation
- Add 1–2 tablespoons of clear glue or glitter glue to the bottom of your jar.
- Pour in warm water until the jar is about ¾ full.
- Stir gently to mix the glue with the water.
Add the Sparkle
- Sprinkle in your chosen glitter colors — use fine glitter for the best shimmer!
- Add a drop or two of food coloring if you want a tinted background.
- For a slower, dreamy swirl, stir in 1 teaspoon of baby oil or clear liquid soap.
Fill and Seal
- Fill the rest of the jar with warm water, leaving a bit of space at the top.
- Tighten the lid and seal it with superglue or hot glue for a leak-proof finish.
Shake and Shine
- Shake gently and hold the jar up to the light or a sunny window.
- Watch as the glitter dances, settles, and captures the sun’s glow like a tiny galaxy!
Notes
Nutrition
More Handmade Haven
- Your Brain Is Still Young If You Can Spot the Man in a Hat in This Vintage Puzzle
- COVID-19 Vaccines and Long-Term Safety: What We Know in 2026
- Did a Gorilla Save Its Caretaker During a Heart Attack? Examining a Moving but Unverified Viral Story
- Tick-Borne Illnesses: Warning Signs, Safe Tick Removal, and Practical Ways to Protect Your Family