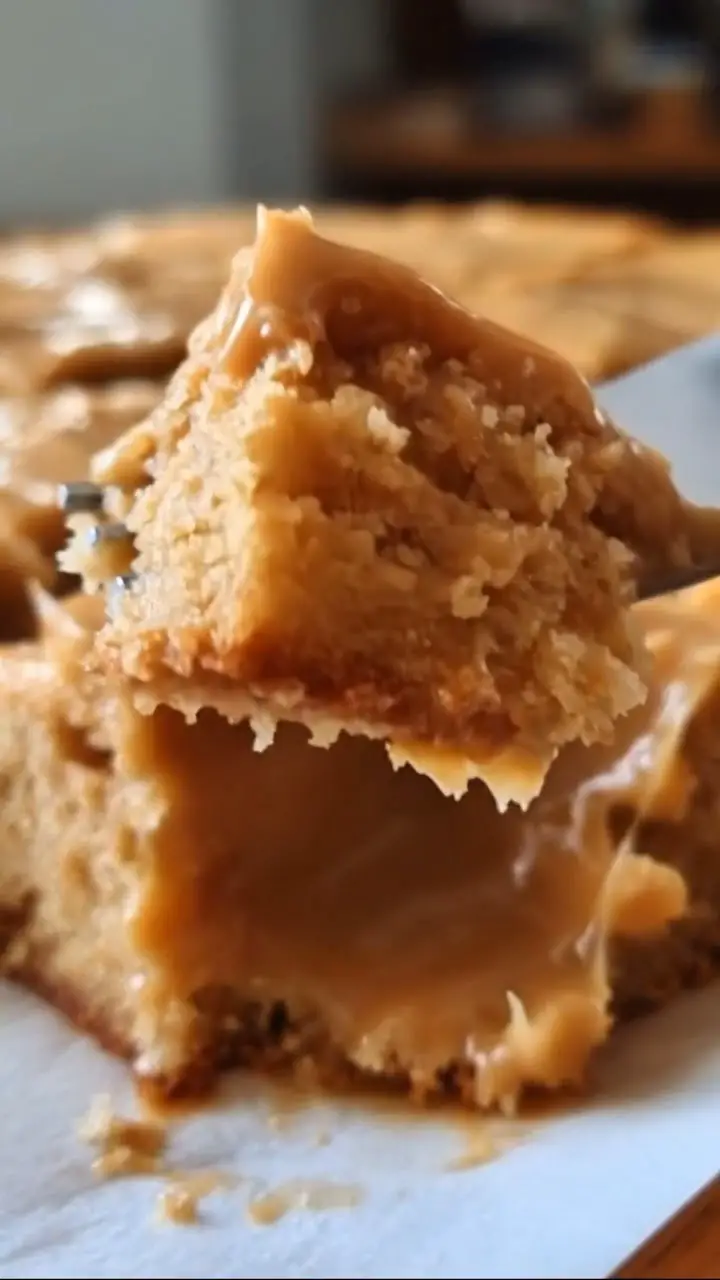
Peanut Butter Lunch Lady Cookie Bars bring back everything people love about classic cafeteria desserts, but with a richer flavor and softer texture. These cookie bars bake in one pan, which makes them perfect for feeding a crowd while keeping preparation simple. With a soft peanut butter base and a creamy frosting layered on top, every bite delivers that irresistible sweet and salty combination.
I remember making a batch of these bars for a family gathering when I needed something quick but satisfying. The batter came together faster than expected, and the smell of peanut butter filled the kitchen as they baked. Once cooled, I spread the frosting over the top and cut them into squares. Everyone grabbed one, then came back for more. That day, I realized how a simple sheet pan dessert could turn into the highlight of the table, especially when it carries that nostalgic, homemade flavor.
Ingredients
Equipment
Method
- Preheat oven to 400°F and prepare a greased or parchment-lined baking sheet.
- Mix flour, sugar, baking soda, and salt in a bowl.
- Whisk milk, eggs, and vanilla extract in a separate bowl.
- Heat butter and peanut butter until melted and smooth, then combine with dry ingredients.
- Add wet ingredients and mix until smooth batter forms.
- Spread batter evenly in baking sheet and bake for 20 minutes.
- Cool completely before frosting.
- Prepare frosting by heating butter and peanut butter, adding milk and powdered sugar, then spread over bars.
Notes
Why These Cookie Bars Are So Popular
A Crowd-Friendly Dessert
One of the biggest advantages of these cookie bars is how easily they serve a large group. Instead of scooping individual cookies, you spread the batter into a sheet pan and bake everything at once. This method saves time and effort, especially when you need a reliable dessert for gatherings, parties, or potlucks.
Additionally, cutting the bars into squares makes serving simple. You can create small portions for a crowd or larger squares for a more indulgent treat. Because of this flexibility, they work well for both casual snacks and special occasions.
Perfect Balance of Flavor
These bars stand out because they balance sweetness with a hint of saltiness. The peanut butter brings a rich, nutty flavor, while the sugar adds just the right amount of sweetness. Together, they create a dessert that feels satisfying without being overwhelming.
The frosting adds another layer of flavor and texture. It is smooth, creamy, and slightly sweet, which complements the soft cookie base. As a result, each bite delivers a combination of chewy, creamy, and slightly crisp edges.
Ingredients and Preparation Tips
Key Ingredients for Success
Every ingredient in this recipe plays an important role. The flour provides structure, while the butter adds richness and moisture. Peanut butter gives the bars their signature flavor, and eggs help bind everything together.
Milk ensures the batter stays smooth and easy to spread, while baking soda helps the bars rise slightly. Vanilla extract enhances the overall flavor, and salt balances the sweetness. Finally, powdered sugar creates the smooth, spreadable frosting that finishes the bars perfectly.
Using room-temperature butter makes mixing easier and results in a smoother batter. Also, measuring ingredients accurately ensures consistent results every time.
Easy Preparation Steps
Start by preheating the oven and preparing your baking sheet. Lining it with parchment paper or greasing it well prevents sticking and makes cleanup easier.
Mix the dry ingredients separately to ensure even distribution. Then whisk together the wet ingredients so they blend smoothly into the batter. Heating the butter and peanut butter together helps create a rich base and makes combining everything easier.
When spreading the batter, aim for an even layer. This ensures the bars bake uniformly and prevents overcooked edges or undercooked centers.
Baking and Frosting Process
Baking the Cookie Bars
Once the batter is ready, pour it into the prepared pan and spread it evenly to the edges. Bake in a preheated oven at 400°F for about 20 minutes. The bars are done when a toothpick inserted in the center comes out clean.
Avoid overbaking, as this can make the bars dry. Instead, remove them as soon as they are set and lightly golden. Allow them to cool completely before adding the frosting.
Cooling is important because it helps the bars firm up, making them easier to frost and cut into neat squares.
Making the Peanut Butter Frosting
While the bars cool, prepare the frosting. Melt butter and peanut butter together until smooth and slightly bubbly. Then add milk and gradually mix in powdered sugar until the frosting reaches a creamy consistency.
Pour the frosting over the cooled bars and spread it evenly. Work quickly, as the frosting sets as it cools. Once set, it forms a smooth, slightly firm layer that complements the soft base.
Allow the frosting to fully set before cutting. This step ensures clean slices and a polished look.
Variations and Serving Ideas
Flavor Variations to Try
Although these bars shine with peanut butter frosting, you can easily switch things up. For example, use chocolate frosting for a richer contrast. The combination of chocolate and peanut butter creates a classic flavor pairing.
You can also add mix-ins like chocolate chips or chopped nuts to the batter. These additions bring extra texture and variety to each bite.
For a slightly less sweet version, reduce the powdered sugar in the frosting or use a thinner layer. This adjustment allows the peanut butter flavor to stand out even more.
Serving Suggestions
Serve these cookie bars as a dessert at family dinners, parties, or casual gatherings. They pair well with a glass of milk or a cup of coffee, making them a versatile treat.
For a more decorative presentation, cut the bars into even squares and arrange them on a serving platter. You can also drizzle melted chocolate over the top for added visual appeal.
If you plan to store them, keep the bars in an airtight container at room temperature. They stay fresh for several days, making them a great make-ahead dessert option.
Frequently Asked Questions
Can I use crunchy peanut butter?
Yes, crunchy peanut butter works well and adds extra texture to the bars.
How do I store these cookie bars?
Store them in an airtight container at room temperature for up to four days.
Can I freeze these bars?
Yes, you can freeze them for up to two months. Thaw at room temperature before serving.
Can I make them ahead of time?
Absolutely. These bars taste great the next day, making them perfect for preparing in advance.
What size pan should I use?
A large sheet pan works best to ensure even baking and the right thickness.
Conclusion
Peanut Butter Lunch Lady Cookie Bars offer a simple yet satisfying dessert that combines ease with rich flavor. With a soft, moist base and a creamy frosting, they deliver the perfect balance of sweetness and texture. Whether you make them for a gathering or just to enjoy at home, these bars are sure to become a favorite.
Because they are so easy to prepare and customize, you can adapt them to suit any occasion. In the end, this recipe proves that classic flavors and simple techniques can create a dessert that feels both nostalgic and irresistible.
More Dessert
- Can’t Believe I’ve Been Drinking Coca-Cola for Years and Just Noticed the ‘Hidden Detail’ in the Logo!
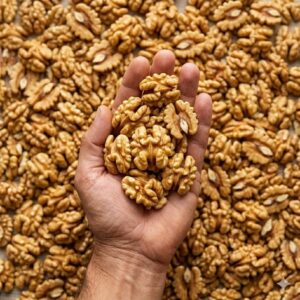
- The Power of the Walnut: 5 Science-Backed Health Benefits (And How Many You Should Actually Eat)
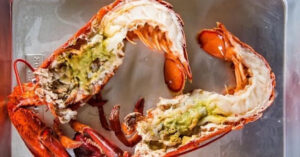
- The Mystery of Lobster’s Green Goodies: What Is Tomalley and Should You Eat It?
- Southern Tea Cake Cookies Recipe: Soft Buttery Classic Cookies