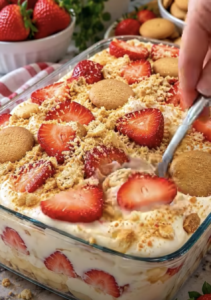
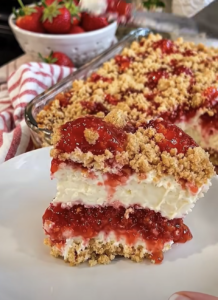
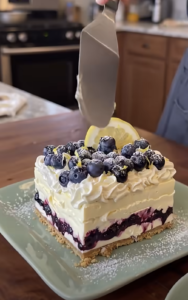
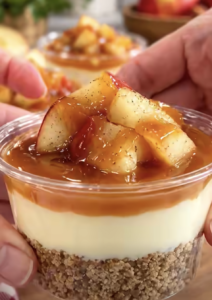
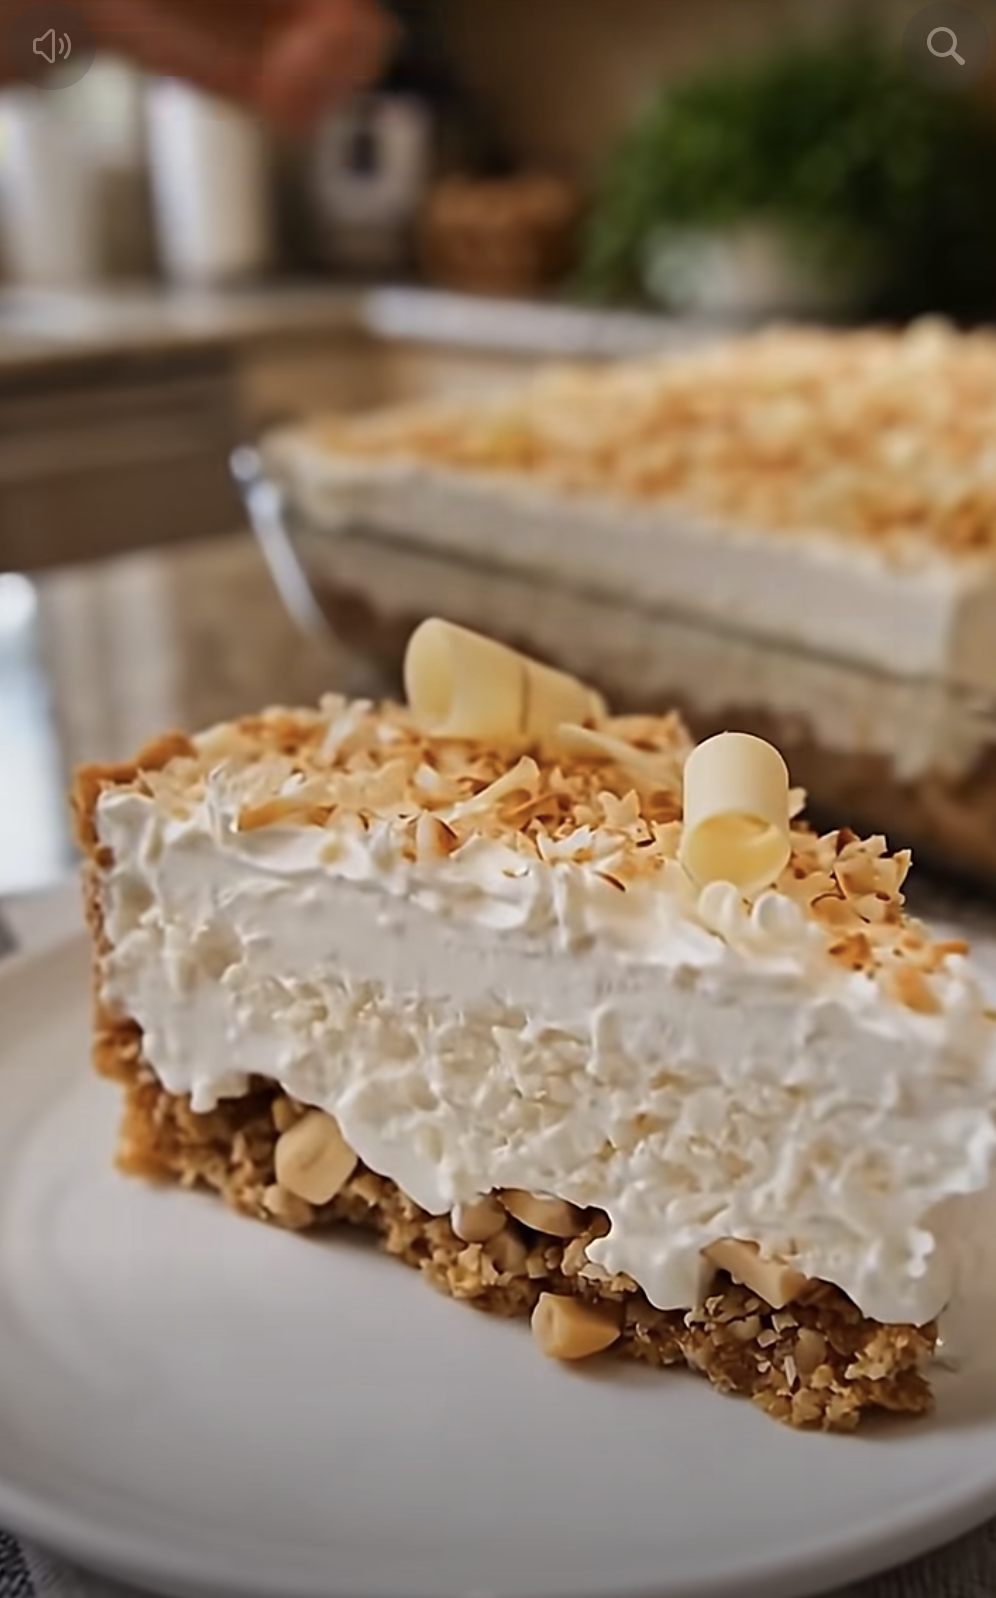
No-Bake Coconut Cream Dream Dessert is a cool, creamy, coconut-filled treat that delivers plenty of flavor without turning on the oven. A buttery graham cracker and coconut crust creates the base, followed by a smooth coconut cream layer and a fluffy sweetened condensed milk filling. Toasted coconut on top adds the perfect finishing crunch.
Because this No-Bake Coconut Cream Dream Dessert needs only simple mixing, spreading, and chilling, it works beautifully for warm-weather gatherings, holidays, potlucks, birthdays, family dinners, and make-ahead entertaining. The refrigerator does most of the work, while the finished dessert looks elegant enough to serve for a special occasion.
The combination of graham crackers and shredded coconut gives the crust a slightly chewy texture. Meanwhile, the coconut cream adds concentrated tropical flavor. Heavy whipping cream creates a light upper layer, while sweetened condensed milk brings smooth sweetness and body.
I first made this dessert on a hot afternoon when I wanted coconut cream pie but had no interest in baking a traditional crust or cooking a custard on the stove. I mixed graham cracker crumbs with coconut and butter, pressed everything into a pie dish, and added a thick coconut cream layer. After folding together the fluffy topping, I left the whole dessert in the refrigerator overnight. The next day, the filling sliced beautifully, and the toasted coconut on top gave every bite a little crunch. Since then, No-Bake Coconut Cream Dream Dessert has become one of my favorite easy recipes whenever I want something cool, creamy, and comforting.
Ingredients
Equipment
Method
- Combine the graham cracker crumbs and unsweetened shredded coconut in a large mixing bowl.
- Pour the melted and cooled unsalted butter over the crumb mixture and stir until everything is evenly coated.
- Press the crumb mixture firmly into the bottom and slightly up the sides of a 9-inch pie dish. Refrigerate while preparing the remaining layers.
- Spread the thick coconut cream evenly over the chilled graham cracker crust and smooth the surface with a spatula.
- Pour the cold heavy whipping cream into a chilled mixing bowl and beat until it begins to thicken.
- Slowly add the sweetened condensed milk while continuing to beat the cream. Add the vanilla extract and continue mixing until thick, smooth, and creamy.
- Spoon the whipped cream mixture over the coconut cream layer and gently spread it evenly to the edges.
- Cover the pie dish and refrigerate for at least 4 hours, preferably overnight, until thoroughly chilled and firm.
- Before serving, sprinkle the toasted coconut flakes evenly over the top and add whipped cream swirls if desired.
- Slice the No-Bake Coconut Cream Dream Dessert into wedges and serve cold.
Notes
Why No-Bake Coconut Cream Dream Dessert Works So Well
The coconut graham cracker crust creates the perfect foundation
The crust for No-Bake Coconut Cream Dream Dessert uses only three main ingredients: graham cracker crumbs, unsweetened shredded coconut, and melted butter.
Graham cracker crumbs provide structure and a familiar lightly honeyed flavor. Meanwhile, shredded coconut adds texture and reinforces the tropical flavor from the very first bite.
Using unsweetened coconut keeps the crust from becoming overly sweet because the filling already contains sweetened condensed milk and coconut cream.
Melted butter binds the crumbs together.
However, the crust does not bake. Therefore, pressing it firmly into the pie dish becomes especially important.
After combining 1 1/2 cups graham cracker crumbs with 1/2 cup shredded coconut, pour in 1/2 cup melted unsalted butter.
Mix until every crumb becomes evenly moistened.
The finished mixture should resemble damp sand and hold together when squeezed.
Transfer it to a 9-inch pie dish.
Then press it firmly across the bottom and slightly up the sides if desired.
A flat-bottomed measuring cup makes this job much easier. Press around the entire surface with even pressure.
Once packed, place the crust in the refrigerator.
The cold temperature helps the butter firm, which gives the crust enough stability to support the creamy layers.
For an even firmer crust, refrigerate it for about 20 to 30 minutes before adding the coconut cream.
The coconut cream layer adds concentrated tropical flavor
The middle layer gives No-Bake Coconut Cream Dream Dessert its strongest coconut flavor.
Spread 1 cup of thick coconut cream over the chilled crust.
Coconut cream contains less water and more coconut fat than standard coconut milk, so it provides a thicker texture that works especially well in layered desserts.
Choose coconut cream rather than sweetened cream of coconut unless you intentionally want a much sweeter result.
If your coconut cream has separated in the container, stir it thoroughly before measuring.
You want the texture smooth and uniform.
Spoon the coconut cream over the crust and spread it carefully from edge to edge.
Use a spatula and work gently so you do not disturb the graham cracker base.
This layer creates a rich, almost custard-like contrast beneath the lighter whipped filling.
Once chilled, the coconut cream firms slightly, helping the dessert develop clean layers.
The combination of buttery crust, silky coconut cream, and fluffy topping gives No-Bake Coconut Cream Dream Dessert much more texture than a simple pudding pie.
How to Make No-Bake Coconut Cream Dream Dessert
Prepare the crust and coconut layer
Start by placing 1 1/2 cups graham cracker crumbs in a large mixing bowl.
Add 1/2 cup unsweetened shredded coconut.
Stir until the two dry ingredients are evenly mixed.
Next, melt 1/2 cup unsalted butter.
Allow it to cool for several minutes. You want the butter liquid but not extremely hot.
Pour the melted butter over the graham cracker mixture.
Stir thoroughly until no dry crumbs remain.
Transfer the mixture into a 9-inch pie dish.
Use the back of a spoon or the bottom of a measuring cup to press it into a compact layer.
Press firmly around the center first, then work toward the edges.
You can bring a little crust up the sides for a traditional pie appearance.
Place the dish in the refrigerator.
After the crust has chilled, spread 1 cup coconut cream evenly over the surface.
Smooth the layer gently.
Then return the pie dish to the refrigerator while preparing the whipped filling.
Keeping every layer cold helps the No-Bake Coconut Cream Dream Dessert set more quickly and prevents the crust from becoming too soft.
Make the fluffy condensed milk filling
Place a large mixing bowl and the beaters from your mixer in the refrigerator for about 10 minutes before whipping the cream.
Cold equipment helps heavy cream whip faster and hold more volume.
Pour 1 1/2 cups heavy whipping cream into the chilled bowl.
Beat on medium-high speed until the cream begins to thicken.
You do not need stiff peaks yet.
Once the cream looks noticeably thicker, slowly add one 14-ounce can of sweetened condensed milk.
Pour gradually while mixing on medium speed.
Then add 1 tablespoon vanilla extract.
Continue beating until the mixture becomes thick, smooth, and creamy.
The texture should hold soft to medium peaks and feel light enough to spread.
Avoid overbeating.
Heavy cream can eventually become grainy if mixed for too long.
Spoon the whipped filling over the coconut cream layer.
Place dollops around the surface before spreading them together.
This method prevents the layers underneath from shifting.
Use a spatula to smooth the filling all the way to the edges.
Cover the pie dish tightly.
Then refrigerate No-Bake Coconut Cream Dream Dessert for at least 4 hours.
For the best texture and easiest slicing, refrigerate overnight.
The extra chilling time allows the crust to firm and the creamy layers to settle into a cohesive dessert.
Tips, Variations, and Serving Ideas
Toasted coconut makes a big difference
The final 1/4 cup of toasted coconut may look like a small detail, but it adds important flavor and texture to No-Bake Coconut Cream Dream Dessert.
Toasting coconut intensifies its natural nuttiness.
It also creates a crunchy contrast against the soft filling.
You can toast coconut quickly in a dry skillet.
Place the coconut flakes in a skillet over medium-low heat.
Stir constantly.
Within a few minutes, the flakes will begin turning golden.
Remove them from the pan immediately once they reach the color you like because coconut can burn quickly.
Let the toasted coconut cool completely before adding it to the dessert.
Warm coconut can soften whipped topping.
Alternatively, you can toast coconut on a baking sheet in a 325°F oven for several minutes.
However, because the dessert itself requires no baking, the stovetop method keeps the recipe almost completely oven-free.
Sprinkle the cooled toasted coconut across the surface immediately before serving.
If desired, add decorative whipped cream swirls around the edge.
You can also garnish each slice with an extra pinch of coconut.
Easy ways to customize the dessert
No-Bake Coconut Cream Dream Dessert provides a simple base for several delicious variations.
For a chocolate coconut version, drizzle melted dark chocolate over the top.
Chocolate and coconut naturally complement each other, creating a flavor similar to a classic coconut candy bar.
You can also spread a thin chocolate ganache layer over the crust before adding the coconut cream.
For a pineapple-coconut version, add a small amount of well-drained crushed pineapple to the whipped filling.
Drain it very thoroughly because extra liquid can soften the dessert.
For a lime variation, add fresh lime zest to the whipped layer.
The bright citrus flavor cuts through the richness of the coconut and sweetened condensed milk.
You can also garnish the top with thin lime slices.
For a crunchier dessert, add toasted chopped macadamia nuts or pecans.
For an elegant presentation, serve individual portions in small glass jars.
Layer graham cracker crumbs, coconut cream, whipped filling, and toasted coconut.
This method works especially well for parties because guests can grab individual desserts without slicing a pie.
You can even serve No-Bake Coconut Cream Dream Dessert slightly frozen for a firmer, icebox-style texture.
Make-Ahead, Storage, and Common Mistakes
How far ahead can you prepare it?
No-Bake Coconut Cream Dream Dessert works exceptionally well as a make-ahead dessert.
In fact, overnight chilling often improves both the texture and flavor.
You can assemble the entire dessert one day before serving.
Cover the pie dish tightly and refrigerate.
For the freshest appearance, wait to add toasted coconut and decorative whipped cream until shortly before serving.
The coconut topping remains crunchier when added at the end.
Store leftovers in the refrigerator for up to 4 days.
Keep the dish covered so the filling does not absorb refrigerator odors.
Because the dessert contains heavy cream, sweetened condensed milk, and coconut cream, keep it chilled until serving.
Do not leave it sitting at room temperature for long periods.
You can also freeze No-Bake Coconut Cream Dream Dessert.
Wrap the pie tightly or store individual slices in freezer-safe containers.
Freeze for up to 1 month.
For the best texture, thaw the dessert in the refrigerator for several hours before serving.
Alternatively, let frozen slices soften for about 10 to 15 minutes and enjoy them as a semi-frozen dessert.
Common mistakes and how to avoid them
One common mistake involves using thin coconut milk instead of coconut cream.
Coconut milk contains more liquid and may create a softer layer.
Use thick coconut cream for the most dependable texture.
Another mistake involves using sweetened cream of coconut without adjusting the sweetness.
Cream of coconut often contains a significant amount of added sugar. Therefore, the dessert can become overly sweet when combined with sweetened condensed milk.
Always check the label.
Another common problem comes from whipping warm heavy cream.
Cold cream whips much better.
Chill the cream, mixing bowl, and beaters before starting.
Also, add the sweetened condensed milk gradually.
Pouring it in too quickly can deflate the whipped cream.
Do not skip the chilling time.
No-Bake Coconut Cream Dream Dessert needs at least 4 hours to set properly.
Overnight chilling produces even better slices.
Finally, let toasted coconut cool before sprinkling it over the pie.
Hot coconut can melt or soften the creamy surface.
Frequently Asked Questions
Can I make No-Bake Coconut Cream Dream Dessert the night before?
Yes. Overnight chilling actually gives this dessert an excellent texture. Assemble it completely, cover it, and refrigerate until the next day. Add toasted coconut shortly before serving for maximum crunch.
Can I use coconut milk instead of coconut cream?
Coconut cream works best because it contains less water and creates a thicker layer. Full-fat coconut milk may work in a pinch, but the finished dessert can be softer.
What is the difference between coconut cream and cream of coconut?
Coconut cream is a thick, unsweetened or lightly sweetened coconut product. Cream of coconut usually contains added sugar and is much sweeter. For this No-Bake Coconut Cream Dream Dessert, thick coconut cream gives the best balance.
Can I use whipped topping instead of heavy cream?
Yes. You can substitute thawed whipped topping for the homemade whipped cream mixture, although the flavor and texture will differ. Homemade whipped cream gives the dessert a richer, fresher consistency.
Can No-Bake Coconut Cream Dream Dessert be frozen?
Yes. Freeze it tightly covered for up to about 1 month. Thaw it in the refrigerator before serving, or serve it slightly frozen for an icebox-style texture.
Conclusion
No-Bake Coconut Cream Dream Dessert delivers rich coconut flavor in a cool, creamy pie that requires very little hands-on work.
The graham cracker and coconut crust creates a buttery base.
Thick coconut cream adds an intensely tropical middle layer.
Then whipped heavy cream, sweetened condensed milk, and vanilla create a soft, luxurious topping.
Finally, toasted coconut brings everything together with a golden crunch.
Because No-Bake Coconut Cream Dream Dessert requires no complicated baking or custard cooking, it works beautifully for beginners.
Prepare the crust.
Chill it.
Add the coconut cream.
Whip the filling.
Then give the dessert plenty of time in the refrigerator.
Those straightforward steps create a layered dessert that looks impressive enough for special occasions but remains simple enough for an ordinary family dinner.
Make it ahead for summer cookouts, birthdays, potlucks, holidays, or weekend entertaining.
Serve every slice cold, add a little extra toasted coconut, and enjoy the combination of creamy filling, buttery crumbs, and rich coconut flavor.