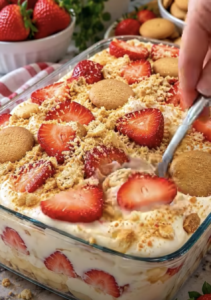
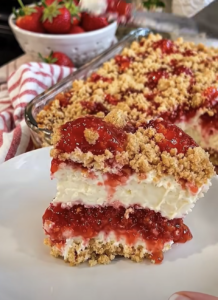
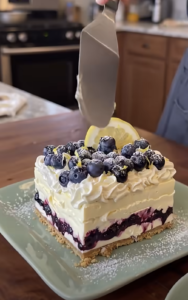
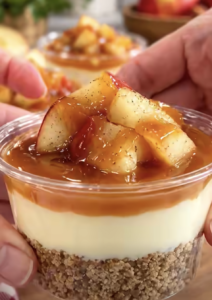
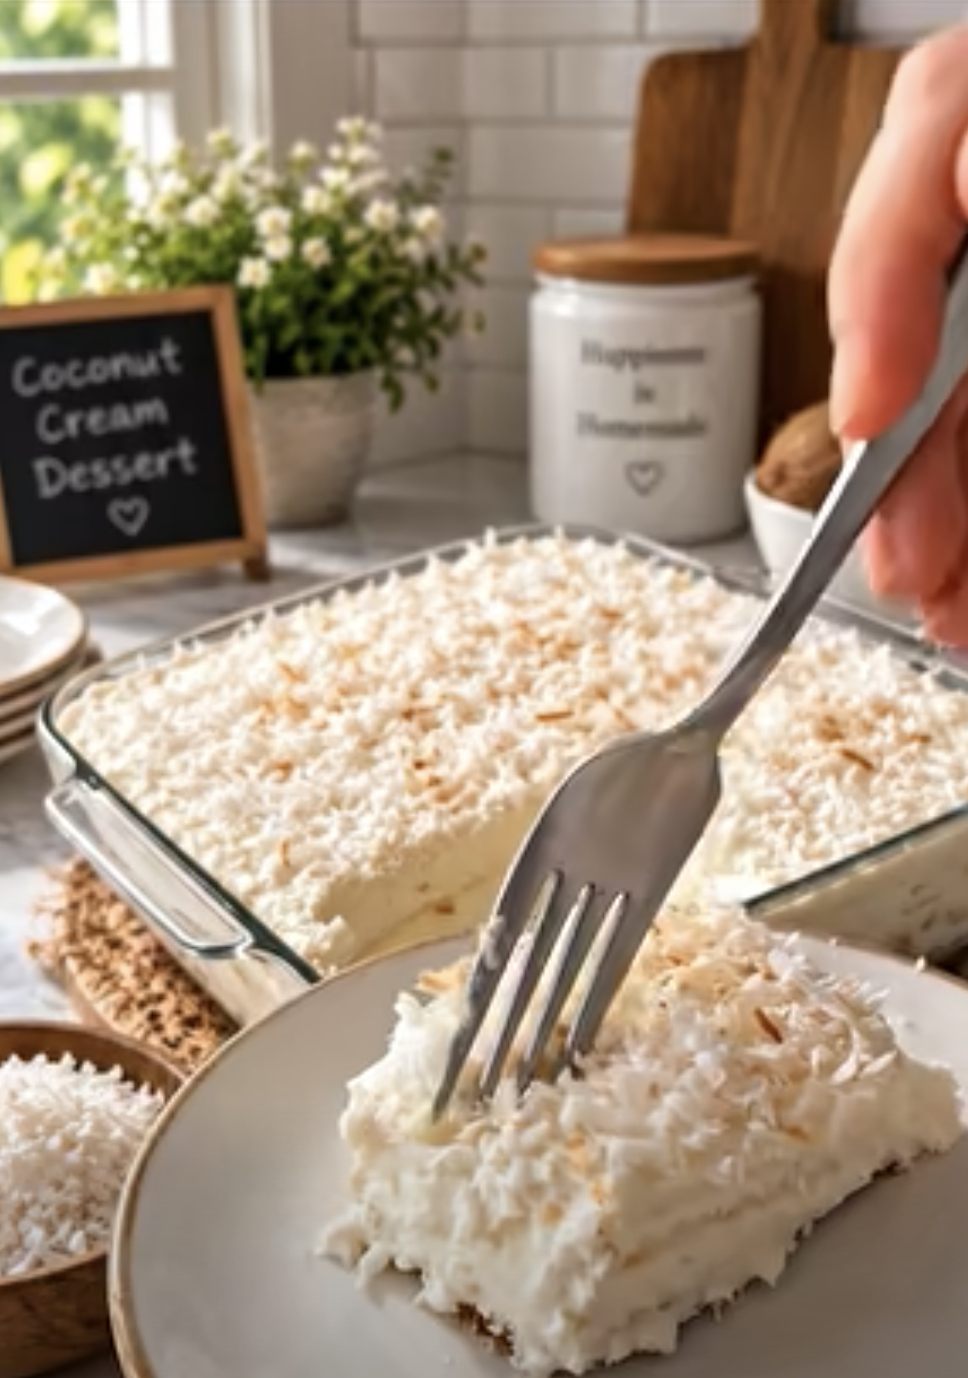
No-Bake Coconut Cream Dream Dessert is a rich, fluffy layered dessert with a buttery graham cracker crust, creamy coconut filling, whipped topping, and toasted coconut. It delivers plenty of tropical flavor without requiring an oven, which makes it especially convenient for warm-weather gatherings, holidays, potlucks, or any day when you want an easy make-ahead dessert.
The combination of cream cheese, coconut cream, shredded coconut, and freshly whipped cream gives No-Bake Coconut Cream Dream Dessert a soft, mousse-like center. Meanwhile, the chilled graham cracker crust provides enough structure to hold each square together. A final layer of whipped topping and golden toasted coconut adds a light finish and extra texture.
Because the dessert needs several hours to chill, you can prepare it the night before serving. In fact, an overnight rest gives the filling plenty of time to firm and allows the coconut flavor to settle into every layer.
I first made a coconut cream dessert like this when I needed something simple for a family gathering but did not want another baked cake competing for oven space. I prepared the crust in a few minutes, whipped together the coconut filling, and refrigerated the entire dish overnight. The next day, the filling had become light yet sliceable, while the crust stayed buttery and slightly crumbly. Toasted coconut on top made the dessert smell especially inviting. Since then, I have liked this style of no-bake dessert because it feels special without requiring complicated decorating, baking, or last-minute preparation.
Building a Firm Buttery Graham Cracker Crust
Combine the Crumbs, Butter, and Sugar Evenly
A dependable crust gives No-Bake Coconut Cream Dream Dessert the structure it needs.
Start with 2½ cups graham cracker crumbs. Finely crushed crumbs work best because they pack together more evenly and create cleaner slices.
Add 2 tablespoons granulated sugar.
Then pour in ½ cup melted unsalted butter.
Stir thoroughly until every crumb looks lightly coated.
The mixture should resemble damp sand. When you squeeze a small handful, it should hold together instead of immediately falling apart.
If you crush whole graham crackers yourself, a food processor creates the most even texture. However, you can also place the crackers in a sealed bag and crush them with a rolling pin.
Try to eliminate large pieces because they can create weak spots in the crust.
The butter does more than add flavor. It also binds the crumbs together once the dessert chills.
Meanwhile, the small amount of sugar provides sweetness and helps the crust taste more like a dessert layer instead of plain crackers.
For stronger coconut flavor, you can replace a small portion of the graham crumbs with finely crushed coconut cookies. However, keep enough graham crumbs in the mixture to maintain a firm base.
Ingredients
Equipment
Method
- Combine the graham cracker crumbs, melted butter, and granulated sugar until evenly moistened.
- Press the crumb mixture firmly into the bottom of a 9×13-inch baking dish and refrigerate for at least 20 minutes.
- Beat the softened cream cheese and powdered sugar until smooth. Add the vanilla extract and coconut cream and mix until fully combined.
- Fold the sweetened shredded coconut into the cream cheese mixture until evenly distributed.
- Beat the cold heavy whipping cream in a separate bowl until stiff peaks form.
- Gently fold the whipped cream into the coconut cream cheese mixture until light and fluffy.
- Spread the coconut filling evenly over the chilled graham cracker crust.
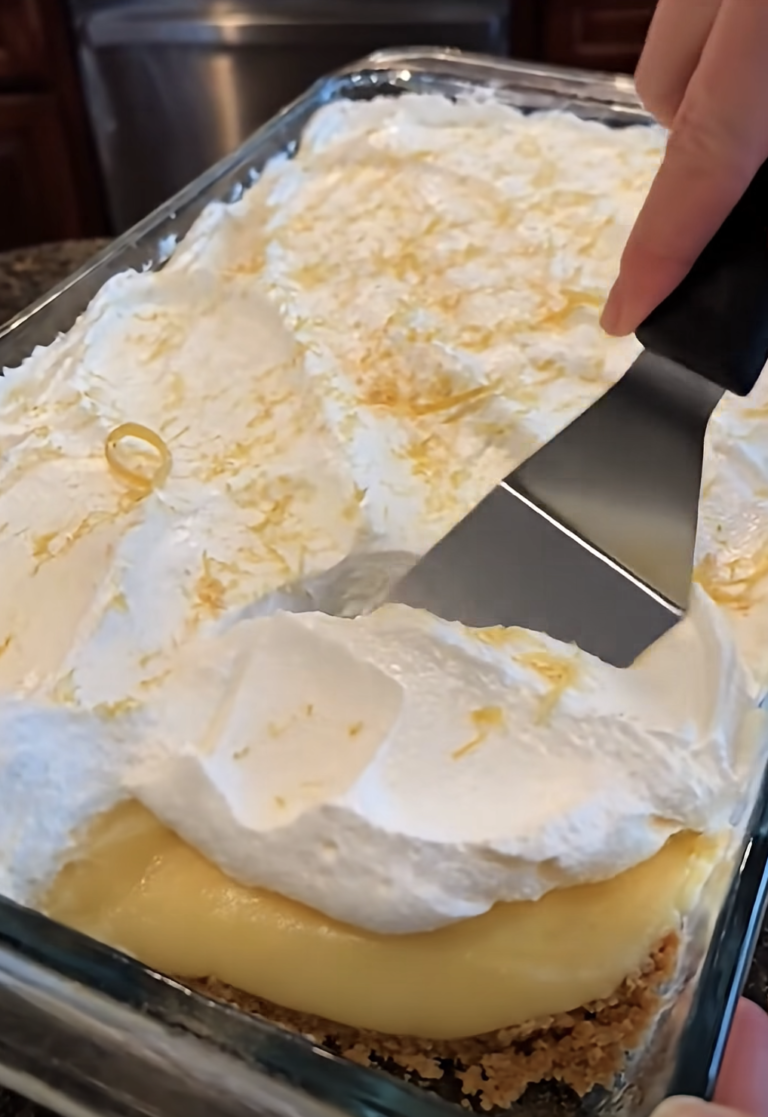
- Spread the thawed whipped topping evenly over the coconut layer.
- Toast the remaining shredded coconut in a dry skillet over medium-low heat until lightly golden. Cool completely and sprinkle it over the whipped topping. Add white chocolate curls if desired.
- Cover and refrigerate for at least 4 to 6 hours, preferably overnight. Slice into squares and serve chilled.
Notes
Press and Chill the Crust Properly
Transfer the crumb mixture to a 9×13-inch baking dish.
Spread it evenly across the bottom.
Then press it down firmly with the bottom of a measuring cup, flat glass, or spatula.
Pay particular attention to the corners and edges because loose crumbs in those areas can make the first few slices difficult to remove.
Do not press so aggressively that the crust becomes rock hard. Instead, compact it enough to form a solid, even layer.
Place the dish in the refrigerator for at least 20 minutes.
This chilling time allows the melted butter to firm.
As a result, the crust becomes stable enough to support the creamy coconut filling.
Because No-Bake Coconut Cream Dream Dessert never goes into the oven, the refrigerator performs the work that baking normally would.
You can prepare the crust several hours ahead if desired.
Keep it covered and refrigerated until the filling is ready.
A properly chilled crust should feel firm when touched lightly with a fingertip.
Once it sets, avoid disturbing it while spreading the filling.
Use a spatula and work gently so you keep the crust intact.
Making the Creamy Coconut Filling
Blend the Cream Cheese and Coconut Cream Smoothly
The filling gives No-Bake Coconut Cream Dream Dessert its rich coconut flavor and soft texture.
Start with 8 ounces softened cream cheese.
Place it in a large mixing bowl and beat until smooth.
Softened cream cheese matters because cold cream cheese can leave stubborn lumps throughout the filling.
Once the cream cheese looks creamy, add ½ cup powdered sugar.
Beat again until the mixture becomes smooth and fluffy.
Then add 1 teaspoon vanilla extract and 1 cup coconut cream.
Mix until completely combined.
Coconut cream provides much of the dessert’s tropical flavor.
Make sure you use thick coconut cream rather than a thin coconut beverage.
If the coconut cream has separated in the container, stir it before measuring.
Next, fold in 1 cup sweetened shredded coconut.
Spread the coconut evenly through the filling rather than beating it aggressively.
The shredded coconut gives each bite additional flavor and a slight chewiness.
At this stage, the mixture should taste rich and creamy but still feel relatively dense.
The whipped cream will lighten it next.
Fold in Freshly Whipped Cream
Pour 1 cup cold heavy whipping cream into a clean mixing bowl.
Beat it with an electric mixer until stiff peaks form.
Stiff peaks mean the cream should hold its shape when you lift the beaters.
However, stop as soon as it reaches that stage.
If you continue beating too long, the cream can become grainy and eventually begin turning into butter.
Add about one-third of the whipped cream to the coconut cream cheese mixture.
Fold gently with a rubber spatula.
Then add the remaining whipped cream in two additions.
Use broad folding motions from the bottom of the bowl upward.
This technique preserves the air in the whipped cream and keeps No-Bake Coconut Cream Dream Dessert light.
Avoid stirring rapidly.
Although the filling will still taste good, aggressive mixing can deflate the whipped cream and produce a denser texture.
Once combined, the filling should look fluffy, smooth, and thick.
Spread it evenly over the chilled graham cracker crust.
Start by placing spoonfuls across the surface.
Then gently connect them with a spatula.
This approach reduces the chance of pulling crumbs into the filling.
Smooth the top into an even layer before moving on to the topping.
Layering the Topping and Toasted Coconut
Add a Light Whipped Topping Layer
Once the coconut filling sits evenly over the crust, spread 8 ounces thawed whipped topping across the surface.
Use a clean spatula.
Work gently so the whipped topping remains distinct from the layer underneath.
A thin, even layer works well because the filling already provides plenty of richness.
The whipped topping gives No-Bake Coconut Cream Dream Dessert a soft, cloud-like finish that balances the denser cream cheese and coconut layer.
You can create a perfectly smooth surface or leave gentle swirls in the topping.
For casual family desserts, soft swirls often look especially inviting.
If you plan to garnish with white chocolate curls, keep the surface fairly smooth so the decoration stands out.
Avoid adding warm toppings at this stage.
Anything hot can soften the whipped topping and damage the clean layers.
Therefore, make sure toasted coconut cools completely before sprinkling it on top.
You can also reserve a small amount of whipped topping for piping decorative dollops around the edges before serving.
However, simple spreading works perfectly and keeps preparation quick.
Toast Coconut for Extra Flavor
Place ½ cup sweetened shredded coconut in a dry skillet.
Set the skillet over medium-low heat.
Stir frequently.
At first, the coconut may appear unchanged.
Then it will begin developing golden patches quickly.
Keep stirring so it browns evenly rather than burning in one area.
Once the coconut looks lightly golden and smells fragrant, remove it from the skillet immediately.
Transfer it to a cool plate.
Do not leave it in the hot pan because residual heat can continue browning it.
Let the toasted coconut cool completely.
Then sprinkle it evenly over the whipped topping.
The toasted coconut creates a deeper flavor than untoasted coconut and adds light crunch to No-Bake Coconut Cream Dream Dessert.
If desired, add white chocolate curls for a more decorative finish.
You can also sprinkle a small amount of additional plain coconut over the toasted pieces for color contrast.
Keep the garnish relatively simple.
The toasted coconut already tells everyone what flavor to expect.
Once the topping is complete, cover the baking dish without pressing the covering directly against the surface.
Then place the dessert in the refrigerator for its final chill.
Chilling, Serving, and Storing the Dessert
Give the Dessert Enough Time to Set
No-Bake Coconut Cream Dream Dessert needs at least 4 to 6 hours in the refrigerator.
For the best texture, chill it overnight.
During this time, the cream cheese and coconut cream filling firms while the graham cracker crust settles underneath.
The dessert becomes easier to slice, and the flavors blend more evenly.
Do not rush this step.
If you cut the dessert after only an hour or two, the filling may still be too soft to hold clean squares.
Keep the baking dish level in the refrigerator.
Also, cover it well so the whipped topping does not absorb odors from other foods.
If you plan to add delicate white chocolate curls, you can wait until shortly before serving.
The toasted coconut can go on before chilling because it holds its texture well.
When the dessert has fully chilled, test the edge with a knife.
The filling should feel firm enough to hold its shape but still creamy.
That balance gives No-Bake Coconut Cream Dream Dessert its signature light yet indulgent texture.
Slice Cleanly and Store Leftovers Cold
Use a sharp knife to cut the dessert into squares.
For especially neat slices, wipe the knife clean between cuts.
A thin serving spatula helps lift the first square from the baking dish.
The first serving may not look quite as perfect as the others, but the remaining pieces should come out more easily once you create some space.
Serve No-Bake Coconut Cream Dream Dessert cold.
The filling softens gradually at room temperature, so return leftovers to the refrigerator after serving.
Store the dessert tightly covered for up to 4 days.
The crust will become slightly softer over time, but the flavor remains delicious.
For the best contrast between the buttery crust, creamy center, and fluffy topping, enjoy it within the first few days.
You can also prepare the entire dessert one day before a party or holiday meal.
That make-ahead convenience makes it particularly useful when you have several dishes to prepare.
Add any delicate garnish just before bringing the dessert to the table.
Ingredients
- 2½ cups graham cracker crumbs
- ½ cup unsalted butter, melted
- 2 tablespoons granulated sugar
- 8 ounces cream cheese, softened
- ½ cup powdered sugar
- 1 teaspoon vanilla extract
- 1 cup coconut cream
- 1 cup sweetened shredded coconut, for the filling
- 1 cup heavy whipping cream, cold
- 8 ounces whipped topping, thawed
- ½ cup sweetened shredded coconut, toasted
- ¼ cup white chocolate curls, optional for garnish
Instructions
- Combine the graham cracker crumbs, melted butter, and granulated sugar until all the crumbs look evenly moistened.
- Firmly press the mixture into the bottom of a 9×13-inch baking dish. Refrigerate for at least 20 minutes.
- Beat the softened cream cheese and powdered sugar until smooth. Add the vanilla and coconut cream, then mix until fully combined.
- Fold 1 cup sweetened shredded coconut into the cream cheese mixture.
- Beat the cold heavy whipping cream until stiff peaks form.
- Gently fold the whipped cream into the coconut cream cheese mixture until light and fluffy.
- Spread the coconut filling evenly over the chilled graham cracker crust.
- Spread the thawed whipped topping over the coconut filling.
- Toast ½ cup shredded coconut in a dry skillet over medium-low heat until lightly golden. Cool completely, then sprinkle it over the dessert and add white chocolate curls if desired.
- Cover and refrigerate for at least 4 to 6 hours, preferably overnight. Slice into squares and serve chilled.
Frequently Asked Questions
Can I make No-Bake Coconut Cream Dream Dessert the night before?
Yes. An overnight chill actually improves the texture because the filling has more time to firm. Prepare the dessert completely, cover it well, and refrigerate it until serving.
What is the difference between coconut cream and coconut milk?
Coconut cream has a thicker texture and a higher concentration of coconut solids than standard coconut milk. For No-Bake Coconut Cream Dream Dessert, the thicker coconut cream helps create a richer and more stable filling.
Do I need to toast the coconut?
No, but toasted coconut adds deeper flavor and a pleasant texture. If you prefer a softer topping, you can use untoasted shredded coconut instead.
Can I use homemade whipped cream instead of whipped topping?
Yes. You can replace the whipped topping with stabilized homemade whipped cream. However, regular whipped cream may soften more quickly during storage.
How long does No-Bake Coconut Cream Dream Dessert keep?
Keep it tightly covered in the refrigerator for up to 4 days. The crust becomes softer over time, so the dessert tastes best within the first few days.
Conclusion
No-Bake Coconut Cream Dream Dessert combines tropical coconut flavor with the convenience of a simple refrigerator dessert.
A buttery graham cracker crust creates the base, while cream cheese, coconut cream, powdered sugar, shredded coconut, and freshly whipped cream form the rich yet airy center.
Then a layer of whipped topping and toasted coconut finishes the dessert with extra softness and texture.
The key to the best results is giving No-Bake Coconut Cream Dream Dessert enough chilling time.
At least 4 to 6 hours allows the filling to firm, while an overnight rest produces even cleaner slices.
Toasted coconut adds a deeper flavor, and optional white chocolate curls can make the finished dessert feel especially festive.
Because you can prepare everything ahead, this recipe works beautifully for holidays, potlucks, family gatherings, summer meals, and occasions when oven space is limited.
Serve the dessert cold and keep leftovers refrigerated.
With its buttery crust, fluffy coconut cream filling, light topping, and golden coconut garnish, No-Bake Coconut Cream Dream Dessert offers an easy way to make a creamy, crowd-friendly treat without baking.