Before we dive into this colorful, fizzy science fun—I just want to say thank you for being here. Whether you’re a curious kiddo, a science-loving parent, or a teacher looking for a WOW moment in class, this is the experiment to try.
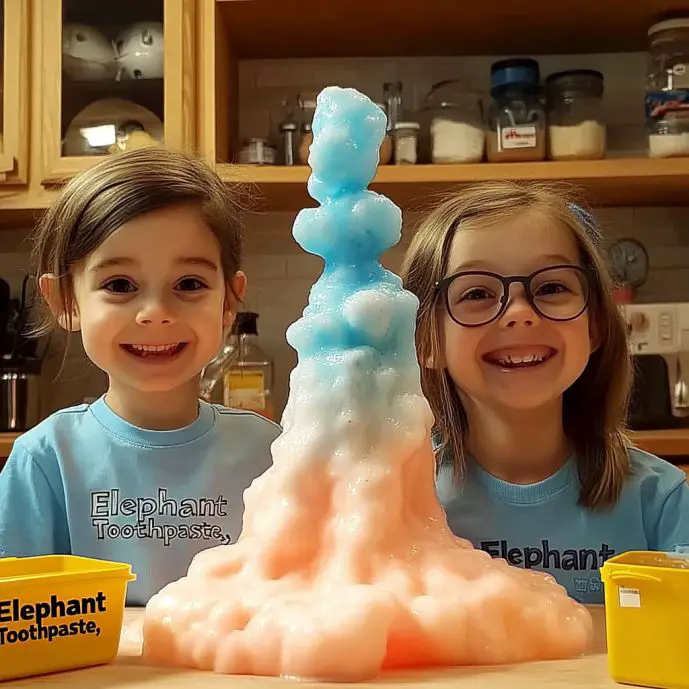
The Elephant Toothpaste Experiment never fails to amaze. It’s big, it’s bubbly, and it looks just like toothpaste exploding out of a giant’s toothbrush. And the best part? You can make it right at home using everyday ingredients and a dash of kitchen chemistry magic.
Want to get this fun experiment delivered to your inbox for later? [Subscribe here! 💌]
What Is Elephant Toothpaste?
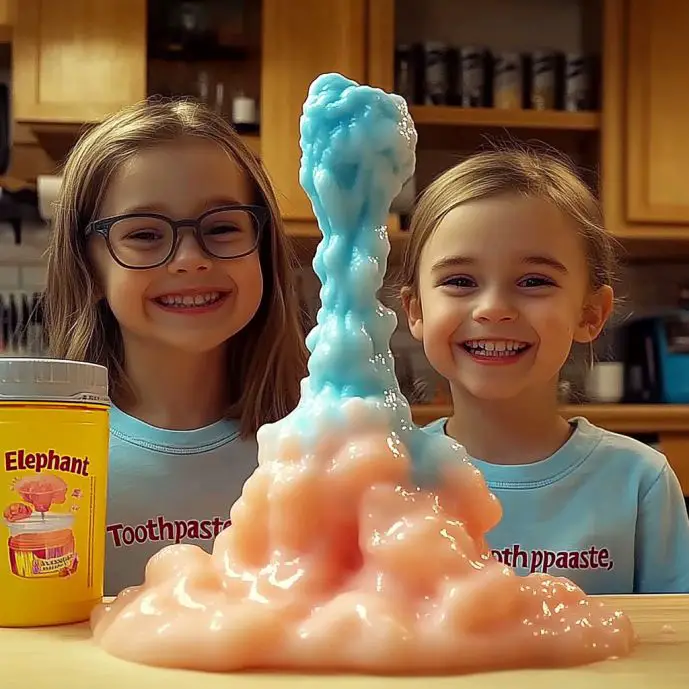
Despite the name, this isn’t for brushing your favorite zoo animal’s teeth (though we love that visual 😄). Elephant Toothpaste is a foam explosion caused by the rapid breakdown of hydrogen peroxide, with yeast acting as a catalyst. The result? A thick, colorful stream of foamy bubbles that shoots out of the bottle like lava—except it’s cool, safe, and super fun to watch.
Why You’ll Love This Experiment
- 🧪 Incredible visual effect – Foamy eruptions in seconds!
- 🎉 A favorite for parties, school, and science fairs
- 👨🔬 Teaches chemistry through hands-on fun
- 👩👧👦 Awesome for kids, teens, and even adults
- 🌈 Customizable with color and scent
What Does the Foam Feel Like?
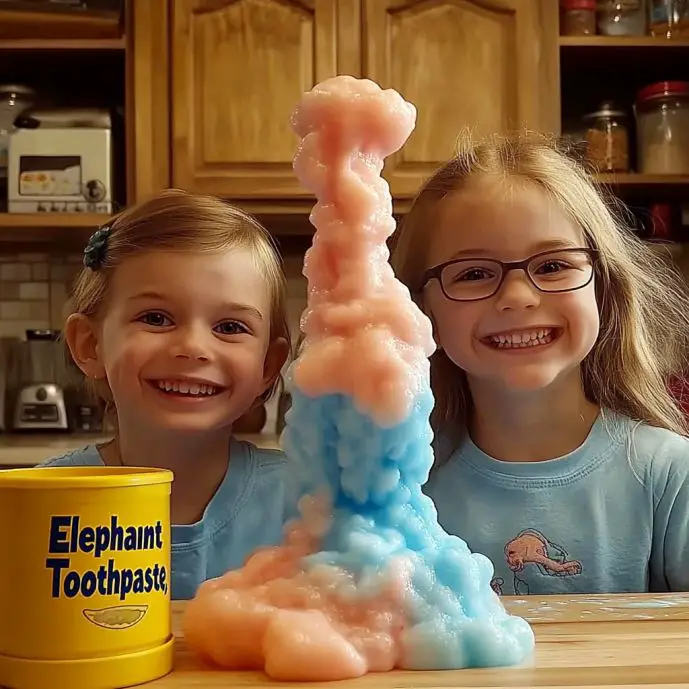
Once the reaction cools down, the foam has a soft, almost marshmallowy texture. It’s warm at first (thanks to the exothermic reaction) and then cools into a puffy, touchable foam that’s fun to explore—with gloves on, of course!
Benefits of the Elephant Toothpaste Experiment
- Encourages STEM learning in a hands-on way
- Helps explain chemical reactions and catalysts
- Sparks curiosity and creativity
- Great for team building, birthdays, or rainy-day fun
- No harsh clean-up when done right!
Ingredients You’ll Need
- 🧴 1 empty 2-liter plastic bottle
- 🧼 Dish soap (a few squirts)
- 🧪 ½ cup 40-volume hydrogen peroxide (12% solution)
- 🍞 ½ Tbsp active dry yeast (1 packet)
- 💧 ½ cup very warm water
- 🌈 Food coloring (optional, but highly recommended)
- 🧤 Plastic gloves
- 🥽 Safety goggles
Note: 40-volume hydrogen peroxide is stronger than the kind found in first aid kits. You can find it at beauty supply stores. Always use with care and supervision.
Tools You’ll Also Need
- Funnel
- Mixing bowl or cup
- Spoon or stir stick
- Plastic tarp or tray (for easy cleanup)
- Outdoor space or large sink area
Ingredient Additions & Variations
- Essential oils – Add to dish soap for a scented eruption.
- Different color combinations – Try rainbow foam with multiple experiments side by side!
- Glow foam – Use tonic water + blacklight or neon food dye for a glow-in-the-dark twist.
- Low-concentration option – Use 3% peroxide for a slower, kid-safe version (less dramatic but still fun!).
Step-by-Step: How to Do the Elephant Toothpaste Experiment
🧼 Step 1: Prep Your Space
Choose a safe, open area—outdoors is ideal, or indoors with a plastic tarp to catch the foam. Place your empty 2-liter bottle on a flat surface.
🧤 Step 2: Put on Safety Gear
Gloves and goggles on! Hydrogen peroxide can irritate skin and eyes, so protect yourself before starting.
🧴 Step 3: Add Soap
Squeeze a few generous squirts of dish soap into the bottle. This is what traps the oxygen and creates that signature foam.
💧 Step 4: Add Hydrogen Peroxide
Using a funnel, pour ½ cup of hydrogen peroxide into the bottle. Swirl gently to mix with the soap—no shaking!
🌈 Step 5: Add Food Coloring (Optional but Awesome)
Tilt the bottle slightly and let food coloring drip down the inside walls—this gives the foam streaks of color as it erupts.
🍞 Step 6: Mix Yeast & Warm Water
In a separate bowl, combine ½ cup of very warm water and ½ Tbsp of dry yeast. Stir until the yeast dissolves.
🧪 Step 7: The Magic Moment
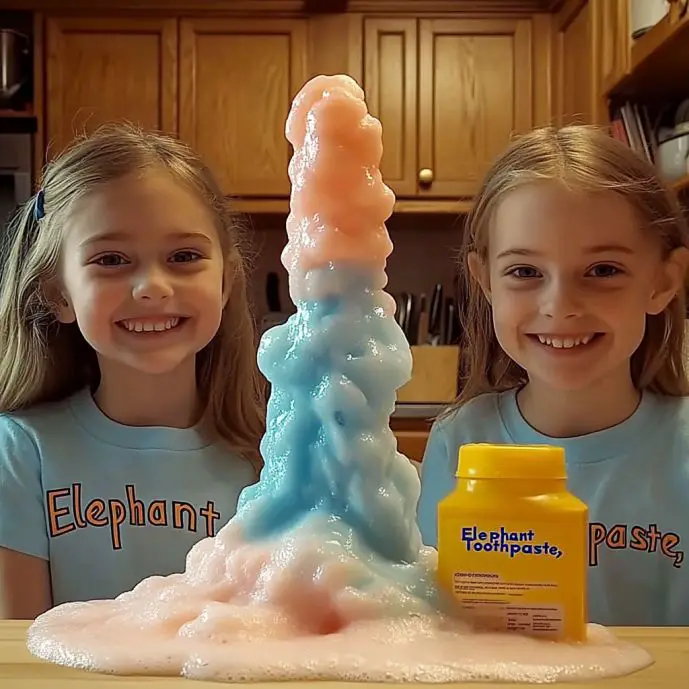
Quickly pour the yeast mixture into the bottle and step back. Within seconds—FOAM ERUPTION! 🐘💥
🤲 Step 8: Touch the Foam (Once Cooled)
After a few minutes, when the foam is no longer warm, you can touch it with gloves. It’s soft, fluffy, and totally satisfying.
Clean-Up Tips
- Scoop excess foam into a trash bag or down the drain.
- Wipe down any splashes with warm soapy water.
- Wash your hands and any reusable tools thoroughly.
Tips for Best Results
- Fresh yeast = better reaction – Old yeast may not work as well.
- Use HOT but not boiling water – Ideal temp is around 110°F for activating yeast.
- Use a narrow-neck bottle for a taller, more dramatic eruption.
- Add more soap for extra-thick foam.
- Want a slower reaction for young kids? Use 3% peroxide instead of 12%.
Frequently Asked Questions
Is Elephant Toothpaste safe to touch?
Once the foam cools, yes—with gloves. The reaction is exothermic (creates heat), so wait before handling.
Can I use regular 3% hydrogen peroxide?
Yes! The reaction will be gentler and slower—perfect for little kids.
Where can I buy 40-volume hydrogen peroxide?
It’s often available at beauty supply stores as a hair developer (check the label for 12%). Use responsibly and supervise children.
What is the science behind it?
Hydrogen peroxide breaks down into water and oxygen, and the yeast speeds up this reaction. The soap traps the oxygen, creating FOAM!
Wrap-Up: A Science Showstopper! 🎉
The Elephant Toothpaste Experiment is truly one of those unforgettable activities that makes learning feel like magic. It’s perfect for birthdays, science fairs, classroom demos, or just an afternoon of fun discovery. Kids will remember this one for years.
Have you tried this at home? I’d love to see your foamy creations! Leave a comment, tag your photos on Pinterest, and let’s celebrate science in all its bubbly glory. 💬📸
Looking for More Science Fun?
- DIY Rainbow Volcano Eruption 🌋
- Baking Soda & Vinegar Lava Lamp Experiment 🫧
- Color-Changing Cabbage pH Indicator Lab 💡
(Just-for-Fun) Safety Recap
- Wear gloves and goggles ✔️
- Use 12% peroxide with supervision ✔️
- Never consume or let kids put materials in their mouths ✔️
- Enjoy the mess and learn something new ✔️
Thanks for being part of this bubbling adventure—until next time, keep experimenting and stay curious! 🔬🐘💥
Elephant Toothpaste
Ingredients
Main Ingredients
- 1 2-liter 2-liter plastic bottle Empty
- ½ cup 40-volume hydrogen peroxide (12% solution) Stronger than the kind found in first aid kits. Available at beauty supply stores.
- ½ Tbsp active dry yeast 1 packet
- ½ cup very warm water Around 110°F for activating yeast
- a few squirts dish soap
- optional food coloring Highly recommended for colorful foam
Safety Gear
- 1 pair of plastic gloves
- 1 pair of safety goggles
Instructions
Preparation
- Choose a safe, open area—outdoors is ideal, or indoors with a plastic tarp to catch the foam. Place your empty 2-liter bottle on a flat surface.
- Put on safety gear: gloves and goggles on! Hydrogen peroxide can irritate skin and eyes.
Creating the Mixture
- Squeeze a few generous squirts of dish soap into the bottle.
- Using a funnel, pour ½ cup of hydrogen peroxide into the bottle. Swirl gently to mix with the soap—no shaking!
- Tilt the bottle slightly and let food coloring drip down the inside walls for colorful foam.
- In a separate bowl, combine ½ cup of very warm water and ½ Tbsp of dry yeast. Stir until the yeast dissolves.
The Eruption
- Quickly pour the yeast mixture into the bottle and step back. Watch the foam erupt!
- Once the foam cools down, you can touch it with gloves. It's soft, fluffy, and fun!
Notes
Elephant Toothpaste
Ingredients
Main Ingredients
- 1 bottle 1 empty 2-liter plastic bottle This will be where the foam erupts.
- 0.5 cup ½ cup 40-volume hydrogen peroxide (12% solution) Found at beauty supply stores. Use with care.
- 0.5 Tbsp ½ Tbsp active dry yeast (1 packet) Ensure it's fresh for best results.
- 0.5 cup ½ cup very warm water Ideal temp is around 110°F for activating yeast.
- a few squirts Dish soap This traps the oxygen and creates foam.
- Food coloring (optional) Enhances the visual effect.
Safety Gear
- 1 pair Plastic gloves
- 1 pair Safety goggles
Tools
- 1 each Funnel
- 1 each Mixing bowl or cup
- 1 each Spoon or stir stick
- 1 each Plastic tarp or tray For easy cleanup.
Instructions
Preparation
- Choose a safe, open area—outdoors is ideal, or indoors with a plastic tarp to catch the foam. Place your empty 2-liter bottle on a flat surface.
- Put on gloves and goggles for safety.
Mixing Ingredients
- Squeeze a few generous squirts of dish soap into the bottle.
- Using a funnel, pour ½ cup of hydrogen peroxide into the bottle. Swirl gently to mix with the soap—no shaking!
- Tilt the bottle slightly and let food coloring drip down the inside walls.
- In a separate bowl, combine ½ cup of very warm water and ½ Tbsp of dry yeast. Stir until the yeast dissolves.
The Experiment
- Quickly pour the yeast mixture into the bottle and step back to observe the foam eruption.
- Once the foam has cooled, you can touch it with gloves; it will have a soft, marshmallowy texture.
Notes
Nutrition
More Craft Innovations
- I Found a Strange Growth on My Garage Wall—What It Revealed About Hidden Moisture
- After a Decade Together, She Discovered the True Value of Her Contributions
- My Daughter Disappeared After Prom Night—Almost a Year Later, an Ordinary Beanbag Chair Revealed the Truth
- Stop Your Bed Sheets From Balling Up in the Dryer: Simple Tricks That Actually Work