Looking for a colorful craft that’s equal parts fun and educational? 🦋✨ These Chromatography Coffee Filter Butterflies are the perfect blend of simple science and cheerful creativity.
Kids love watching the colors blend and swirl as the marker ink spreads through the filter — it’s like magic! Then, with just a twist of a pipe cleaner, your beautiful, tie-dye filter transforms into a cute butterfly ready to brighten up any room.
Whether you hang them in a window, string them into a mobile, or just fill your fridge with a flutter of color, these butterflies are sure to spread smiles.
💌 Want more creative crafts and easy science experiments? Be sure to subscribe so you never run out of colorful ideas!
Why You’ll Love This Craft
✔️ Simple and inexpensive — basic supplies you probably already have.
✔️ Hands-on science lesson — kids see chromatography (the separation of colors) in action!
✔️ Great for all ages — little ones can color and older kids can help with folding and twisting.
✔️ Beautiful decoration — hang them up for a pop of color and homemade charm.
What You’ll Need
-
White coffee filters (standard size)
-
Washable markers (water-based, bright colors work best)
-
Water (spray bottle or dropper)
-
Pipe cleaners (for the butterfly body and antennae)
-
Optional: googly eyes & glue (for a cute face!)
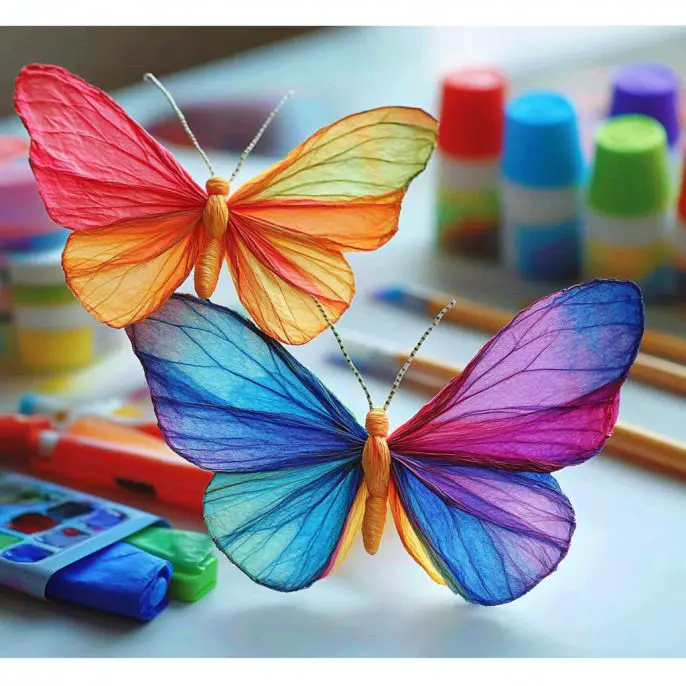
How to Make Chromatography Butterflies
1️⃣ Gather & Prep
Set up your workspace with all your materials. Lay down newspaper or paper towels to catch any extra color or water.
2️⃣ Color the Filter
Take one coffee filter and decorate about one-third of the filter with washable markers. Experiment with stripes, dots, or random scribbles — it’s all about the surprise when the colors blend!
3️⃣ Add Water & Watch the Magic
Use a spray bottle or dropper to gently mist the colored part of the filter. The colors will start to spread and blend, creating beautiful, unexpected tie-dye patterns. This is chromatography in action — the science of how ink separates and moves through paper!
4️⃣ Let It Dry
Lay the wet filter flat on a clean surface and let it dry for 1–2 hours. To speed it up, place it in a warm spot or use a small fan.
5️⃣ Fold & Shape
Once completely dry, fold the coffee filter in half. Then, make an accordion fold (pleats about 1-inch wide) along the folded edge until you have a neat, squished strip.
6️⃣ Make the Butterfly
Pinch the center of the folded filter. Wrap a pipe cleaner tightly around the middle, twisting it to secure. Shape the pipe cleaner ends into cute antennae.
7️⃣ Add Finishing Touches
If you’d like, glue on googly eyes for a friendly face. You can even use markers to draw a tiny smile!
Tips & Variations
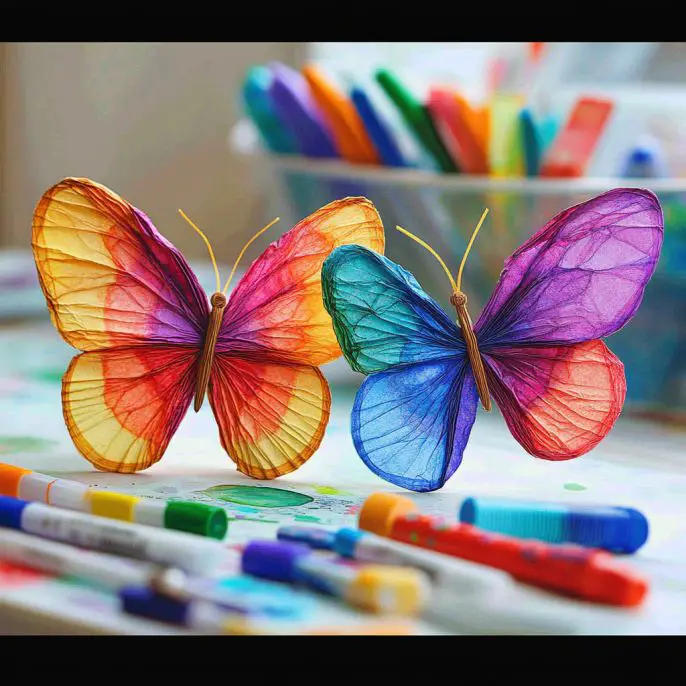
🌈 Try different patterns! Stripes, polka dots, swirls — every butterfly turns out unique.
🦋 Make a whole swarm: Use filters in different sizes and colors.
📚 Science twist: Talk about how water carries the marker ink through the paper — a great intro to chromatography!
🎉 Display ideas: Hang butterflies from string to make a mobile or tape them to windows to catch the light.
Conclusion
These Chromatography Coffee Filter Butterflies are more than just a pretty craft — they’re an awesome way to mix science and art in one simple, smile-worthy project. Bright, easy, and endlessly fun, they’re perfect for rainy afternoons, playdates, or classroom science time.
More Colorful Fun
-
Rainbow Walking Water Experiment
-
Magic Baking Soda Balloon
-
Salt Volcano Jar
-
Homemade Moon Sand
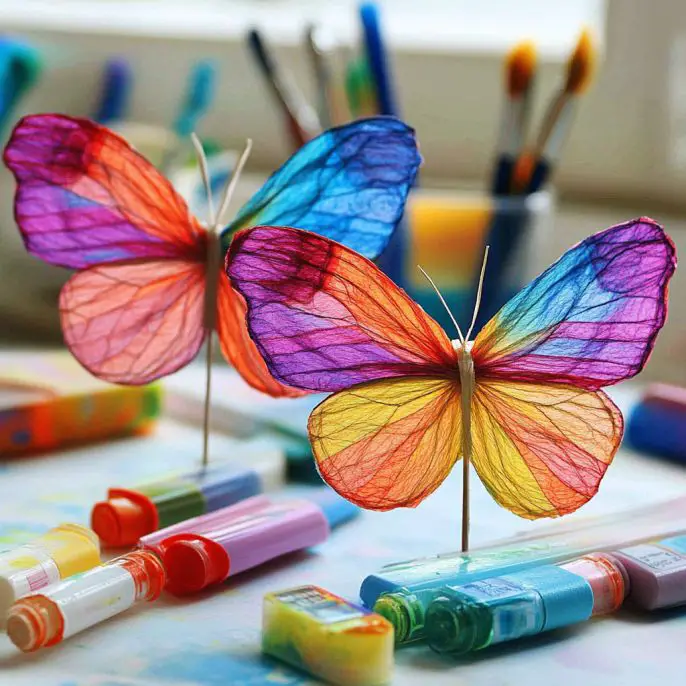
Show Off Your Butterflies!
Did you make a flutter of chromatography butterflies? I’d love to see your colorful creations! Tag them with #CoffeeFilterButterflies on Pinterest or Instagram — let’s fill the world with wings and color. 🦋✨
Happy crafting — and happy learning!
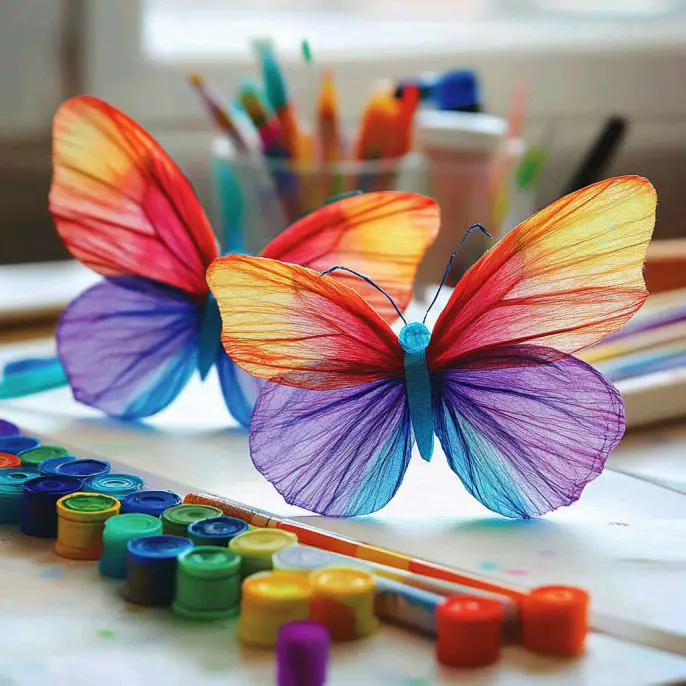
Chromatography Coffee Filter Butterflies
Ingredients
Craft Materials
- 1 pack White coffee filters (standard size) Basic item for the craft
- 5 pieces Washable markers (water-based, bright colors work best) Use various colors for best results
- 1 bottle Water (spray bottle or dropper) For blending colors
- 2 pieces Pipe cleaners (for the butterfly body and antennae) Choose your favorite colors
- Optional pieces Googly eyes & glue For a cute face!
Instructions
Preparation
- Set up your workspace with all your materials. Lay down newspaper or paper towels to catch any extra color or water.
- Take one coffee filter and decorate about one-third of the filter with washable markers using stripes, dots, or random scribbles.
Color Application
- Use a spray bottle or dropper to gently mist the colored part of the filter. Observe how the colors spread and blend.
- Lay the wet filter flat on a clean surface and let it dry for 1–2 hours.
Assembly
- Once completely dry, fold the coffee filter in half and make an accordion fold along the folded edge until you have a neat, squished strip.
- Pinch the center of the folded filter and wrap a pipe cleaner tightly around the middle, twisting it to secure. Shape the pipe cleaner ends into cute antennae.
Finishing Touches
- If desired, glue on googly eyes for a friendly face and use markers to draw a tiny smile.
Notes
Nutrition
Chromatography Coffee Filter Butterflies
Ingredients
Craft Materials
- 5 pieces White coffee filters (standard size)
- 4 pieces Washable markers (water-based, bright colors work best)
- 1 unit Water (in spray bottle or dropper)
- 2 pieces Pipe cleaners (for the butterfly body and antennae)
- 2 pieces Googly eyes (optional for a cute face) Use glue to attach
- Glue (optional for attaching googly eyes)
Instructions
Crafting Steps
- Set up your workspace with all your materials. Lay down newspaper or paper towels to catch any extra color or water.
- Take one coffee filter and decorate about one-third of the filter with washable markers. Experiment with stripes, dots, or random scribbles.
- Use a spray bottle or dropper to gently mist the colored part of the filter to start the color blending process.
- Lay the wet filter flat on a clean surface and let it dry for 1–2 hours.
- Once completely dry, fold the coffee filter in half and then make an accordion fold along the folded edge.
- Pinch the center of the folded filter and wrap a pipe cleaner around the middle, twisting to secure.
- Shape the pipe cleaner ends into cute antennae.
- If desired, glue on googly eyes for a friendly face, and use markers to draw a tiny smile.
Notes
Nutrition
More Craft Innovations
- I Found a Strange Growth on My Garage Wall—What It Revealed About Hidden Moisture
- After a Decade Together, She Discovered the True Value of Her Contributions
- My Daughter Disappeared After Prom Night—Almost a Year Later, an Ordinary Beanbag Chair Revealed the Truth
- Stop Your Bed Sheets From Balling Up in the Dryer: Simple Tricks That Actually Work