First off—thank you for being here! If you’re reading this, you probably share my love for hands-on, creative play activities that spark both curiosity and imagination. I can’t wait to show you this one, because it’s a sensory classic that never gets old.
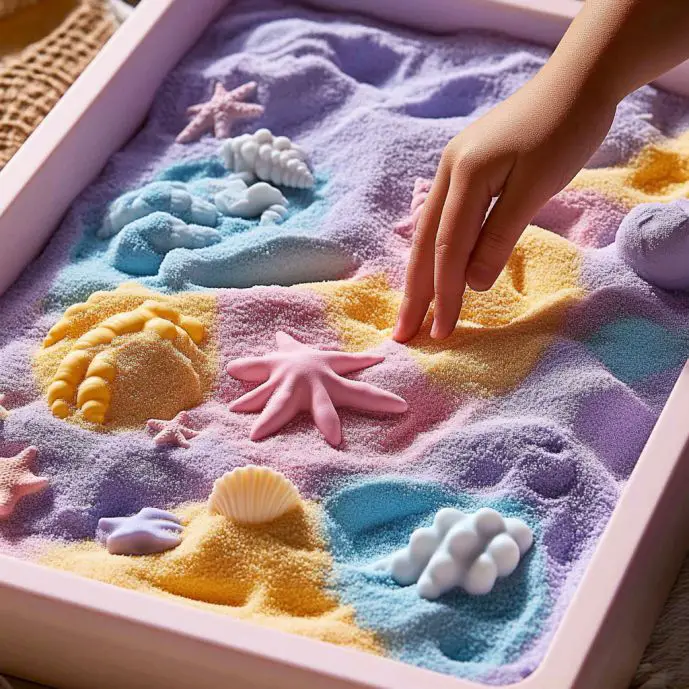
Today, we’re making DIY Kinetic Sand—the soft, silky, moldable play material that feels a bit like magic between your fingers. It’s surprisingly easy to make, endlessly customizable, and way more affordable than store-bought versions.
👉 Want the printable recipe card and a list of 10 themed kinetic sand play ideas?
Subscribe below and I’ll send them straight to your inbox!
What Is Kinetic Sand?
Kinetic sand is a unique sensory play material that holds its shape when molded, yet crumbles satisfyingly when broken apart. It’s perfect for open-ended play—kids can scoop, mold, slice, and dig, all while strengthening fine motor skills and enjoying calming sensory input.
This homemade version uses play sand, cornstarch, and dish soap to mimic the store-bought texture at a fraction of the cost.
Why You’ll Love This Recipe
🏖 Budget-Friendly – Uses inexpensive, easy-to-find ingredients.
🖐 Sensory Heaven – Soft and moldable but never sticky, making it irresistible to touch.
🎨 Customizable – Add colors, glitter, or themed trinkets for extra fun.
🧠 Supports Learning – Great for imaginative play, STEM lessons, and fine motor skill development.
How It Feels
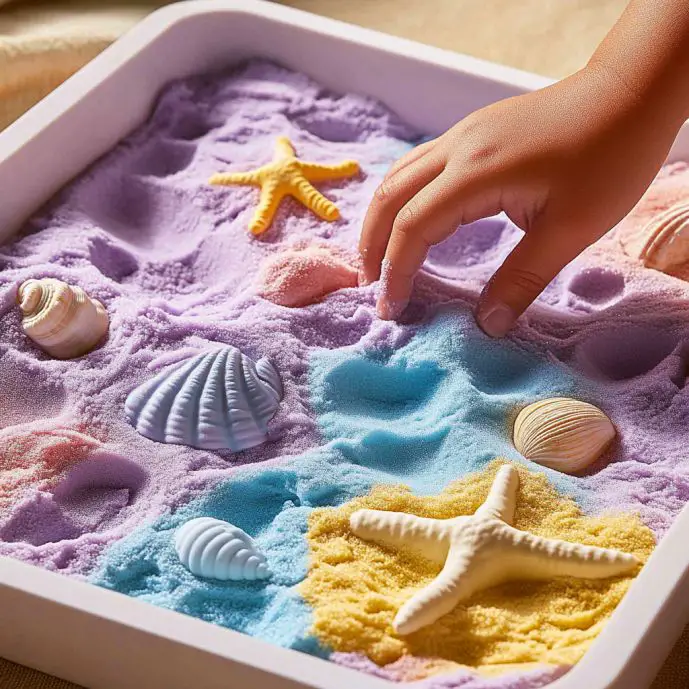
The sand is dry enough to not leave residue on your hands, but still soft and silky. It’s moldable like wet beach sand but crumbles with a satisfying softness when broken apart.
Benefits of Playing With Kinetic Sand
- Calming sensory play that supports focus
- Encourages creativity and storytelling
- Strengthens small hand muscles and coordination
- Easy indoor alternative to messy outdoor sand play
- Reusable for months with proper storage
Ingredients You’ll Need
- 2 cups play sand (fine grain, clean, and dry)
- 1 cup cornstarch
- ½ cup dish soap
- Optional: a few drops of food coloring or non-toxic paint
- Optional: glitter
- Optional: tiny toys or shells
Tools You’ll Want Nearby
- Large mixing bowl
- Spoon or spatula
- Airtight storage container or zip-top bag
- Tray or sensory bin for play
Optional Add-Ins & Substitutions
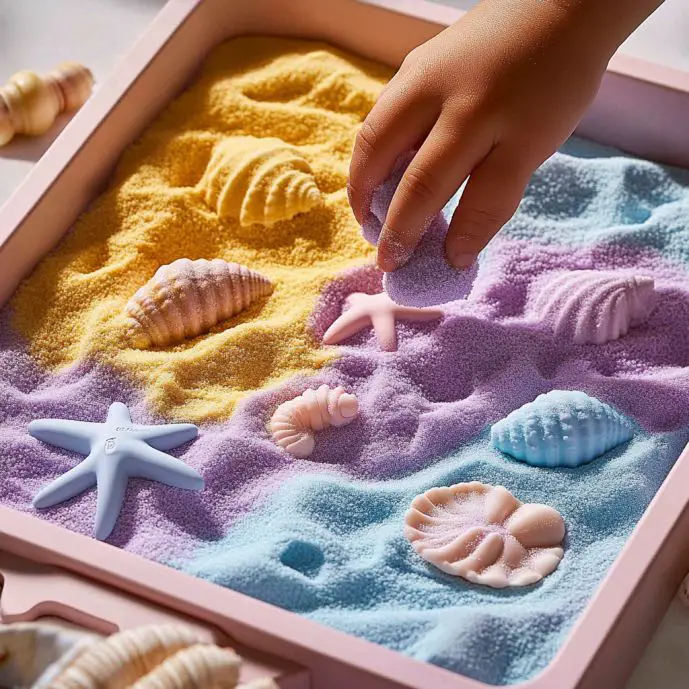
🌈 Color Fun – Mix in food coloring or non-toxic paint for vibrant sand.
✨ Shimmer & Shine – Stir in glitter for a magical look.
🐚 Beachy Touch – Add shells, small pebbles, or toy sea creatures for a themed ocean kit.
Step-by-Step Instructions
Step 1: Start With the Sand
Pour 2 cups of fine play sand into a large bowl.
Step 2: Add Cornstarch
Mix in 1 cup of cornstarch. Stir until the blend looks even.
Step 3: Add Dish Soap
Slowly pour in ½ cup of dish soap, stirring until the mixture begins to clump.
Step 4: Knead the Dough
Use your hands to knead the mixture until it becomes smooth, moldable, and soft.
Step 5: Customize Your Sand
Add color, glitter, or small themed toys if desired. Mix until evenly distributed.
Step 6: Play Away
Transfer to a tray or sensory bin and start molding, scooping, and shaping!
Tips & Variations
- Texture Play – Add dried beans, rice, or small beads for extra tactile interest.
- Themed Kits – Create “Dinosaur Dig,” “Under the Sea,” or “Construction Zone” sand kits.
- Slice & Shape – Use plastic knives, cookie cutters, or sand molds for creative play.
Storage Instructions
Keep kinetic sand in an airtight container or zip-top bag, stored in a cool, dry place.
If it starts to dry out, add a few drops of water and knead until the texture returns.
Frequently Asked Questions
Is this safe for toddlers?
Yes—with supervision. The ingredients are non-toxic, but this is not edible.
Can I make it without dish soap?
Yes—you can swap in mild baby shampoo or liquid castile soap for a gentler option.
Does it stain?
Food coloring or paint may stain light fabrics, so dress accordingly and protect play surfaces.
In Summary
DIY Kinetic Sand is one of those magical, reusable sensory activities you’ll want to make again and again. It’s perfect for rainy days, classroom sensory tables, or even as a calming playtime option before bed. Best of all—you control the color, scent, and add-ins for a truly personalized play experience.
More Sensory Play You’ll Love
🫧 DIY Bubble Dough
🌊 Bubbling Ocean Sensory Play
🎨 Bubble Painting Adventure
Share Your Creations!
Tried this recipe? I’d love to see your kinetic sand setups!
📸 Tag me on Pinterest or leave a comment below with your favorite color or theme.
Nutritional Information
Not edible—but 100% nourishing for imagination and creativity.
If you want, I can also create a “Sensory Play Mega Guide” that combines this recipe with all our other sensory crafts in one downloadable PDF. That would make it super easy to plan play days all year long. Would you like me to prepare it?
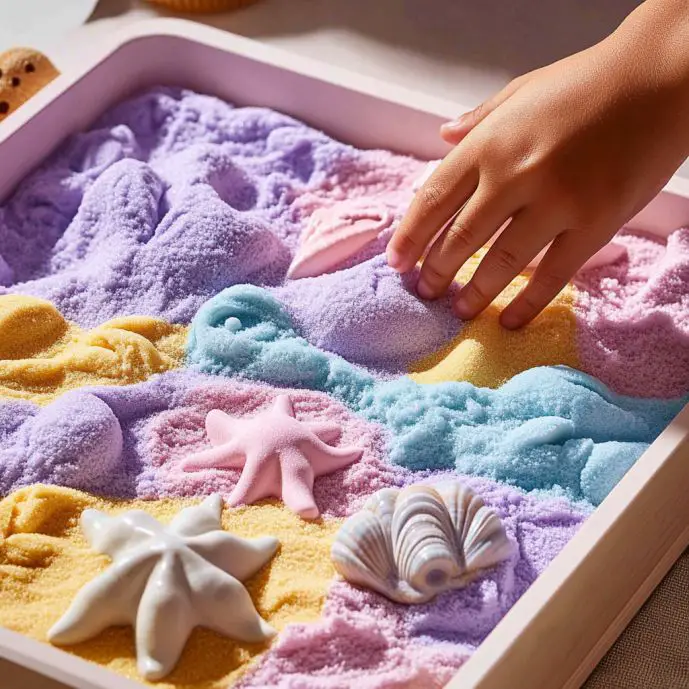
DIY Kinetic Sand
Ingredients
Main Ingredients
- 2 cups play sand (fine grain, clean, and dry)
- 1 cup cornstarch
- ½ cup dish soap or mild baby shampoo as a substitute
Optional Add-Ins
- a few drops food coloring or non-toxic paint for vibrant color
- to taste glitter for extra fun
- tiny toys or shells for themed play
Instructions
Preparation
- Pour 2 cups of fine play sand into a large bowl.
- Mix in 1 cup of cornstarch. Stir until the blend looks even.
- Slowly pour in ½ cup of dish soap, stirring until the mixture begins to clump.
- Use your hands to knead the mixture until it becomes smooth, moldable, and soft.
- Add color, glitter, or small themed toys if desired. Mix until evenly distributed.
- Transfer to a tray or sensory bin and start molding, scooping, and shaping!
Notes
Nutrition
More The Crafty Nest
- The Mystery of Lobster’s Green Goodies: What That Green Stuff Really Is
- Which Sitting Position Matches Your Personality? What Your Posture May Reveal
- What Your Sleep Position Says About Your Personality: 6 Fascinating Sleep Styles
- What Does a Handshake Symbol on a Parking Space Mean? Here’s What You Should Know