Before we dive into the craft, I just want to say thank you for being here. Your curiosity and creativity inspire everything I share, and this little project is especially close to my heart! Today, I’m bringing you a simple, joyful DIY that turns ordinary glue into dazzling window art – perfect for a rainy day activity, a sunny afternoon craft, or even a classroom project!
Don’t miss a beat! Sign up for my newsletter to get more feel-good, family-friendly DIYs sent right to your inbox.
Overview of the Craft
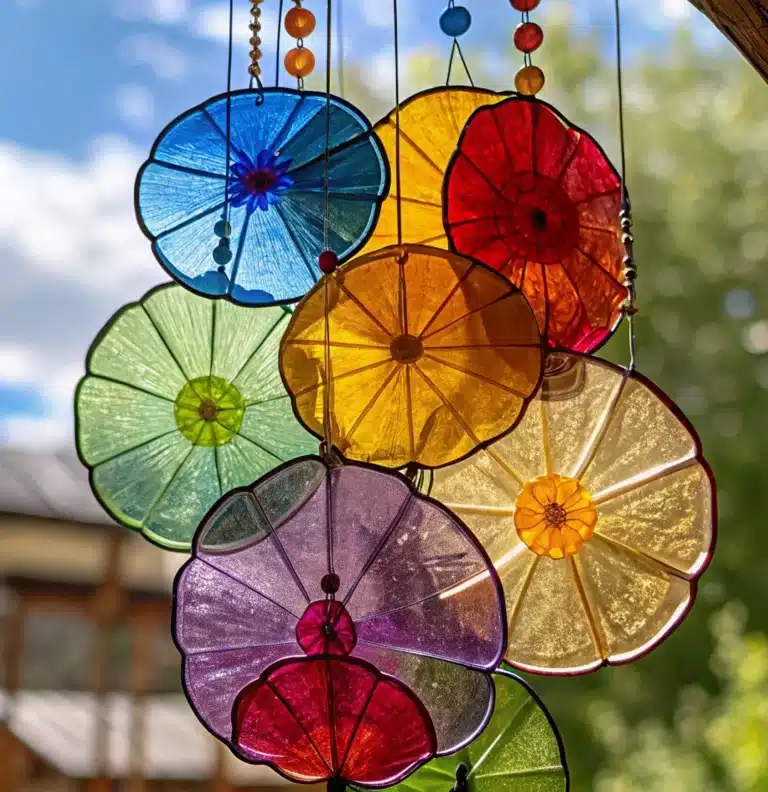
These DIY Glue Suncatchers are everything I love in a craft: simple, colorful, and full of possibility. Made with basic school glue and a touch of creativity, they transform your windows into kaleidoscopes of light and color!
Why You’ll Love These Suncatchers:
- Beginner-Friendly – No special skills or tools required!
- Kid-Approved – Safe, mess-friendly fun for all ages.
- Customizable – Shape, color, and size? All up to you!
- Budget-Friendly – Most items you probably already have at home.
What Do They Look Like?
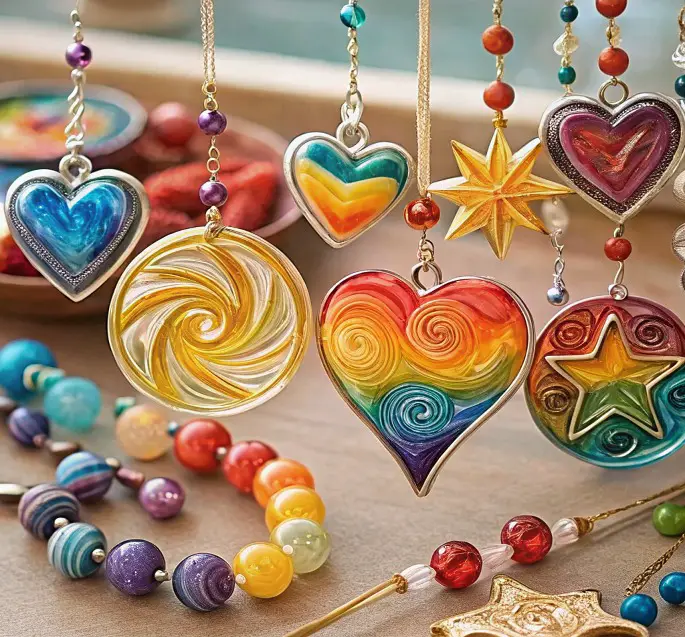
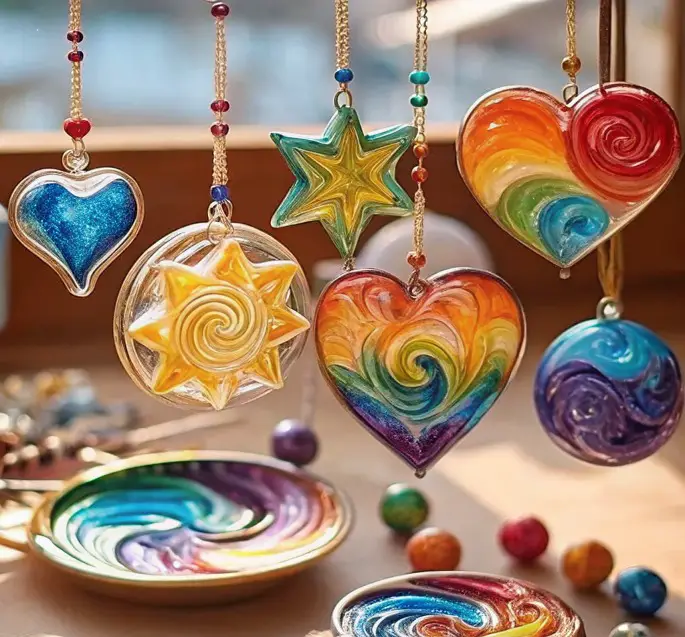
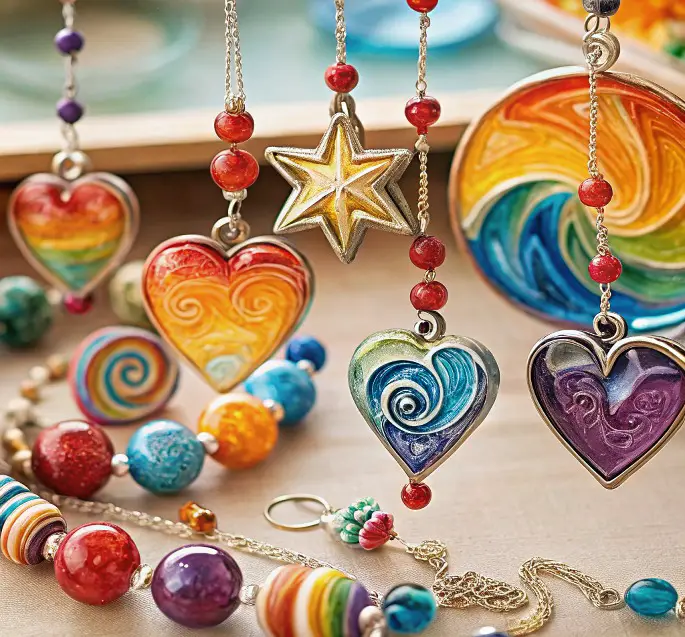
Imagine light dancing through swirls of color – translucent, playful, and totally one-of-a-kind. Whether you keep them abstract or cut them into flowers, hearts, or stars, these suncatchers bring a smile every time you pass the window!
Benefits:
- Encourages creativity and fine motor skills.
- A beautiful way to bring seasonal color indoors.
- Makes for great handmade gifts or classroom decor!
Materials Needed
Ingredients:
- White school glue
- Clear glue (optional – gives a glassier finish)
- Wax paper or plastic sheeting
- Food coloring (optional – for that rainbow effect)
- Scissors
- String or ribbon (for hanging)
Tools:
- Toothpick or skewer (for swirling colors)
- Tape (to hold down wax paper while working)
Optional Add-ins:
- Glitter ✨
- Sequins
- Small beads
- Essential oils (just a drop for scent while drying!)
Step-by-Step Instructions
1. Prepare Your Surface
Lay down a sheet of wax paper or plastic sheeting on a flat surface. Tape the corners to keep it in place.
2. Create Your Base
Pour a generous layer of white (or clear) glue onto the surface in any shape – circles, hearts, abstract blobs – it’s your canvas!
3. Add Color
Drop in a few drops of food coloring and gently swirl with a toothpick. Don’t over-mix – you want those pretty, marbled streaks!
4. Let It Dry
This part requires patience! Leave your design to dry completely – at least overnight. Thicker suncatchers may need longer.
5. Peel & Cut
Once it’s dry and no longer sticky, peel your design off the wax paper. You can leave it as-is or use scissors to shape it however you like.
6. Add String
Poke a small hole or tape a string/ribbon to the top, and hang your creation in a sunny window. Get ready to be dazzled!
What to Do with Your Suncatchers?
- Hang in windows for a cheerful vibe 🌞
- Use as DIY gifts for friends and teachers
- String multiple for a colorful mobile
- Make seasonal shapes: snowflakes, pumpkins, flowers
Tips for Best Results
- Thin layers dry faster but are more fragile.
- Clear glue gives a more translucent look, while white glue creates a soft, frosted effect.
- Swirl sparingly for bold color contrast!
- Add a drop of dish soap to the glue for easier peeling.
Storage & Lifespan
Store in a cool, dry place. If kept out of direct moisture and handled gently, these suncatchers can last for months – even years!
FAQs
Can I use washable glue?
Yes! Both white and clear washable glue work beautifully.
What if my suncatcher won’t peel off?
Let it dry longer – even an extra day. A cool blow dryer can help loosen the edges!
Can I use acrylic paint instead of food coloring?
You can, but it may make the glue more opaque. Use just a small drop!
Wrap-Up
Simple to make, stunning to display – these DIY Glue Suncatchers are the perfect way to brighten up any space. Whether you’re crafting with little ones or just craving a splash of color, this project is sure to bring light and joy into your day.
More Colorful Crafts to Try:
- DIY Tissue Paper Stained Glass
- Painted Rock Garden Markers
- Salt Dough Window Ornaments
Show Off Your Creations!
Tried this project? I’d love to see what you made! Leave a comment below or share your suncatchers on Pinterest and tag me – your creativity always inspires me!
Estimated Craft Stats (per suncatcher):
- Time to make: 10 minutes (+ drying time)
- Difficulty: Easy
- Cost: Under $5
- Ages: 3+ (with supervision)
Let me know if you’d like a printable PDF version or a Pinterest image to share!
Glue Suncatchers
Ingredients
Method
- Lay down a sheet of wax paper or plastic sheeting on a flat surface. Tape the corners to keep it in place.
- Pour a generous layer of white (or clear) glue onto the surface in any shape – circles, hearts, or abstract blobs.
- Drop in a few drops of food coloring and gently swirl with a toothpick. Avoid over-mixing.
- Leave your design to dry completely, at least overnight. Thicker suncatchers may need longer.
- Once dry, peel your design off the wax paper. Use scissors to shape it if desired, and add a string or ribbon for hanging.
Notes
Glue Suncatchers
Ingredients
Method
- Lay down a sheet of wax paper or plastic sheeting on a flat surface. Tape the corners to keep it in place.
- Pour a generous layer of white (or clear) glue onto the surface in any shape – circles, hearts, or abstract blobs.
- Drop in a few drops of food coloring and gently swirl with a toothpick. Don’t over-mix to maintain pretty, marbled streaks.
- Leave your design to dry completely – at least overnight. Thicker suncatchers may need longer.
- Once it’s dry and no longer sticky, peel your design off the wax paper. You can leave it as-is or use scissors to shape it.
- Poke a small hole or tape a string/ribbon to the top, and hang your creation in a sunny window.
Notes
More Creative Crafts
- The Quiet Language of a Yellow Ribbon: What It Means When You See One on a Dog
- Finding Head Lice in a Loved One’s Hair: What It Means and the Best Way to Handle It
- Can the Shape of Your Legs Reveal Your Personality? Separating Myth From Reality
- What Does the Last Digit of Your Birth Year Say About You? A Gentle Guide to Self-Reflection and Life’s Beautiful Numbers