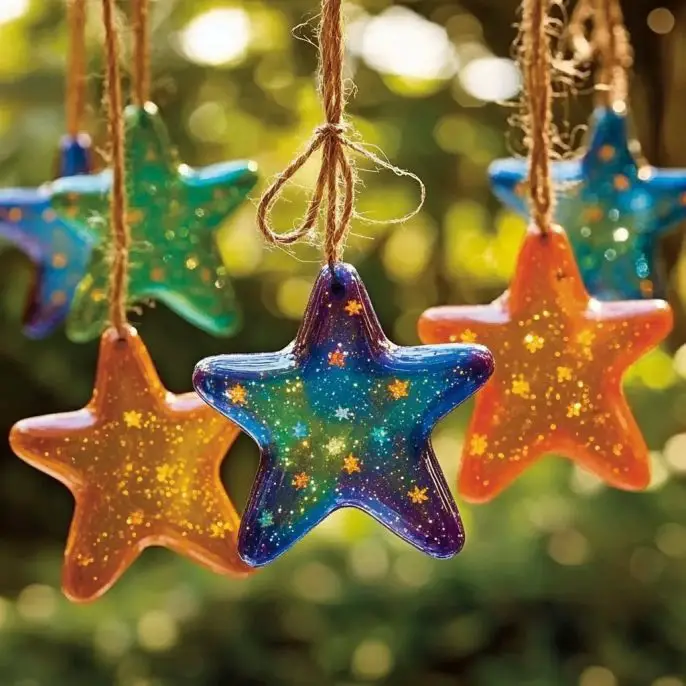
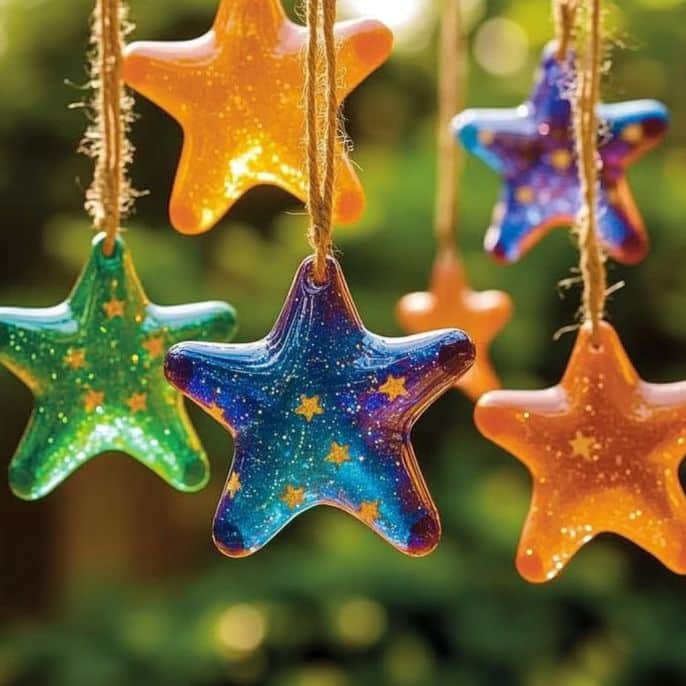
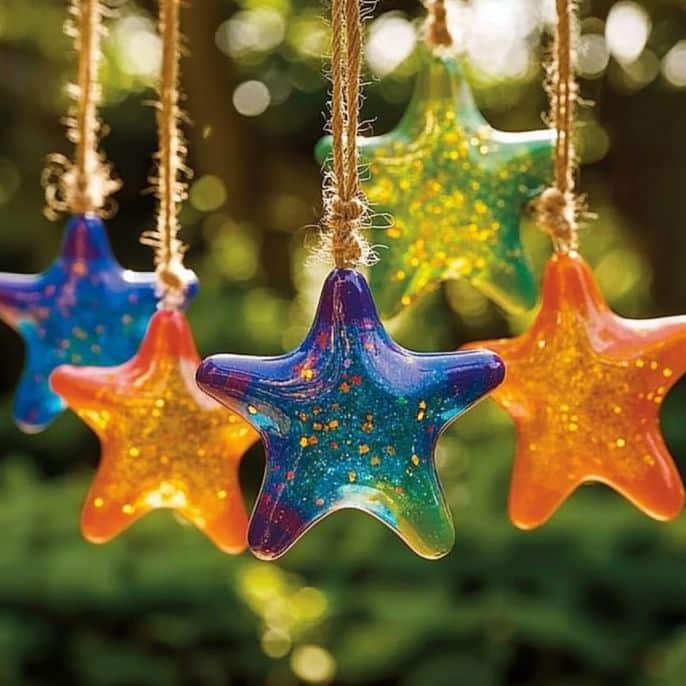
Crayon Star Sun Catchers
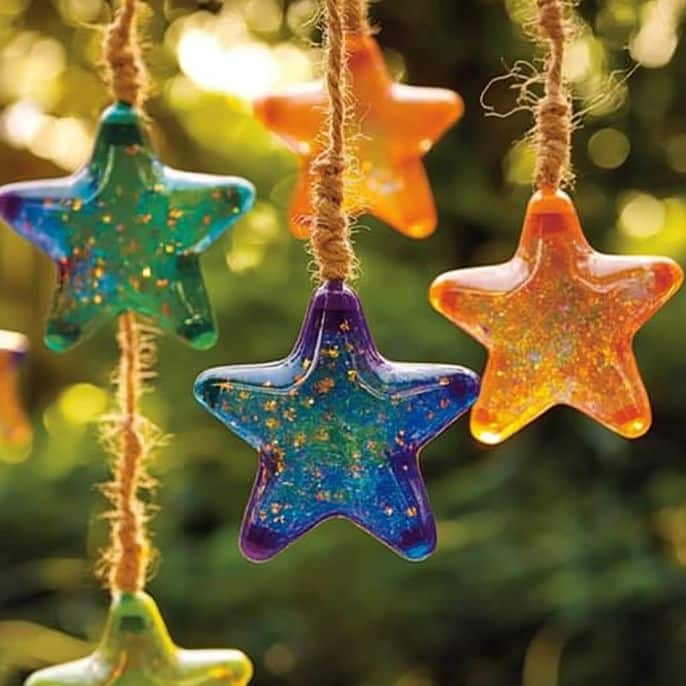
Transform broken crayons into beautiful sun catchers that create a kaleidoscope of color when sunlight shines through.
Print
Pin
Rate
Servings: 1 craft project
Ingredients
Supplies
- Old crayons Any colors — the more variety, the better!
- 1 sheet wax paper Holds your melted crayon design.
- 2 sheets parchment paper Protects your iron and work surface.
- 1 manual sharpener or knife To make fine crayon shavings. Adult supervision is required for children.
- 1 iron Set to low heat.
- 1 star stencil or cookie cutter For cutting shapes.
- 1 baker’s twine or string For hanging.
- 1 hole punch To make a hole for the string.
Instructions
Craft Steps
- Peel the Crayons: Remove all paper wrappers from your old crayons — no leftover bits!
- Make Shavings: Use a manual sharpener or small knife to grate the crayons into fine shavings. Be careful — adult supervision is a must for kids here!
- Arrange Your Colors: Lay a sheet of wax paper flat. Sprinkle your colorful crayon shavings on top in any pattern you like — mix and match for a rainbow effect!
- Fold & Prep: Fold the wax paper over the shavings so they’re enclosed. Then sandwich your wax paper between two sheets of parchment paper to protect your iron and table.
- Melt with the Iron: Set your iron to low heat (no steam). Gently press it over the parchment for about 5–10 seconds — just long enough to melt the crayon bits into a bright, glossy design.
- Cool Completely: Let your melted crayon art cool fully before handling — it only takes a few minutes.
- Cut Out Stars: Use a star stencil or cookie cutter to trace star shapes on the wax paper. Cut them out carefully with scissors.
- Punch & Thread: Punch a hole at the top of each star. Thread through baker’s twine or string.
- Hang & Shine!: Hang your stars in a sunny window — watch the light dance through the colors for an instant mood lift!
Notes
Tips & Fun Variations: Mix & Layer shavings for a marbled look, try other shapes like hearts or circles, or create a garland with multiple shapes.
Nutrition
Serving: 1g
Crayon Star Sun Catchers
Transform broken crayons into beautiful sun catchers that create a kaleidoscope of color when sunlight shines through.
Print
Pin
Rate
Servings: 1 craft project
Ingredients
Supplies
- Old crayons Any colors — the more variety, the better!
- Wax paper Holds your melted crayon design.
- Parchment paper Protects your iron and work surface.
- Manual sharpener or knife To make fine crayon shavings.
- Iron Set to low heat.
- Star stencil or cookie cutter For cutting shapes.
- Baker’s twine or string For hanging.
- Hole punch To make a hole for the string.
Instructions
Crafting Process
- Peel the Crayons: Remove all paper wrappers from your old crayons — no leftover bits!
- Make Shavings: Use a manual sharpener or small knife to grate the crayons into fine shavings. Be careful — adult supervision is a must for kids here!
- Arrange Your Colors: Lay a sheet of wax paper flat. Sprinkle your colorful crayon shavings on top in any pattern you like — mix and match for a rainbow effect!
- Fold & Prep: Fold the wax paper over the shavings so they’re enclosed. Then sandwich your wax paper between two sheets of parchment paper to protect your iron and table.
- Melt with the Iron: Set your iron to low heat (no steam). Gently press it over the parchment for about 5–10 seconds — just long enough to melt the crayon bits into a bright, glossy design.
- Cool Completely: Let your melted crayon art cool fully before handling — it only takes a few minutes.
- Cut Out Stars: Use a star stencil or cookie cutter to trace star shapes on the wax paper. Cut them out carefully with scissors.
- Punch & Thread: Punch a hole at the top of each star. Thread through baker’s twine or string.
- Hang & Shine!: Hang your stars in a sunny window — watch the light dance through the colors for an instant mood lift!
Notes
Mix & Layer: Try combining different shades for a marbled look or layering shavings for a multi-dimensional pop. Try Other Shapes: Stars are lovely, but hearts, circles, or even leaves make stunning sun catchers too! Make a Garland: Create lots of shapes and string them together for a magical, colorful window curtain.
Nutrition
Serving: 1g
More Craft Innovations
- I Found a Strange Growth on My Garage Wall—What It Revealed About Hidden Moisture
- After a Decade Together, She Discovered the True Value of Her Contributions
- My Daughter Disappeared After Prom Night—Almost a Year Later, an Ordinary Beanbag Chair Revealed the Truth
- Stop Your Bed Sheets From Balling Up in the Dryer: Simple Tricks That Actually Work