If you’re searching for the ultimate chocolate dessert, Chocolate-Covered Brownie Bars deliver everything you could want in one bite. These rich, fudgy bars combine a dense brownie base with a smooth, glossy chocolate topping, creating a treat that feels indulgent yet simple to make at home.
From the first slice, you’ll notice how these Chocolate-Covered Brownie Bars strike the perfect balance. The base stays soft and chewy, while the top layer adds a satisfying snap. Because of this contrast, each bite feels layered, rich, and completely satisfying.
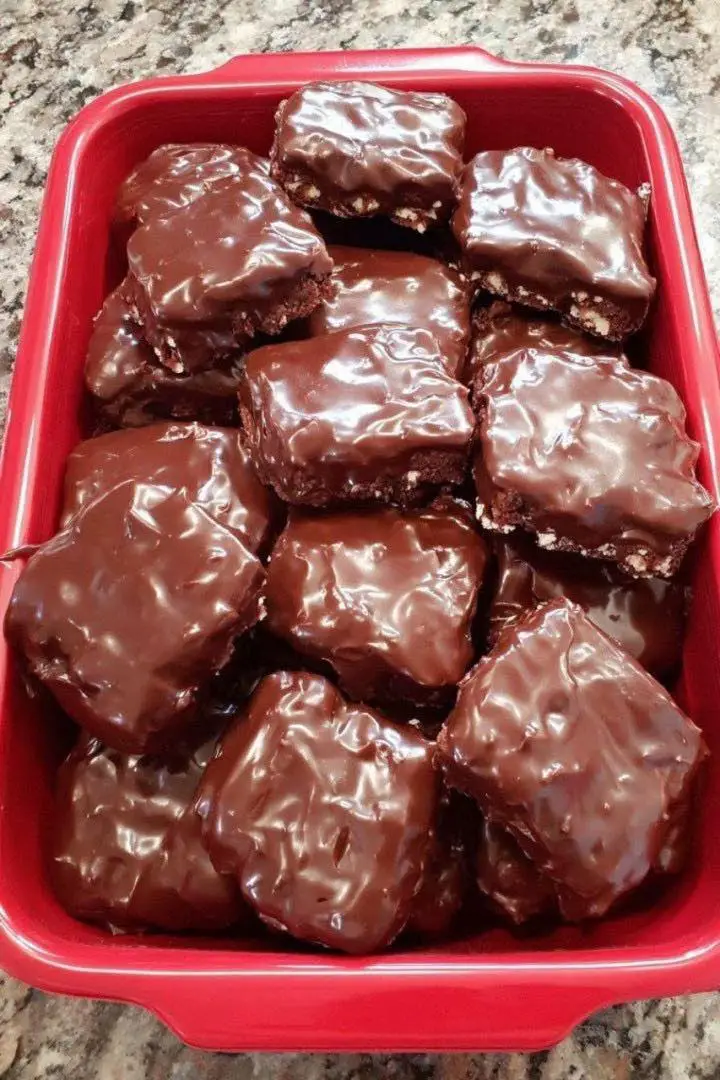
I first made these brownie bars for a small gathering when I needed something dependable yet impressive. I didn’t want anything complicated, but I still wanted a dessert that people would remember. As they cooled on the counter, the chocolate topping set into a shiny layer that looked almost too good to cut. Once served, they disappeared quickly, and several people asked for the recipe before leaving. Since then, these bars have become my go-to whenever I want something simple that still feels special.
Ingredients
Equipment
Method
- Preheat oven to 350°F and line a baking pan with parchment paper.
- Mix melted butter and sugars until smooth, then add eggs and vanilla.
- Stir in cocoa powder, flour, and salt, then fold in chocolate chips.
- Pour batter into pan and bake for 25–30 minutes.
- Cool brownies completely before adding topping.
- Melt chocolate chips with oil, spread over brownies, and let set.
Notes
Why Chocolate-Covered Brownie Bars Stand Out
A Perfect Balance of Texture
One of the biggest reasons these bars work so well is their texture. The brownie layer stays dense and moist, which creates that classic fudgy bite. At the same time, the chocolate coating adds a smooth finish that firms up just enough to create a slight snap.
Because of this combination, the bars feel more elevated than standard brownies. Each layer complements the other, making every bite more interesting and satisfying.
Simple Ingredients, Big Results
You don’t need complicated ingredients to make these bars. In fact, most items are pantry staples like butter, sugar, cocoa powder, and flour. This simplicity makes the recipe approachable for beginners.
Additionally, the chocolate topping only requires two ingredients. Yet, it transforms the dessert into something that looks bakery-quality. As a result, you get impressive results without extra effort.
Ingredients and Preparation
Ingredients for the Brownie Layer
To create the base, you’ll need:
- 1 cup unsalted butter, melted
- 1 ½ cups granulated sugar
- 1 cup brown sugar
- 4 large eggs
- 1 tablespoon vanilla extract
- 1 cup cocoa powder
- 1 cup all-purpose flour
- ½ teaspoon salt
- 1 cup chocolate chips (optional)
These ingredients come together to form a rich, chocolatey batter that bakes into a dense and chewy brownie.
Ingredients for the Chocolate Coating
For the topping, gather:
- 2 cups semisweet or milk chocolate chips
- 2 tablespoons coconut oil or butter
This mixture melts into a smooth coating that spreads easily and sets beautifully.
Step-by-Step Instructions
Making the Brownie Base
Start by preheating your oven to 350°F and lining a baking pan with parchment paper. This step ensures easy removal later.
In a large bowl, mix the melted butter with both sugars until smooth. Then, add the eggs one at a time, stirring well after each addition. Next, mix in the vanilla extract.
After that, sift in the cocoa powder, flour, and salt. Stir gently until just combined. If you want extra richness, fold in the chocolate chips.
Pour the batter into the prepared pan and spread it evenly. Bake for about 25 to 30 minutes, or until a toothpick inserted in the center comes out with a few moist crumbs.
Adding the Chocolate Coating
Once the brownies cool completely, prepare the topping. Melt the chocolate chips with the coconut oil or butter using a microwave or double boiler.
Stir until smooth, then pour the melted chocolate over the brownies. Spread it evenly with a spatula.
Allow the coating to set at room temperature or in the refrigerator. Once firm, slice into bars and serve.
Tips for Perfect Brownie Bars
Achieving the Ideal Texture
To keep the brownies fudgy, avoid overbaking. The center should remain slightly soft when you remove them from the oven. As they cool, they will firm up naturally.
Additionally, using room-temperature eggs helps create a smoother batter. This small step improves the final texture.
Enhancing Flavor and Presentation
For deeper chocolate flavor, use high-quality cocoa powder. You can also sprinkle a pinch of sea salt on top of the chocolate layer for contrast.
If you want a decorative finish, drizzle extra melted chocolate or add chopped nuts. These small touches make the bars look even more appealing.
Serving Ideas and Variations
Best Ways to Serve
These bars taste great on their own, but you can elevate them further. Serve them with:
- A scoop of vanilla ice cream
- A drizzle of caramel sauce
- Fresh berries for balance
These additions enhance both flavor and presentation, making the dessert feel even more special.
Creative Variations
You can easily customize this recipe. For example, use dark chocolate for a more intense flavor. Alternatively, mix in nuts or swirl peanut butter into the batter before baking.
For a festive version, add crushed candy pieces or flavored extracts. These variations allow you to adapt the recipe for different occasions.
Frequently Asked Questions
Can I make these ahead of time?
Yes, you can prepare them a day in advance. Store them in an airtight container.
How do I store leftover bars?
Keep them at room temperature for up to 3 days or refrigerate for longer freshness.
Can I freeze these brownie bars?
Yes, freeze them in layers separated by parchment paper for up to 2 months.
What type of chocolate works best?
Semisweet chocolate offers a balanced flavor, but milk or dark chocolate also work well.
How do I cut clean slices?
Use a sharp knife and wipe it clean between cuts for neat edges.
Conclusion
Chocolate-Covered Brownie Bars bring together everything people love about chocolate desserts. They’re rich, simple to make, and visually impressive. Whether you serve them at gatherings or enjoy them at home, they always deliver satisfying flavor and texture.
Once you try them, you’ll understand why they quickly become a favorite. With just a few ingredients and easy steps, you can create a dessert that feels both comforting and indulgent.
More Craft Innovations
- After a Decade Together, She Discovered the True Value of Her Contributions
- My Daughter Disappeared After Prom Night—Almost a Year Later, an Ordinary Beanbag Chair Revealed the Truth
- Stop Your Bed Sheets From Balling Up in the Dryer: Simple Tricks That Actually Work
- Woman Injured While Trying to Separate Fighting Water Buffaloes: A Powerful Reminder About Livestock Safety