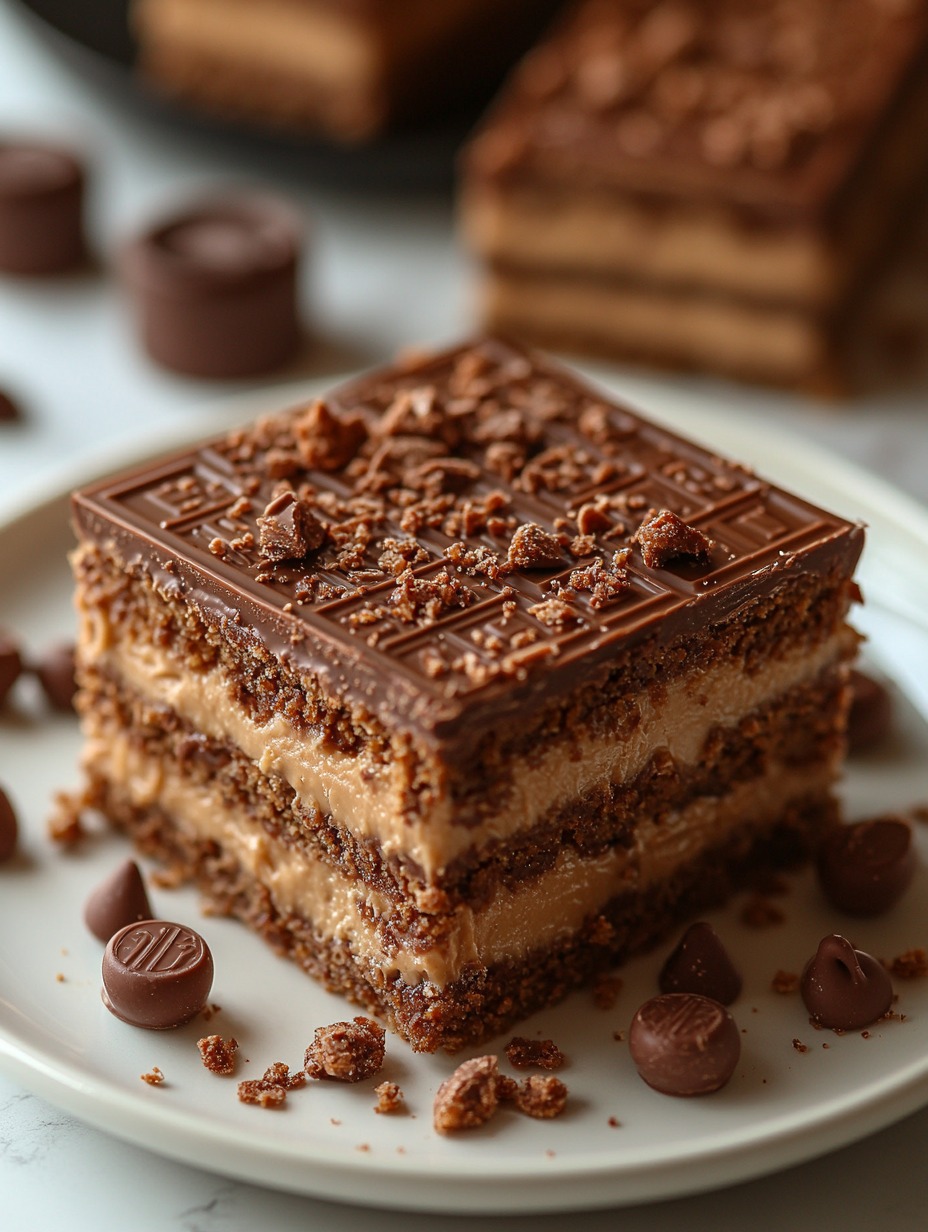
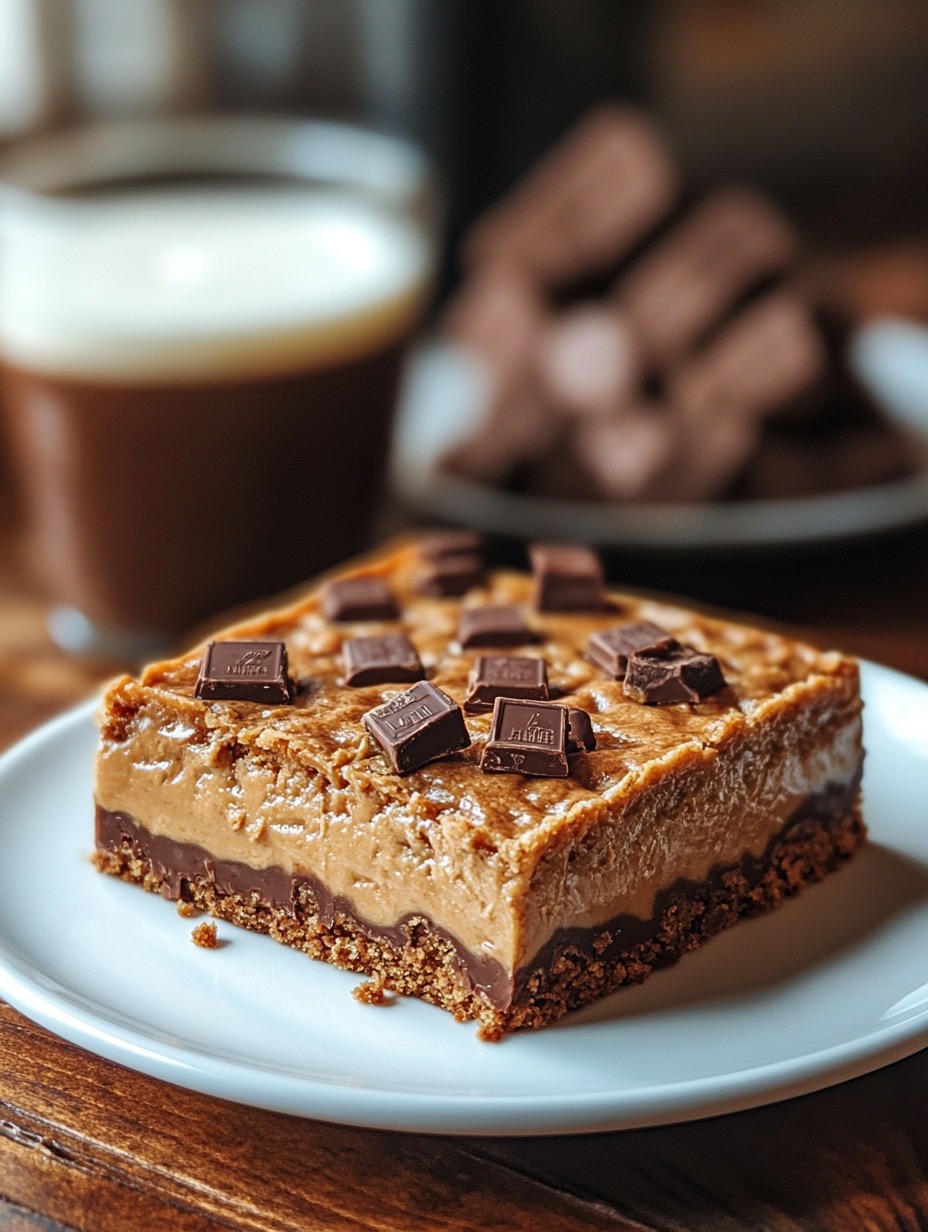
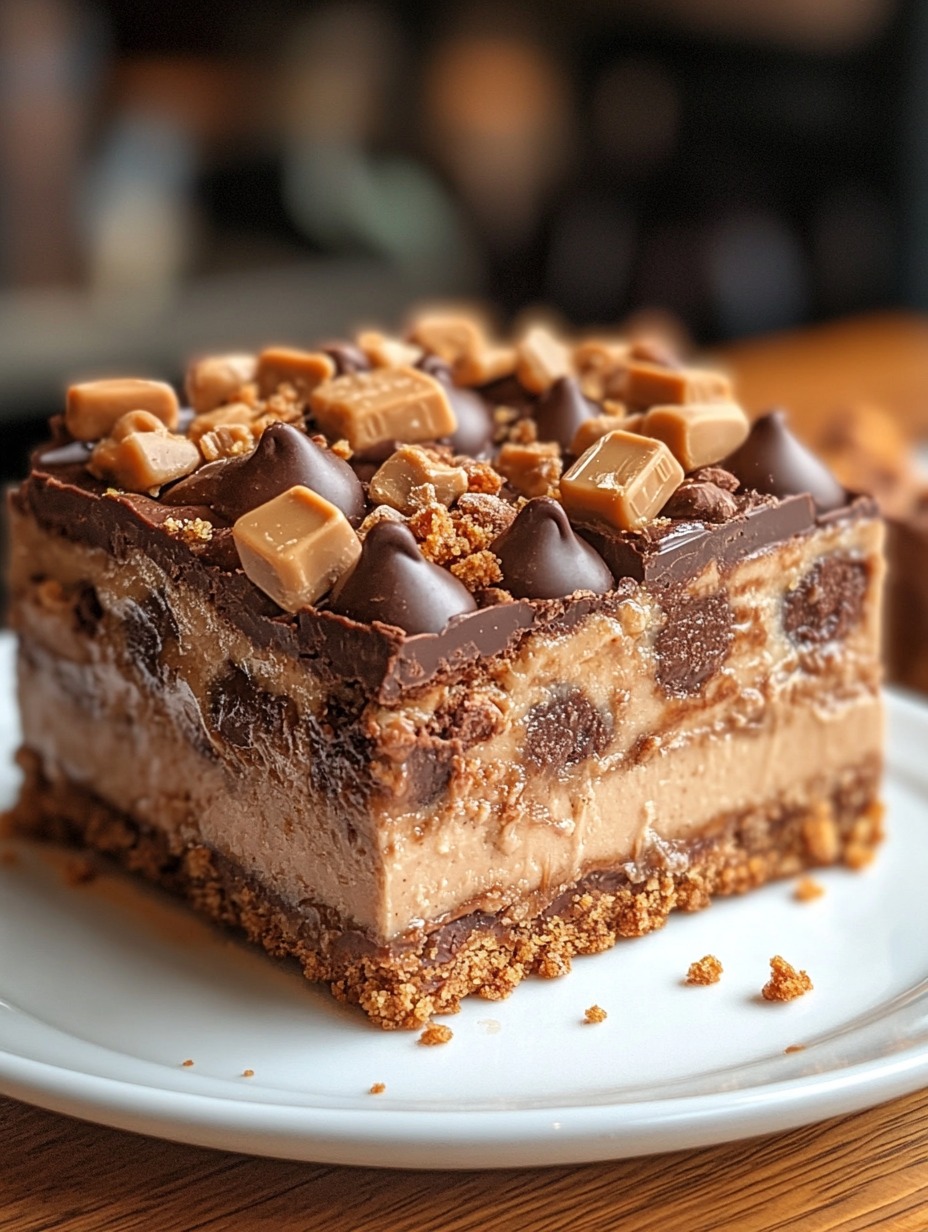
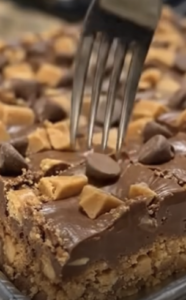
Imagine the perfect blend of rich chocolate, creamy peanut butter, and crunchy bits of Butterfinger and Reese’s magic in each bite. This recipe combines all the goodness of candy and a classic no-bake bar, making it the ultimate treat for chocolate-peanut butter lovers! Whether you’re bringing dessert to a gathering or indulging yourself, these bars will bring a smile to anyone’s face.
If you want more sweet treats like this straight to your inbox, don’t forget to subscribe!
Why You’ll Love Butterfinger Reese’s Peanut Butter Bars
Texture & Taste: These bars bring an addictive crunch from the graham crackers and candy, while the peanut butter and chocolate create an irresistible creaminess. Each bite gives you the perfect balance of chocolate and peanut butter—anything but boring!
Easy to Make: This is a no-bake recipe, so no need to turn on the oven. With just a bit of layering and chilling, these bars are simple and fast to put together.
Perfect for Sharing: Cut these bars into smaller pieces for sharing, or keep them in the fridge for a personal indulgence whenever that craving hits!
Ingredients for Butterfinger Reese’s Peanut Butter Bars
1 cup Butterfinger candy bars, crushed 🍬
1 cup Reese’s Peanut Butter Cups, chopped 🥜
1/2 cup unsalted butter, melted 🧈
1 cup graham cracker crumbs 🍪
1 cup powdered sugar 🍚
1/2 cup creamy peanut butter 🥜
1 1/4 cups milk chocolate chips 🍫
1/4 cup peanut butter (for topping) 🥄
Tools Needed
8×8-inch pan lined with parchment paper
Mixing bowls
Spatula
Microwave-safe bowl
Step-by-Step Instructions for Butterfinger Reese’s Peanut Butter Bars
Step 1: Prepare the Base
In a mixing bowl, blend together the melted butter, graham cracker crumbs, powdered sugar, and creamy peanut butter until smooth. This base will hold up all the delicious toppings, so press it firmly into the bottom of your prepared 8×8-inch pan lined with parchment paper. Make sure it’s nice and even for a solid foundation.
Step 2: Layer with Candy
Sprinkle the crushed Butterfinger and chopped Reese’s Peanut Butter Cups over the graham cracker base, spreading them evenly. These add a delightful crunch and bring all those beloved flavors into every bite.
In a microwave-safe bowl, combine the chocolate chips and 1/4 cup peanut butter. Melt this mixture in 30-second intervals, stirring each time, until it’s smooth and pourable.
Step 4: Pour and Spread
Once melted, pour the chocolate-peanut butter mixture over the candy layer. Use a spatula to spread it evenly over the top so that each bar will have a generous chocolate coating.
Step 5: Chill and Set
Refrigerate the pan for about 1–2 hours, or until everything has set completely. This step helps the bars firm up so they’re easier to slice.
Step 6: Serve and Enjoy!
Once set, lift the bars out using the parchment paper and slice them into squares. They’re now ready to enjoy! These bars are rich, so smaller pieces are perfect for serving, but feel free to go for larger pieces if you like a more indulgent bite.
Serving Suggestions
These bars are fantastic on their own, but if you’re feeling extra, serve them alongside:
A scoop of vanilla or peanut butter ice cream 🍨
Fresh strawberries for a fruity contrast 🍓
A drizzle of caramel for even more decadence 🍮
Tips for the Perfect Butterfinger Reese’s Peanut Butter Bars
Use Room-Temperature Peanut Butter: This helps everything blend together smoothly.
Line the Pan with Parchment Paper: It makes removing the bars easy and mess-free.
Chill Thoroughly: Don’t rush the chilling step—it ensures the bars hold their shape.
Storage Instructions
Store these bars in an airtight container in the fridge for up to a week. For longer storage, keep them in the freezer for up to a month. Just let them sit at room temperature for a few minutes before serving.
Frequently Asked Questions
Can I use different types of chocolate?
Absolutely! Try semisweet or dark chocolate chips if you prefer a richer flavor.
What can I substitute for the graham cracker crumbs?
Crushed digestive biscuits or vanilla wafers work well as a substitute.
Can I add more toppings?
Yes! Feel free to sprinkle in chopped nuts or even mini chocolate chips for extra texture.
Wrap-Up: Why You’ll Keep Coming Back to This Recipe
These Butterfinger Reese’s Peanut Butter Bars are a rich and easy treat that will quickly become a favorite. Not only are they a breeze to make, but they’re also packed with satisfying layers of flavor and texture. They make any day special—perfect for sharing or enjoying all to yourself.
Looking for more treats like this? Check out these other irresistible recipes featuring peanut butter and chocolate:
Chocolate Peanut Butter No-Bake Cookies
Reese’s Cheesecake Brownie Bars
Peanut Butter Cup Blondies
If you try this recipe, please share your thoughts! Snap a photo and tag us on Pinterest, or leave a review below. We’d love to see how they turn out for you!
Nutritional Information (per serving)
Approximate values based on 12 servings:
Calories: 280 kcal
Carbohydrates: 30g
Protein: 4g
Fat: 15g
Sugar: 23g
These bars are the perfect balance of richness and nostalgia, made to delight and satisfy any sweet craving. Happy baking (or, rather, no-baking)!
Butterfinger Reese's Peanut Butter Bars Recipe
Imagine the perfect blend of rich chocolate, creamy peanut butter, and crunchy bits of Butterfinger and Reese's magic in each bite. This recipe combines all the goodness of candy and a classic no-bake bar, making it the ultimate treat for chocolate-peanut butter lovers! Whether you’re bringing dessert to a gathering or indulging yourself, these bars will bring a smile to anyone’s face.
Step-by-Step Instructions for Butterfinger Reese's Peanut Butter Bars
Step 1: Prepare the Base
In a mixing bowl, blend together the melted butter, graham cracker crumbs, powdered sugar, and creamy peanut butter until smooth. This base will hold up all the delicious toppings, so press it firmly into the bottom of your prepared 8x8-inch pan lined with parchment paper. Make sure it’s nice and even for a solid foundation.
Step 2: Layer with Candy
Sprinkle the crushed Butterfinger and chopped Reese's Peanut Butter Cups over the graham cracker base, spreading them evenly. These add a delightful crunch and bring all those beloved flavors into every bite.
Step 3: Melt the Chocolate
In a microwave-safe bowl, combine the chocolate chips and 1/4 cup peanut butter. Melt this mixture in 30-second intervals, stirring each time, until it’s smooth and pourable.
Step 4: Pour and Spread
Once melted, pour the chocolate-peanut butter mixture over the candy layer. Use a spatula to spread it evenly over the top so that each bar will have a generous chocolate coating.
Step 5: Chill and Set
Refrigerate the pan for about 1–2 hours, or until everything has set completely. This step helps the bars firm up so they’re easier to slice.
Step 6: Serve and Enjoy!
Once set, lift the bars out using the parchment paper and slice them into squares. They’re now ready to enjoy! These bars are rich, so smaller pieces are perfect for serving, but feel free to go for larger pieces if you like a more indulgent bite.
Notes
Serving Suggestions
These bars are fantastic on their own, but if you’re feeling extra, serve them alongside:
There’s something downright magical about the combination of buttery caramel, toasted pecans, and a touch of chocolate—all layered over crispy saltine crackers. This Pecan Pie Bark is like a mash-up of holiday pecan pie and the easiest candy you’ll ever make. Perfect for gifting (if you can resist eating it all first!) or for a…
A Sweet Twist on a Classic Treat! If there’s a cookie that screams “comfort meets indulgence,” it’s these Decadent Buckeye Cookies. Inspired by the beloved Buckeye candies, these cookies combine rich chocolate, creamy peanut butter, and a touch of nostalgia in every bite. Perfect for holiday trays, bake sales, or simply because you deserve a…
If you’re a fan of rich, chocolatey brownies and peanut butter treats, these Reese’s Pieces Peanut Butter Brownie Cookies are about to become your new favorite! These cookies combine the best parts of brownies and cookies in a single, delicious bite—chewy, fudgy centers, crispy edges, and loaded with Reese’s Pieces and chocolate chips for an…
If you’re on the lookout for an appetizer that wows, this one’s for you! These Oven-Fried Feta Rolls with Chili Honey are golden, crispy perfection on the outside with a creamy, tangy filling inside. Add a drizzle of sweet and spicy chili honey, and you’ve got a dish that will steal the show at any…
😳 I dumped corn, butter, and cheese together… and this happened. This crockpot creamy cheesy corn is rich, buttery, and unbelievably smooth, turning simple corn into a cozy comfort side dish that feels like it belongs on a holiday table. Every bite is sweet, creamy, and packed with melted cheese goodness that makes it impossible…
Growing up as the child of one of the most famous entertainers in history comes with challenges few people can truly understand. For Paris Jackson, life has unfolded under extraordinary public attention since the day she was born. As the daughter of Michael Jackson, she inherited not only a famous last name but also the…