Ingredients
Method
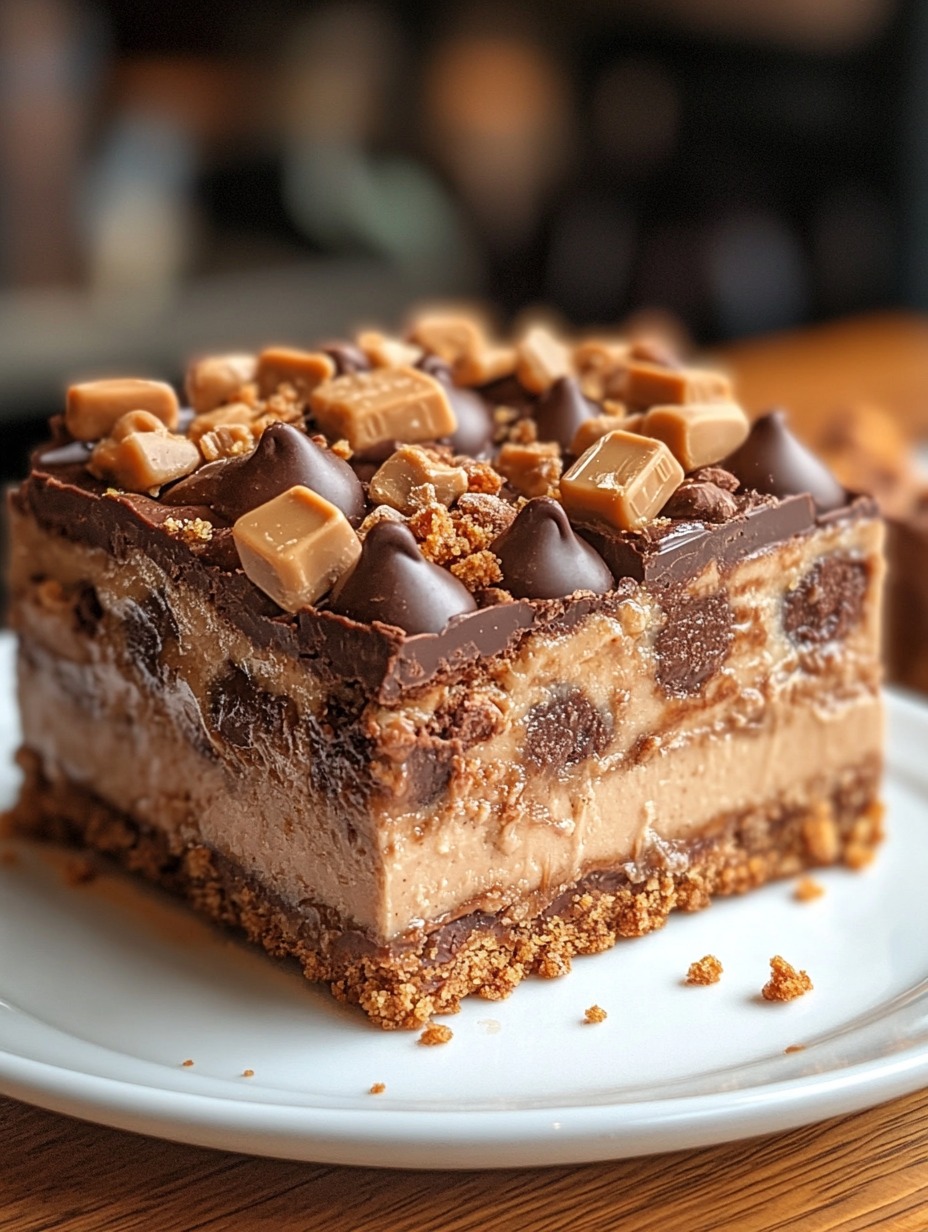
- Step-by-Step Instructions for Butterfinger Reese's Peanut Butter Bars
- Step 1: Prepare the Base
- In a mixing bowl, blend together the melted butter, graham cracker crumbs, powdered sugar, and creamy peanut butter until smooth. This base will hold up all the delicious toppings, so press it firmly into the bottom of your prepared 8x8-inch pan lined with parchment paper. Make sure it’s nice and even for a solid foundation.
- Step 2: Layer with Candy
- Sprinkle the crushed Butterfinger and chopped Reese's Peanut Butter Cups over the graham cracker base, spreading them evenly. These add a delightful crunch and bring all those beloved flavors into every bite.
- Step 3: Melt the Chocolate
- In a microwave-safe bowl, combine the chocolate chips and 1/4 cup peanut butter. Melt this mixture in 30-second intervals, stirring each time, until it’s smooth and pourable.
- Step 4: Pour and Spread
- Once melted, pour the chocolate-peanut butter mixture over the candy layer. Use a spatula to spread it evenly over the top so that each bar will have a generous chocolate coating.
- Step 5: Chill and Set
- Refrigerate the pan for about 1–2 hours, or until everything has set completely. This step helps the bars firm up so they’re easier to slice.
- Step 6: Serve and Enjoy!
- Once set, lift the bars out using the parchment paper and slice them into squares. They’re now ready to enjoy! These bars are rich, so smaller pieces are perfect for serving, but feel free to go for larger pieces if you like a more indulgent bite.
Notes
Serving Suggestions
These bars are fantastic on their own, but if you’re feeling extra, serve them alongside:
These bars are fantastic on their own, but if you’re feeling extra, serve them alongside: