Before we dive into the shimmer, squish, and bounce, let me just say—thank you for being here. I love crafting, but what I love even more is being able to share hands-on fun like this with curious, creative minds like yours. Whether you’re making this project with kids, for a classroom experiment, or just for yourself (no shame—it’s so satisfying!), I promise this glowing, swirling bounce ball will be anything but ordinary.
This is a DIY that blends chemistry, creativity, and a touch of childhood nostalgia. The end result? A soft, squishable bounce ball that glows in the dark and has beautiful swirled colors. You’ll feel like a science wizard watching it come to life!
✨ Want this recipe in your inbox? Subscribe to get a printable version and bonus glow-in-the-dark ideas!
What Is a Swirl Glowing Bounce Ball?
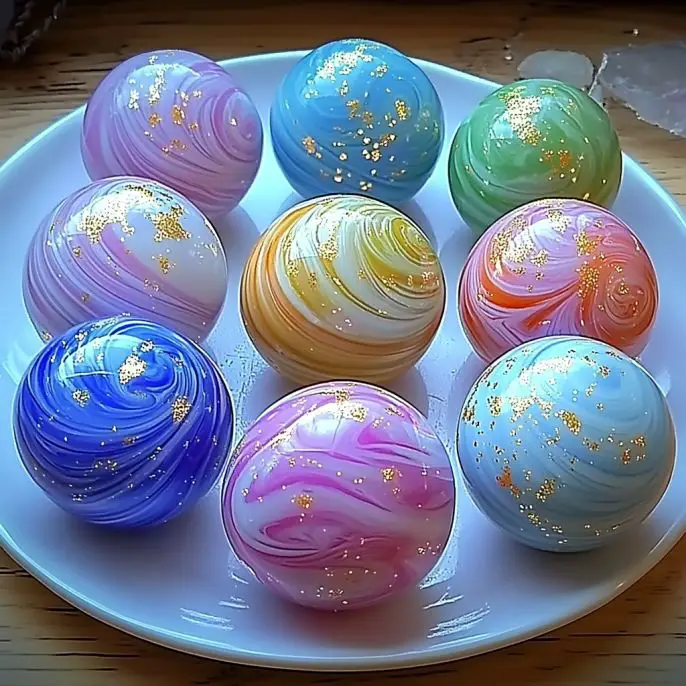
It’s exactly what it sounds like—a handmade rubbery ball that glows after being “charged” under light, with marbled, galaxy-like swirls of color. It’s part slime, part science, part sensory play—and 100% fun to make and bounce!
Why You’ll Love Making This Glowing Ball
It actually works! These really bounce!
Mesmerizing glow after charging under light
Simple ingredients, most of which you may already have
A great STEAM project for kids and curious adults alike
No fancy tools required, just a little mixing and shaping
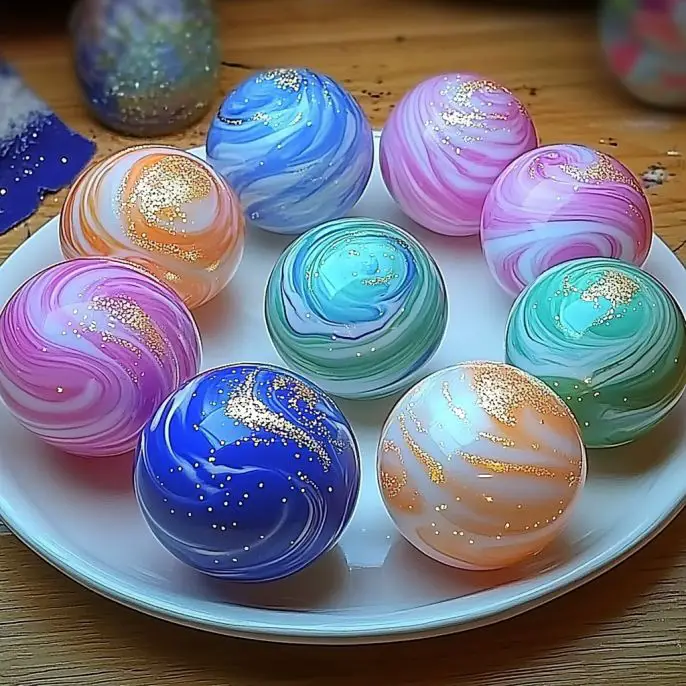
What It Looks & Feels Like
Your final creation will be a smooth, rubbery ball that’s firm yet flexible. It has gorgeous swirled patterns (if you add food coloring) and a soft, eerie glow in the dark that’s perfect for nighttime play. It’s got the vibe of a glowing meteorite or alien slime—so cool!
Benefits of This DIY
Hands-on science learning through polymer reactions
Encourages creativity and experimentation
Fun sensory experience
Great for birthday parties, classroom STEM activities, or rainy-day play
Makes a memorable DIY gift or party favor!
Swirl Glowing Bounce Ball
Ingredients
Equipment
Method
- In Cup 1, pour 1/2 cup warm water. Add 1 tablespoon of borax, and stir until fully dissolved. Set aside.
- In Cup 2, combine 2 tablespoons glue, 1 tablespoon cornstarch, and your glow-in-the-dark paint or powder. Add food coloring if desired.
- Stir your glue mixture gently to swirl colors without blending too much.
- Carefully pour the glue mix into the borax solution and let sit undisturbed for 10–15 seconds.
- Stir gently in the cup, then remove the forming ball and shape it by rolling between your palms.
- Let the ball sit and firm up for a few minutes. Then place under a bright light to activate the glow.
- Store in a ziplock bag or airtight container when not in use to keep soft and bouncy.
Notes
Tried this recipe?
Let us know how it was!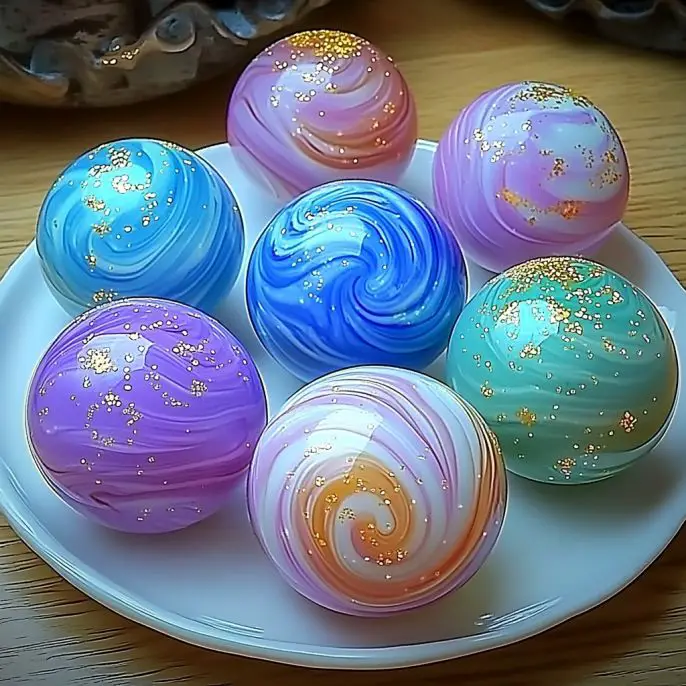
Ingredients & Materials
What You’ll Need:
1/2 cup warm water
1 tablespoon borax
1 tablespoon cornstarch
2 tablespoons white school glue
Glow-in-the-dark paint or powder
Food coloring (optional)
2 small disposable cups
Popsicle stick or spoon for stirring
Latex gloves (optional)
🧤 Optional but helpful: Gloves for mess-free cleanup and protection from dye.
Tools You’ll Need
Measuring spoons & cup
Two disposable cups (or bowls if you prefer reusable options)
Stirring tool (spoon or craft stick)
A light source (for charging the glow effect)
Ziplock bag or airtight container for storage
Optional Add-Ins & Variations
Essential oils: A drop of lavender or citrus for sensory fun
Biodegradable glitter: Add sparkle to your bounce ball
Neon paint: For an ultra-bright glow effect
Blacklight paint: For parties or Halloween events
Step-by-Step Instructions
Step 1: Make the Activator
In Cup 1, pour 1/2 cup warm water. Add 1 tablespoon of borax, and stir until fully dissolved. Set aside.
Step 2: Prepare the Base
In Cup 2, combine 2 tablespoons glue, 1 tablespoon cornstarch, and your glow-in-the-dark paint or powder (add to preference). Drop in some food coloring if you want a cool swirl effect!
Step 3: Swirl It Up
Gently stir your glue mixture with a popsicle stick or spoon. Swirl, don’t overmix—you want visible color patterns.
Step 4: Combine
Carefully pour the thickened glue mix into the borax solution. Let it sit for about 10–15 seconds undisturbed. This is when the magic starts!
Step 5: Stir and Shape
Roll the mixture gently in the cup until it begins to firm. Then remove it and start shaping it into a ball by rolling it between your palms.
Step 6: Glow Activation
Let your ball sit for a few minutes to firm up. Then hold it under a bright light for a minute or two to charge the glow-in-the-dark effect.
Step 7: Store Properly
When you’re done playing, store your bounce ball in a sealed ziplock bag to keep it soft and ready to glow another day.
What to Pair This Activity With
This project pairs perfectly with:
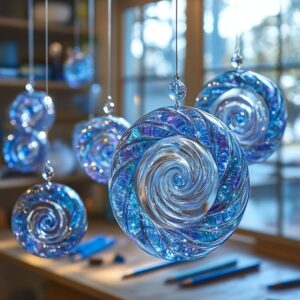
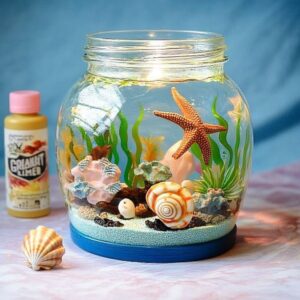
DIY Galaxy Jars for a space-themed afternoon
Glow stick ring toss or backyard night games
Science-themed party favors
Homemade Slime or Putty for more sensory fun
Tips for a Better Bounce Ball
If the mixture is too sticky, knead in a bit more cornstarch.
For an extra bright glow, leave the ball under a bright lamp or sunlight before using.
Don’t over-swirl your colors, or they’ll blend into one muddy hue.
Use clear glue instead of white for a more translucent effect.
Storage Instructions
Keep your bounce ball in an airtight bag or container when not in use. If it starts to lose its bounce, try rolling it in your hands again to re-soften.
Frequently Asked Questions
Is this safe for young kids?
Yes, with supervision. All ingredients are non-toxic, but the borax solution should not be ingested, and hand-washing after play is recommended.
Does it really bounce?
It does! It’s not quite like a store-bought rubber ball, but it bounces nicely on hard surfaces when fully set.
How long does the glow last?
The glow will dim after a few minutes, but you can recharge it under a light over and over again!
Can I reuse it?
You can reuse it several times! Just keep it stored in an airtight bag, and avoid letting it dry out.
In Summary
This Swirl Glowing Bounce Ball is everything we love in a DIY: it’s colorful, it glows, it bounces, and it comes together in under 10 minutes. It’s an unforgettable way to combine play and learning, and I promise it’ll be a hit with anyone who tries it—kids and grown-ups alike.
More Creative Crafts You’ll Love
Easy-Peasy Glue Suncatchers
DIY Cloud Dough
Homemade Fluffy Slime
Galaxy Sensory Bottles
Let’s Glow Together!
Made your own glowing bounce ball? I’d LOVE to see it! Tag your photos on Pinterest or Instagram using #GlowBounceDIY or drop a comment below and tell me what colors you used!
Nutritional Info
🤣 Zero calories, but 100% hands-on fun. Not edible—please supervise children!
Thanks again for crafting with me today. Until next time, stay curious, keep glowing, and never stop creating 💫