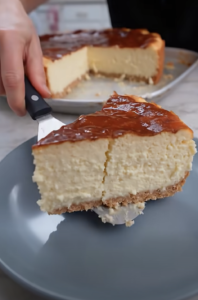
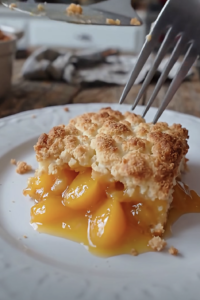
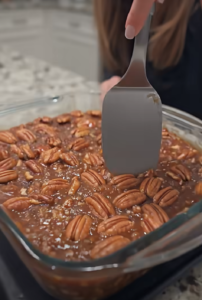
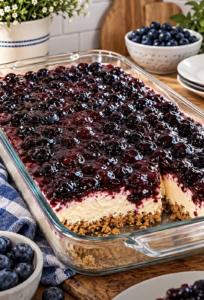
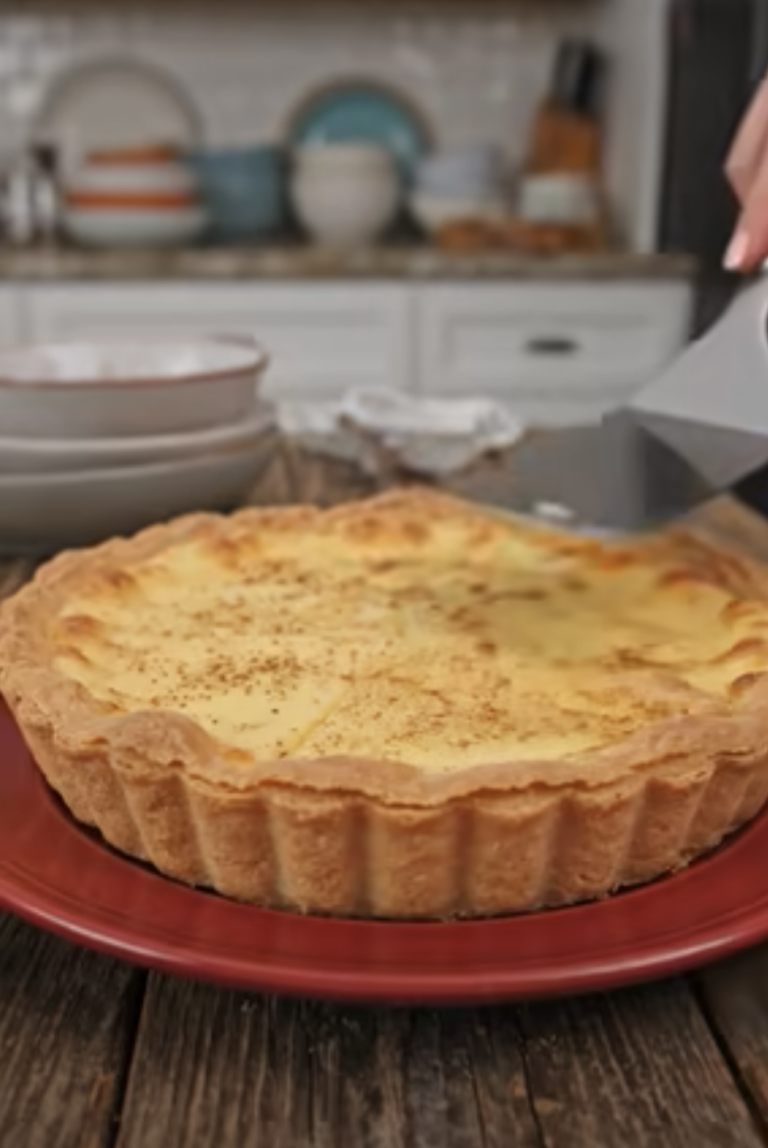
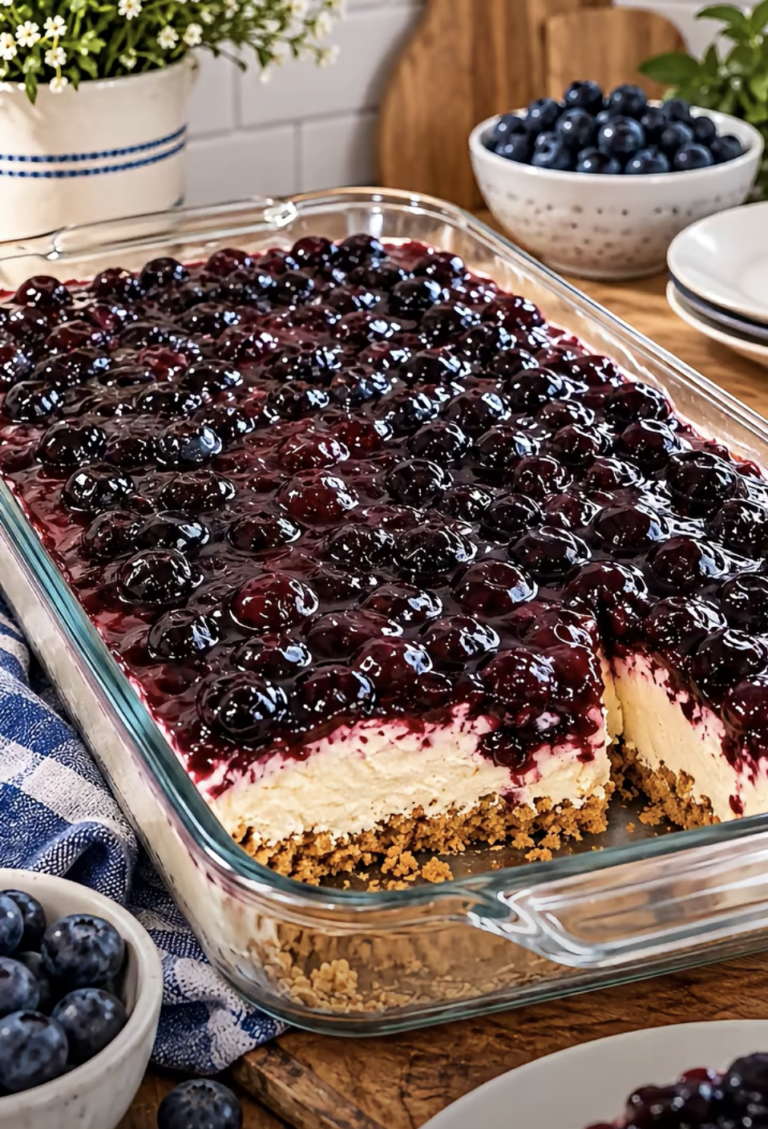
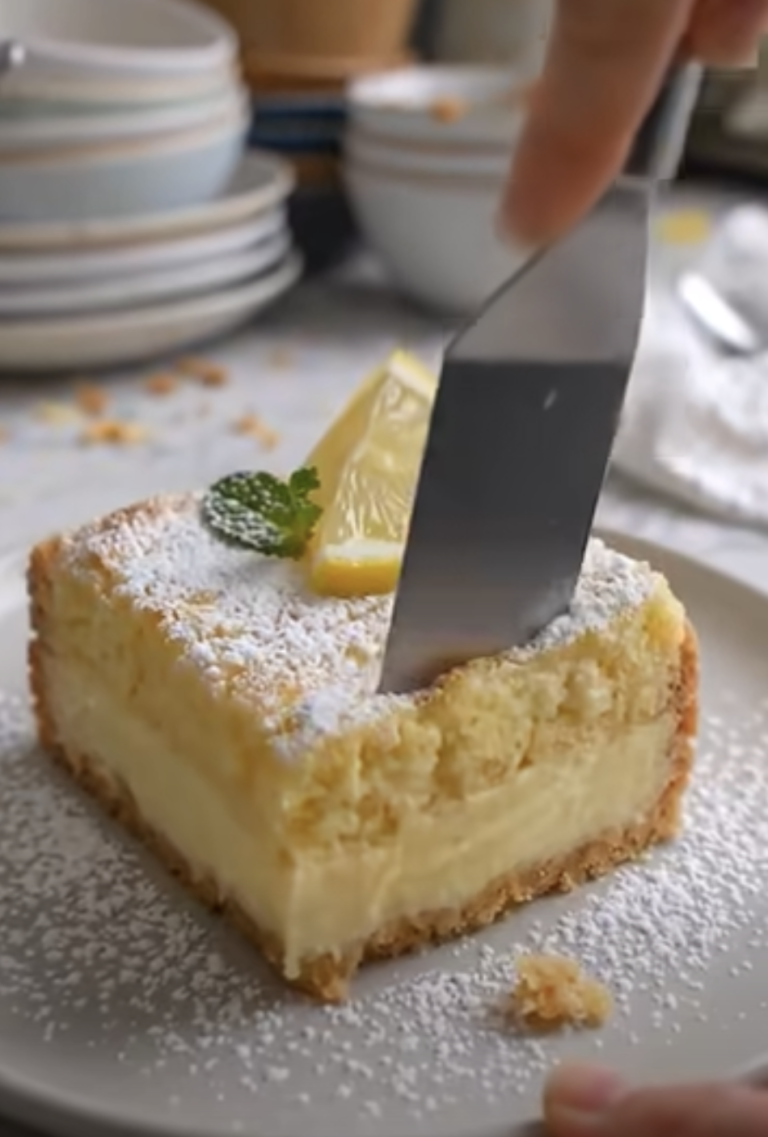
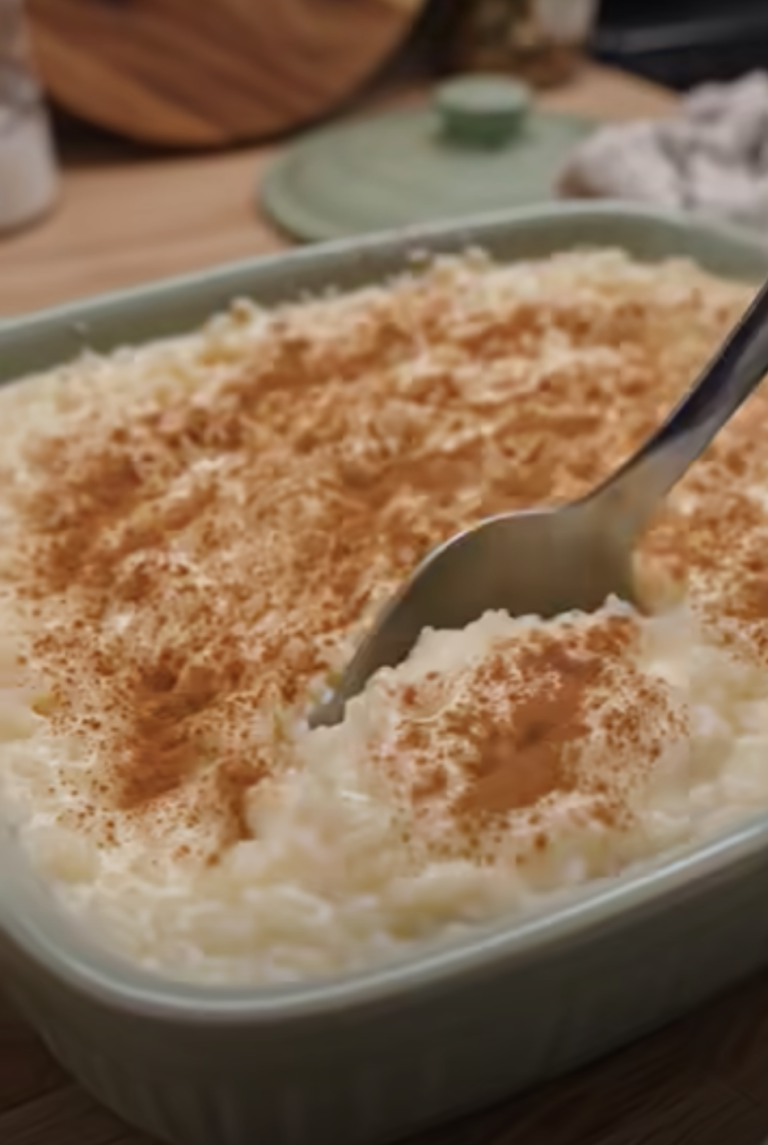
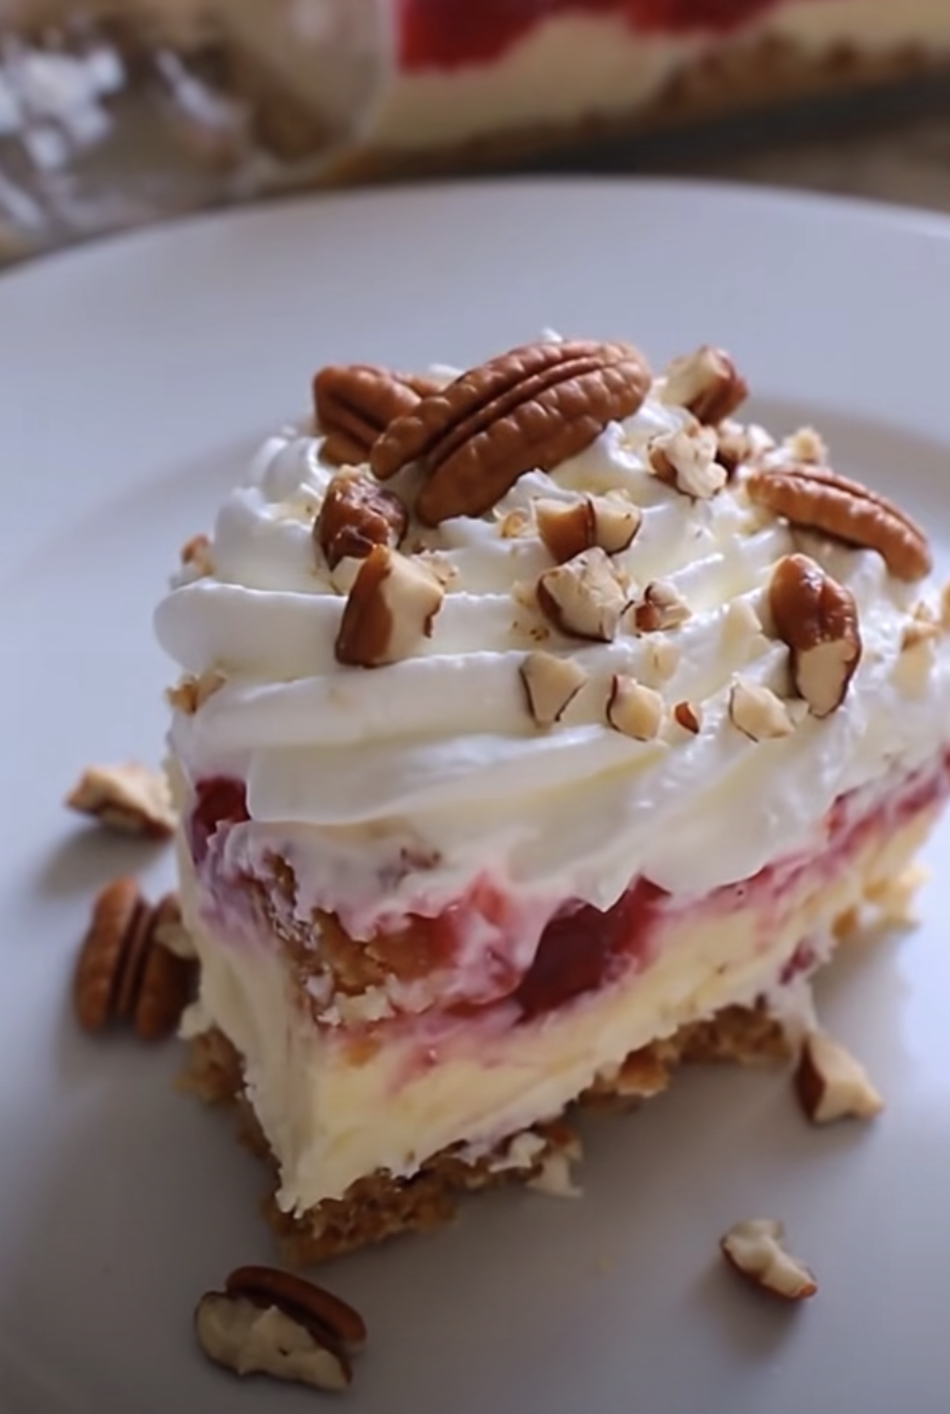
Sugar-Free Cherry Cheesecake Lush Dessert is a creamy, delicious no-bake dessert featuring a buttery pecan crust, fluffy cheesecake filling, smooth vanilla pudding, sweet cherry topping, and a generous layer of whipped cream.
Every bite combines rich cheesecake flavor with fruity cherries, crunchy pecans, and light, creamy layers. Best of all, this beautiful dessert requires no oven and works wonderfully for holidays, family gatherings, potlucks, and special celebrations.
The recipe uses sugar-free alternatives to traditional dessert ingredients, including sugar-free vanilla wafers, powdered sweetener, instant pudding, whipped topping, and cherry pie filling. Although these ingredients help reduce added sugar, the dessert still contains naturally occurring sugars and carbohydrates from ingredients such as milk, cherries, and nuts.
The result is a satisfying treat that offers familiar cheesecake flavors with a lighter, fluffy texture.
I first made this cherry cheesecake lush dessert when I needed something special for a family gathering but didn’t want to spend the afternoon baking. I had cream cheese, vanilla pudding, and a few bags of pecans in the kitchen, so I decided to create a layered dessert in a large baking dish. The crust came together quickly, and the creamy layers looked beautiful beneath the cherry topping. After chilling overnight, the dessert sliced into neat squares with distinct layers. Everyone enjoyed the combination of creamy cheesecake, sweet cherries, and crunchy pecans. I especially loved preparing everything the evening before, which made the following day much easier.
Whether you’re planning a holiday dessert table or simply want a make-ahead treat, this no-bake cherry cheesecake lush offers plenty of flavor and convenience.
Sugar-Free Cherry Cheesecake Lush Dessert – Easy No-Bake Layered Treat
Equipment
- 9-by-13-inch baking dish
- large mixing bowls
- electric hand mixer
- Whisk
- Rubber spatula
- Offset spatula
- Measuring cups
- Food processor or rolling pin for cookie crumbs
- Sharp knife
- Plastic wrap or baking dish lid
Ingredients
- 1.5 cups sugar-free vanilla wafer crumbs
- 1 cup pecans, finely chopped, for crust
- 0.5 cup unsalted butter, melted
- 8 oz cream cheese, softened
- 1 cup powdered sugar-free sweetener
- 1.5 cups sugar-free whipped topping, thawed, for cheesecake layer
- 2 packages sugar-free instant vanilla pudding mix, approximately 4 servings per package
- 3 cups cold milk
- 1 cup sugar-free whipped topping, thawed, for pudding layer
- 1 can (20–21 oz) sugar-free cherry pie filling
- 2 cups sugar-free whipped topping, thawed, for final layer
- 0.5 cup pecans, chopped, for garnish
Instructions
- In a mixing bowl, combine 1 1/2 cups sugar-free vanilla wafer crumbs, 1 cup finely chopped pecans, and 1/2 cup melted butter. Stir until evenly moistened.
- Press the crust mixture firmly into the bottom of a 9-by-13-inch baking dish. Refrigerate for at least 1 hour until firm.
- Beat 8 ounces softened cream cheese with 1 cup powdered sugar-free sweetener until smooth and creamy.
- Gently fold 1 1/2 cups thawed sugar-free whipped topping into the cream cheese mixture until light and fluffy.
- Spread the cheesecake filling evenly over the chilled pecan and vanilla wafer crust.
- Whisk two packages of sugar-free instant vanilla pudding mix with 3 cups cold milk until thickened. Gently fold in 1 cup thawed sugar-free whipped topping.
- Carefully spread the vanilla pudding mixture over the cheesecake layer, keeping the layers distinct.
- Spoon one 20- to 21-ounce can of sugar-free cherry pie filling evenly over the pudding layer. Spread gently without mixing the layers.
- Spread the remaining 2 cups thawed sugar-free whipped topping over the cherry layer. Sprinkle with 1/2 cup chopped pecans.
- Cover and refrigerate for at least 4 hours, preferably overnight. Slice into 15 squares and serve chilled.
Notes
Nutrition
Why You’ll Love Sugar-Free Cherry Cheesecake Lush Dessert
Creamy Layers with Cherry Cheesecake Flavor
One of the best features of Sugar-Free Cherry Cheesecake Lush Dessert is its combination of flavors and textures.
Instead of relying on a single cheesecake filling, this recipe creates several delicious layers.
The bottom begins with a buttery crust made from sugar-free vanilla wafer crumbs and finely chopped pecans.
The wafer crumbs provide a familiar cookie flavor, while the pecans contribute richness and crunch.
Melted butter binds everything together and helps the crust become firm during refrigeration.
Next comes a fluffy cheesecake layer.
Softened cream cheese creates the classic tangy cheesecake flavor.
Meanwhile, powdered sugar-free sweetener adds sweetness without requiring regular powdered sugar.
Sugar-free whipped topping lightens the mixture and creates a smooth, airy consistency.
Above the cheesecake filling sits a creamy vanilla pudding layer.
The pudding adds another dimension of flavor and creates a soft contrast with the richer cream cheese.
A generous layer of cherry pie filling follows.
Its bright red color makes the dessert especially attractive.
Finally, whipped topping and chopped pecans complete the presentation.
Each forkful combines creamy filling, fruity cherries, and a slightly crunchy crust.
Because the dessert contains several layers, it feels more elaborate than the preparation actually requires.
You can create a beautiful, impressive treat with basic mixing and spreading techniques.
For the best results, chill each component as directed and allow the finished dessert enough time to firm up.
A Convenient Make-Ahead Dessert for Celebrations
Sugar-Free Cherry Cheesecake Lush Dessert works particularly well when you need to prepare dessert ahead of time.
Unlike baked cheesecake, this recipe doesn’t require a water bath, oven temperature adjustments, or lengthy cooling on the counter.
Instead, refrigeration helps the crust and creamy layers hold their shape.
You can prepare the entire dessert the evening before a gathering.
Then simply remove it from the refrigerator when you’re ready to serve.
This convenience makes the recipe especially useful for Thanksgiving, Christmas, Easter, birthdays, and family celebrations.
The large 9-by-13-inch dish also provides plenty of servings.
For most gatherings, you can cut the dessert into approximately 15 squares.
If you prefer smaller portions, divide it into 18 pieces.
Another advantage is the attractive presentation.
The pale cheesecake and pudding layers contrast beautifully with the red cherry filling.
Meanwhile, the whipped topping creates a soft, snowy finish.
Chopped pecans add color and texture.
You can serve the dessert directly from the baking dish or arrange individual squares on small dessert plates.
Additionally, the recipe requires only simple kitchen equipment.
A mixing bowl, electric mixer, whisk, spatula, and baking dish handle nearly all the work.
You don’t need advanced baking skills to create a delicious result.
Because the dessert tastes best after several hours of refrigeration, it also reduces last-minute kitchen work.
Choosing the Best Ingredients for Sugar-Free Cherry Cheesecake Lush Dessert
Building the Perfect Buttery Pecan Crust and Cheesecake Filling
The crust provides the foundation for Sugar-Free Cherry Cheesecake Lush Dessert.
Start with one and a half cups of sugar-free vanilla wafer crumbs.
Choose crisp vanilla cookies that crumble easily.
If you purchase whole wafers, crush them in a food processor or place them in a sealed bag and use a rolling pin.
Aim for fine, evenly sized crumbs.
Large cookie pieces can make the crust harder to press into a smooth layer.
Next, add one cup of finely chopped pecans.
Pecans contribute a buttery, slightly sweet flavor that complements both the cheesecake and cherries.
Chop them finely so they distribute evenly throughout the crust.
Then add half a cup of melted unsalted butter.
The butter moistens the crumbs and helps everything hold together.
Stir until the mixture resembles damp sand.
Press the mixture firmly into a 9-by-13-inch baking dish.
A flat-bottomed measuring cup makes this step easier.
Refrigerate the crust for at least one hour before adding the cheesecake filling.
For the next layer, use eight ounces of softened cream cheese.
Full-fat cream cheese generally creates the richest, firmest texture.
Allow it to soften at room temperature briefly so it blends smoothly.
Next, add one cup of powdered sugar-free sweetener.
A powdered sweetener works better than a coarse granulated variety because it creates a smoother filling.
Finally, fold in one and a half cups of thawed sugar-free whipped topping.
The whipped topping lightens the cream cheese mixture and makes it easier to spread.
Selecting Vanilla Pudding, Cherry Filling, and Whipped Topping
The remaining ingredients complete the creamy layers of Sugar-Free Cherry Cheesecake Lush Dessert.
For the pudding layer, use two packages of sugar-free instant vanilla pudding mix.
The recipe specifies two 3.4-ounce packages, but sugar-free pudding packages often contain less powder than regular pudding packages.
Therefore, check the package carefully.
Use two packages of sugar-free instant pudding intended to prepare approximately four servings each, and follow the recipe’s three-cup milk measurement.
Instant pudding works best because it thickens without cooking.
Choose cold milk for a smooth, reliable texture.
Whole milk creates a richer pudding, while 2% milk offers a slightly lighter option.
Some plant-based milks do not thicken instant pudding as effectively, so check the pudding manufacturer’s guidance before substituting.
After whisking the pudding until thick, fold in one cup of thawed sugar-free whipped topping.
This creates a fluffy pudding layer that spreads easily over the cheesecake filling.
Next, choose one can of sugar-free cherry pie filling.
A standard 20- to 21-ounce can provides a generous fruit layer.
Look for a filling with plenty of cherries and a pleasant balance of sweetness and tartness.
Because brands use different sweeteners and thickening agents, the flavor and carbohydrate content may vary.
Finally, reserve two cups of sugar-free whipped topping for the uppermost layer.
This creates a light, creamy finish.
Sprinkle half a cup of chopped pecans over the top.
The pecans add crunch and make the dessert look inviting.
Together, these ingredients create the signature combination of creamy, fruity, and nutty flavors.
How to Make Sugar-Free Cherry Cheesecake Lush Dessert Perfectly
Preparing the Crust and Creamy Cheesecake Layers
Making Sugar-Free Cherry Cheesecake Lush Dessert starts with the crust.
First, combine the sugar-free vanilla wafer crumbs and finely chopped pecans in a medium mixing bowl.
Pour in the melted butter.
Stir until the crumbs and nuts absorb the butter evenly.
Next, transfer the mixture to a 9-by-13-inch baking dish.
Press it firmly across the bottom, creating an even layer.
Pay special attention to the corners.
A firmly packed crust holds together better when you slice the finished dessert.
Place the dish in the refrigerator for at least one hour.
While the crust chills, prepare the cheesecake filling.
Add the softened cream cheese to a large mixing bowl.
Beat with an electric mixer until smooth.
Next, add the powdered sugar-free sweetener.
Continue mixing until the filling becomes creamy and the sweetener blends completely.
Scrape down the sides of the bowl as needed.
Then gently fold in one and a half cups of thawed sugar-free whipped topping.
Use a spatula rather than an electric mixer for this step.
Gentle folding helps preserve the light, fluffy texture.
Once the crust becomes firm, remove it from the refrigerator.
Spoon the cheesecake mixture over the crust.
Spread it evenly with an offset spatula or the back of a spoon.
Work carefully so you don’t disturb the crumb layer.
For especially neat layers, return the dish to the refrigerator while you prepare the pudding.
This brief chilling period helps the cheesecake filling maintain its shape.
Adding the Pudding, Cherries, and Final Topping
The next step in Sugar-Free Cherry Cheesecake Lush Dessert involves preparing the vanilla pudding layer.
Pour three cups of cold milk into a large mixing bowl.
Add the two packages of sugar-free instant vanilla pudding mix.
Whisk for approximately two minutes, or until the mixture begins to thicken.
Allow the pudding to stand briefly if necessary.
Next, gently fold in one cup of thawed sugar-free whipped topping.
Continue folding until the mixture becomes smooth and fluffy.
Remove the baking dish from the refrigerator.
Spoon the pudding mixture over the cheesecake layer.
Spread carefully into an even layer.
Avoid pressing too firmly because you want to keep the layers separate.
Next, open the can of sugar-free cherry pie filling.
Spoon the cherries gently over the pudding.
Distribute the fruit evenly across the surface.
Use the back of a spoon to spread the filling without pushing it into the pudding.
Then add the remaining two cups of sugar-free whipped topping.
Spread the topping carefully over the cherries.
For a smooth finish, use a clean offset spatula.
Finally, sprinkle half a cup of chopped pecans over the whipped topping.
Cover the baking dish and refrigerate for at least four hours.
However, overnight chilling provides the best results.
The extended chilling time allows the creamy layers to become firmer and makes slicing easier.
When you’re ready to serve, use a sharp knife to cut the dessert into squares.
Wipe the knife between cuts for cleaner edges.
Serve chilled and enjoy the combination of creamy cheesecake, vanilla pudding, sweet cherries, and crunchy pecans.
Delicious Variations, Serving Ideas, and Storage Tips
Easy Ways to Customize Your Cherry Cheesecake Lush
Although Sugar-Free Cherry Cheesecake Lush Dessert tastes delicious as written, you can easily create different variations.
For a chocolate-inspired version, replace the vanilla pudding with sugar-free chocolate instant pudding.
The combination of chocolate, cherries, and cheesecake creates a rich dessert with flavors similar to chocolate-covered cherries.
You can also replace the cherry pie filling with sugar-free strawberry or blueberry pie filling.
Each fruit creates a different flavor and appearance.
For a stronger cheesecake flavor, add one teaspoon of vanilla extract to the cream cheese mixture.
A small amount of lemon zest also works beautifully.
The lemon brightens the creamy filling and complements the cherries.
If you enjoy a nuttier crust, replace some of the vanilla wafer crumbs with additional finely ground pecans.
However, remember that changing the crust proportions may affect how firmly it holds together.
For a different texture, use chopped walnuts instead of pecans.
Walnuts provide a slightly more robust flavor.
You can also sprinkle a little sugar-free chocolate over the final whipped topping.
This creates an attractive garnish for special occasions.
For individual servings, assemble the layers in small dessert glasses.
Start with a spoonful of crumb mixture.
Then add the cheesecake filling, pudding, cherries, and whipped topping.
Finish with chopped pecans.
Individual portions look especially attractive at parties.
They also eliminate the need to cut squares.
Regardless of the variation, keep the dessert refrigerated until serving.
The chilled temperature helps the creamy layers maintain their structure.
Make-Ahead Preparation, Storage, and Serving Suggestions
Sugar-Free Cherry Cheesecake Lush Dessert is an excellent make-ahead dessert.
In fact, preparing it the night before serving often produces the best texture.
The crust becomes firm, and the cheesecake and pudding layers have time to settle.
For the cleanest slices, refrigerate the assembled dessert overnight.
When serving, use a sharp knife and wipe the blade between cuts.
This prevents the layers from smearing together.
A small offset spatula also helps lift individual squares from the baking dish.
For an attractive presentation, place each square on a chilled dessert plate.
You can garnish with a few additional chopped pecans if desired.
Serve the dessert cold rather than allowing it to sit at room temperature for an extended period.
Because it contains cream cheese, milk, and whipped topping, proper refrigeration is important.
Keep the dessert at 40°F or below.
Refrigerate it within two hours whenever you serve it outside the refrigerator.
For storage, cover the baking dish tightly with plastic wrap or transfer individual portions to airtight containers.
Enjoy leftovers within three to four days.
Over time, the crust may soften as it absorbs moisture from the creamy layers.
However, the dessert should retain its pleasant flavor during proper refrigerated storage.
Freezing is possible, but thawing may change the texture of the pudding and whipped topping.
For the best consistency, prepare the dessert fresh and store it in the refrigerator.
If you’re transporting it to a gathering, use a covered baking dish and keep it chilled in an insulated cooler.
This helps preserve the distinct layers and keeps the dessert ready to serve.
Ingredients
Servings: 15 | Prep time: 25 minutes | Crust chilling: 1 hour | Final chilling: 4 hours | Total time: approximately 5 hours 25 minutes | Best chilled overnight
Sugar-Free Pecan Crust
- 1½ cups sugar-free vanilla wafer crumbs
- 1 cup pecans, finely chopped
- ½ cup unsalted butter, melted
Sugar-Free Cheesecake Layer
- 8 oz cream cheese, softened
- 1 cup powdered sugar-free sweetener
- 1½ cups sugar-free whipped topping, thawed
Sugar-Free Vanilla Pudding Layer
- 2 packages sugar-free instant vanilla pudding mix, approximately 4 servings each (package weights vary by brand)
- 3 cups cold milk
- 1 cup sugar-free whipped topping, thawed
Sugar-Free Cherry and Whipped Topping Layer
- 1 can (20–21 oz) sugar-free cherry pie filling
- 2 cups sugar-free whipped topping, thawed
- ½ cup pecans, chopped
Instructions
1. Prepare the crust. In a mixing bowl, combine the sugar-free vanilla wafer crumbs, finely chopped pecans, and melted butter. Stir until the mixture resembles evenly moistened crumbs.
2. Press and chill. Transfer the crust mixture to a 9-by-13-inch baking dish. Press firmly into an even layer. Refrigerate for at least 1 hour.
3. Make the cheesecake filling. Beat the softened cream cheese and powdered sugar-free sweetener with an electric mixer until smooth and creamy.
4. Fold in whipped topping. Gently fold 1½ cups of thawed sugar-free whipped topping into the cheesecake mixture until light and fluffy.
5. Spread the cheesecake layer. Spoon the cheesecake filling over the chilled crust and spread evenly with a spatula.
6. Prepare the pudding layer. Whisk the two packages of sugar-free instant vanilla pudding mix with 3 cups of cold milk until thickened. Gently fold in 1 cup of thawed sugar-free whipped topping.
7. Add the pudding. Carefully spread the vanilla pudding mixture over the cheesecake layer, keeping the layers as separate as possible.
8. Add the cherries. Spoon the sugar-free cherry pie filling evenly over the pudding layer. Spread gently to avoid disturbing the pudding.
9. Finish the topping. Spread the remaining 2 cups of sugar-free whipped topping over the cherries. Sprinkle with ½ cup of chopped pecans.
10. Chill and serve. Cover and refrigerate for at least 4 hours, preferably overnight. Cut into 15 squares and serve chilled.
Helpful tip: For the neatest layers, chill the crust thoroughly and spread each filling gently. Overnight refrigeration makes the dessert easier to slice.
Frequently Asked Questions
1. Is Sugar-Free Cherry Cheesecake Lush Dessert completely free of sugar?
Not necessarily. The recipe uses ingredients marketed as sugar-free, but milk, cherries, and some other ingredients naturally contain sugars. Additionally, sugar-free products may still contain carbohydrates. Check the nutrition labels of your specific ingredients if you need to monitor sugar or carbohydrate intake.
2. Can I make this cherry cheesecake lush dessert the night before?
Yes. Overnight preparation works especially well because the crust and creamy layers have more time to firm up. Assemble the dessert, cover the dish, and refrigerate overnight. Slice and serve directly from the refrigerator.
3. What can I use instead of sugar-free vanilla wafers?
You can use another sugar-free crunchy cookie that crumbles easily. Sugar-free shortbread-style cookies may work, depending on their texture. You can also experiment with a nut-based crust, although you may need to adjust the butter to achieve the right consistency.
4. Why isn’t my sugar-free vanilla pudding thickening?
Instant pudding may remain thin if you use an incompatible milk substitute, too much liquid, or a pudding product that requires cooking. Use instant pudding mix and cold dairy milk for the most reliable result. Also check that your pudding packages match the intended serving size, since sugar-free and regular packages often have different weights.
5. How long does Sugar-Free Cherry Cheesecake Lush Dessert last in the refrigerator?
Store the dessert covered in the refrigerator at 40°F or below for three to four days. Keep it chilled between servings and avoid leaving it at room temperature for more than two hours. The crust may soften gradually, so the dessert usually tastes best during the first couple of days.
Conclusion
Sugar-Free Cherry Cheesecake Lush Dessert combines everything people love about creamy layered desserts in one easy, no-bake recipe.
The buttery vanilla wafer and pecan crust creates a delicious foundation, while the fluffy cheesecake filling adds richness and tangy flavor.
Smooth vanilla pudding provides another creamy layer, and the cherry pie filling adds a bright, fruity contrast.
Finally, whipped topping and chopped pecans complete the dessert with a light finish and satisfying crunch.
Best of all, you can prepare the entire recipe ahead of time, making it a convenient choice for holidays, potlucks, birthdays, and family gatherings.
For the best results, chill the crust thoroughly, spread the layers carefully, and refrigerate the finished dessert overnight.
Whether you’re looking for a sugar-free alternative to traditional cherry cheesecake desserts or simply want a beautiful make-ahead treat, this creamy layered dessert makes a delicious addition to your table.