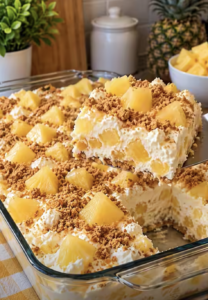
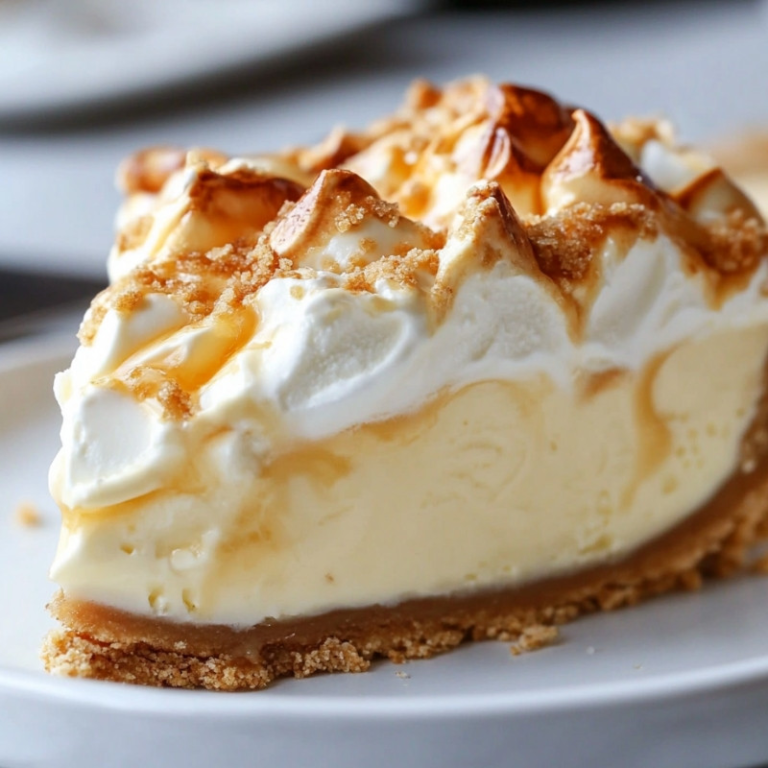
No-Bake Peaches & Cream Icebox Cake combines juicy peaches, fluffy cream cheese filling, and tender graham cracker layers in a cool dessert that requires no oven. After several hours in the refrigerator, the graham crackers soften and create a cake-like texture between layers of sweet peaches and creamy filling.
This dessert works especially well during warmer months when fresh, fruity flavors sound better than a heavy baked cake. Even better, you can assemble the entire No-Bake Peaches & Cream Icebox Cake ahead of time. Let it chill overnight, then decorate and serve it straight from the refrigerator.
The combination of cream cheese, sweetened condensed milk, vanilla, and homemade whipped cream creates a rich filling. Meanwhile, canned peaches keep preparation quick and provide plenty of peach flavor in every slice.
I first started appreciating icebox cakes when I needed desserts that could be completely finished before guests arrived. This peach version quickly became one of my favorites because it gets better while it sits in the refrigerator. At first, the graham crackers seem too crisp to become cake, but overnight they absorb just enough moisture from the cream and peaches. The next day, a knife slides through the layers surprisingly easily. I also like reserving a few beautiful peach slices for the top. That small finishing touch makes the dessert look special even though the actual preparation stays wonderfully simple.
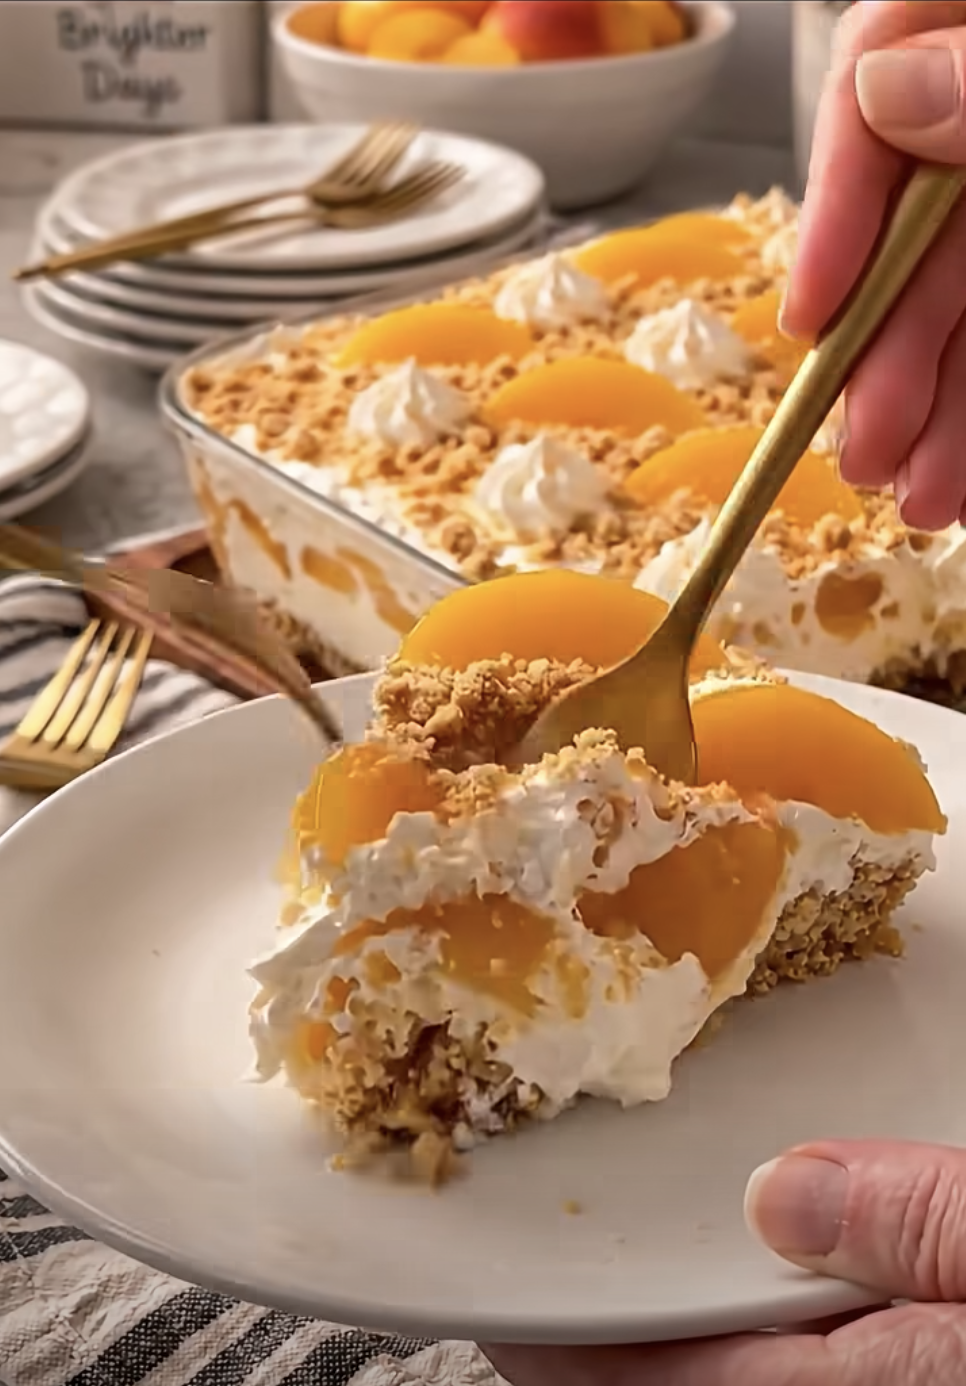
No-Bake Peaches & Cream Icebox Cake: Easy Chilled Dessert
Ingredients
Equipment
Method
- Beat the softened cream cheese in a large mixing bowl until smooth and creamy.
- Add the sweetened condensed milk and vanilla extract and beat until completely combined.
- In a separate bowl, whip the cold heavy whipping cream with the powdered sugar until stiff peaks form.
- Gently fold the whipped cream into the cream cheese mixture until light, fluffy, and evenly combined.
- Drain and chop the peaches. Reserve 1/2 cup peach juice or syrup and several peach slices for decorating.
- Spread a thin layer of cream filling across the bottom of a 9×13-inch dish. Briefly dip graham crackers in the reserved peach juice and arrange them over the cream.
- Spread another layer of cream filling over the crackers and scatter chopped peaches evenly over the cream.
- Repeat the graham cracker, cream, and peach layers until the ingredients are used, finishing with a smooth layer of cream filling.
- Cover and refrigerate for at least 6 hours, preferably overnight, until the graham crackers become soft and cake-like.
- Decorate with peach slices and crushed graham crackers, then slice into squares and serve chilled.
Notes
Creating the Creamy Cheesecake Filling
Mix the Cream Cheese and Condensed Milk
Start the No-Bake Peaches & Cream Icebox Cake with softened cream cheese.
Place 8 ounces of cream cheese in a large mixing bowl. Then beat it with an electric mixer until smooth and creamy.
Starting with softened cream cheese helps prevent lumps.
Next, pour in one 14-ounce can of sweetened condensed milk and add 1 teaspoon vanilla extract.
Continue mixing until everything looks smooth and evenly combined.
Sweetened condensed milk provides both sweetness and richness, so you do not need additional sugar in this portion of the filling.
Scrape the sides and bottom of the bowl with a rubber spatula. Then mix briefly again.
The mixture should look silky and relatively thick before you add the whipped cream.
Whip and Fold the Heavy Cream
Pour 2 cups cold heavy whipping cream into a separate bowl.
Add ½ cup powdered sugar.
Beat the cream with an electric mixer until stiff peaks form. When you lift the beaters, the whipped cream should maintain its shape.
However, stop once you reach stiff peaks so the cream remains smooth.
Next, gently fold the whipped cream into the cream cheese mixture.
Add it in several portions rather than all at once. Use a rubber spatula and broad folding motions.
This method keeps plenty of air inside the filling.
As a result, the finished No-Bake Peaches & Cream Icebox Cake has a fluffy texture instead of a dense cheesecake consistency.
Continue folding just until no obvious streaks remain.
Preparing the Peaches and Graham Cracker Layers
Drain and Chop the Peaches
Drain two 15-ounce cans of sliced peaches.
Before discarding the liquid, reserve about ½ cup of the peach juice or syrup. You will use it to lightly moisten the graham crackers.
Drain the peaches thoroughly so excess liquid does not make the dessert watery.
Next, chop most of the peach slices into bite-sized pieces.
If you want an attractive topping, reserve several of the best-looking slices before chopping the rest.
Keeping the pieces relatively small also makes the finished No-Bake Peaches & Cream Icebox Cake easier to cut.
Each slice can then contain peaches without large pieces pushing the creamy layers apart.
Start Building the Icebox Cake
Spread a thin layer of cream filling across the bottom of a 9×13-inch dish.
Pour the reserved peach juice into a shallow bowl.
Briefly dip each graham cracker into the juice. Do not soak the crackers. A quick dip provides enough moisture because the refrigerator will handle the remaining softening.
Arrange the crackers over the thin cream layer.
Break individual crackers when necessary to fill gaps along the sides of the dish.
Next, spread a generous layer of cream filling over the graham crackers.
Scatter some chopped peaches evenly across the cream.
Now you have the first complete combination of crackers, cream, and fruit.
Layering and Chilling the Icebox Cake
Repeat the Peaches and Cream Layers
Continue building the No-Bake Peaches & Cream Icebox Cake using the same simple pattern.
Add another layer of briefly dipped graham crackers. Then spread more cream filling across the crackers and scatter chopped peaches over the top.
Continue until you use the prepared components.
The exact number of graham cracker layers can vary slightly depending on the dimensions of your dish and how generously you spread the filling.
However, finish the dessert with a creamy layer rather than exposed crackers.
Spread the final cream layer from edge to edge and smooth the surface.
This top layer creates a clean background for the peach garnish you will add after chilling.
Give the Graham Crackers Time to Soften
Cover the assembled dessert and place it in the refrigerator.
Chill it for at least 6 hours.
However, overnight refrigeration gives No-Bake Peaches & Cream Icebox Cake an especially tender texture.
During the resting period, the graham crackers absorb moisture from the cream filling, peach juice, and fruit.
Consequently, their texture changes from crisp crackers to soft, cake-like layers.
This transformation explains why chilling remains such an important part of an icebox cake recipe.
Therefore, avoid cutting the dessert too early.
An overnight rest also helps the filling become firmer, which makes slicing and serving easier the following day.
Decorating, Serving, and Storing the Cake
Finish With Peaches and Graham Crumbs
Once the No-Bake Peaches & Cream Icebox Cake has chilled thoroughly, remove it from the refrigerator.
Arrange reserved fresh or canned peach slices over the creamy surface.
You can create a simple row down the center or distribute the peaches across individual serving areas.
Next, sprinkle crushed graham crackers over the top if desired.
The crumbs provide a little visual contrast while reinforcing the graham cracker flavor inside the dessert.
For an especially attractive presentation, add the final garnish shortly before serving.
Then use a sharp knife to cut the chilled dessert into squares.
Serve the Dessert Cold
Serve No-Bake Peaches & Cream Icebox Cake directly from the refrigerator.
Cold temperatures help the creamy filling hold its shape and keep the dessert refreshing.
For cleaner slices, wipe your knife between cuts.
A thin serving spatula also helps lift the layered squares from the dish.
Because this recipe contains cream cheese and heavy whipping cream, keep leftovers covered and refrigerated.
Additionally, the dessert works particularly well for advance preparation.
Assemble it the evening before a gathering and allow it to chill overnight. Then add the decorative peaches and graham cracker crumbs shortly before serving.
With the preparation finished ahead of time, you can bring a beautiful chilled dessert to the table without last-minute baking or complicated decorating.
Ingredients
- 2 cups heavy whipping cream, cold
- ½ cup powdered sugar
- 1 teaspoon vanilla extract
- 8 ounces cream cheese, softened
- 1 can (14 ounces) sweetened condensed milk
- 2 cans (15 ounces each) sliced peaches, drained and chopped
- 1 package (14 ounces) graham crackers
- ½ cup peach juice or syrup reserved from the canned peaches
- 1 fresh peach, sliced, for topping
- ¼ cup crushed graham crackers, optional
Instructions
- Beat the softened cream cheese in a large bowl until completely smooth.
- Add the sweetened condensed milk and vanilla extract, then beat until creamy and evenly combined.
- In a separate bowl, whip the cold heavy cream with the powdered sugar until stiff peaks form.
- Gently fold the whipped cream into the cream cheese mixture until light and fluffy.
- Drain and chop the peaches, reserving ½ cup peach juice or syrup and several attractive slices for decorating.
- Spread a thin layer of cream filling across the bottom of a 9×13-inch dish. Briefly dip graham crackers in the reserved peach juice and arrange them over the cream.
- Spread more cream filling over the crackers and scatter chopped peaches on top. Repeat the graham cracker, cream, and peach layers until the ingredients are used, finishing with cream.
- Cover and refrigerate the No-Bake Peaches & Cream Icebox Cake for at least 6 hours, preferably overnight.
- Decorate with peach slices and crushed graham crackers.
- Slice into squares and serve chilled.
Frequently Asked Questions
How long should No-Bake Peaches & Cream Icebox Cake chill?
Chill the cake for at least 6 hours. However, overnight refrigeration gives the graham crackers more time to soften and creates the best cake-like texture.
Should I soak the graham crackers in peach juice?
No. Dip them only briefly. The crackers will continue absorbing moisture from the creamy filling and peaches while the dessert rests in the refrigerator.
Can I make No-Bake Peaches & Cream Icebox Cake ahead of time?
Yes. This dessert works particularly well when prepared the day before serving. Assemble it, cover it, and refrigerate it overnight. Then add the final garnish before serving.
Can I use fresh peaches instead of canned peaches?
Yes. Ripe fresh peaches can work well in the layers. However, the canned peaches conveniently provide the peach juice or syrup used for dipping the graham crackers.
Why didn’t my graham crackers become soft?
The dessert probably needs additional refrigeration. Give the assembled No-Bake Peaches & Cream Icebox Cake at least 6 hours to soften, although an overnight chill usually creates an even more tender texture.
Conclusion
No-Bake Peaches & Cream Icebox Cake delivers layers of juicy peaches, fluffy cream filling, and softened graham crackers without requiring any baking.
The cream cheese and sweetened condensed milk create a rich base, while freshly whipped cream gives the filling a lighter texture. Meanwhile, peach juice helps start the softening process for the graham crackers.
After several hours of chilling, those simple layers transform into a soft, creamy dessert that cuts much like a traditional cake.
For the easiest preparation and best texture, assemble No-Bake Peaches & Cream Icebox Cake the evening before serving. Refrigerate it overnight, then decorate it with peach slices and crushed graham crackers before bringing it to the table.
It is an especially convenient choice for summer parties, potlucks, family dinners, and any occasion that calls for a cool fruit dessert.