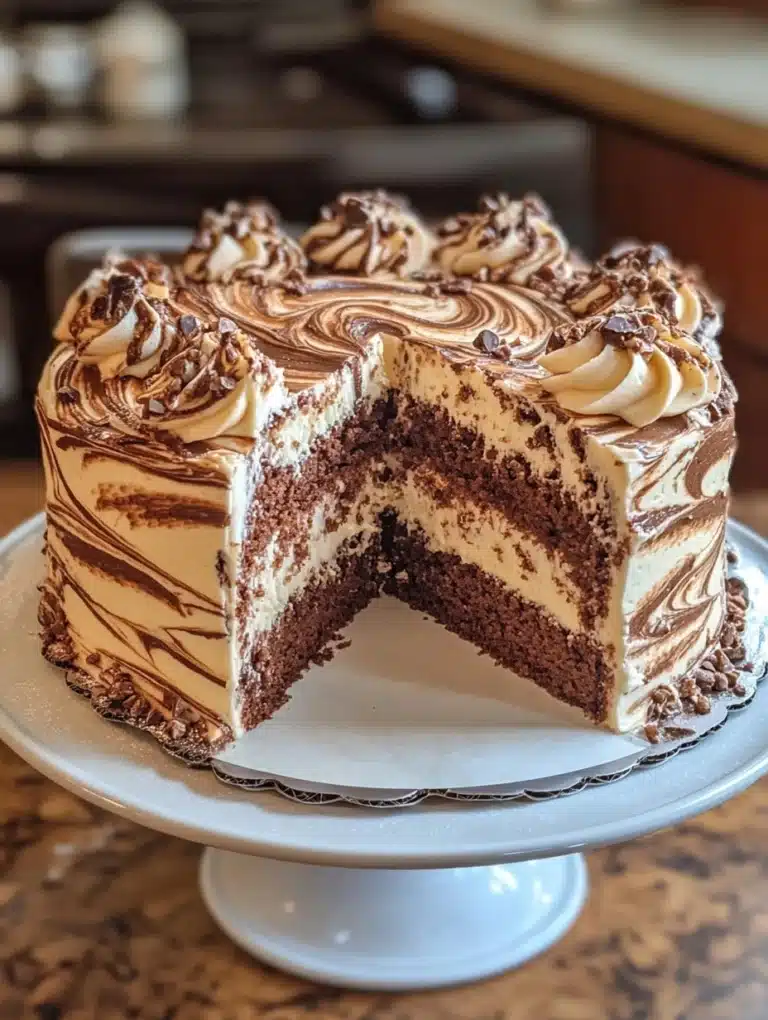
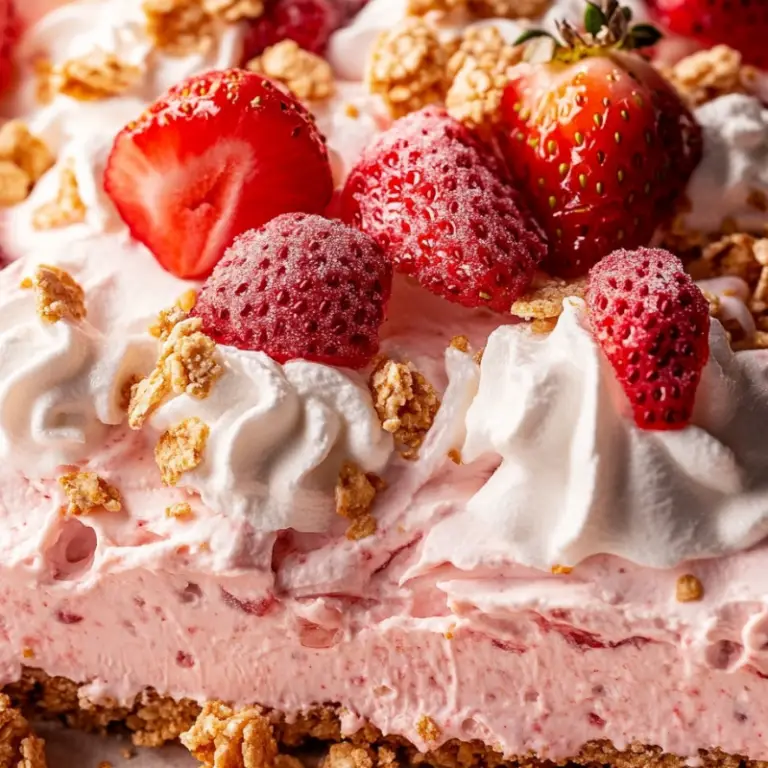
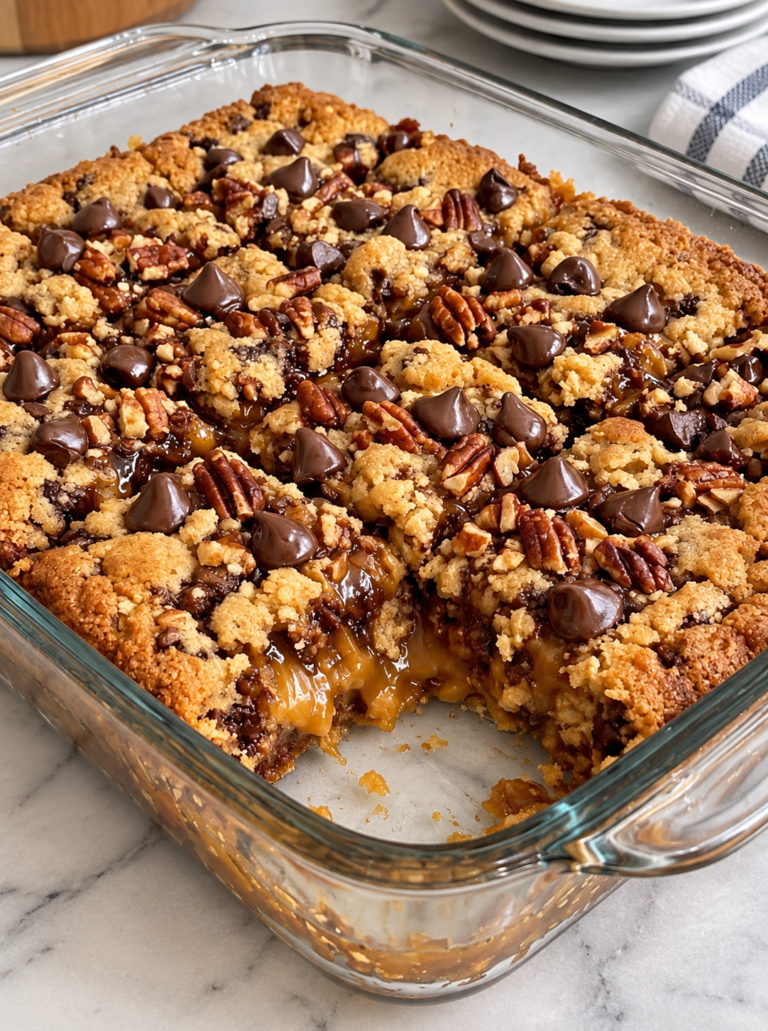
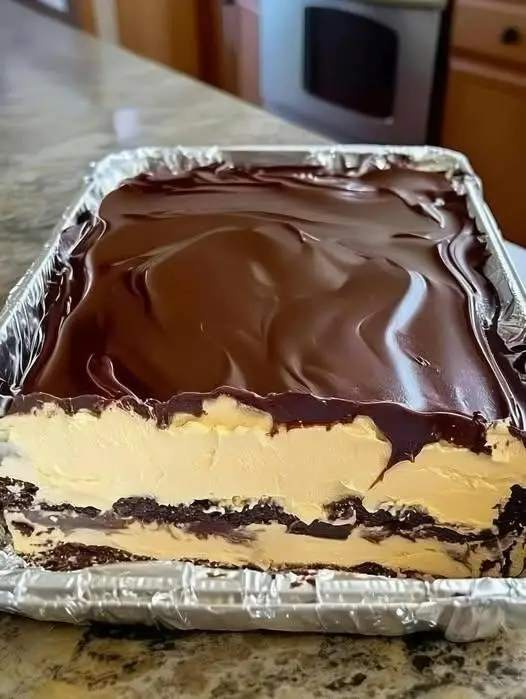
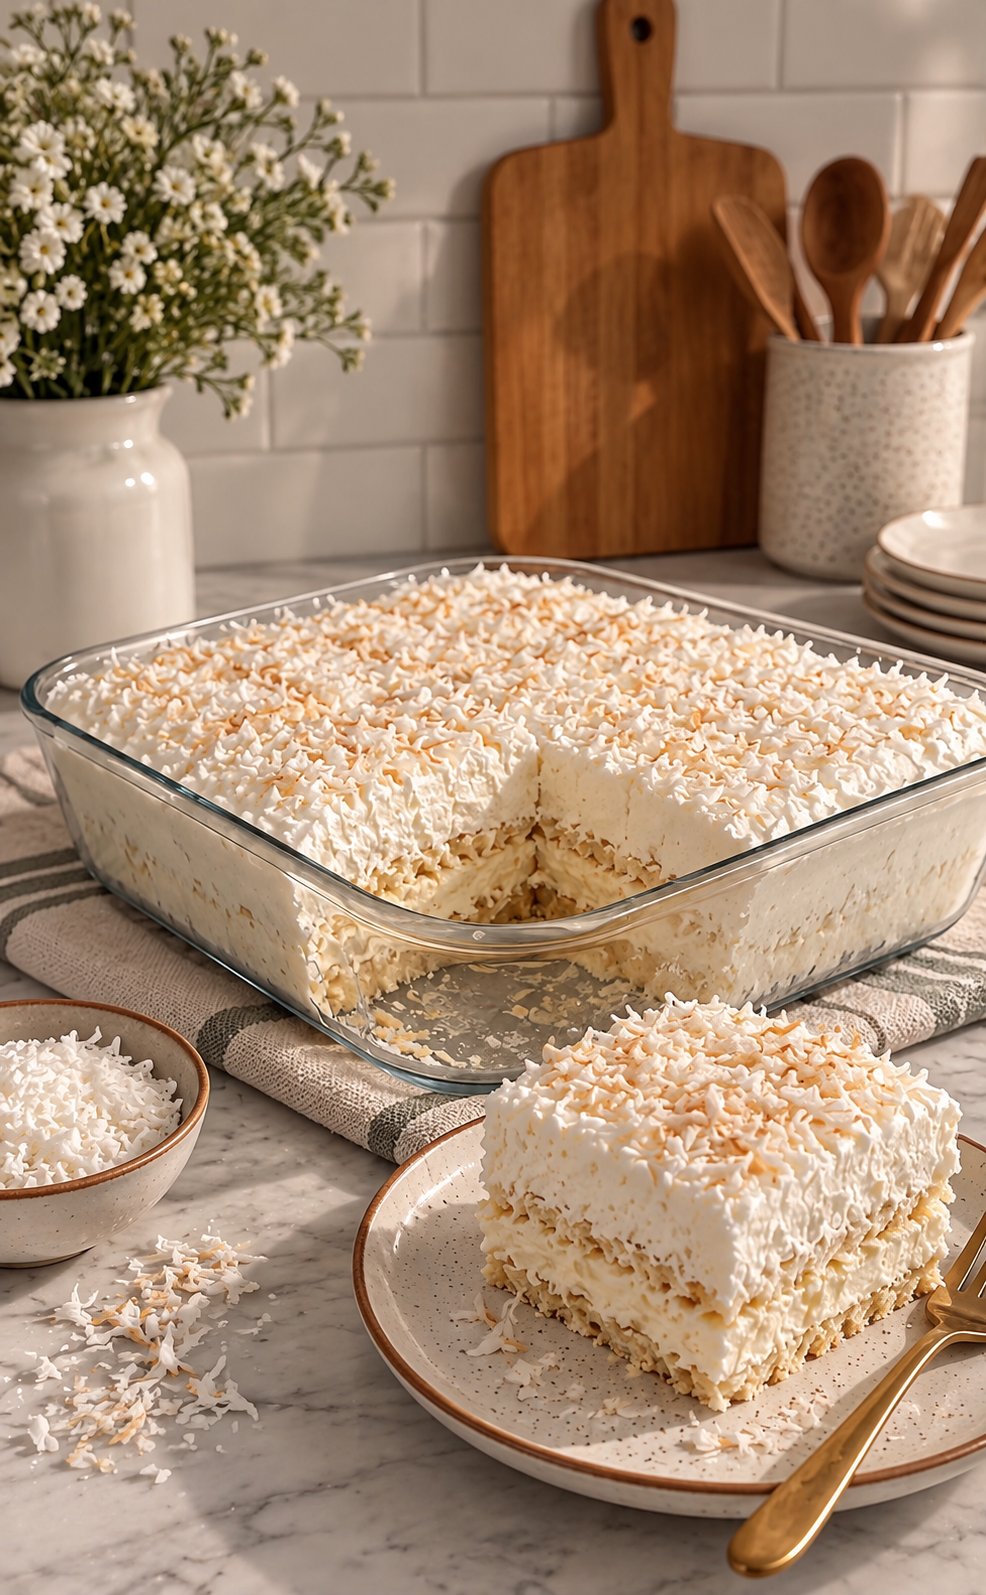
No-Bake Coconut Cream Dream Dessert combines a buttery graham cracker and coconut crust with layers of rich coconut cream and a sweet, fluffy filling. Toasted coconut finishes the top with extra flavor and a delicate crunch. Best of all, you can prepare the entire dessert without turning on the oven.
This No-Bake Coconut Cream Dream Dessert works especially well for summer gatherings, potlucks, holidays, family dinners, or any occasion when you need a simple make-ahead treat. The hands-on preparation takes only about 15 minutes. After that, the refrigerator does the important work by chilling and setting the layers.
Coconut appears throughout the dessert rather than only as a garnish. Shredded coconut adds texture to the graham cracker crust, coconut cream forms a rich middle layer, and toasted coconut gives the finished dessert an aromatic topping. Meanwhile, sweetened condensed milk and whipped cream create a soft, creamy layer that balances the crumbly base.
I first made a coconut cream dessert like this when I needed something for a warm-weather gathering but had no desire to keep the oven running. I mixed the graham cracker crust first, and the coconut immediately made it smell more interesting than an ordinary crumb base. Then I layered the coconut cream and fluffy filling over it and put the dish in the refrigerator. The hardest part was leaving it alone long enough to set. Just before serving, I scattered toasted coconut over the top. The contrast between the cold creamy layers and crisp coconut made the simple dessert feel surprisingly special.
Building the Perfect Coconut Graham Cracker Base
Combine the Graham Crackers, Coconut, and Butter
A good crust gives No-Bake Coconut Cream Dream Dessert enough structure to support its soft, creamy layers.
Start with 1½ cups graham cracker crumbs.
Place the crumbs in a medium mixing bowl and add ½ cup unsweetened shredded coconut.
Using unsweetened coconut gives the crust plenty of coconut flavor without making it excessively sweet. Since the filling contains sweetened condensed milk, the dessert already has plenty of sweetness.
Next, melt ½ cup unsalted butter.
Pour the melted butter over the graham cracker and coconut mixture.
Stir thoroughly until the crumbs look evenly moistened.
When you squeeze a small amount between your fingers, the mixture should hold together.
The coconut adds texture, while the butter binds everything into a sliceable base after chilling.
Transfer the crumb mixture to a 9-inch pie dish.
Spread it across the bottom before pressing it firmly into place.
You can also bring some of the crumbs slightly up the sides if you prefer a more traditional pie-style crust.
Use the flat bottom of a measuring cup or drinking glass to compact the crumbs.
Firm pressure matters because No-Bake Coconut Cream Dream Dessert does not bake its crust. Therefore, chilling and compression provide the structure.
Once the crust feels firm and even, place it in the refrigerator while you prepare the filling.
Ingredients
Equipment
Method
- Combine the graham cracker crumbs, unsweetened shredded coconut, and melted butter until evenly moistened.
- Press the crumb mixture firmly into the bottom of a 9-inch pie dish, then refrigerate while preparing the filling.
- Pour the cold heavy whipping cream into a large bowl and begin beating with an electric mixer.
- Gradually add the sweetened condensed milk and vanilla, then continue mixing until the filling becomes thick and fluffy.
- Spread the coconut cream evenly over the chilled graham cracker crust.
- Spoon the whipped condensed milk mixture over the coconut cream layer and gently smooth the surface.
- Cover the dessert and refrigerate for at least 4 hours or overnight until thoroughly chilled and set.
- Sprinkle the cooled toasted coconut flakes over the top immediately before serving.
- Cut into eight portions and serve chilled.
Notes
Give the Crust Time to Firm
Although you can begin preparing the creamy layers immediately, letting the crust chill while you work improves its texture.
As the melted butter cools, it becomes firm again.
Consequently, the graham cracker crumbs and shredded coconut bind together more securely.
A properly chilled crust makes No-Bake Coconut Cream Dream Dessert easier to portion later.
If you have extra time, chill the crust for 20 to 30 minutes before adding the next layer.
However, even a shorter chilling period helps.
Avoid adding warm ingredients to the crust.
All of the filling components should remain cool or at room temperature.
If you want additional coconut flavor, lightly toast the shredded coconut before adding it to the crust. Make sure it cools completely first.
Toasting brings out a deeper, nuttier flavor.
However, the original version works perfectly well with untoasted coconut in the crust and toasted coconut reserved for the topping.
You can also use finely crushed vanilla cookies instead of graham crackers for a sweeter variation.
Still, graham crackers provide a pleasant toasted flavor that balances the rich coconut cream particularly well.
Once the crust has chilled and feels firm, you can start building the creamy layers.
Creating the Rich Coconut Cream Layers
Make the Sweet Whipped Cream Mixture
The soft filling gives No-Bake Coconut Cream Dream Dessert its light, cloud-like texture.
Pour 1½ cups cold heavy whipping cream into a large mixing bowl.
Cold cream whips much more effectively than warm cream, so keep it refrigerated until the moment you need it.
Begin beating the cream with an electric mixer.
As it starts to thicken, gradually incorporate one 14-ounce can of sweetened condensed milk.
Add 1 tablespoon vanilla extract.
Continue mixing until the filling becomes thick and fluffy.
The sweetened condensed milk adds sweetness and a rich dairy flavor, while vanilla softens and rounds out the coconut notes.
Watch the texture carefully.
You want a filling that looks airy and thick enough to spread.
However, avoid beating the mixture longer than necessary.
Overmixing whipped cream can eventually create a grainy consistency.
Once the mixture holds its shape, stop beating.
Keep it refrigerated if the crust or other ingredients are not ready.
Because No-Bake Coconut Cream Dream Dessert depends on chilling rather than baking, maintaining cool ingredients throughout assembly gives you the best final texture.
Add the Coconut Cream Layer
Remove the chilled crust from the refrigerator.
Measure 1 cup coconut cream.
Coconut cream has a rich consistency and concentrated coconut flavor, so it creates a distinctive layer between the crust and whipped filling.
Spread the coconut cream evenly across the graham cracker base.
Use the back of a spoon or a small offset spatula.
Work gently so you do not disturb the crumb crust underneath.
Once the coconut cream covers the crust, spoon the whipped condensed milk mixture over it.
Add the filling in several portions rather than dropping everything into the center at once.
Then gently spread it toward the edges.
This technique reduces pressure on the coconut layer and helps preserve the separate textures.
Smooth the top as much as you like.
You can create an even surface for a neat presentation or make gentle swirls with the spatula for a softer, homemade appearance.
At this stage, the No-Bake Coconut Cream Dream Dessert should look thick and creamy.
However, it still needs several hours in the refrigerator before it reaches its best consistency.
Cover the pie dish carefully without pressing the covering into the filling.
Then refrigerate it.
Chilling and Finishing No-Bake Coconut Cream Dream Dessert
Refrigerate Until the Layers Set
Chilling is the most important hands-off step in No-Bake Coconut Cream Dream Dessert.
Refrigerate the assembled dessert for at least 4 hours.
During this time, the butter in the crust becomes firm, while the coconut and whipped layers settle.
Although four hours works well, overnight chilling can provide an even better texture.
The longer rest allows the dessert to become thoroughly cold and makes portioning easier.
Resist the temptation to cut into it too early.
A dessert that has chilled for only an hour may taste delicious, but the layers can be too soft to hold together neatly.
Keep the dish on a flat refrigerator shelf so the filling remains level.
Additionally, cover it well to prevent the cream from absorbing odors from other foods.
If you plan to make No-Bake Coconut Cream Dream Dessert for a party, preparing it the previous evening makes serving especially convenient.
The next day, you only need to add the final garnish.
That make-ahead advantage makes this recipe particularly useful for holidays and gatherings when several dishes compete for your attention.
Finish With Toasted Coconut
Before serving, top the dessert with ¼ cup toasted coconut flakes.
Toasting coconut intensifies its flavor and creates a crisp contrast with the creamy filling.
You can buy toasted coconut or prepare it yourself in a dry skillet.
If using a skillet, place the coconut over low to medium-low heat and stir frequently.
Coconut can brown quickly, so stay nearby.
Remove it from the pan as soon as it develops an even golden color.
Then let it cool completely.
Never put hot toasted coconut directly onto the chilled cream layer because the heat can soften the surface.
Once cooled, scatter the coconut evenly over the No-Bake Coconut Cream Dream Dessert.
You can cover the entire top or concentrate it around the edges.
For an even more decorative presentation, add small swirls of whipped cream.
Fresh berries can also provide a colorful contrast.
Chocolate shavings work beautifully because chocolate and coconut naturally complement one another.
However, keep the toppings simple enough that coconut remains the dominant flavor.
After garnishing, return the dessert to the refrigerator until serving time.
Serving, Storing, and Customizing This Coconut Dessert
Serve Cold With Simple Garnishes
No-Bake Coconut Cream Dream Dessert tastes best directly from the refrigerator.
Use a sharp knife to cut it into eight portions.
Then use a pie server to lift each piece from the dish.
If you want cleaner slices, wipe the knife after each cut.
Because the filling remains creamy, the slices may look softer than baked cheesecake or custard pie. That texture is part of the dessert’s appeal.
Add extra toasted coconut to individual servings if desired.
Fresh strawberries or raspberries create a refreshing tart contrast.
Meanwhile, chocolate shavings or a light chocolate drizzle can turn the dessert into a coconut-chocolate variation.
For a tropical version, serve each piece with diced mango or pineapple.
Banana slices also pair nicely with coconut, although you should cut them shortly before serving to prevent browning.
Coffee and iced tea both work well alongside No-Bake Coconut Cream Dream Dessert.
Lemonade provides a brighter pairing for summer meals.
Regardless of the garnish, serve the dessert thoroughly chilled so the filling stays at its best.
Store Leftovers and Try Easy Variations
Cover leftover No-Bake Coconut Cream Dream Dessert and keep it refrigerated.
For the best flavor and texture, enjoy it within several days.
Over time, the graham cracker crust absorbs moisture from the creamy layers and becomes softer.
Some people enjoy that softer texture, but the dessert provides its strongest contrast during the first few days.
You can also customize the recipe easily.
For a chocolate coconut version, replace the graham cracker crust with crushed chocolate cookies.
Then finish the top with dark chocolate shavings.
For a tropical fruit version, add a thin layer of diced mango or well-drained pineapple.
You can also use toasted coconut throughout the crust if you prefer a deeper coconut flavor.
If you want individual portions, assemble the ingredients in small dessert glasses instead of a pie dish.
Add graham cracker crumbs to each glass, followed by coconut cream and whipped filling.
Then finish each portion with toasted coconut.
This parfait-style version of No-Bake Coconut Cream Dream Dessert works particularly well for parties because nobody needs to cut or serve slices.
Frequently Asked Questions
Can I make No-Bake Coconut Cream Dream Dessert ahead of time?
Yes. In fact, making it the day before serving works very well. Overnight refrigeration gives the layers plenty of time to chill and settle.
What is the difference between coconut cream and cream of coconut?
Coconut cream is a thick coconut product that generally has little or no added sugar, while cream of coconut is usually sweetened. For this recipe, coconut cream provides the best balance because sweetened condensed milk already adds plenty of sweetness.
Can I use sweetened shredded coconut?
Yes. However, the finished dessert will taste sweeter. Unsweetened shredded coconut provides more control over the overall sweetness.
Can I add fruit to No-Bake Coconut Cream Dream Dessert?
Yes. Mango, pineapple, banana, strawberries, and raspberries all complement coconut. Drain juicy fruits thoroughly before adding them so they do not loosen the filling.
How long should the dessert chill?
Refrigerate it for at least 4 hours. However, overnight chilling gives No-Bake Coconut Cream Dream Dessert an especially well-set texture.
Conclusion
No-Bake Coconut Cream Dream Dessert proves that a rich, impressive dessert does not need complicated preparation or an oven.
The graham cracker crust combines shredded coconut and melted butter for a firm, flavorful base.
Next, coconut cream creates a rich middle layer.
A fluffy mixture of heavy whipping cream, sweetened condensed milk, and vanilla adds sweetness and a soft texture.
Finally, toasted coconut provides extra aroma and crunch.
The preparation itself takes only about 15 minutes.
Then the refrigerator handles the rest.
After at least 4 hours of chilling, No-Bake Coconut Cream Dream Dessert becomes cool, creamy, and ready to serve.
You can keep the presentation simple with toasted coconut or dress it up with berries, mango, pineapple, chocolate shavings, or whipped cream.
Because you can make the dessert a day ahead, it works particularly well for busy holidays, summer gatherings, potlucks, and family dinners.
Whether you serve it as a classic coconut pie or assemble individual parfaits, No-Bake Coconut Cream Dream Dessert delivers plenty of coconut flavor with minimal hands-on work.