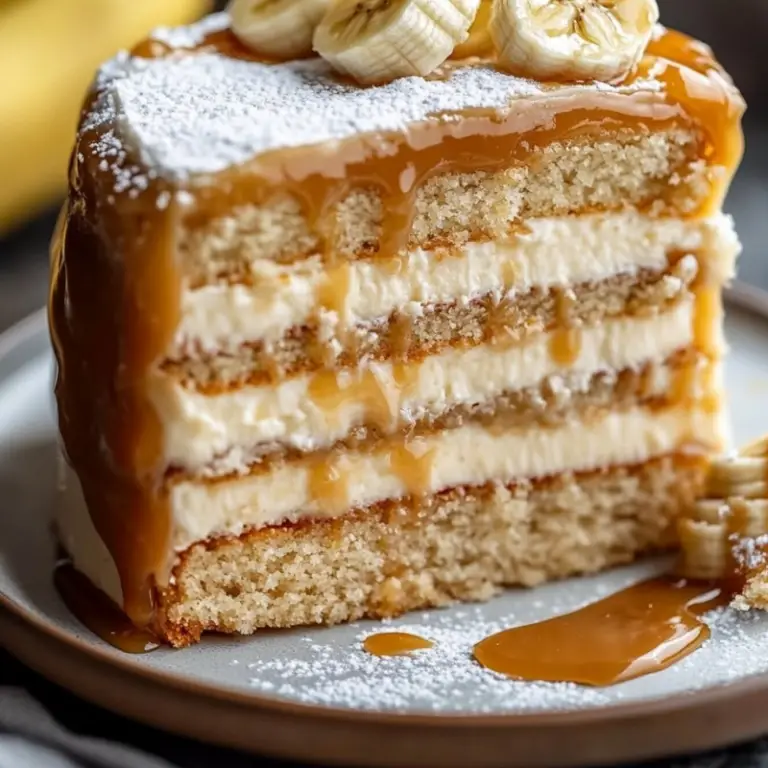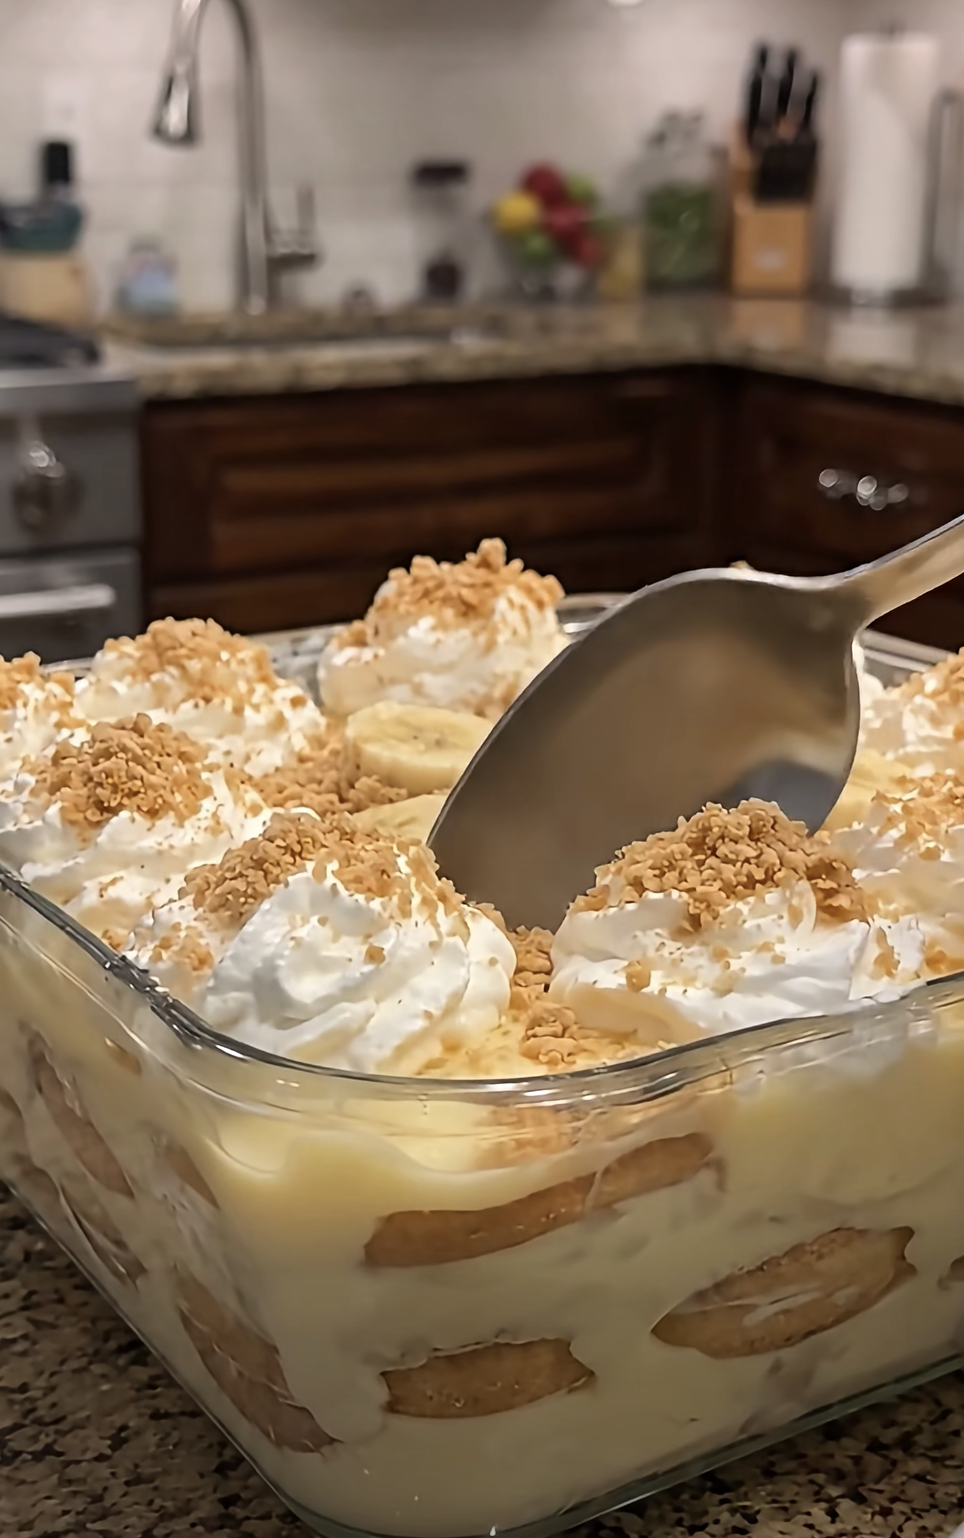
Homemade Banana Pudding is one of those desserts that feels simple, nostalgic, and deeply satisfying all at once. Layers of vanilla wafers, ripe bananas, rich homemade vanilla pudding, and fluffy whipped cream come together in a chilled dessert that tastes even better after several hours in the refrigerator.
Unlike instant versions, this Homemade Banana Pudding uses a cooked custard-style filling made with whole milk, egg yolks, butter, and vanilla. The result has a smooth, creamy texture and a deeper flavor that pairs beautifully with ripe bananas. Meanwhile, the vanilla wafers gradually soften as the dessert chills, creating the tender, cake-like texture that makes classic banana pudding so comforting.
This dessert works especially well for holidays, family dinners, potlucks, picnics, and Sunday gatherings. Because Homemade Banana Pudding needs several hours to chill, you can prepare it ahead of time and have dessert ready long before guests arrive.
I first started making banana pudding from scratch after tasting a version that had been refrigerated overnight. The wafers had softened just enough to feel almost like thin layers of cake, while the bananas stayed creamy and sweet between the layers. What surprised me most was how much better the homemade pudding tasted compared with a shortcut mix. It was rich without feeling heavy, and the vanilla flavor tied everything together. Since then, this dessert has become one of my favorite make-ahead options because the refrigerator does most of the final work and the flavor improves while it rests.
Why Homemade Banana Pudding Tastes So Good
The Homemade Vanilla Pudding Makes the Difference
The pudding gives Homemade Banana Pudding its rich, creamy character. Instead of relying on a boxed pudding mix, this recipe starts with granulated sugar, flour, salt, whole milk, egg yolks, butter, and vanilla.
Granulated sugar sweetens the pudding without overpowering the bananas. Meanwhile, all-purpose flour thickens the milk mixture as it cooks. The flour also helps stabilize the custard so it stays creamy but firm enough to hold the layers together.
Whole milk gives the pudding a fuller texture than lower-fat milk. Because Homemade Banana Pudding depends heavily on the custard for richness, whole milk works especially well.
Egg yolks add another layer of creaminess. However, they need gentle handling. If you add cold yolks directly to the hot milk mixture, they can scramble. Therefore, tempering becomes an important step.
To temper the yolks, slowly whisk about 1/2 cup of the hot milk mixture into them. This gradually raises their temperature. Then pour the warmed yolks back into the saucepan while stirring constantly.
Butter gives the finished pudding a smooth, glossy texture. Vanilla extract adds the familiar warm flavor that pairs naturally with bananas and vanilla wafers.
Once cooked, the pudding should look thick and creamy. It will continue to set as it cools, so avoid overcooking it until it becomes excessively stiff.
Why the Layers Become Better After Chilling
Homemade Banana Pudding changes significantly while it rests in the refrigerator.
At first, the vanilla wafers stay crisp. However, they gradually absorb moisture from the pudding and bananas. After several hours, they soften into tender layers that almost resemble cake.
That change creates the classic texture many people expect from banana pudding.
The bananas also release some of their flavor into the pudding. Meanwhile, the vanilla custard settles around the fruit and cookies, helping the layers blend into one cohesive dessert.
Because of this, Homemade Banana Pudding tastes best after at least four hours of chilling. Overnight refrigeration works even better.
The whipped cream layer also benefits from chilling. Once whipped to stiff peaks and spread over the pudding, it stays fluffy while the dessert underneath firms.
However, garnish deserves different timing.
Fresh banana slices tend to brown after exposure to air. Therefore, wait until just before serving to add the final banana garnish.
Extra vanilla wafers should also go on shortly before serving if you want them to stay crisp. Otherwise, they will soften like the wafers inside the dessert.
This combination of creamy pudding, softened wafers, ripe bananas, and cold whipped cream gives Homemade Banana Pudding its signature texture.
How to Make Homemade Banana Pudding
Cooking the Pudding From Scratch
Start Homemade Banana Pudding by making the vanilla pudding.
In a medium saucepan, whisk together 3/4 cup granulated sugar, 1/3 cup all-purpose flour, and 1/4 teaspoon salt.
Mixing these dry ingredients first helps distribute the flour evenly. Consequently, you reduce the chance of getting floury lumps later.
Gradually pour in 3 cups whole milk while whisking continuously.
Once the mixture looks smooth, place the saucepan over medium heat.
Cook while stirring constantly. A whisk works well in the beginning, although a heat-safe spatula becomes useful as the pudding thickens because it can scrape the bottom and corners of the pan.
Do not rush this stage with high heat. Medium heat allows the flour to thicken the mixture gradually without scorching the milk.
After several minutes, the mixture will become noticeably thicker and begin to bubble gently.
Meanwhile, place 4 large egg yolks in a separate bowl and whisk them briefly.
Slowly pour about 1/2 cup of the hot milk mixture into the egg yolks while whisking constantly.
Then pour the tempered yolk mixture back into the saucepan.
Continue cooking for another 2 to 3 minutes, stirring constantly.
The pudding should become rich, smooth, and thick enough to coat the back of a spoon.
Remove the saucepan from the heat.
Stir in 2 tablespoons unsalted butter and 2 teaspoons vanilla extract.
Let the pudding cool for about 15 minutes before assembling Homemade Banana Pudding.
Building the Layers and Adding Whipped Cream
While the pudding cools slightly, prepare the bananas and serving dish.
Slice 4 to 5 ripe bananas into even rounds. Choose bananas that taste sweet and ripe but still feel firm enough to hold their shape.
Avoid bananas that are extremely soft or heavily spotted because they can become mushy inside the pudding.
Start with a layer of vanilla wafers in the bottom of a large serving dish.
Next, arrange a layer of banana slices over the wafers.
Then spoon a layer of warm pudding over the bananas.
Spread the pudding gently so it covers the fruit and cookies.
Repeat these layers until you use the ingredients, finishing with pudding on top.
The warm pudding begins softening the wafers immediately, which helps the dessert develop its classic texture.
Next, make the whipped cream.
Pour 1 1/2 cups cold heavy whipping cream into a large mixing bowl. Add 1/4 cup powdered sugar and 1 teaspoon vanilla extract.
Beat with an electric mixer until stiff peaks form.
Stiff peaks mean the whipped cream holds its shape when you lift the beaters. However, stop mixing once you reach that stage. Overbeating can make the cream grainy.
Spread the whipped cream evenly over the Homemade Banana Pudding.
Cover the dish and refrigerate it for at least 4 hours. Overnight chilling gives the layers even more time to soften and blend.
Just before serving, garnish with extra vanilla wafers and fresh banana slices.
Tips for the Best Homemade Banana Pudding
Choosing Bananas and Preventing Browning
Bananas play a major role in Homemade Banana Pudding, so choosing the right ripeness level matters.
Look for bananas that are fully yellow with a few small brown speckles. At this stage, they taste sweet while still remaining firm enough to slice cleanly.
Very green bananas lack enough sweetness and can taste slightly starchy. Meanwhile, heavily overripe bananas may become too soft once layered with warm pudding.
Slice the bananas shortly before assembling the dessert.
For the inside layers, a small amount of browning usually does not matter because the pudding covers the fruit. However, the final garnish remains visible, so add those banana slices right before serving.
If you garnish too early, the exposed slices can darken.
Some people coat banana slices with lemon juice to slow browning. However, too much lemon can affect the flavor of Homemade Banana Pudding. Therefore, adding fresh slices at serving time provides a simpler solution.
Also, avoid slicing the bananas too thinly. Very thin slices can disappear into the pudding as they soften.
Slices around 1/4 inch thick provide a good balance. They stay noticeable but still become tender as the dessert chills.
Finally, distribute the bananas evenly. Every serving should contain cookies, fruit, custard, and whipped cream.
That even layering makes each spoonful taste balanced.
Avoiding Common Custard Problems
Homemade Banana Pudding has a simple ingredient list, but the custard requires attention.
The first common issue involves lumps.
To prevent them, whisk the sugar, flour, and salt together before adding milk. Then add the milk gradually while whisking.
Another common problem involves scorching.
Milk-based custards can stick to the bottom of a saucepan. Therefore, stir constantly and keep the heat at medium rather than high.
A heavy-bottomed saucepan also helps distribute heat more evenly.
Scrambled eggs present another risk. Always temper the yolks rather than adding them directly to the hot pudding.
Slowly whisk hot liquid into the yolks first. Then return the warmed yolks to the saucepan.
Once the yolks go into the pudding, keep stirring.
You should also avoid boiling the custard aggressively. A gentle bubble works well, but intense boiling can affect the texture.
If the pudding looks slightly thinner than expected while hot, remember that it thickens more during cooling and refrigeration.
Finally, let the custard cool for about 15 minutes before layering. It should remain warm enough to begin softening the wafers, but it should not be violently hot.
Following these simple steps gives Homemade Banana Pudding a smooth, creamy filling without lumps or cooked egg pieces.
Make-Ahead, Storage, and Serving Ideas
Why Homemade Banana Pudding Is Perfect for Making Ahead
Homemade Banana Pudding may actually taste better when you prepare it in advance.
The dessert needs at least four hours of refrigeration, which means it naturally fits into a make-ahead schedule.
For example, prepare the pudding in the evening and refrigerate it overnight. The next day, the wafers will have softened and the flavors will taste more blended.
This approach works especially well for holidays or parties because dessert requires no last-minute cooking.
You can assemble Homemade Banana Pudding in a large glass trifle bowl for a dramatic presentation. A clear dish allows guests to see the layers of wafers, bananas, pudding, and whipped cream.
A deep rectangular serving dish also works well if you prefer easy scooping.
For individual portions, assemble the dessert in small jars or dessert cups.
Add wafers, banana slices, pudding, and whipped cream to each container. Individual portions work especially well for parties because guests can serve themselves.
However, remember that the cookies soften as they sit. Therefore, if you prefer a little crunch, reserve some extra vanilla wafers for garnish immediately before serving.
You can prepare the whipped cream at the same time as the dessert and leave it on top during refrigeration.
Just cover the dish carefully so the whipped cream does not absorb refrigerator odors.
How to Store Leftovers and Serve Them Well
Keep Homemade Banana Pudding refrigerated until serving time.
Because the dessert contains milk, egg yolks, and whipped cream, it should not sit at room temperature for extended periods.
After serving, cover leftovers and return them to the refrigerator promptly.
For the best texture and appearance, enjoy Homemade Banana Pudding within about two to three days.
The dessert may remain edible longer under proper refrigeration, but the bananas continue softening and darkening, while the wafers become increasingly tender.
Some people enjoy the softer texture on the second day. However, after several days, the layers can become overly soft.
When serving leftovers, scoop down through every layer so each portion includes wafers, bananas, pudding, and whipped cream.
Add a few fresh banana slices right before serving if desired.
You can also crush a vanilla wafer over the top for extra texture.
Freezing Homemade Banana Pudding is not ideal. Bananas can become watery or mushy after thawing, and whipped cream may lose its fluffy structure.
Therefore, refrigeration works best.
If you know you need a smaller amount, divide the recipe into two dishes. Serve one first and keep the other tightly covered in the refrigerator until needed.
That method helps preserve the appearance of the second portion.
Frequently Asked Questions
Can I make Homemade Banana Pudding the night before?
Yes. Overnight chilling works very well because the wafers have time to soften and the flavors blend. Prepare the dessert completely, cover it, and refrigerate it until the next day.
How ripe should the bananas be?
Use ripe yellow bananas with a few small brown spots. They should taste sweet but still feel firm enough to slice. Avoid very green bananas and extremely soft overripe bananas.
Why did my pudding turn lumpy?
Lumps can form if the flour does not dissolve properly or if the mixture heats too quickly. Whisk the dry ingredients first, add milk gradually, and stir constantly over medium heat.
Can I use whipped topping instead of homemade whipped cream?
Yes. You can substitute thawed whipped topping if desired. However, homemade whipped cream gives Homemade Banana Pudding a fresher, richer flavor.
How long does Homemade Banana Pudding last in the refrigerator?
For the best flavor and texture, enjoy it within about two to three days. Keep the dish tightly covered and refrigerated.
Conclusion
Homemade Banana Pudding combines simple ingredients into a dessert that feels comforting, creamy, and timeless.
Vanilla wafers form soft layers beneath slices of ripe banana, while homemade vanilla custard brings everything together. A generous layer of whipped cream finishes the dessert with a light, airy texture.
Although cooking the custard takes a little more effort than using a boxed mix, the process remains beginner-friendly. Keep the heat moderate, stir continuously, temper the egg yolks carefully, and the pudding will turn out smooth and rich.
Most importantly, give Homemade Banana Pudding enough time to chill. At least four hours allows the wafers to soften and the flavors to blend, while overnight refrigeration creates an especially tender texture.
Add fresh banana slices and extra wafers just before serving, then scoop through all the layers.
Whether you make Homemade Banana Pudding for a holiday dinner, a summer gathering, a potluck, or a simple family dessert, its creamy texture and familiar banana-vanilla flavor make it an easy favorite.