Before we dive in, can I just say—thank you for being here. Whether you stumbled upon this while searching for a fun science experiment, a rainy-day craft, or just something to keep curious little hands busy, I appreciate you. I really do. It means the world to share moments of creativity with readers like you who find joy in the simple, hands-on magic of making something from scratch.
Now, I promised you colorful, creative, and ridiculously fun—and this Tie-Dye Bouncy Ball recipe delivers!! It’s playful, it’s science-y, and it’s a project you’ll want to do again and again.
💌 Want this recipe emailed straight to you for safekeeping? Subscribe below and never miss a new fun DIY again!
Why You’ll Love These DIY Tie-Dye Bouncy Balls
This project is anything but boring! It blends craft, chemistry, and color in one super-engaging activity that both kids and adults enjoy. You get to mix, knead, and shape your own toy—and watch it bounce when you’re done? That’s a win!
What Makes It Special:
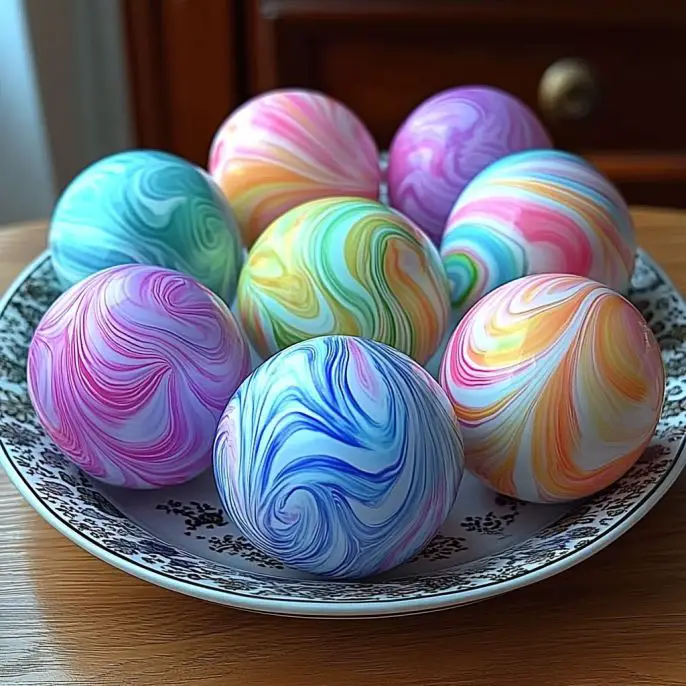
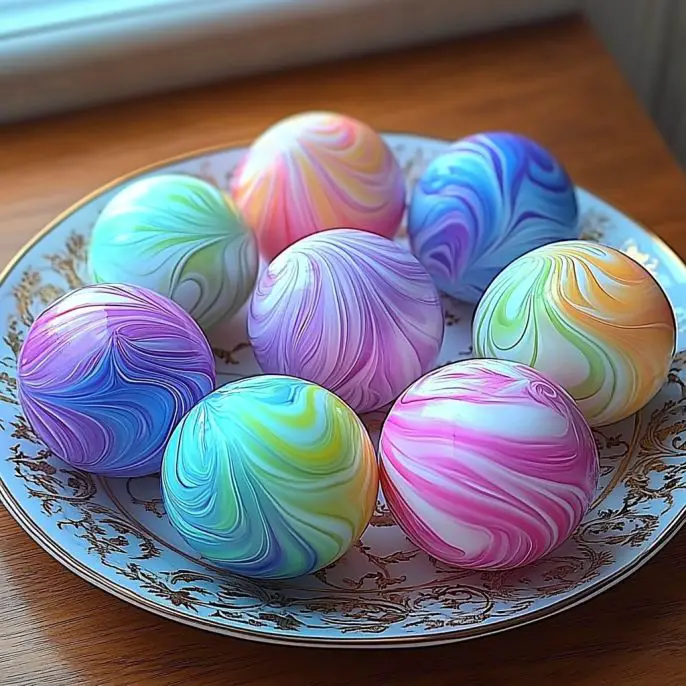
🎨 Tie-Dye Effect: Swirls of vibrant colors make each ball completely unique!
🧪 Hands-On Learning: A little bit of science, a little bit of art.
🏠 Safe & Simple Ingredients: Most are already in your pantry or easy to find.
💫 Customizable: Change colors, add glitter, even toss in tiny beads!
What Do Tie-Dye Bouncy Balls Taste Like?
Haha—okay, they’re not for tasting 😄 but they look like candy! Imagine a little rainbow jawbreaker that bounces around the room. The texture is rubbery and fun to hold, slightly squishy, and perfect for tossing around.
Benefits of Making Your Own Bouncy Balls
Encourages STEM learning through fun chemistry reactions.
A creative activity that doubles as a take-home toy.
Perfect for classrooms, birthday parties, or rainy-day fun.
Teaches patience, mixing skills, and fine motor development.
🧂 Ingredients List
Here’s everything you’ll need:
1 tablespoon white school glue
1/2 teaspoon borax powder
2 tablespoons warm water
Food coloring (multiple colors for the tie-dye effect)
1 tablespoon cornstarch
Small mixing bowls
Craft sticks or spoons for stirring
Disposable gloves (optional, but great for keeping hands clean)
🛠️ Tools You’ll Need
✔️ 2–3 small bowls
✔️ Measuring spoons
✔️ Spoons or stir sticks
✔️ Disposable gloves
✔️ Airtight bag or container (for storage)
Ingredient Additions & Substitutions
✨ Want to jazz it up a bit? Try these fun additions:
Glitter – for sparkle and shine.
Small beads – to create a cool texture (not recommended for small children).
Essential oils – a drop of lavender or citrus gives a nice sensory element.
Clear glue – can be used instead of white glue for a different look.
🧪 Step-by-Step Instructions
1. Prep Your Workspace
Lay down parchment paper or a plastic tablecloth. Trust me—it makes cleanup so much easier!
2. Make the Borax Solution
In a small bowl, mix 1/2 tsp borax powder with 2 tbsp warm water. Stir until fully dissolved.
3. Mix Glue + Color
In a separate bowl, add 1 tbsp white glue and a few drops of food coloring. Stir it well!
4. Add Cornstarch
Sprinkle in 1 tbsp cornstarch and mix it into the colorful glue until fully combined.
5. Combine Mixtures
Slowly pour the borax solution into the glue bowl while stirring. It’ll start to clump—don’t panic!
6. Knead It!
Once it’s too thick to stir, put on gloves (if using) and knead the mixture with your hands until it becomes rubbery and smooth.
7. Create the Tie-Dye
Want that signature swirled look? Make separate glue batches in different colors. Swirl gently together just before kneading.
8. Shape It
Roll the dough into a ball with your hands. If it feels too soft, give it a few more minutes to firm up.
9. Let It Dry
Set your bouncy ball aside for 10–15 minutes to fully set and dry.
10. Store Smart
Keep your ball in an airtight container or zip-top bag to preserve its bounce!
🎨 What to Pair With This Project?
This bouncy ball craft pairs perfectly with:
DIY slime or oobleck
Edible “moon sand” (so fun and sensory-friendly!)
Homemade lava lamps
Rainbow pasta art
Or make it a whole science + craft day!
🌟 Tips for the Best Bouncy Balls
Don’t over-mix colors or you’ll lose the tie-dye effect.
If your ball is too sticky, knead in a pinch more cornstarch.
If it’s too crumbly, add a tiny bit more glue.
Use warm (not hot!) water for the borax mix.
Want more bounce? Chill the ball in the fridge for an hour before playing.
📦 Storage Instructions
Keep your tie-dye creations in a sealed container. They’ll stay fresh and bouncy for 2–5 days. If they dry out or lose bounce? Just toss and whip up a new one—it only takes minutes!
❓ Frequently Asked Questions
Can I use liquid starch instead of borax?
Yes, but borax gives a better bounce. Liquid starch will work in a pinch, though texture may vary.
Are these safe for young kids?
Yes, with supervision. These are not edible and contain borax, so adult guidance is essential.
Can I reuse the balls again and again?
Yes—but after a few days, they may start to dry out or lose bounce. Luckily, making more is super easy!
🥰 Final Thoughts
Making Tie-Dye Bouncy Balls at home is creative, satisfying, and just plain FUN. It’s the kind of hands-on project that pulls kids away from screens and into the joy of crafting something from scratch.
So go ahead—mix those colors, squish that goo, and bounce your heart out. 🎨💫
🧪 Want More Fun Like This?
Check out these other hands-on projects:
📌 Share Your Creations!
Tried it? I’d LOVE to see your colorful masterpieces!
📷 Tag me on Pinterest or Instagram so we can celebrate your creativity together!
💬 Drop a comment below with your favorite color combo!
❌ Nutritional Information
🛑 Not edible! These are for play, not for snacks. So while there’s no sugar content to list, they do serve up hours of creative fun.
Thanks for crafting with me today—here’s to more color, more curiosity, and more creative moments together. 💖
DIY Tie-Dye Bouncy Balls
Ingredients
Equipment
Method
- Set up a clean, flat surface with parchment paper and all your ingredients.
- In a bowl, mix 1/2 tsp borax powder with 2 tbsp warm water. Stir until fully dissolved.
- In a separate bowl, combine 1 tbsp glue and food coloring. Mix well.
- Add 1 tbsp cornstarch to the glue mixture and stir to combine.
- Slowly pour the borax solution into the glue mix while stirring continuously. It will begin to clump.
- Once thickened, knead the mixture with gloves until rubbery and less sticky.
- To create a tie-dye effect, swirl together two or more colored batches before kneading.
- Roll the dough into a ball using your hands. It may feel soft at first.
- Let the ball sit out for 10–15 minutes to firm up and finish drying.
- Store the finished ball in a sealed bag or container to maintain bounce.


