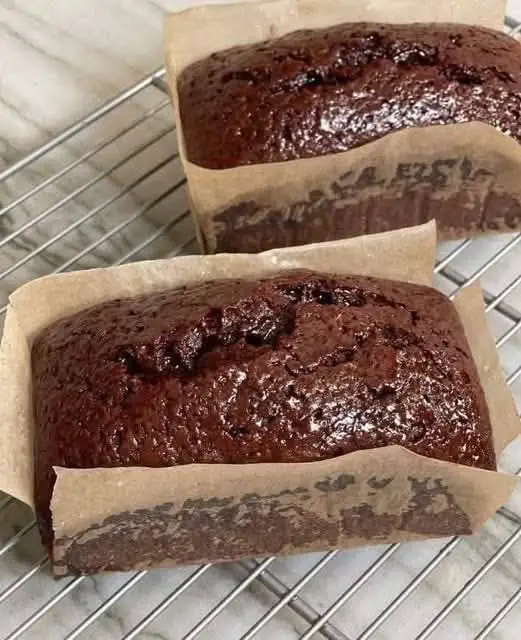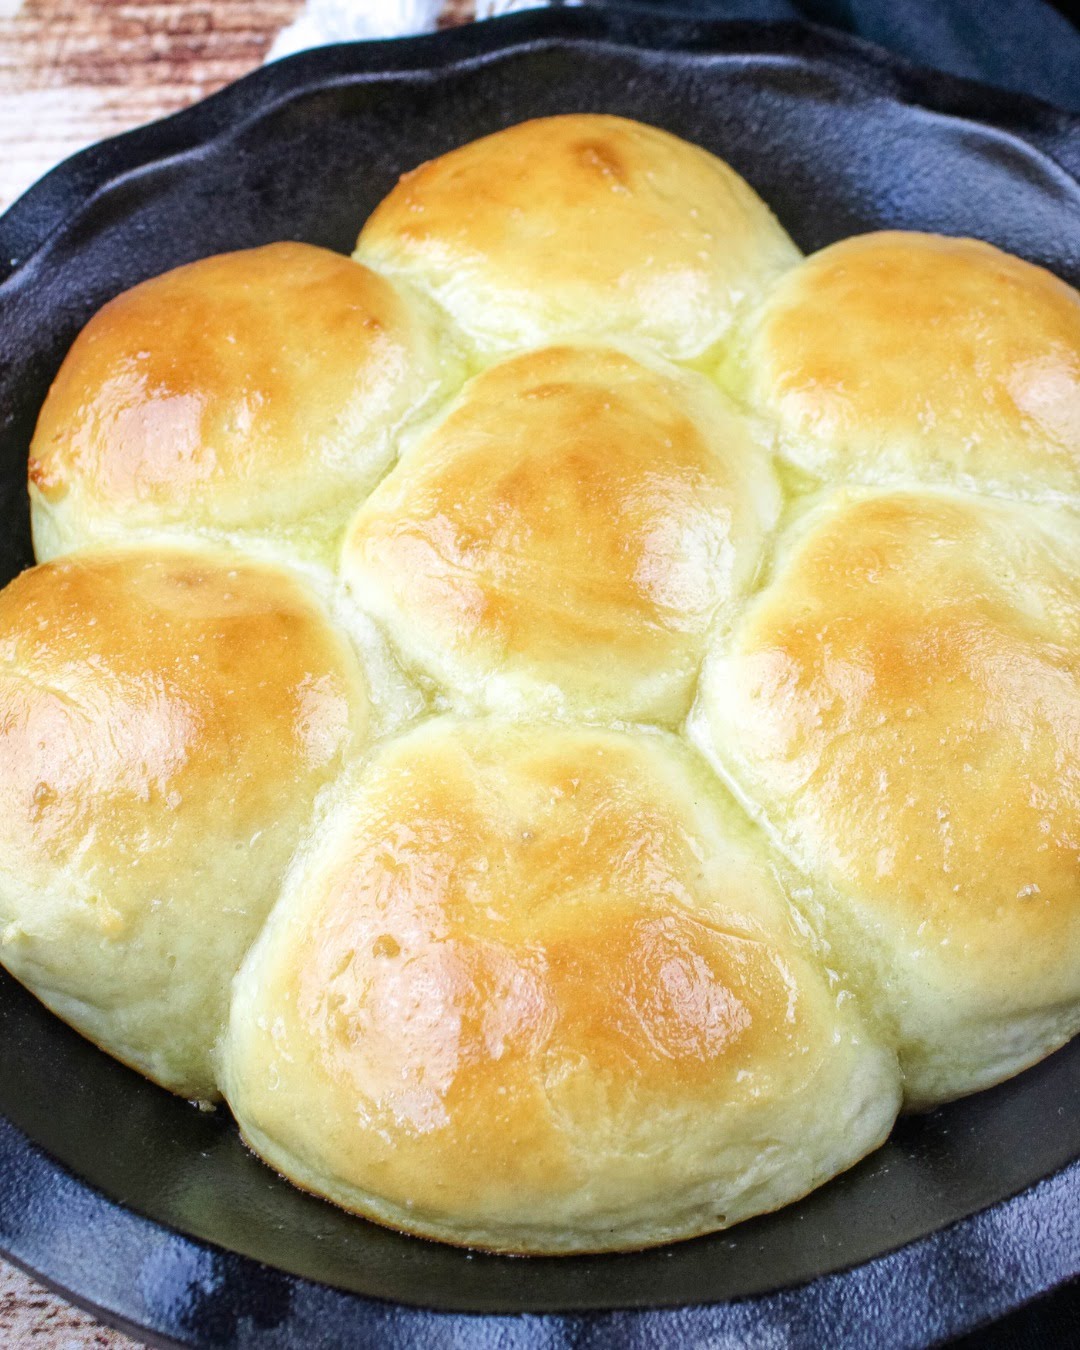
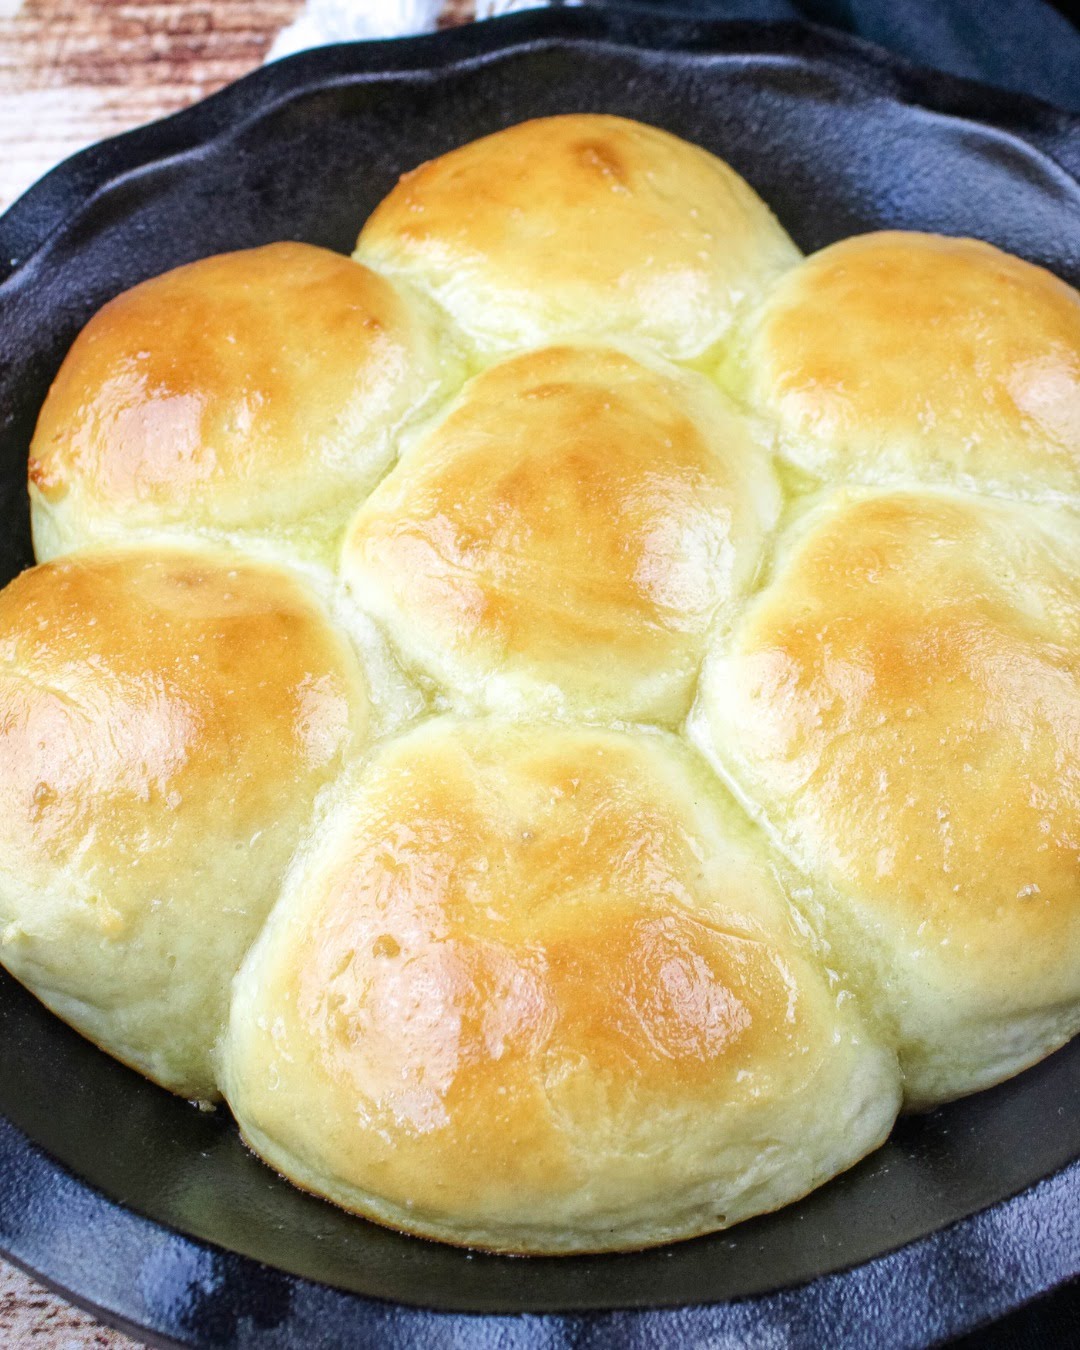
Mother’s Refrigerator Rolls bring comfort and convenience together in one timeless recipe. These soft, fluffy rolls stay ready in your fridge, so you can bake fresh bread anytime during the week. With a slightly sweet flavor and a buttery finish, they pair perfectly with any meal, from weeknight dinners to holiday feasts.
There’s something special about recipes passed down through generations, and these rolls capture that feeling perfectly. They’re simple to prepare, yet they deliver bakery-quality results every time. Even better, the dough stores beautifully, giving you flexibility without sacrificing freshness.
I still remember watching dough rise slowly in the fridge while the kitchen smelled faintly of yeast and sugar. My family didn’t rush meals, and these rolls became part of that rhythm. We’d pull out just enough dough for dinner, shape them quickly, and wait as they puffed up on the counter. The anticipation made them taste even better. When they came out golden and warm, brushed with butter, everyone gathered quickly. Those moments made ordinary dinners feel like celebrations, and now I recreate that same feeling whenever I bake them.
Ingredients
Equipment
Method
- Dissolve yeast in 1/2 cup warm water and let it foam.
- Beat the egg and set aside.
- Mix shortening, sugar, and salt in a large bowl.
- Add egg, yeast mixture, and 2 cups warm water.
- Gradually mix in flour until a soft dough forms.
- Transfer dough to a greased bowl, cover tightly, and refrigerate overnight.
- Knead dough lightly and shape into rolls.
- Dip in melted butter, place in pan, and let rise until doubled.
- Bake at 375°F for 15–20 minutes until golden brown.
- Brush with melted butter while hot and serve.
Notes
Why You’ll Love These Rolls
Make-Ahead Convenience
These rolls stand out because you can prepare the dough once and use it all week. Instead of baking everything at once, you simply take out the portion you need. This flexibility saves time, especially on busy days. Additionally, the dough develops more flavor as it rests in the refrigerator.
Because of this method, you avoid the stress of last-minute baking. You can plan ahead, yet still enjoy freshly baked rolls daily. That combination makes this recipe ideal for families and gatherings.
Light, Fluffy Texture
The texture of these rolls feels soft and airy with every bite. The yeast works slowly in the refrigerator, which helps create that signature fluffiness. Moreover, handling the dough gently keeps it tender.
When baked, the outside turns lightly golden while the inside stays pillowy soft. Brushing them with butter enhances both flavor and texture. As a result, these rolls feel indulgent without being heavy.
Ingredients Breakdown
Essential Ingredients
Each ingredient plays an important role in creating the perfect roll. Active dry yeast provides the rise, while warm water activates it. Sugar adds a touch of sweetness and helps feed the yeast.
Shortening contributes to a soft crumb, although you can substitute butter if desired. Flour forms the structure, and eggs add richness. Meanwhile, salt balances the flavors and enhances the overall taste.
Optional Enhancements
While the classic version tastes amazing, you can adjust it easily. For example, you can swap margarine for real butter to deepen the flavor. You might also sprinkle a little sea salt on top before baking for a subtle contrast.
If you prefer a sweeter roll, you can increase the sugar slightly. On the other hand, herbs like rosemary or garlic powder can turn these into savory dinner rolls. These small tweaks allow you to customize the recipe to suit any meal.
Step-by-Step Preparation
Mixing the Dough
Start by dissolving the yeast in warm water. Make sure the water is not too hot, or it may kill the yeast. Once the yeast becomes foamy, you know it’s ready.
Next, mix shortening, sugar, and salt in a large bowl. Then add the beaten egg, yeast mixture, and additional warm water. Gradually incorporate the flour until a soft dough forms. Scrape the bowl to ensure everything blends evenly.
Refrigeration and Storage
Transfer the dough into a greased bowl and coat the top lightly with oil. Cover it tightly and place it in the refrigerator overnight. This step allows the dough to develop flavor while slowing the rise.
You can store the dough for up to one week. Whenever you need rolls, simply pinch off a portion. This method keeps your baking schedule flexible and stress-free.
Shaping and Baking
Forming the Rolls
Remove the dough from the refrigerator and knead it lightly on a floured surface. Then roll or cut it into your desired shapes. You can use a biscuit cutter or simply shape by hand.
Dip each piece into melted butter before placing it in the pan. This step adds flavor and prevents sticking. Afterward, cover the rolls and let them rise until doubled in size.
Baking to Perfection
Preheat your oven to 375°F. Once the rolls have risen, bake them for about 15 to 20 minutes. Watch for a golden-brown color on top, which signals they are ready.
Immediately brush the hot rolls with melted butter. This final touch gives them a glossy finish and rich taste. Serve them warm for the best experience.
Tips for Best Results
Handling the Dough
Handle the dough gently to keep the rolls light. Avoid adding too much extra flour during kneading, as this can make them dense. Instead, use just enough to prevent sticking.
Also, do not overwork the dough. The less you handle it, the softer your rolls will be. This simple tip makes a noticeable difference.
Perfecting the Rise
Allow enough time for the rolls to double in size before baking. If your kitchen feels cool, place them in a slightly warm spot to help them rise.
However, avoid overheating, as too much warmth can affect the texture. A steady, moderate environment works best for achieving fluffy results.
Frequently Asked Questions
Can I freeze the dough?
Yes, you can freeze the dough for longer storage. Wrap it tightly and thaw in the refrigerator before using.
How long does the dough last in the fridge?
The dough stays fresh for up to one week when stored properly.
Can I use butter instead of shortening?
Yes, butter works well and adds extra flavor, though the texture may be slightly different.
Why didn’t my rolls rise?
The yeast may have been inactive or the water too hot. Always check that the yeast becomes foamy before mixing.
Can I make these rolls sweeter?
Yes, simply add a bit more sugar to the dough for a sweeter taste.
Conclusion
Mother’s Refrigerator Rolls offer the perfect balance of tradition and convenience. They allow you to enjoy fresh, homemade bread whenever you want without starting from scratch each time. With their soft texture and buttery finish, these rolls easily become a family favorite.
Whether you serve them at a holiday table or alongside a simple dinner, they always deliver comfort and flavor. Once you try them, you’ll likely keep a batch of dough ready in your fridge at all times.