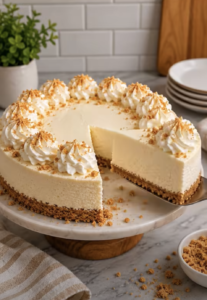
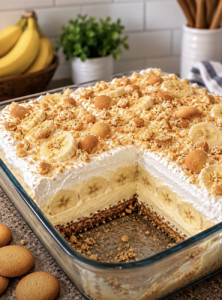
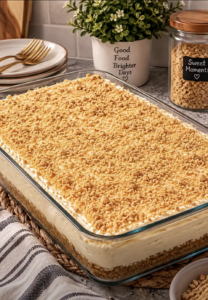
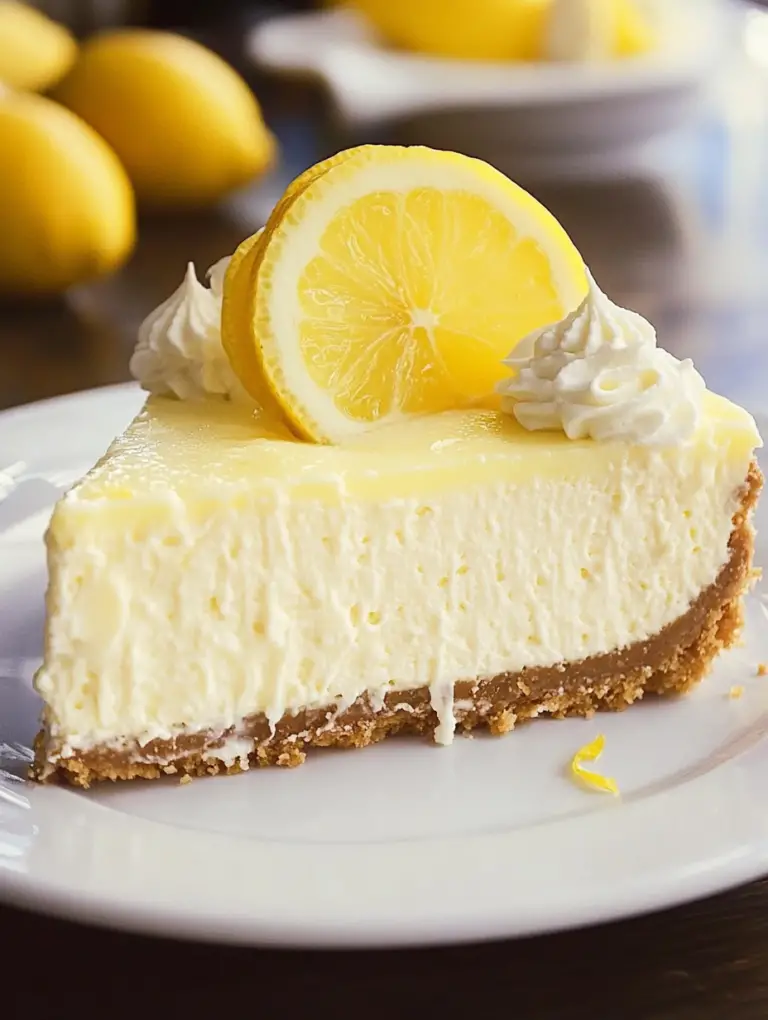
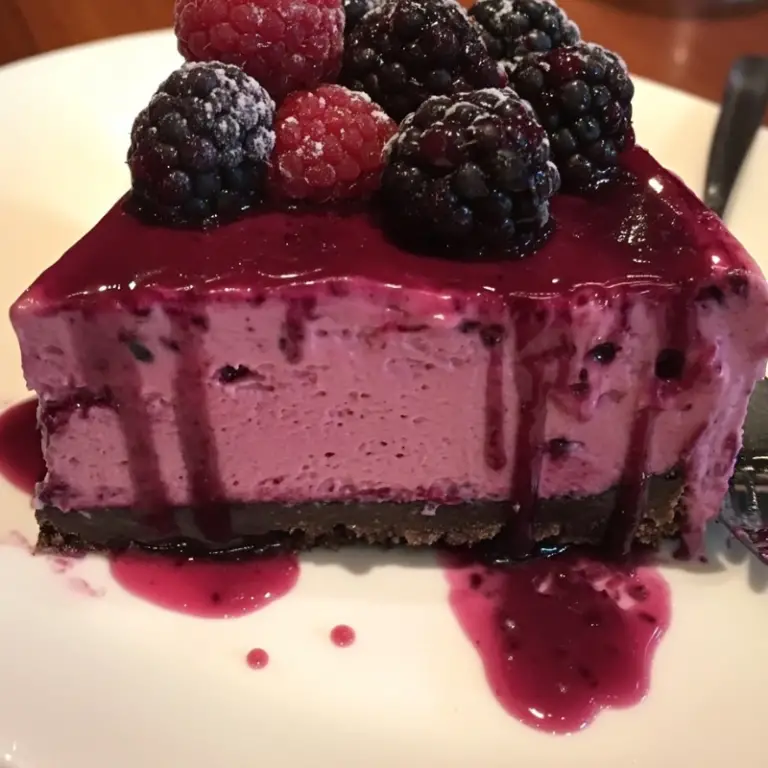
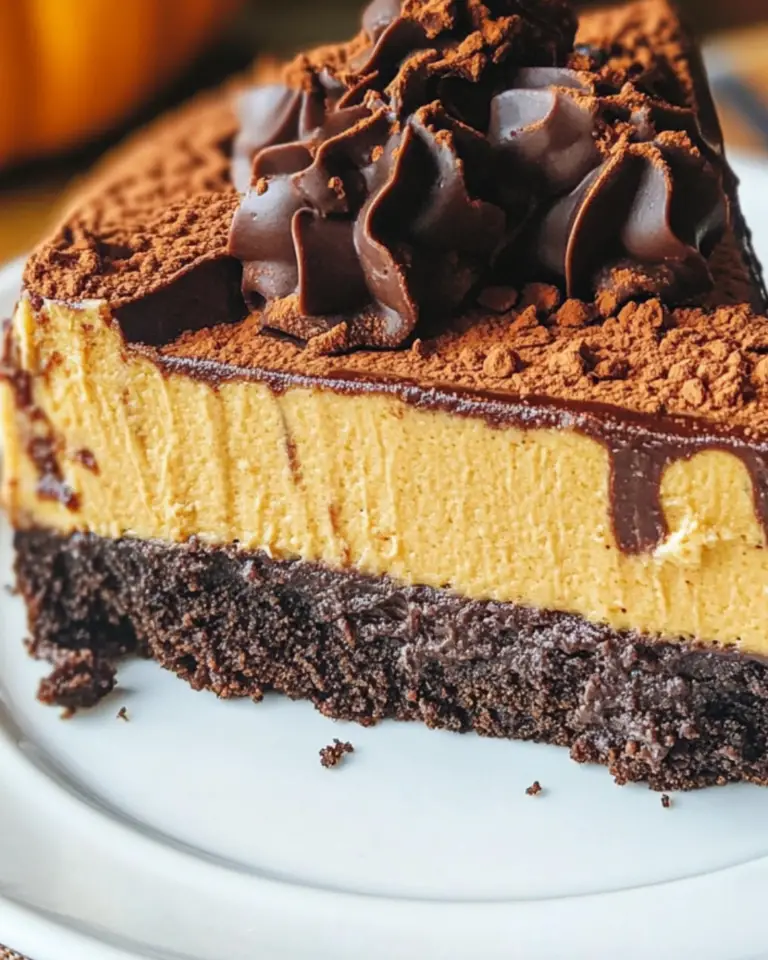
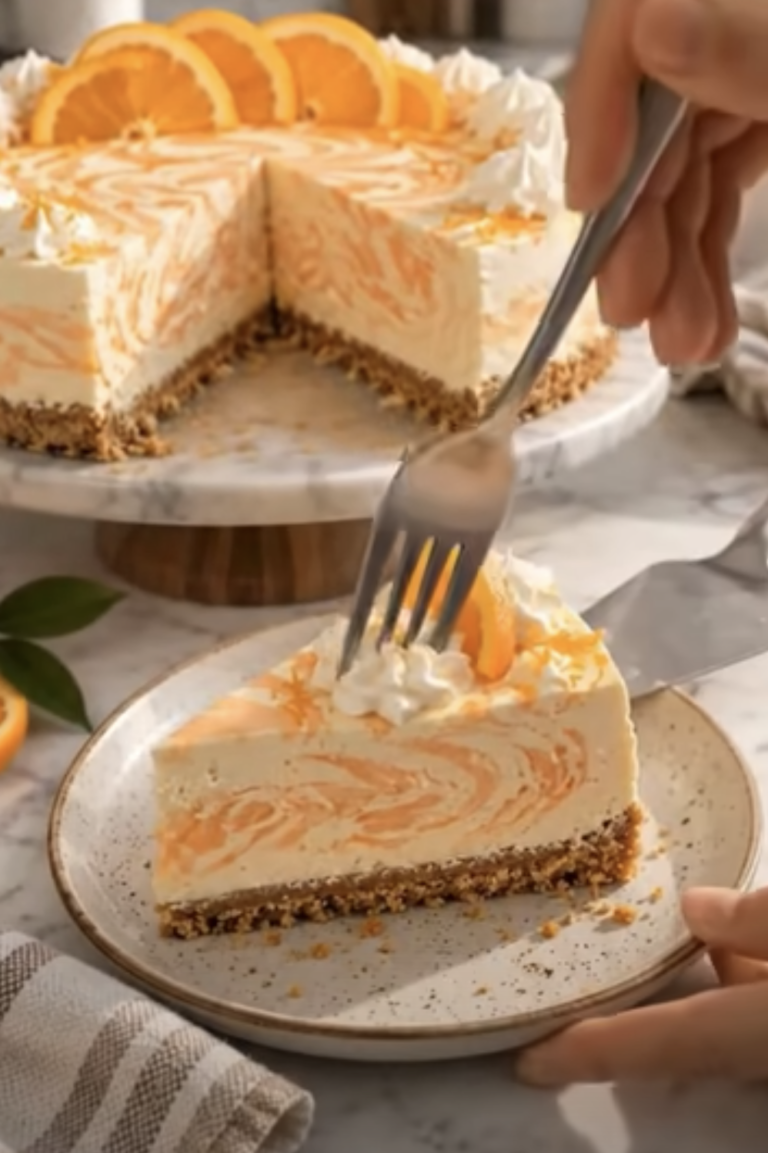
Fantasy Cheesecake: A Whimsical Dessert Adventure
Introduction:
Welcome to a world where dessert dreams come true! Our Fantasy Cheesecake is not just a treat; it’s an experience filled with enchanting flavors and a rich, creamy texture that will make any occasion memorable. Subscribe to receive this magical recipe directly in your inbox and transform your kitchen into a realm of sweet wonder.
Why You’ll Love This Recipe:
This Fantasy Cheesecake is a game-changer. The combination of classic creaminess with whimsical elements like white chocolate and edible glitter makes it an unforgettable centerpiece for any gathering. It’s surprisingly easy to prepare and is sure to be a hit with both kids and adults alike, thanks to its playful charm and gourmet taste.
Ingredients:
– 200g digestive biscuits, crushed
– 100g unsalted butter, melted
– 500g cream cheese, softened
– 200g granulated sugar
– 3 large eggs
– 1 tsp vanilla extract
– 200ml sour cream
– 1 tbsp all-purpose flour
– 100g white chocolate, melted
– A pinch of edible glitter (optional)
– Fresh berries and mint leaves for garnish
Necessary Tools:
– 9-inch springform pan
– Parchment paper
– Medium bowl
– Large mixing bowl
– Spatula
– Oven
Ingredient Swaps and Additions:
Feel free to swap digestive biscuits for graham crackers or ginger snaps for a spicier base. Add a splash of almond extract for a nutty undertone or some lemon zest for a citrusy twist. You can also layer in caramel or fruit sauce for added depth.
Step-by-Step Instructions:
1. Preheat your oven to 160°C (320°F). Line your springform pan with parchment.
2. Combine crushed biscuits with melted butter in a medium bowl. Press into your pan base and chill for 15 minutes.
3. Cream the cheese and sugar in a large bowl until smooth. Beat in eggs one by one. Add vanilla extract and sour cream, mixing gently.
4. Fold in white chocolate and flour until just combined.
5. Evenly spread the mixture over the chilled base.
6. Bake for 50-60 minutes until edges set and the middle jiggles slightly. Leave the oven door ajar, cooling gradually for an hour.
7. Chill the cheesecake for at least 4 hours, preferably overnight.
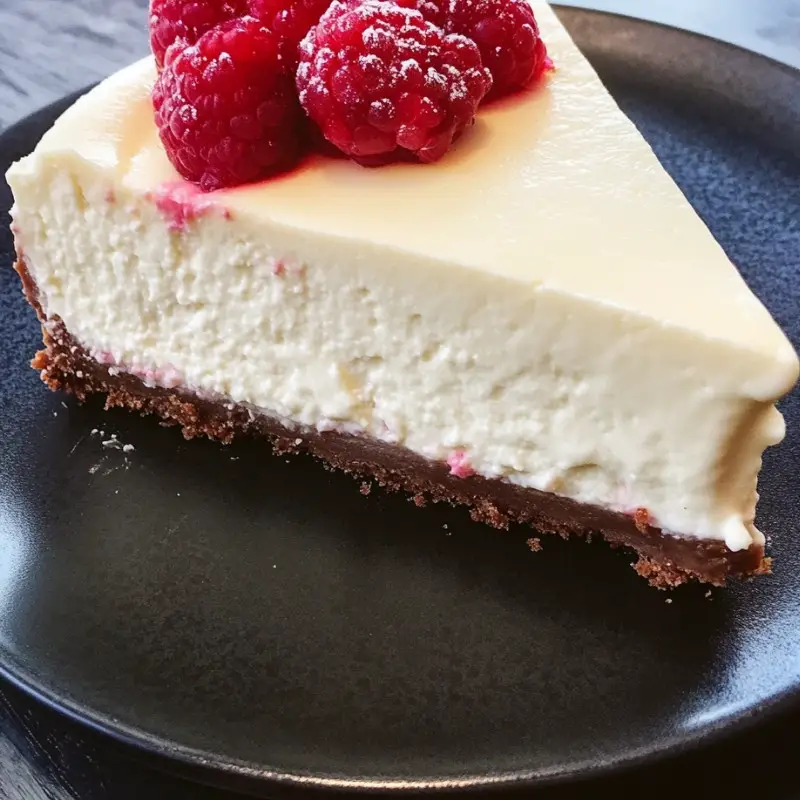
8. For a magical finish, sprinkle with edible glitter and garnish with berries and mint before serving.
Serving Suggestions:
Pair this Fantasy Cheesecake with a scoop of vanilla ice cream or a dollop of fresh whipped cream. A sprinkle of chopped nuts or a drizzle of fruit puree can elevate its flavor further.
Pro Tips for Success:
Ensure your cream cheese is fully softened to prevent lumps in the batter. Do not overbake; the cheesecake should slightly jiggle for a creamy texture. Chill thoroughly to enhance flavors.
Storing and Reheating:
Store leftovers in an airtight container in the refrigerator for up to five days. The cheesecake can also be frozen for up to two months. Allow it to thaw in the fridge before serving.
FAQ Section:
– Can I use low-fat cream cheese? Yes, but expect a slight change in texture.
– What if I don’t have a springform pan? Use a deep pie dish instead and carefully slice the cheesecake when serving.
Conclusion
The Fantasy Cheesecake combines ease of preparation with gourmet flair, making it the perfect dessert for any gathering. Its fun and enticing nature turns every bite into a sweet escape. We’d love to see your creations! Share your photos or tag us on Pinterest or Instagram.
Nutritional Information: (Approx per serving)
Calories: 450
Protein: 6g
Carbohydrates: 36g
Fat: 31g
Sugar: 23g
Dive into this dessert fantasy and let your taste buds revel in the magic!
Fantasy Cheesecake
Ingredients
For the crust
- 200 g digestive biscuits, crushed Can substitute with graham crackers or ginger snaps.
- 100 g unsalted butter, melted
For the cheesecake filling
- 500 g cream cheese, softened Make sure it's fully softened to avoid lumps.
- 200 g granulated sugar
- 3 large eggs
- 1 tsp vanilla extract
- 200 ml sour cream
- 1 tbsp all-purpose flour
- 100 g white chocolate, melted
- a pinch of edible glitter (optional) For garnish.
- Fresh berries and mint leaves for garnish
Instructions
Preparation
- Preheat your oven to 160°C (320°F). Line your springform pan with parchment.
- Combine crushed biscuits with melted butter in a medium bowl. Press into your pan base and chill for 15 minutes.
Making the filling
- Cream the cheese and sugar in a large bowl until smooth. Beat in eggs one by one. Add vanilla extract and sour cream, mixing gently.
- Fold in white chocolate and flour until just combined.
Baking
- Evenly spread the mixture over the chilled base.
- Bake for 50-60 minutes until edges set and the middle jiggles slightly. Leave the oven door ajar, cooling gradually for an hour.
- Chill the cheesecake for at least 4 hours, preferably overnight.
Finishing Touches
- For a magical finish, sprinkle with edible glitter and garnish with berries and mint before serving.