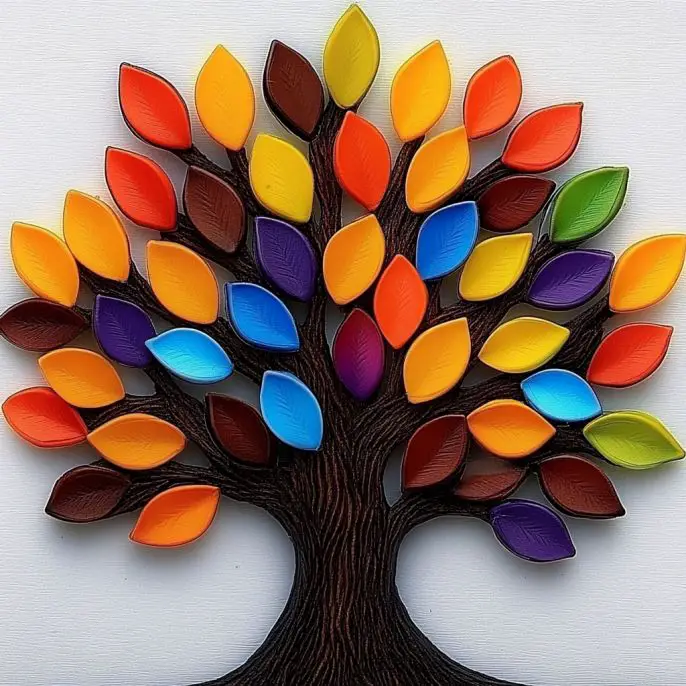
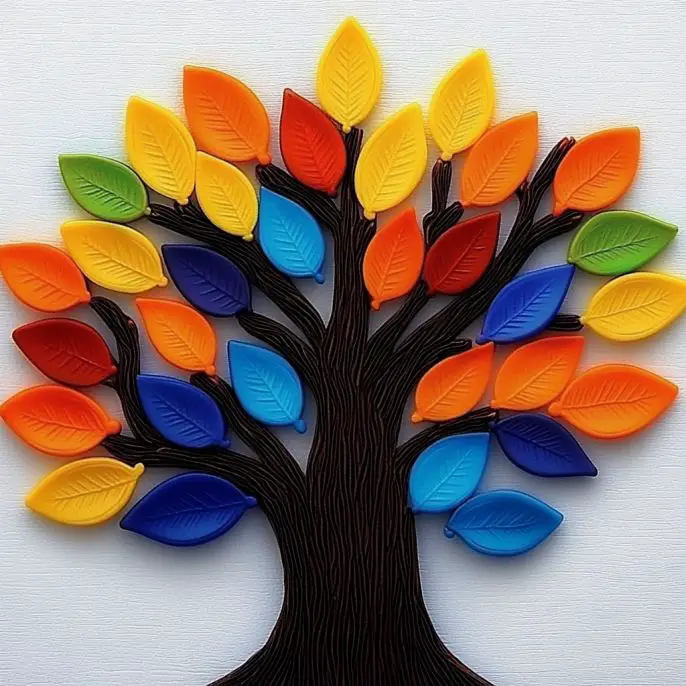
DIY Fall Tree
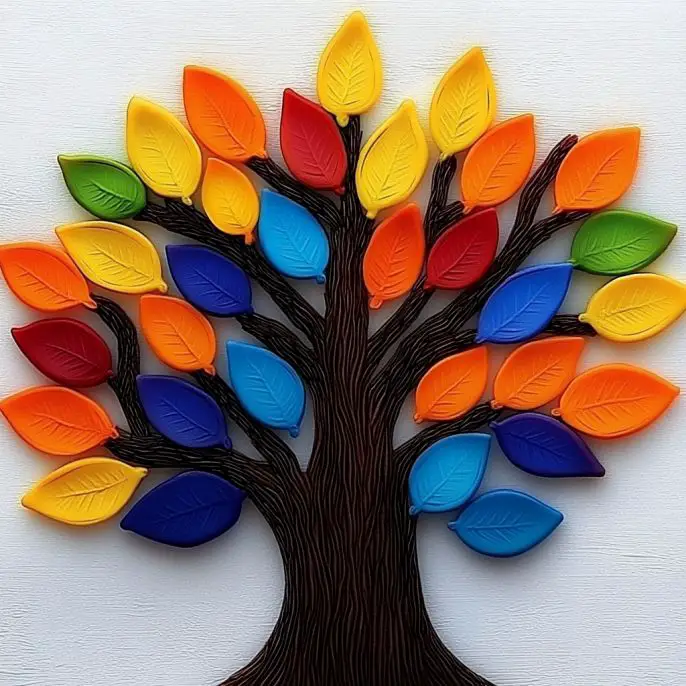
Create a vibrant DIY Fall Tree using pumpkin seeds, food coloring, and simple art supplies for a fun seasonal decoration.
Print
Pin
Rate
Servings: 1 tree
Ingredients
Supplies
- 1 cup Clean, dry pumpkin seeds Save them from your pumpkin carving!
- 1 splash Vinegar Helps the color stick to the seeds
- few drops Food coloring Any shades you love — classic fall reds, oranges, and yellows
- 1 pack Ziplock bags For shaking and dyeing
- 5 sheets Paper towels For drying your seeds
- 1 sheet White cardstock The base for your tree
- 1 each Brown paint or marker For the tree trunk and branches
- 1 tube Glue School glue or tacky glue works well
Instructions
Dye the Seeds
- Pop your clean, dry pumpkin seeds into separate ziplock bags (one bag per color). Add a splash of vinegar and a few drops of food coloring to each bag. Seal tightly and shake until every seed is coated in vibrant color!
Dry the Seeds
- Spread your colorful seeds out on paper towels in a single layer. Let them dry completely — this might take a few hours.
Create Your Tree
- On a sheet of white cardstock, draw or paint a tree trunk and as many branches as you like.
Glue the Leaves
- Once your seeds are dry, use glue to stick them onto your branches as if they’re bright fall leaves drifting down.
Display & Enjoy
- Your DIY Fall Tree is done! Hang it on the fridge, tape it to a window, or frame it as a sweet seasonal decoration.
Notes
Add texture with small twigs, pinecones, or bits of moss. Make it a family project where each person decorates a branch with their favorite color. Try other seasons by switching colors.
Nutrition
Serving: 1g
DIY Fall Tree
Create a vibrant DIY Fall Tree using pumpkin seeds, food coloring, and simple art supplies for a fun seasonal decoration.
Print
Pin
Rate
Servings: 1 tree
Calories: 150kcal
Ingredients
Supplies
- 1 cup Clean, dry pumpkin seeds Save them from your pumpkin carving!
- 1 tablespoon Vinegar Helps the color stick to the seeds
- a few drops Food coloring Any shades you love — classic fall reds, oranges, and yellows
- 2 pieces Ziplock bags For shaking and dyeing
- 1 roll Paper towels For drying your seeds
- 1 sheet White cardstock The base for your tree
- 1 tube Brown paint or marker For the tree trunk and branches
- 1 tube Glue School glue or tacky glue works well
Instructions
Instructions
- Pop your clean, dry pumpkin seeds into separate ziplock bags (one bag per color). Add a splash of vinegar and a few drops of food coloring to each bag. Seal tightly and shake, shake, shake until every seed is coated in vibrant color!
- Spread your colorful seeds out on paper towels in a single layer. Let them dry completely — this might take a few hours, so grab a mug of cider and enjoy the autumn vibes while you wait.
- On a sheet of white cardstock, draw or paint a tree trunk and as many branches as you like. Be creative — bare, twisty branches make this look extra seasonal!
- Once your seeds are dry, use glue to stick them onto your branches as if they’re bright fall leaves drifting down. Play with colors — mix warm tones or add unexpected pops of blue or purple for fun.
- Your DIY Fall Tree is done! Hang it on the fridge, tape it to a window, or frame it as a sweet seasonal decoration. Celebrate your masterpiece all autumn long!
Notes
Tips & Fun Variations: Add texture: Glue on small twigs, pinecones, or bits of moss for extra nature vibes. Make it a family project: Have each person decorate a branch with their favorite color. Try other seasons: Switch colors and turn this into a spring blossom tree or a frosty winter tree with sparkly seeds!
Nutrition
Serving: 1g | Calories: 150kcal | Carbohydrates: 20g | Protein: 5g | Fat: 5g | Saturated Fat: 0.5g | Sodium: 50mg | Fiber: 3g
More Craft Innovations
- I Found a Strange Growth on My Garage Wall—What It Revealed About Hidden Moisture
- After a Decade Together, She Discovered the True Value of Her Contributions
- My Daughter Disappeared After Prom Night—Almost a Year Later, an Ordinary Beanbag Chair Revealed the Truth
- Stop Your Bed Sheets From Balling Up in the Dryer: Simple Tricks That Actually Work