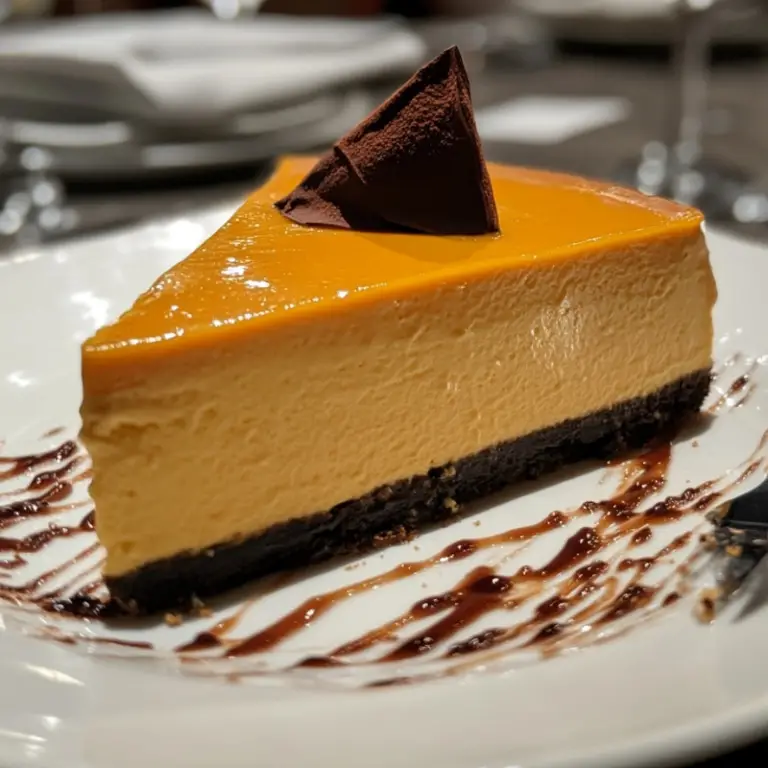
Colored Cheesecake Delight
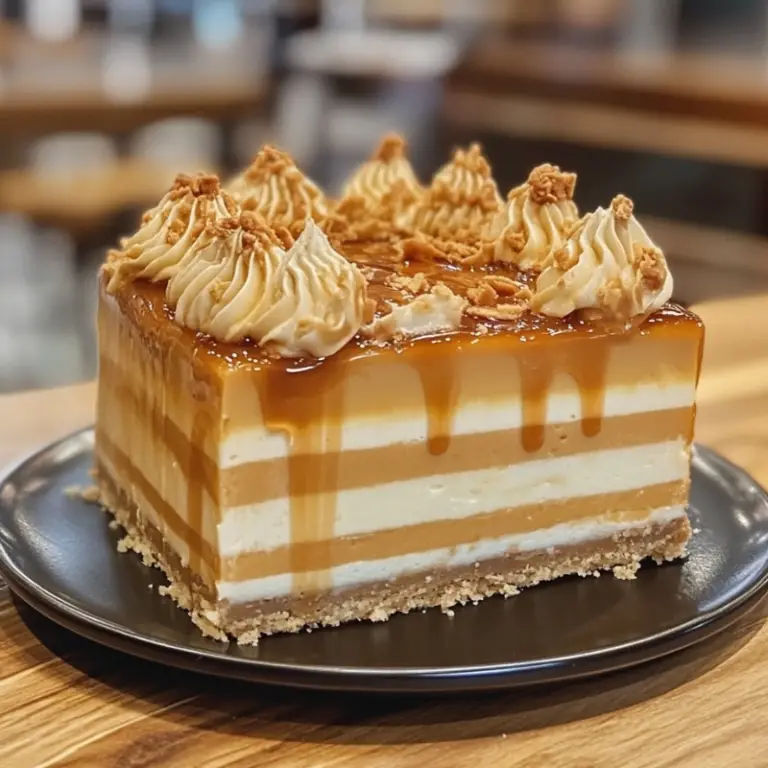
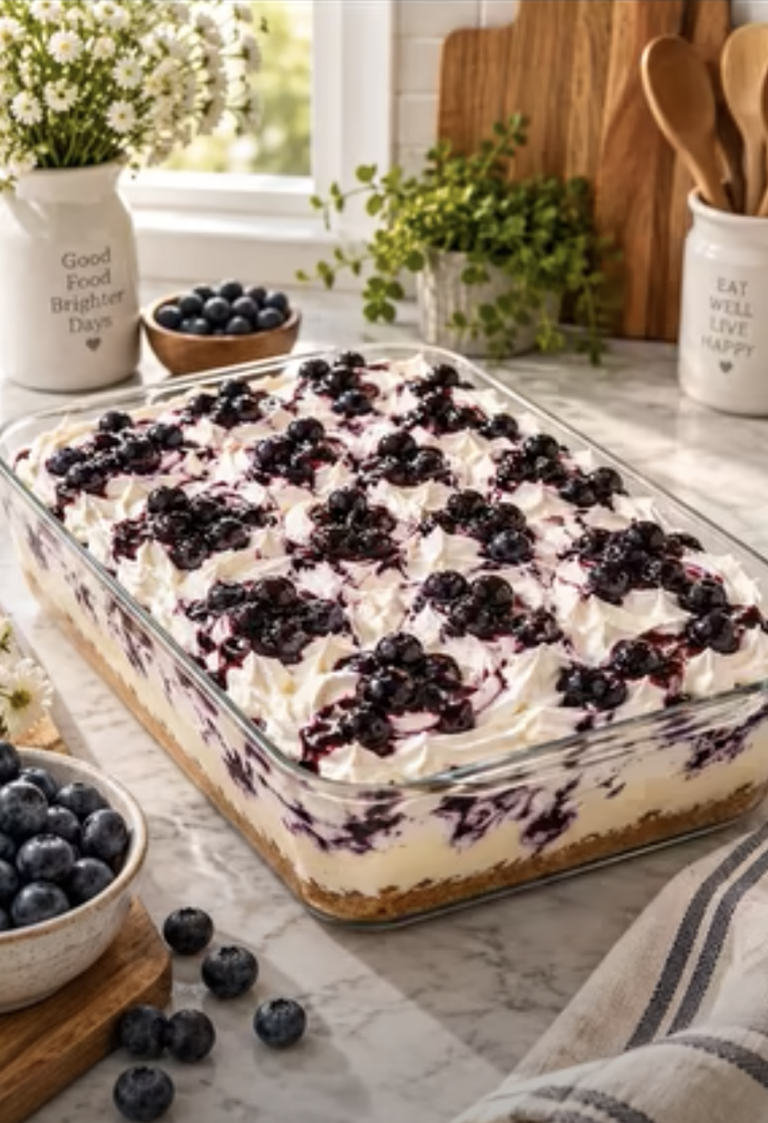
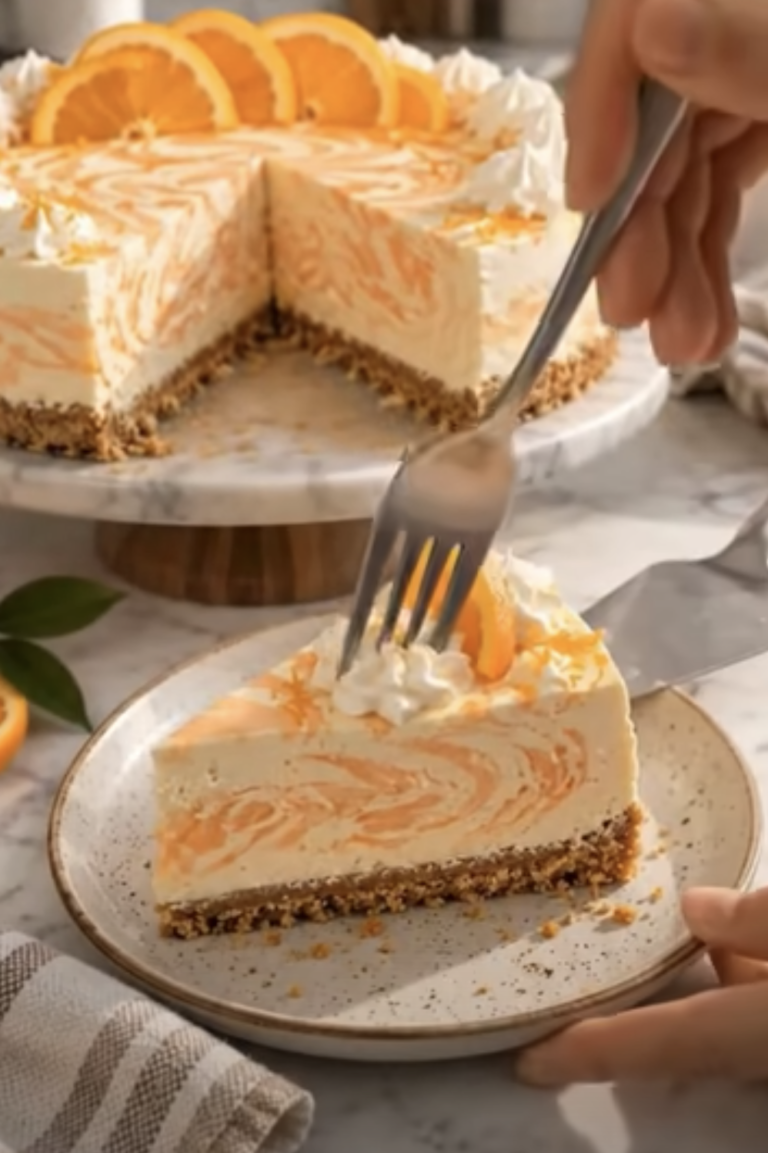
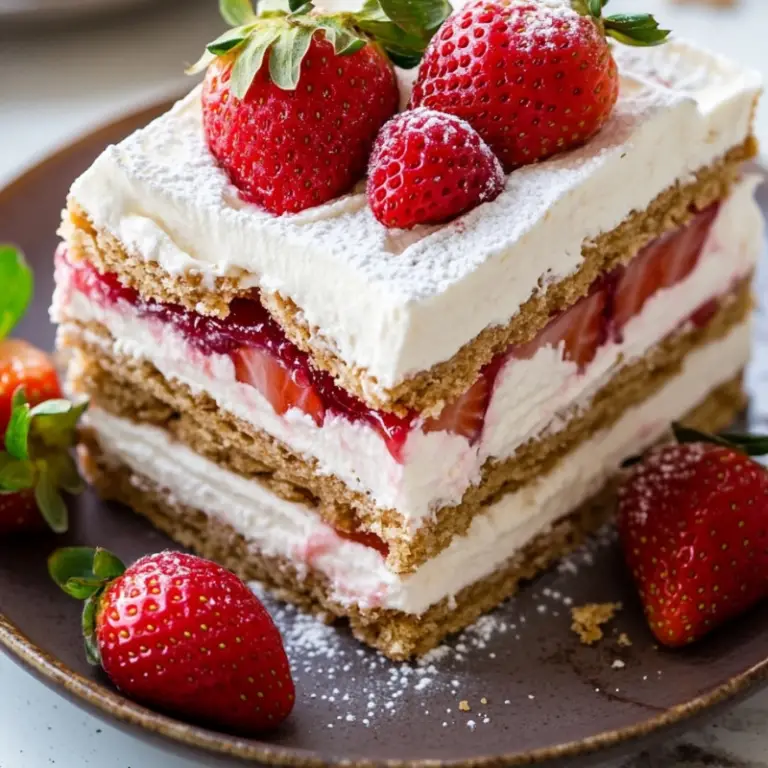
Indulge in the vibrant allure of this Colored Cheesecake Delight—a masterpiece that combines visual charm with creamy decadence. Perfect for brightening up any occasion, this cheesecake promises not only to satisfy your sweet tooth but also to captivate all who see it. Sign up for our recipe newsletter to receive this and other delightful recipes straight to your inbox!
Why You’ll Love This Recipe
This cheesecake is an absolute showstopper! Its delightful medley of colors offers a feast for the eyes, while the luscious, creamy texture promises a dance of flavors with every bite. It’s surprisingly easy to prepare, making it suitable for bakers of all skill levels. Plus, it’s family-friendly and a guaranteed hit at parties or gatherings!
Ingredients
– 1 1/2 cups graham cracker crumbs
– 1/4 cup unsalted butter, melted
– 3 (8-ounce) packages cream cheese, softened
– 1 cup granulated sugar
– 1 teaspoon vanilla extract
– 3 large eggs
– 1/3 cup sour cream
– 1/4 cup all-purpose flour
– Food coloring of your choice (e.g., blue, pink, yellow)
– Whipped cream, for topping (optional)
– Fresh fruits or sprinkles, for garnish (optional)
Necessary Tools
– 9-inch springform pan
– Mixing bowls
– Electric mixer
– Measuring cups and spoons
– Toothpick or skewer
Ingredient Swaps and Additions
Want to tweak your cheesecake? Consider swapping graham cracker crumbs with chocolate cookie crumbs for a richer base. You can also experiment with different flavors by adding lemon or almond extract. Decorate with your favorite nuts or shredded coconut to give a unique twist!
Step-by-Step Instructions
1. Preheat your oven to 325°F (165°C) and grease a 9-inch springform pan.
2. Combine graham cracker crumbs with melted butter, pressing mixture into the pan to form a crust.
3. Beat softened cream cheese in a large bowl until creamy; add sugar and vanilla, beating until smooth.
4. Mix in the eggs one at a time, followed by sour cream and flour, ensuring no lumps remain.
5. Divide batter into several bowls, adding food coloring to each, and mix until you achieve your desired color.
6. Alternately pour colored batters into the crust or layer them, swirling gently with a toothpick for a marbled effect.
7. Bake for 45-50 minutes until the center is just set but slightly jiggly.
8. Let the cheesecake cool in the oven with the door slightly ajar, then refrigerate for at least 4 hours.
9. When ready to serve, top with whipped cream and garnish as desired.
Serving Suggestions
This cheesecake pairs wonderfully with a fresh fruit compote or a drizzle of chocolate sauce on the side. Consider serving it with coffee or a light dessert wine to complement the creamy texture.
Pro Tips for Success
Ensure cream cheese is well softened for a smooth batter. Use room temperature eggs to prevent lumpiness. Swirl colors gently for a beautiful, artistic effect without over-mixing.
Storing and Reheating
Store leftover cheesecake in the refrigerator for up to five days. To maintain freshness, keep it covered with plastic wrap or in an airtight container. Freezing is also an option for longer storage—simply thaw in the fridge prior to serving.
FAQ Section
Can I use low-fat cream cheese?
Yes, but it may slightly alter the texture and richness.
How can I prevent cracks on top?
Letting it cool gradually in the oven helps prevent cracking. Also, be careful not to over-mix the batter.
Conclusion
Colored Cheesecake Delight is not only a treat for the taste buds but also a feast for the eyes. Its effortless preparation and divine taste make it a must-try for cheesecake lovers. We invite you to leave a review, share your photos, or tag us on Pinterest and Instagram with your colorful creations!
Nutritional Information
(Approximate per serving)
– Calories: 400
– Protein: 6g
– Fat: 28g
– Carbohydrates: 32g
– Sugars: 24g
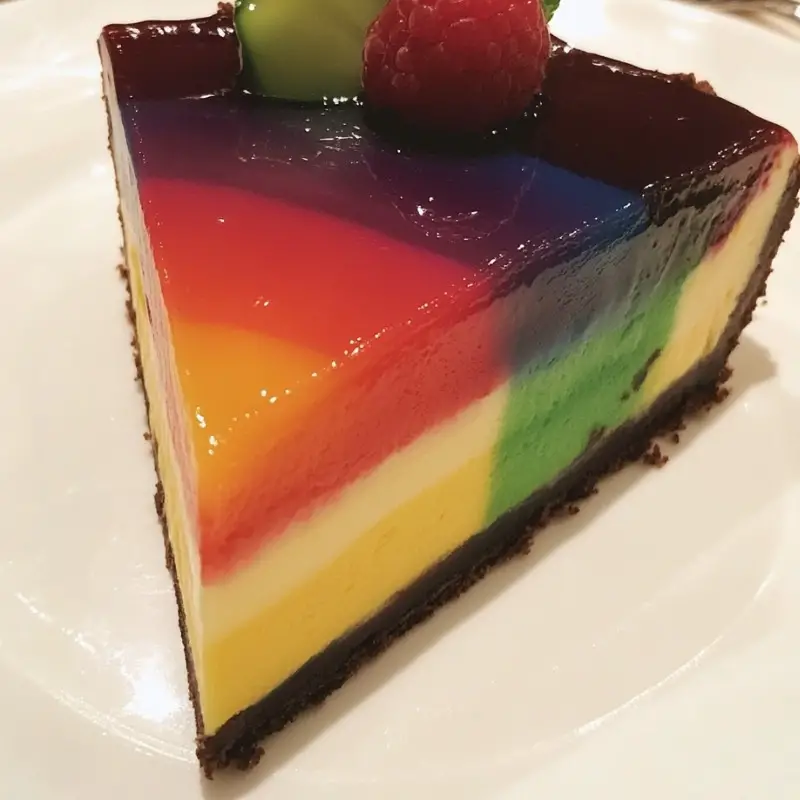
Colored Cheesecake Delight
Ingredients
Method
- Preheat your oven to 325°F (165°C) and grease a 9-inch springform pan.
- Combine graham cracker crumbs with melted butter, pressing mixture into the pan to form a crust.
- Beat softened cream cheese in a large bowl until creamy; add sugar and vanilla, beating until smooth.
- Mix in the eggs one at a time, followed by sour cream and flour, ensuring no lumps remain.
- Divide batter into several bowls, adding food coloring to each, and mix until you achieve your desired color.
- Alternately pour colored batters into the crust or layer them, swirling gently with a toothpick for a marbled effect.
- Bake for 45-50 minutes until the center is just set but slightly jiggly.
- Let the cheesecake cool in the oven with the door slightly ajar, then refrigerate for at least 4 hours.
- When ready to serve, top with whipped cream and garnish as desired.