Festive No-Bake Chocolate Coconut Snowballs: A Sweet Holiday Delight
Introduction:
There’s something magical about the holiday season that makes every moment feel special, especially when it comes to treats! Today, I’m excited to share with you my favorite recipe for Festive No-Bake Chocolate Coconut Snowballs. These delightful confections are not only easy to whip up but also bring a festive touch to your gatherings. Imagine the joy on your loved ones’ faces as they indulge in these chocolatey, coconutty bites of happiness! If you’d like to receive this recipe and more delicious ideas straight to your inbox, make sure to subscribe!
Why You’ll Love This Recipe:
Let me tell you, this recipe is a keeper! First off, it’s incredibly simple—perfect for those of us who might not feel like spending hours in the kitchen. You won’t need an oven, making it a great choice for those warm holiday days. The combination of creamy sweetened condensed milk, rich cocoa powder, and the tropical flavor of coconut is nothing short of heavenly! Kids will love rolling the snowballs, and you can easily involve the whole family in the fun. Each bite melts in your mouth, making these treats both memorable and utterly delicious!
Ingredients:
– 2 cups crushed vanilla wafers
– 1 cup desiccated coconut, plus extra for rolling
– 1/2 cup cocoa powder
– 1/2 cup sweetened condensed milk
– 1 teaspoon vanilla extract
– 1/4 teaspoon salt
– 1 cup finely chopped nuts (e.g., walnuts or pecans)
– 1/2 cup mini chocolate chips
Necessary Tools:
– Large mixing bowl
– Measuring cups and spoons
– Parchment paper
– Baking sheet
– Rubber spatula or wooden spoon
– Refrigerator
Ingredient Swaps and Additions:
Feel free to get creative with this recipe! You can substitute the crushed vanilla wafers with graham crackers for a different flavor profile. If you’re looking for a nut-free version, simply leave out the nuts or replace them with sunflower seeds. To intensify the chocolate flavor, try adding a tablespoon of espresso powder. And if you’re a fan of mint, a few drops of peppermint extract would take these snowballs to a whole new level!
Step-by-Step Instructions:
1. Start by mixing the crushed vanilla wafers, desiccated coconut, cocoa powder, and salt in a large bowl. The smell is already amazing!
2. Slowly incorporate the sweetened condensed milk and vanilla extract into the dry mixture. Stir until all the ingredients are combined. It should be thick and sticky, perfect for rolling!
3. Gently fold in the chopped nuts and mini chocolate chips. This adds a delightful crunch to every bite!
4. Now, it’s time to get your hands a little messy! Roll the mixture into small balls, about 1 inch in diameter.
5. Take each ball and roll it in the extra desiccated coconut to coat it evenly. This will give them that snowy look!
6. Place the snowballs on a lined baking sheet and pop them into the refrigerator for at least an hour. This step is crucial to ensure they hold their shape.
Serving Suggestions:
These snowballs are perfect on their own, but you can take it up a notch by serving them alongside a cozy cup of hot cocoa or coffee. They also make for beautiful gifts—just place them in a decorative box and share the love with friends and family!
Pro Tips for Success:
– Ensure that your hands are slightly damp when rolling the balls to prevent the mixture from sticking.
– If the mixture feels too dry, a little extra sweetened condensed milk can help bring it together.
– Refrigerating the snowballs longer than an hour will only enhance their firmness and flavor!
Storing and Reheating:
Store any leftover chocolate coconut snowballs in an airtight container in the refrigerator. They can last up to a week—though they rarely last that long! There’s no need to reheat; they’re just as delicious cold!
FAQ Section:
– Can I freeze these snowballs?
Yes! You can freeze the snowballs for up to 3 months. Just make sure to store them in a single layer initially before transferring them to an airtight container.
– Can I use dark chocolate cocoa powder?
Absolutely! Dark chocolate will give a deeper flavor and is a delicious alternative.
Conclusion:
In summary, these Festive No-Bake Chocolate Coconut Snowballs are an easy and delightful treat that embodies the spirit of the holiday season. Whether you’re sharing them with loved ones or enjoying them during your quiet moments of indulgence, the sweet, rich flavors will certainly bring smiles all around. I encourage you to leave a review or share your delicious photos on Pinterest or Instagram—there’s nothing better than seeing a community come together over a shared love of sweets!
Nutritional Information (per snowball):
Approximate nutritional information is as follows:
– Calories: 120
– Total Fat: 7g
– Saturated Fat: 4g
– Cholesterol: 5mg
– Sodium: 15mg
– Total Carbohydrates: 12g
– Dietary Fiber: 1g
– Sugars: 8g
– Protein: 2g
Enjoy making these sweet treats and have a joyful holiday season!
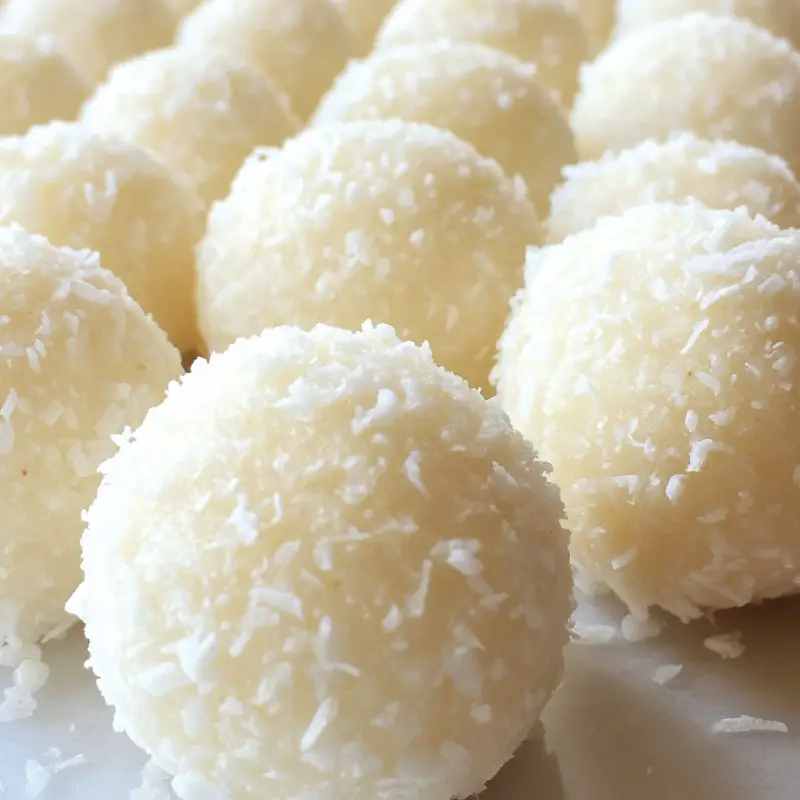
Festive No-Bake Chocolate Coconut Snowballs
Ingredients
Method
- Start by mixing the crushed vanilla wafers, desiccated coconut, cocoa powder, and salt in a large bowl.
- Slowly incorporate the sweetened condensed milk and vanilla extract into the dry mixture. Stir until all the ingredients are combined.
- Gently fold in the chopped nuts and mini chocolate chips.
- Roll the mixture into small balls, about 1 inch in diameter.
- Roll each ball in the extra desiccated coconut to coat it evenly.
- Place the snowballs on a lined baking sheet and refrigerate for at least an hour.