First things first—thank you for being here! If you’ve found your way to this vibrant little corner of the internet, you’re probably someone who loves a splash of creativity, a touch of playfulness, and maybe even the occasional beautiful mess. You’re in good company. 🌈💛
Today’s project is a joyful classic with an artsy twist: Bubble Painting Adventure! This sensory-rich art activity combines color, texture, and a whole lot of bubbly fun to create magical, marbled masterpieces that are as fun to make as they are to display. It’s simple, hands-on, and oh-so-satisfying.
👉 Want the printable instructions and exclusive bubble art templates?
Subscribe now and I’ll send them straight to your inbox!
What Is Bubble Painting?
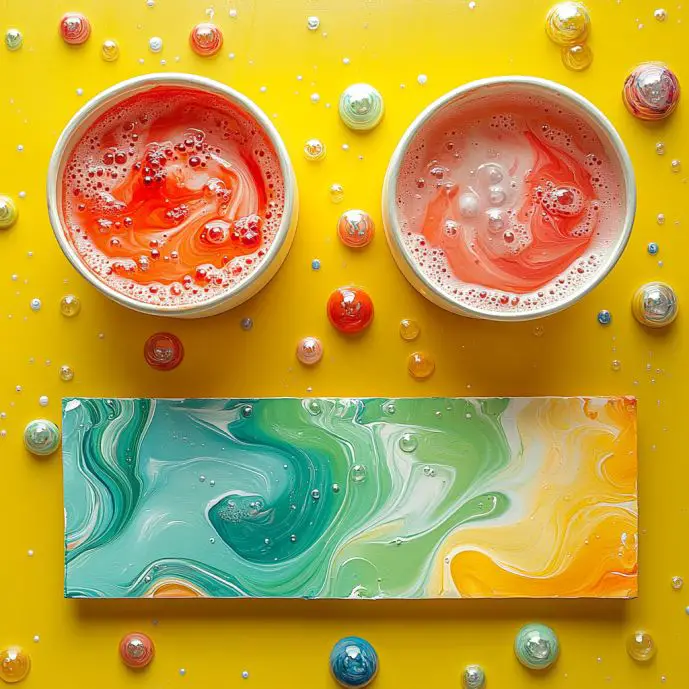
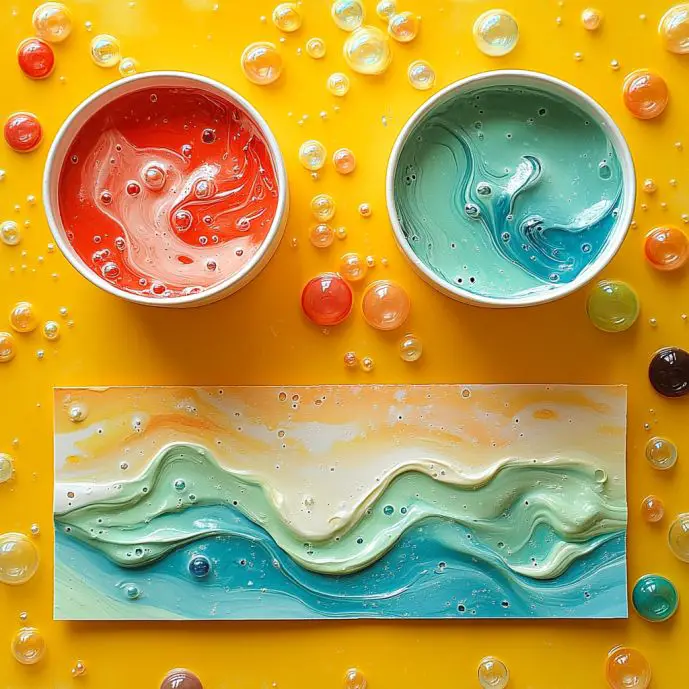
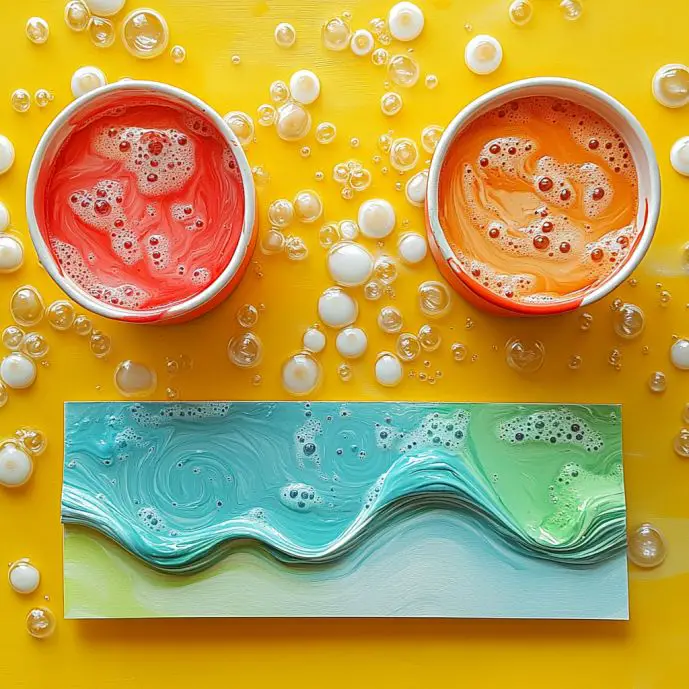
Bubble painting is a process art activity that uses soap bubbles tinted with colorful dyes to create abstract, layered designs on paper. The method is simple: blow bubbles with a straw, let them pop on your paper, and watch the color patterns emerge like watercolor fireworks!
It’s equal parts science and art, making it perfect for creative kids, curious adults, or even a laid-back art class in the backyard.
Why You’ll Love This Bubble Art Project
🎨 Creative Freedom – There’s no “right” way to bubble paint. Every pop leaves a unique pattern, and the color combos? Endless.
🧪 Hands-on Science Meets Art – Kids explore properties like surface tension and color mixing, all while making something beautiful.
💦 Low Prep, Big Impact – All you need are a few kitchen items and some paper. Setup and cleanup are super simple.
🧘 Mindful & Mesmerizing – There’s something calming about watching colorful bubbles bloom and burst—it’s almost meditative!
What It Feels and Looks Like
When those bubbly domes form and collapse onto your paper, they leave behind soft, circular rings that look like galaxy swirls or tie-dye textures. The process feels whimsical and tactile, with the gentle blow of the straw and the satisfying “pop” of each bubble bursting into art.
It’s messy in the best way.

Benefits of Bubble Painting
- Enhances creativity and color exploration
- Strengthens fine motor skills (hello, straw blowing!)
- Teaches patience and process-based art
- Encourages experimentation and visual layering
- Great for sensory play and STEAM learning
Ingredients & Supplies
- Small cups or bowls (1 per color)
- Liquid watercolors or food coloring
- Dish soap
- Water
- Straws
- White cardstock or watercolor paper
- Tray or table covering (to contain the fun!)
Optional Supplies to Level It Up
- Glitter or shimmer watercolor for sparkle
- Washable markers for outlining after it dries
- Masking tape for creating white space designs
- Stencils or cutouts for bubble layering
Step-by-Step Bubble Painting Guide
Step 1: Set Up Your Space
Lay down a tray, old tablecloth, or craft mat to protect your surface. Have your paper and paints ready to go.
Step 2: Mix Your Bubble Paint
In each cup, combine:
- ¼ to ½ cup water
- 1–2 squirts of dish soap
- 3–5 drops of food coloring or liquid watercolor
Stir gently so you don’t pre-make the bubbles!
Step 3: Get Your Paper Ready
Place a sheet of white cardstock or watercolor paper on the tray. This will catch and soak in the bubble prints.
Step 4: Blow Those Bubbles!
Dip one end of the straw into a paint cup and gently blow to create a dome of bubbles above the rim. (Tip: Always blow out, never suck in—especially with little ones!)
Step 5: Pop and Print
Let the bubbles rise up and over, then press your paper gently into the mound—or let the bubbles float and pop on their own!
Step 6: Rinse Between Colors
Rinse your straw before switching colors to avoid unexpected mixing.
Step 7: Layer & Explore
Keep repeating the process with different colors. You can overlap colors, create ombré effects, or even blow directly onto the paper for a wild look.
Step 8: Let It Dry
Leave your artwork flat to dry for 1–2 hours. The colors will deepen as the paper absorbs the dye.
Step 9: Clean-Up Time
Rinse your cups and straws, give your tray a quick wipe, and admire your colorful hands (they’ll wash off with soap and water!).
Tips & Variations
🖌️ Try black or dark blue paper for a bold, moody twist. Use metallic watercolors for a galaxy vibe.
🌀 Use circular motion with your straw to swirl the bubbles as they form for extra dynamic effects.
🖍️ Add a resist design: draw on the paper with a white crayon first—bubbles won’t stick to it!
🖼️ Make it into a card or print: Once dry, cut your artwork into gift tags, bookmarks, or greeting cards!
Storage & Display
Store finished bubble art flat between books until ready to frame or hang. These pieces look gorgeous in shadow boxes, hanging clips, or as part of a rotating kid’s art gallery at home.
Frequently Asked Questions
Can I do this with toddlers?
Yes—with supervision! Make sure they understand to blow out through the straw. For very young kids, you can pre-blow the bubbles and let them do the pressing.
Does it stain?
Food coloring can tint hands or clothing temporarily, so dress accordingly and use washable alternatives where possible.
What paper works best?
Cardstock or watercolor paper holds the color best and won’t wrinkle as much as regular printer paper.
Can I reuse the bubble mix?
Yes—for a few hours! After that, the soap may lose some bubbliness and the colors might separate. Just stir before each use.
In Summary
Bubble Painting Adventure is more than just an afternoon activity—it’s a celebration of color, creativity, and curiosity. With just a few simple supplies, you and your kids can make truly magical artwork that bursts with joy (and bubbles!). It’s one of those projects that becomes a go-to favorite, whether it’s for rainy days, art class, or just a screen-free creative moment.
Want More Bubble-Fueled Fun?
🫧 Foaming Rainbow Experiment
🧼 Bubble Snake Maker with Sock + Bottle
🎨 Shaving Cream Marbled Prints
🫧 Frozen Bubble Painting – Winter Edition
Let your creativity bubble over all year long!
Show Me What You Made!
Did you try this project? I’d love to see your masterpiece!
📸 Tag me on Pinterest or comment below with your favorite color combo or bubble painting tip. Let’s turn every pop into inspiration.
Nutritional Information
Not edible—but 100% satisfying for the creative soul. 😄🎨
Need a printable version or a “no-mess” alternative for classroom use? Just let me know—I’ve got plenty of adaptations to share!
Bubble Painting
Ingredients
Method
- Step 1: Set Up Your Space - Lay down a tray, old tablecloth, or craft mat to protect your surface. Have your paper and paints ready to go.
- Step 2: Mix Your Bubble Paint - In each cup, combine ¼ to ½ cup water, 1–2 squirts of dish soap, and 3–5 drops of food coloring or liquid watercolor. Stir gently so you don’t pre-make the bubbles!
- Step 3: Get Your Paper Ready - Place a sheet of white cardstock or watercolor paper on the tray. This will catch and soak in the bubble prints.
- Step 4: Blow Those Bubbles! - Dip one end of the straw into a paint cup and gently blow to create a dome of bubbles above the rim.
- Step 5: Pop and Print - Let the bubbles rise up and over, then press your paper gently into the mound—or let the bubbles float and pop on their own!
- Step 6: Rinse Between Colors - Rinse your straw before switching colors to avoid unexpected mixing.
- Step 7: Layer & Explore - Keep repeating the process with different colors. Overlap colors, create ombré effects, or blow directly onto the paper.
- Step 8: Let It Dry - Leave your artwork flat to dry for 1–2 hours. The colors will deepen as the paper absorbs the dye.
- Step 9: Clean-Up Time - Rinse your cups and straws, give your tray a quick wipe, and admire your colorful hands.


