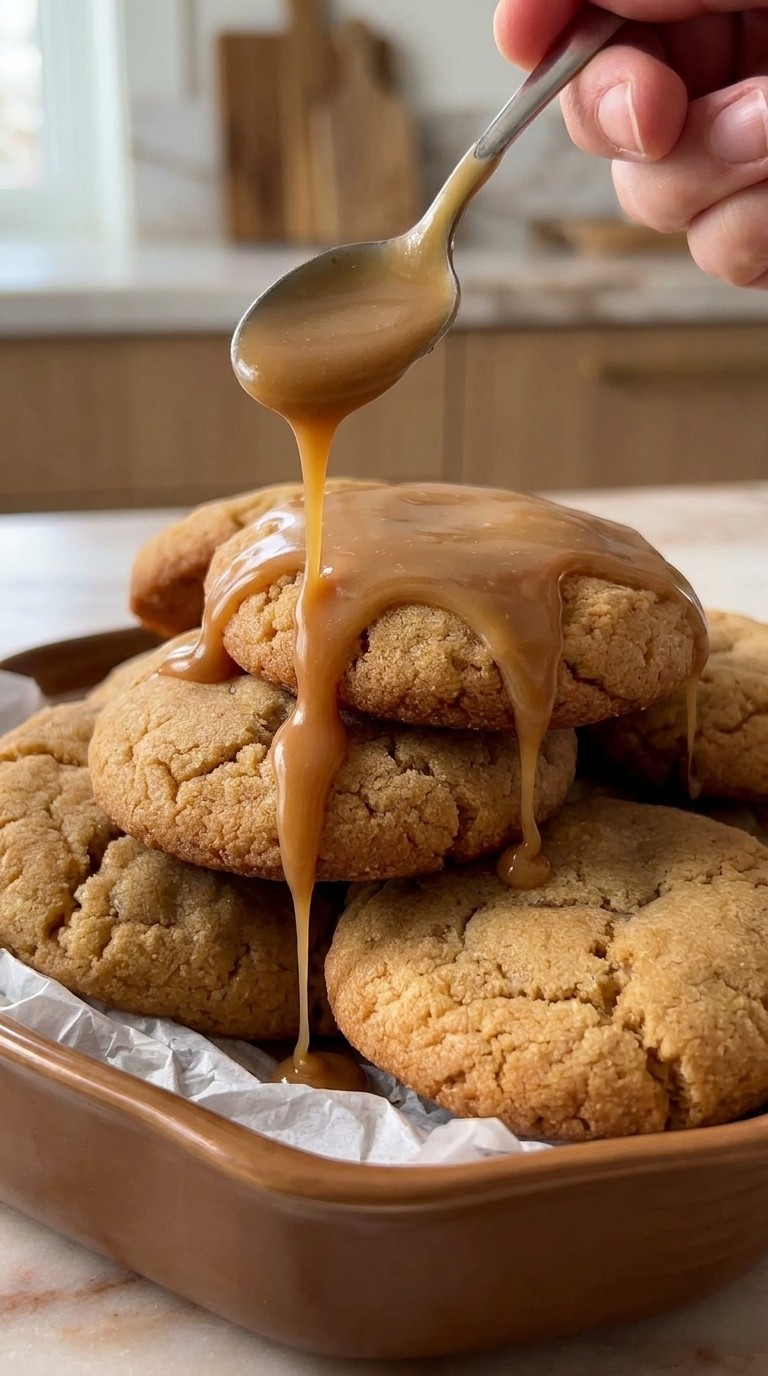
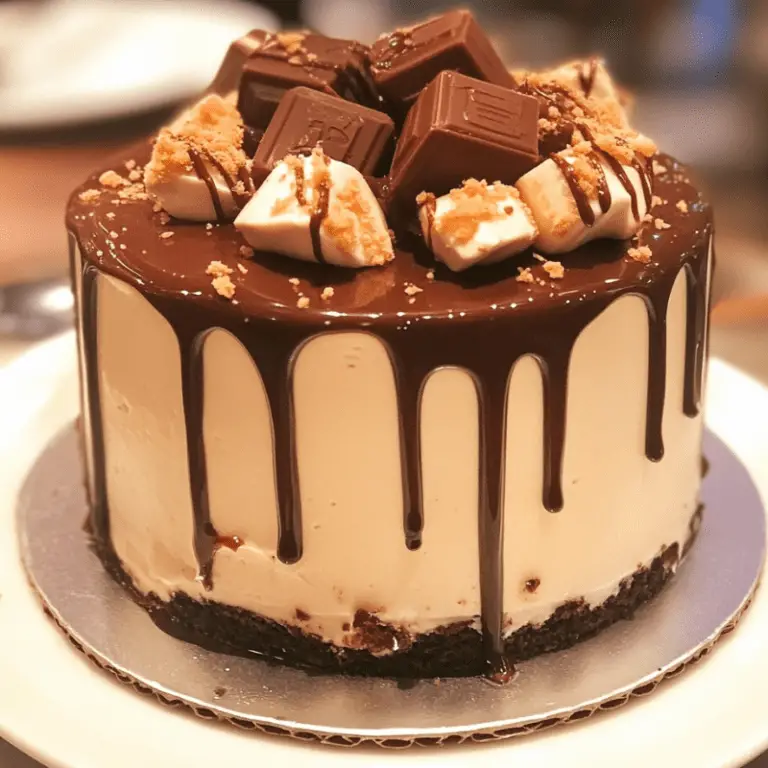
Biscoff No-Bake Cheesecake combines a crunchy spiced cookie crust, silky cookie butter cheesecake filling, and a glossy Biscoff topping in one irresistible chilled dessert. Best of all, you never need to turn on the oven.
The filling blends softened cream cheese with Biscoff cookie butter, powdered sugar, vanilla, and freshly whipped cream. As a result, every slice tastes rich and creamy while remaining surprisingly light. Meanwhile, the buttery cookie crust adds the perfect contrast to the smooth filling.
Because Biscoff No-Bake Cheesecake needs several hours in the refrigerator, it also makes an excellent make-ahead dessert. Prepare it the evening before a party, holiday dinner, birthday, or family gathering. Then add the melted cookie butter and crunchy cookie decorations shortly before serving.
I started appreciating no-bake cheesecakes when I needed desserts that could be completely finished before guests arrived. This one quickly became especially convenient because the cookie butter provides so much flavor without requiring a long ingredient list. I learned that overnight chilling makes the biggest difference. The first time I rushed the chilling period, the cheesecake tasted wonderful but produced softer slices. Now I prepare it the night before and leave the topping until the next day. The filling becomes beautifully firm, the crust holds together better, and the warm caramelized flavor of the Biscoff cookies comes through in every bite.
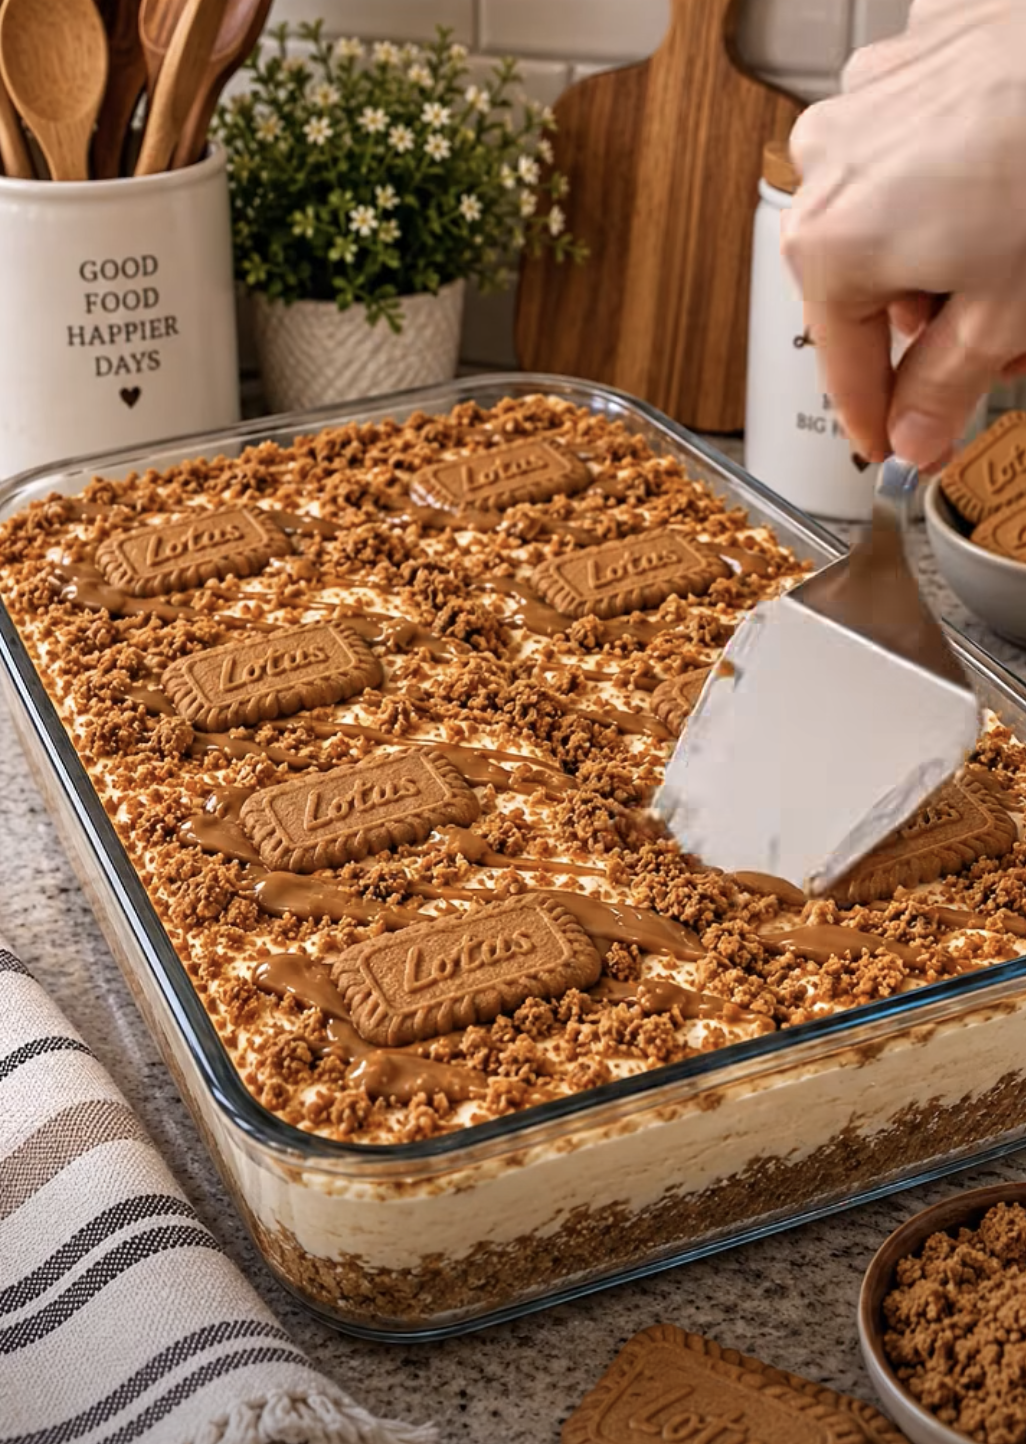
Biscoff No-Bake Cheesecake: Creamy Cookie Butter Dessert
Equipment
- 9-inch springform pan Use for assembling and chilling the cheesecake.
- – Electric mixer Use for beating the filling and whipping the heavy cream.
- Large mixing bowl Use for preparing the cream cheese mixture.
- Medium mixing bowl Use for whipping the heavy cream.
- Rubber spatula Use to gently fold the whipped cream into the filling.
- Food processor Optional but helpful for making fine Biscoff cookie crumbs.
- Offset spatula Useful for creating a smooth cheesecake surface.
Ingredients
- 2 cups Biscoff cookie crumbs
- 5 tbsp unsalted butter, melted
- 16 oz cream cheese, softened
- 1 cup Biscoff cookie butter
- 3/4 cup powdered sugar
- 1 tsp vanilla extract
- 1 1/2 cups heavy whipping cream, cold
- 1/2 cup Biscoff cookie butter, for topping
- 6 cookies Biscoff cookies, for decorating
- 1/4 cup crushed Biscoff cookies, optional, for decorating
Instructions
- Combine the Biscoff cookie crumbs and melted butter until the crumbs become evenly moistened.
- Press the cookie mixture firmly into the bottom of a 9-inch springform pan and refrigerate for 20 to 30 minutes.
- Beat the softened cream cheese, 1 cup Biscoff cookie butter, powdered sugar, and vanilla extract until smooth and creamy.
- In a separate bowl, whip the cold heavy whipping cream until stiff peaks form.
- Gently fold the whipped cream into the cookie butter cream cheese mixture in portions until smooth and fluffy.
- Spread the filling evenly over the chilled Biscoff crust and smooth the surface.
- Cover and refrigerate for at least 6 hours, preferably overnight, until thoroughly chilled and firm.
- Warm the remaining 1/2 cup Biscoff cookie butter just until pourable, then let it cool slightly.
- Spread or drizzle the melted cookie butter over the chilled cheesecake and decorate with whole Biscoff cookies and optional crushed cookie crumbs.
- Keep the cheesecake chilled until serving, then cut into clean slices with a sharp knife.
Notes
Nutrition
Building the Biscoff Cookie Crust
Make Fine Cookie Crumbs
Begin Biscoff No-Bake Cheesecake with 2 cups Biscoff cookie crumbs.
You can crush the cookies in a food processor until they form fine, even crumbs. Alternatively, place them inside a sturdy food-storage bag and crush them with a rolling pin.
Fine crumbs work particularly well because they combine evenly with the melted butter and create a compact cheesecake base.
Transfer the crumbs to a medium bowl.
Next, add 5 tablespoons melted unsalted butter.
Stir until every crumb looks evenly moistened.
When squeezed between your fingers, the mixture should hold together rather than immediately crumbling apart.
Press and Chill the Crust
Transfer the cookie mixture to a 9-inch springform pan.
Spread it evenly across the bottom. Then press the crumbs down firmly with the bottom of a measuring cup or flat drinking glass.
Pay attention to the outer edges because a firmly compacted crust will support the filling better when you remove the sides of the pan.
Next, refrigerate the crust for 20 to 30 minutes.
Chilling allows the melted butter to firm up and bind the crumbs together.
Meanwhile, prepare the cheesecake filling.
Since this Biscoff No-Bake Cheesecake doesn’t rely on baking to set the crust, compacting and chilling it properly makes an important difference.
You can also prepare the crust earlier in the day and leave it covered in the refrigerator until you’re ready to add the filling.
Making the Creamy Cookie Butter Filling
Beat the Cream Cheese and Cookie Butter
Place 16 ounces softened cream cheese in a large mixing bowl.
Add 1 cup Biscoff cookie butter, ¾ cup powdered sugar, and 1 teaspoon vanilla extract.
Beat everything together until completely smooth and creamy.
Softened cream cheese makes this process much easier. If the cream cheese remains too cold, small lumps can stay in the filling.
However, avoid warming it until it becomes runny. You want it soft enough to mix while still maintaining its structure.
Scrape the sides and bottom of the bowl occasionally so everything combines evenly.
The cookie butter gives Biscoff No-Bake Cheesecake its distinctive caramelized, warmly spiced flavor and adds extra richness to the cream cheese base.
Whip and Fold the Heavy Cream
Pour 1½ cups cold heavy whipping cream into a separate mixing bowl.
Beat the cream until stiff peaks form.
The whipped cream provides structure while giving the cheesecake filling a lighter, fluffier consistency.
Next, add a portion of the whipped cream to the cookie butter mixture.
Fold gently with a rubber spatula.
Continue adding the remaining whipped cream in portions until the filling looks smooth and uniform.
Avoid vigorously stirring or beating at this stage because you want to preserve as much of the whipped cream’s volume as possible.
The finished filling should look thick, airy, and creamy.
Once properly combined, it should spread easily while still holding its shape.
Assembling and Chilling the Cheesecake
Fill and Smooth the Cheesecake
Remove the chilled crust from the refrigerator.
Spoon the prepared cookie butter cheesecake filling onto the crust.
Start in the center and gently spread the mixture toward the edges.
Use an offset spatula or the back of a spoon to smooth the surface.
Make sure the filling reaches the sides of the springform pan so the finished Biscoff No-Bake Cheesecake develops clean edges.
Once filled, gently tap the pan against the counter a few times.
This can help settle the mixture and remove larger pockets of trapped air.
Smooth the surface again before chilling.
Give the Cheesecake Enough Time to Set
Cover the springform pan and refrigerate the cheesecake for at least 6 hours.
However, overnight refrigeration produces the most reliable texture for clean slices.
This extended chilling period allows the filling to firm naturally without gelatin or baking.
Therefore, resist the temptation to remove the springform sides too soon.
When you’re ready to serve, gently run a thin knife around the edge if necessary. Then carefully release the springform ring.
If the Biscoff No-Bake Cheesecake still seems particularly soft, give it additional refrigerator time before slicing.
Keeping the cheesecake properly chilled also makes decorating much easier because the topping can spread over a firm surface without disturbing the filling underneath.
Decorating and Serving the Cheesecake
Add the Glossy Biscoff Topping
Place ½ cup Biscoff cookie butter in a microwave-safe bowl.
Warm it briefly until it becomes fluid enough to pour. It should feel warm rather than piping hot.
Allow it to cool slightly if necessary.
Then drizzle or gently spread the melted cookie butter over the chilled cheesecake.
You can cover the entire surface for a smooth, glossy finish or create decorative drizzles across the top.
Next, arrange whole or broken Biscoff cookies around the cheesecake.
Sprinkle crushed cookie crumbs over the surface for additional texture.
The combination makes Biscoff No-Bake Cheesecake instantly recognizable while reinforcing the cookie flavor in every slice.
Slice and Serve It Chilled
For clean portions, use a long, sharp knife.
Dip the blade in hot water, dry it thoroughly, and make the first cut.
Then clean the knife between slices.
This small step helps preserve the cheesecake’s distinct layers and creates a more polished presentation.
Serve Biscoff No-Bake Cheesecake directly from the refrigerator.
For individual portions, add a small Biscoff cookie or a sprinkle of cookie crumbs to each plate.
The finished dessert delivers three distinct textures: a crunchy cookie base, a light and creamy cheesecake center, and a smooth layer of cookie butter on top.
Keep any remaining cheesecake covered and refrigerated so the cream cheese and whipped cream filling stays cold.
Ingredients
- 2 cups Biscoff cookie crumbs
- 5 tablespoons unsalted butter, melted
- 16 ounces cream cheese, softened
- 1 cup Biscoff cookie butter
- ¾ cup powdered sugar
- 1 teaspoon vanilla extract
- 1½ cups heavy whipping cream, cold
- ½ cup Biscoff cookie butter, for topping
- 6 Biscoff cookies, for decorating
- ¼ cup crushed Biscoff cookies, optional, for decorating
Instructions
- Combine the Biscoff cookie crumbs and melted butter until the crumbs become evenly moistened.
- Press the mixture firmly into the bottom of a 9-inch springform pan. Refrigerate for 20 to 30 minutes.
- Beat the softened cream cheese, 1 cup Biscoff cookie butter, powdered sugar, and vanilla until completely smooth and creamy.
- In a separate bowl, whip the cold heavy cream until stiff peaks form.
- Gently fold the whipped cream into the cookie butter mixture in portions until smooth and fluffy.
- Spread the cheesecake filling evenly over the chilled cookie crust and smooth the top.
- Cover and refrigerate for at least 6 hours, preferably overnight, until thoroughly chilled and firm.
- Gently melt the remaining ½ cup Biscoff cookie butter until fluid enough to pour, then allow it to cool slightly.
- Spread or drizzle the melted cookie butter over the chilled cheesecake. Decorate with Biscoff cookies and optional cookie crumbs.
- Keep chilled until serving, then cut into slices with a clean, sharp knife.
Frequently Asked Questions
How long does Biscoff No-Bake Cheesecake need to chill?
Chill the cheesecake for at least 6 hours. However, overnight refrigeration gives the filling more time to firm and usually produces cleaner slices.
Why isn’t my no-bake cheesecake firm enough?
The cheesecake may simply need more chilling time. Additionally, make sure you whip the heavy cream to stiff peaks and fold it gently into the filling so it provides enough structure.
Can I make Biscoff No-Bake Cheesecake ahead of time?
Yes. This dessert works especially well as a make-ahead recipe. Prepare the crust and filling the day before, refrigerate overnight, and decorate with melted cookie butter and cookies before serving.
How do I keep the Biscoff topping from melting the cheesecake?
Warm the cookie butter only until it becomes pourable. If it feels hot, let it cool before spreading it over the thoroughly chilled cheesecake.
How can I get clean cheesecake slices?
Chill the cheesecake overnight and use a sharp knife. For especially clean portions, warm the blade with hot water, dry it, make a cut, and clean the blade before slicing again.
Conclusion
Biscoff No-Bake Cheesecake turns the distinctive caramelized flavor of Biscoff cookies and cookie butter into an easy, impressive chilled dessert.
The cookie crumb crust provides plenty of crunch. Meanwhile, cream cheese and cookie butter create a rich filling, while freshly whipped cream gives it a lighter texture.
Because the refrigerator does all the setting, you don’t need an oven or complicated baking techniques.
The most important ingredient is simply time. Give Biscoff No-Bake Cheesecake at least 6 hours to chill, or prepare it the night before for an even firmer texture.
Finally, add melted cookie butter, whole cookies, and crushed crumbs for an eye-catching finish. Serve the cheesecake cold and enjoy the contrast between the crunchy crust, silky center, and smooth cookie butter topping.